Grow Food Year-Round In Virginia With A Sunken Walipini Greenhouse
A few feet below your lawn, the soil stays surprisingly steady all winter. In much of Virginia, ground temperatures several feet down hover in the 50s while the air above dips into the 20s.
Farmers high in the Bolivian Andes figured out how to use that hidden warmth decades ago. Their name for the trick comes from the Aymara language and roughly means place of warmth. Truth be told, I laughed the first time I heard about a garden built inside a hole.
Then I stood in one on a frosty January morning. The air smelled like damp earth and fresh basil, and my glasses fogged up right away. Spinach leaves looked glossy and happy while my backyard beds sat frozen solid.
If you ask me, that is the kind of magic every winter-weary gardener deserves. So how does a big rectangle in the dirt pull it off?
That Hole In The Ground Hides A Free Winter Heater
Soil is one of the best heat banks on the planet. A few feet down, the ground barely notices whether it is a sunny afternoon or a frigid night.
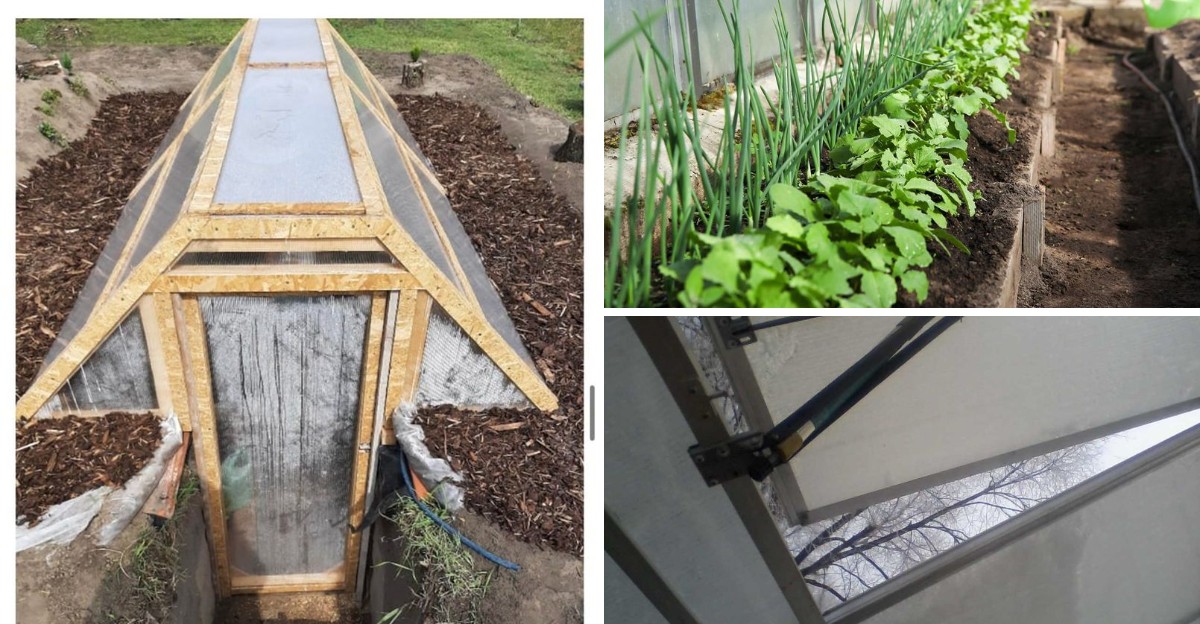
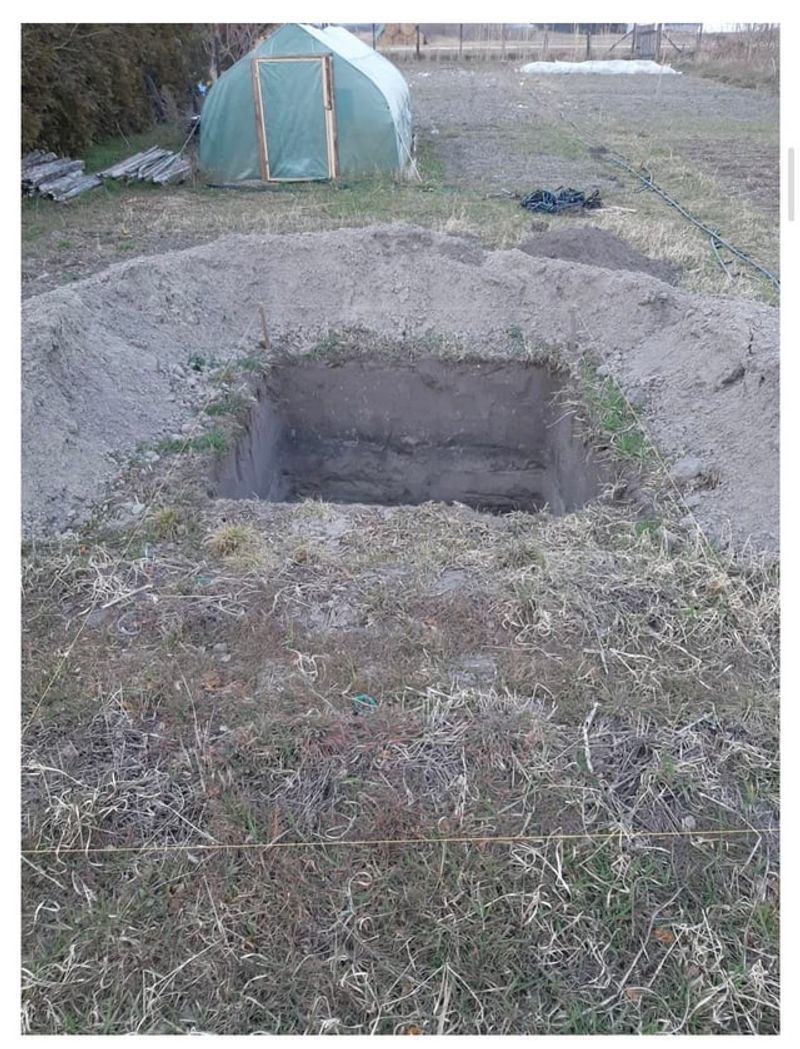
A walipini takes advantage of that steady warmth. You dig a long, rectangular pit, usually 4 to 8 feet deep, and cover it with a clear roof angled toward the south.
Winter sunlight pours in, warms the soil walls and floor, and that stored heat slowly drifts back out after dark.
The idea grew popular in Bolivia during the 1990s through projects run by the Benson Agriculture and Food Institute. Families at chilly high elevations used these pits to raise vegetables when outdoor growing was impossible.
Since the structure sits mostly underground, wind slides right over the top instead of stealing heat through thin walls.
Above-ground greenhouses struggle with this. A glass or plastic box loses warmth quickly on clear nights, so owners often run heaters to protect their crops.
A sunken design cuts much of that need, and many builders report big savings on winter heating.
Keep expectations realistic, though. A walipini will not feel like a tropical island in February.
On the coldest nights you may still need a frost cloth or a small backup heater, but the earth does a surprising share of the work for free.
Cold-Hardy Greens Love Life Below The Frost Line
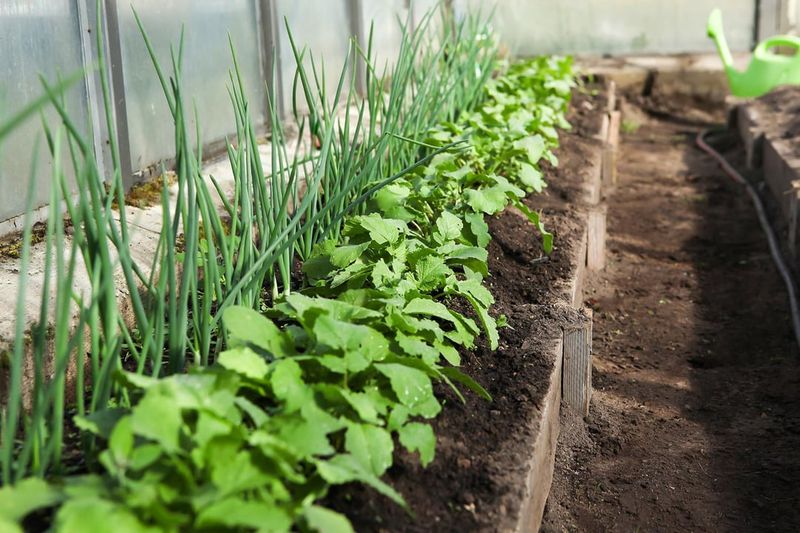
My first winter harvest from an underground bed was a bowl of spinach so sweet it tasted like candy. Cold weather actually pushes many leafy plants to store more sugar, and a walipini gives them that chill without the frostbite.
Leafy greens are the stars here. Spinach, kale, lettuce, arugula, mache, Swiss chard, and Asian greens like bok choy handle cool nights in the 40s and 50s with ease.
Virginia Cooperative Extension lists many of these as cool-season crops, which makes them a natural match for a sunken space.
Root crops do well too. Carrots, radishes, beets, and turnips grow steadily in loose, rich soil.
Herbs like parsley, cilantro, chives, and thyme give you fresh flavor for soups all winter.
Warm-season plants are a different story. Tomatoes, peppers, and basil want warmer air and longer days, so expect slow or spotty growth from late November through January.
Save those for spring and summer, when the pit stays pleasantly cool compared to the steamy outdoors.
Short days are the real limit, not cold. Plant your winter crops in September or early October so they size up before daylight drops under about 10 hours.
After that, many greens mostly hold steady, and you can pick outer leaves a little at a time.
Point That Clear Roof South And Tilt It Just Right
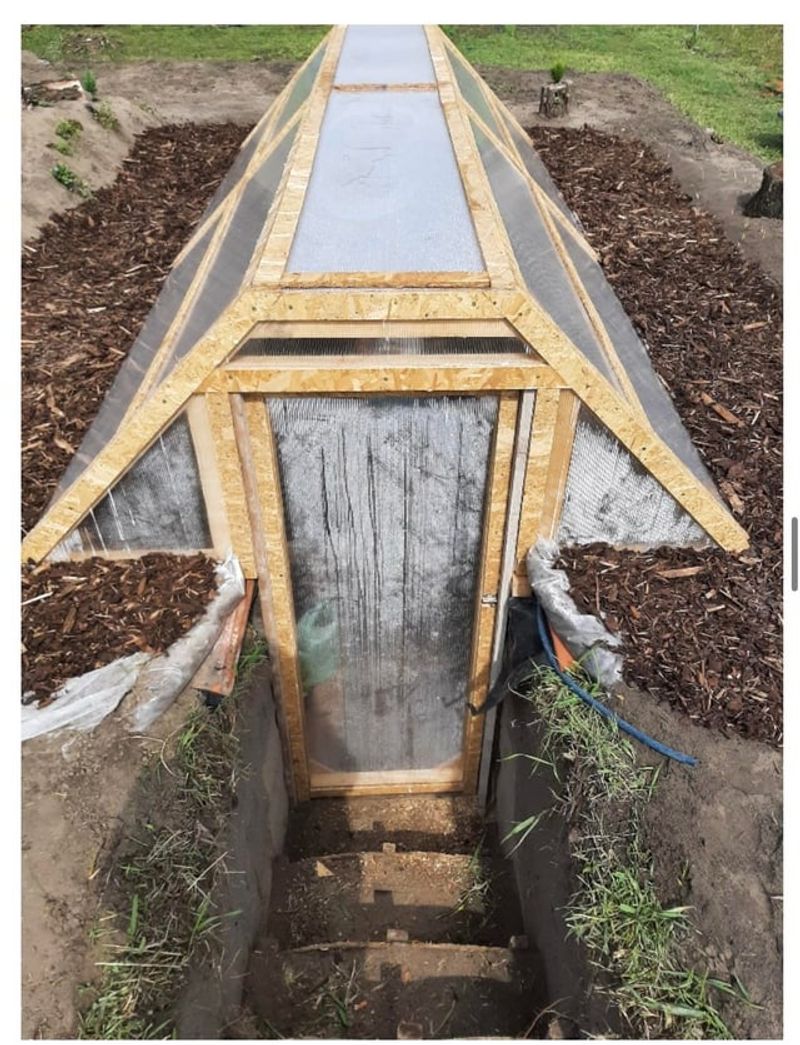
Sunlight is the fuel for this whole system. Get the angle wrong, and your underground garden turns into a chilly, shadowy cellar.
The long side of the pit should run east to west, so the roof faces true south. In winter, the sun sits low in the southern sky, and a south-facing slope catches those rays head-on.
A common rule of thumb sets the roof angle at your latitude plus about 20 degrees.
Virginia stretches from roughly 36.5 to 39.5 degrees north latitude. That puts a good winter roof pitch somewhere around 56 to 60 degrees from horizontal.
A steep slope like that also helps rain and the occasional snowfall slide off rather than piling up.
Twin-wall polycarbonate panels are a favorite covering. They let in plenty of light, hold heat better than a single layer, and survive hail far better than glass.
Greenhouse-grade plastic film costs less but usually needs replacing every few years.
Many builders raise the north wall higher and pile excavated soil against it as a berm. That tall back wall soaks up sunlight all day, and it blocks icy northwest winds.
Painting the interior north wall a light color can bounce extra light onto your plants during those short December afternoons.
Soggy Clay Soil Can Turn Your Pit Into A Pond
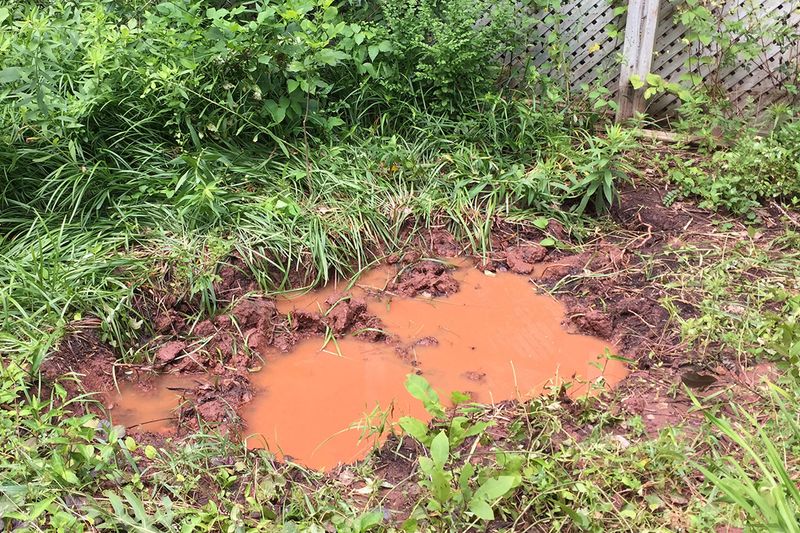
Water loves to find the lowest spot in your yard. If you dig a big hole, guess where every rainstorm wants to go?
Drainage is the make-or-break issue for any sunken greenhouse. Piedmont soils often hold heavy red clay, and parts of the Coastal Plain have a high water table close to the surface.
In those areas, a deep pit may fill with groundwater no matter how carefully you build.
Run a simple test before you rent an excavator. Dig a hole about 12 inches deep, fill it with water, let it drain, then fill it again.
If the second fill takes longer than a day to soak away, you have serious drainage work ahead.
You can also check with your local Soil and Water Conservation District or the USDA Web Soil Survey. It shows typical depth to the water table for your exact property, and it is free to use.
Good fixes include a gravel-filled French drain around the outside, a sump at the low end, and gutters that carry roof runoff far away. Sloping the ground around the pit away from the opening helps too.
In wet spots, a shallower design of 3 to 4 feet often works better than going deep.
Sturdy Retaining Walls Keep The Earth Where It Belongs
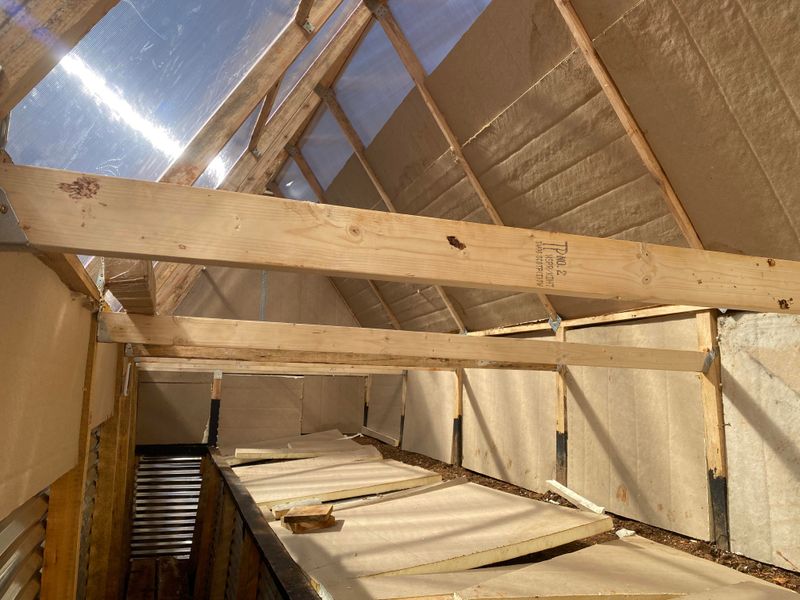
Bare dirt walls look charming for about one rainy season. After that, they tend to slump, crumble, and slide toward your carrot bed.
The original Bolivian walipinis often used rammed earth or adobe, which works well in a dry mountain climate. Virginia gets roughly 40 to 45 inches of rain a year, so walls here need more backbone.
Soil pushes hard against any vertical surface, especially when it is soaked.
Popular choices include concrete block, poured concrete, earthbags filled with damp soil, and pressure-treated timber rated for ground contact. Each has trade-offs in cost, labor, and lifespan.
Earthbags are budget friendly and do-it-yourself friendly, while block walls last for decades with little fuss.
Any wood touching soil needs protection. Use ground-contact treated lumber, and add a plastic moisture barrier between wood and dirt to slow rot.
Deep pits carry real safety concerns during construction. Trench walls can cave in quickly, so avoid working alone and never stand in an unsupported cut deeper than about 5 feet.
Sloping the sides, or adding temporary bracing while you build, keeps everyone safer.
For larger or deeper projects, hiring a structural engineer for an hour of advice is money well spent. A strong wall now saves you from a backbreaking rebuild later.
Open Those Greenhouse Vents Before Mold Moves In
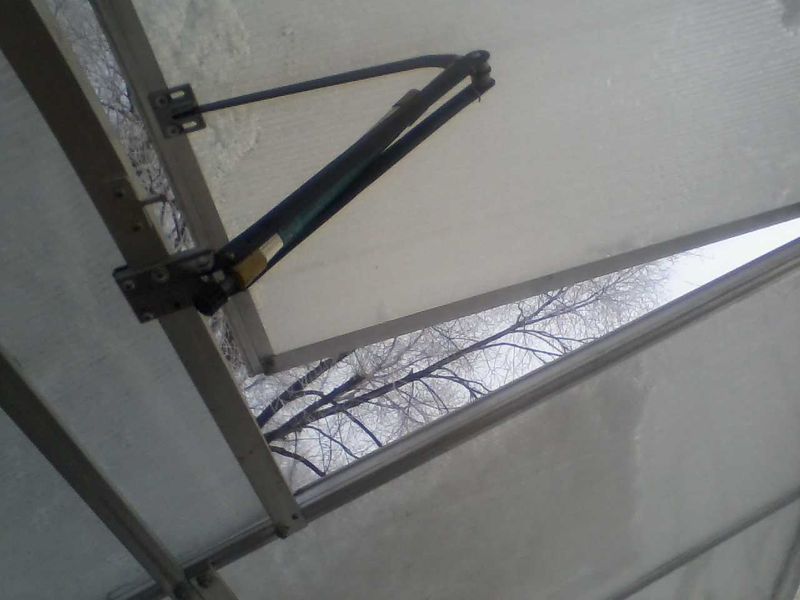
Humid air is a sneaky troublemaker. Walk into a closed sunken greenhouse on a sunny March day and you may feel like you stepped into a steamy bathroom.
Virginia summers are hot and muggy, and even winter days can trap moisture underground. Damp, still air invites powdery mildew, gray mold, and damping-off in seedlings.
Good airflow is your best defense.
Plan for vents at both ends of the structure. A low vent lets cooler air in, while a high vent near the roof peak lets warm, wet air escape.
That natural chimney effect moves a surprising amount of air without electricity.
On sunny days, a sealed walipini can overheat fast, even in January. A small solar-powered exhaust fan or automatic vent opener helps a lot.
Those wax-cylinder openers need no wiring and push vents open as temperatures climb.
Watering habits matter too. Water in the morning so leaves dry by evening, and use drip lines or a watering can at soil level rather than a sprinkler.
Space plants so air can move between them.
A cheap digital thermometer with a humidity reading tells you what is really happening inside. Aim to keep humidity mostly below 85 percent, and crack the vents whenever condensation starts dripping from the roof.
Your County Building Office Wants A Word Before You Dig
Nobody enjoys paperwork, but a stop-work order halfway through digging feels much worse. A quick phone call early can save you that headache.
Virginia uses the Uniform Statewide Building Code, which local building departments enforce. Some small accessory structures are exempt from building permits up to a certain size.
Fairfax County, for example, exempts many detached accessory structures of 256 square feet or less, though other rules still apply.
A walipini is not a typical garden shed, however. Excavation, retaining walls, electrical work, and land disturbance may each trigger separate reviews.
Many localities require an erosion and sediment control permit once you disturb a certain area of soil.
Zoning rules also control where structures can sit. Setbacks from property lines, limits near wetlands, and Chesapeake Bay Preservation Area rules in Tidewater counties can all affect your plans.
Homeowners associations may add their own restrictions.
Before any shovel hits dirt, call 811 at least three working days ahead. The free service marks buried gas, power, water, and communication lines so you do not hit something dangerous.
Bring a simple sketch with dimensions, depth, and distance from property lines when you talk with your county or city office. Staff can usually tell you within minutes which permits apply to your project.
Start Small With A Walipini Plan That Fits Your Yard
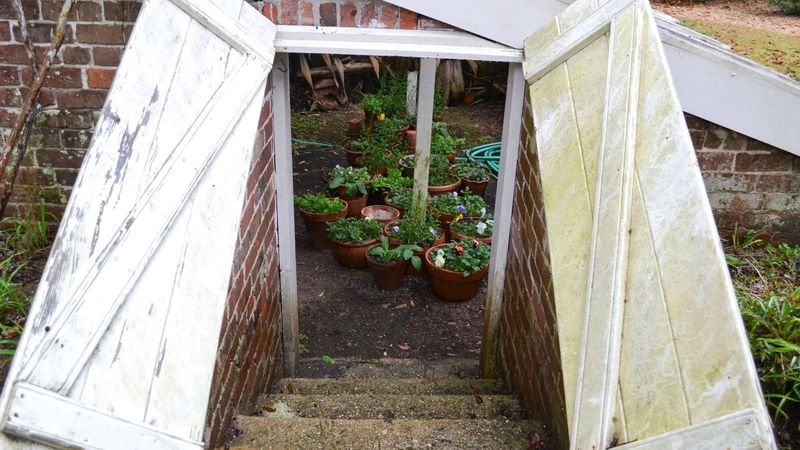
Some of the happiest walipini owners I know started with something modest. A pit around 8 by 16 feet gives plenty of growing room without draining your savings or your back.
Begin by watching your yard through a full winter. Look for a spot with clear southern sun from late morning through mid-afternoon, away from tall trees and buildings.
Higher ground with good drainage beats a low, soggy corner every time.
Mountain and Shenandoah Valley gardeners face colder nights, so deeper pits and good insulation pay off there. Folks in Hampton Roads and the Coastal Plain deal more with high water tables, so shallower designs often make better sense.
Budget for the roof, wall materials, drainage, and ventilation first. Fancy extras like rain barrels or grow lights can come later.
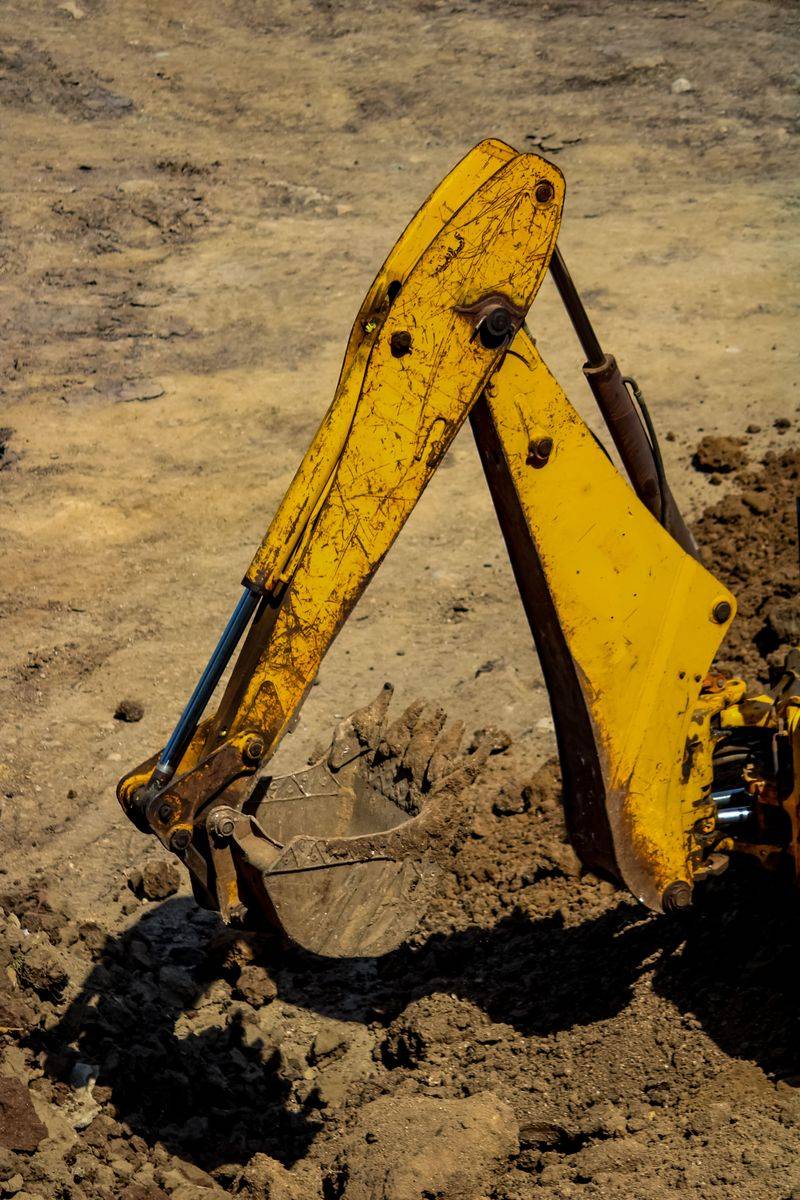
Many builders save money by doing excavation with a rented mini excavator over a weekend.
Plan your first planting for early fall. Sow spinach, kale, lettuce, and radishes in September, and keep a frost cloth handy for surprise cold snaps.
Keep a simple notebook of temperatures and harvests.
By your second winter, you will know exactly how your pit behaves. That knowledge turns a curious hole in the yard into a reliable source of fresh salads in the middle of February.