Do These 9 Things To Your Maryland Hibiscus In November Before The First Cold Night
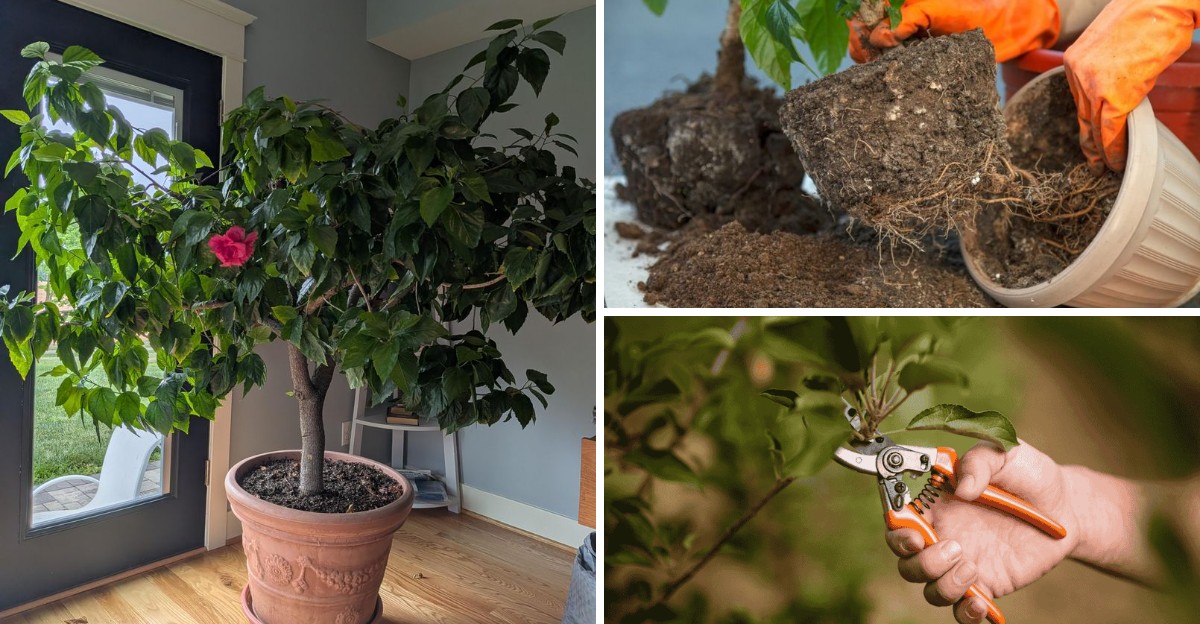
A single frosty night can turn glossy tropical leaves into limp, blackened flags before your morning coffee is ready. Even worse, the damage often starts days earlier, once nights slip below about fifty degrees Fahrenheit.
In Maryland, the first frost can arrive in late September or early October out west, while areas near the Bay often see it between late October and mid-November. Baltimore gardeners usually see that first chill sometime in early to mid November, so the clock is ticking.
I learned the hard way that a pretty patio pot needs a plan long before the weather report turns scary. One lazy weekend cost me a gorgeous red bloomer, and I still wince when I pass that empty corner.
Your Maryland garden might hold the tender tropical kind, the tough native kind, or maybe a little of both. So which simple chores actually save these flowering beauties before that first cold night sneaks in?
1. Bring Potted Tropical Hibiscus Indoors Before Nights Hit Fifty
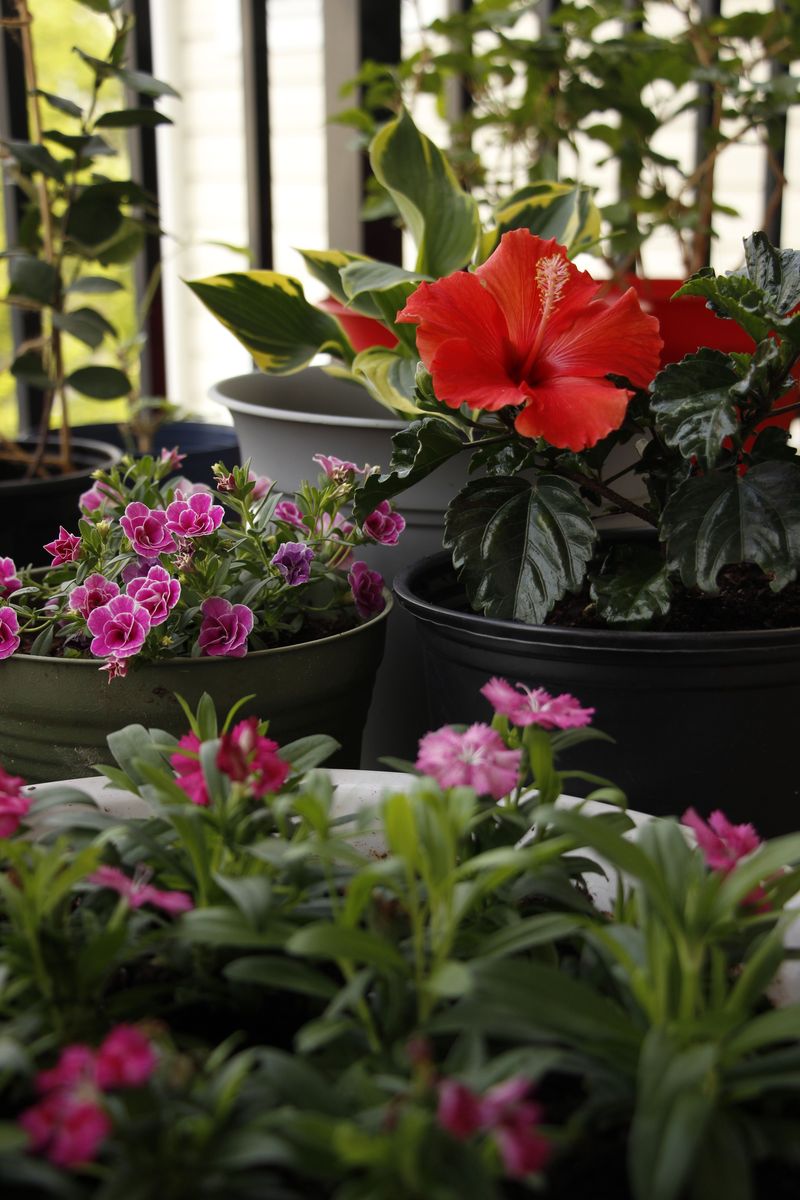
Tropical hibiscus grows wild in warm Asian climates, so a chilly November breeze feels like a rude surprise to it. I swear my plant sulks the moment night temperatures start sliding into the forties outside on the patio.
Experts suggest moving Hibiscus rosa-sinensis indoors once nights fall below about fifty degrees on a regular basis. Waiting for actual frost is risky, because cold stress shows up as yellow leaves and dropped buds first.
Check your local ten-day forecast every evening this month and watch the overnight lows more than daytime highs. A sunny sixty-five degree afternoon can trick you, while the thermometer quietly drops near freezing after midnight.
Plan the move on a calm, mild day so your plant adjusts gradually instead of facing a sudden shock. Some gardeners bring the pot into a garage or porch for several nights before the final trip indoors.
Heavy containers can strain your back, so grab a plant dolly or a helper before you start lifting. Wet soil adds a surprising amount of weight, which is another reason to let the pot dry slightly first.
Expect some leaf drop during the first couple of weeks, since the plant is reacting to its new surroundings. Fallen leaves usually signal adjustment rather than disaster, so resist the urge to repot or fertilize right away.
Honestly, this single step matters most for tender tropical types, since cold nights can kill them quickly. Get the timing right, and your hibiscus has a real shot at blooming again next summer.
2. Give Leggy Hibiscus Branches A Light Trim Before Moving
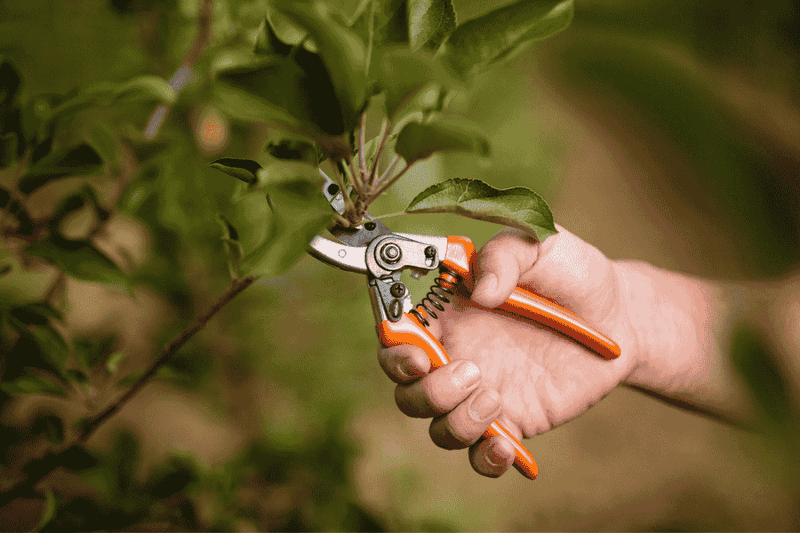
Long, floppy hibiscus branches have a funny habit of snagging every doorframe on the way into the house. A quick haircut beforehand saves your plant from broken stems and saves you from a few muttered complaints.
Garden experts recommend removing no more than about a quarter of the plant during a fall trim. Heavy cutting this late in the year can stress a tropical hibiscus right when it needs steady energy reserves.
Focus on stretched, leggy branches and any stems crossing awkwardly through the crowded middle of the plant. Snip just above a leaf node, since new shoots tend to sprout from those little bumps along the stem.
Clean pruners make a real difference, so wipe the blades with a household disinfectant before you begin cutting. Sharp blades leave smooth cuts that heal faster than the ragged tears left behind by dull tools.
I’m a sucker for keeping every bud, but trimming a few flowering tips makes the plant fit indoors better. A smaller, tidier shape also loses less moisture through its leaves once the furnace starts running.
Save the dramatic shaping for late winter or early spring, when strong growth is about to return. Hibiscus blooms on new wood, so a careful spring pruning encourages plenty of fresh flowering branches later.
Toss the clippings rather than leaving them in the pot, because fallen debris can hide pests. A light, thoughtful trim now keeps your plant manageable without sacrificing much of next season’s flower show.
3. Hose Off Hibiscus Leaves To Evict Hidden Pests
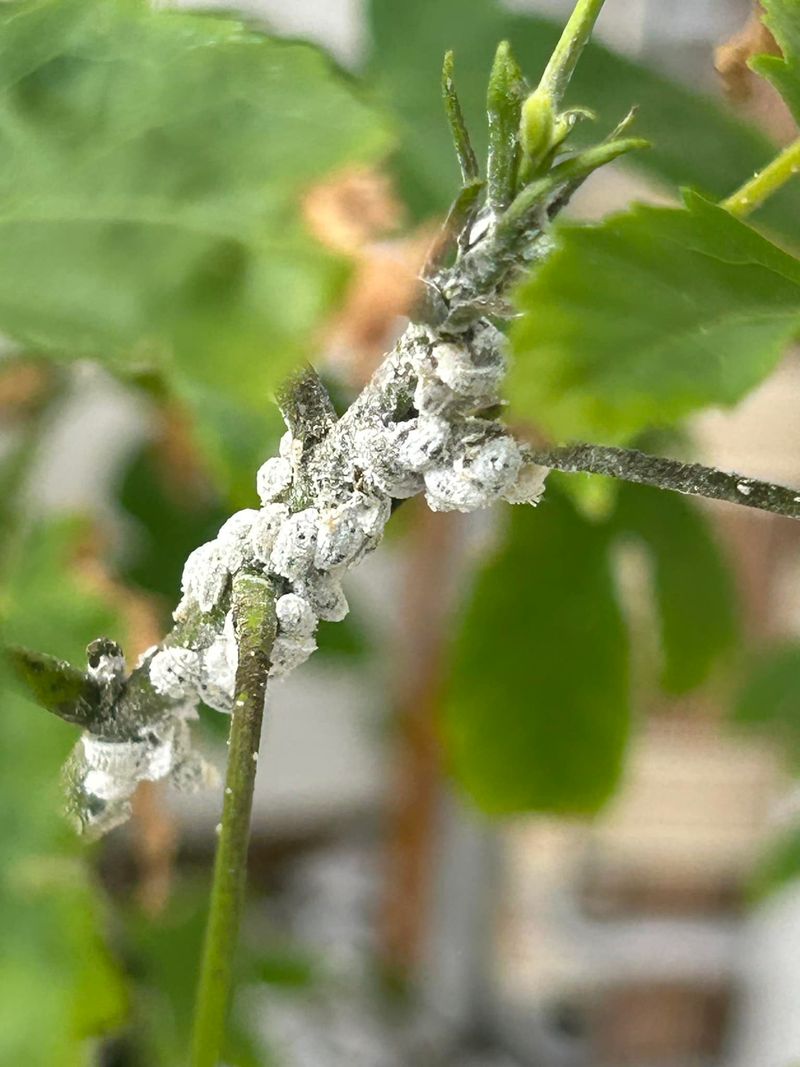
Whiteflies and spider mites love hitchhiking indoors, where they multiply quickly without any hungry ladybugs around. I didn’t expect a single hibiscus to carry so many tiny stowaways until my kitchen window filled with whiteflies.
A strong spray of water from the garden hose knocks off many soft-bodied pests before moving day. Aim at the undersides of leaves, because that shady spot is where most bugs prefer to hide.
Repeat the shower a few times over several days, since one rinse rarely catches every last insect. Let the leaves dry before nightfall so the plant does not sit cold and soggy overnight.
Insecticidal soap or neem oil gives extra protection when sprayed carefully according to the product label directions. Test a small patch first and wait a day, since some hibiscus leaves react poorly to certain sprays.
Grab a magnifying glass and look for fine webbing or sticky residue on the foliage and stems. Those clues often point to spider mites or whiteflies, which thrive in the warm, dry air of heated homes.
Check the soil surface too, because fungus gnats and other small critters sometimes lurk in damp potting mix. Scraping off the top inch and adding fresh mix can reduce those unwanted guests before they move inside.
Keep inspecting every week or two once your plant settles indoors for the long winter months. Catching a small problem early is far easier than battling a full-blown infestation in the middle of February.
4. Dig Up Garden Hibiscus And Move It Into A Pot
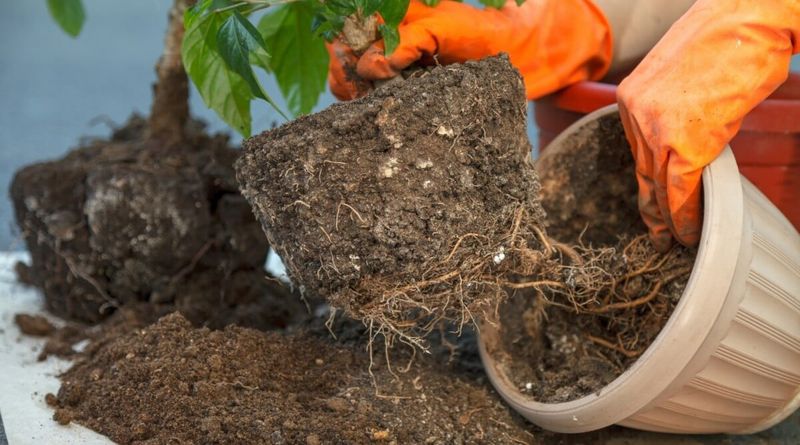
Planting a tropical hibiscus straight in the ground gives you a summer full of dinner-plate flowers and lush growth. Come November, though, those roots have nowhere to hide from the cold soil in a Maryland yard.
Before the first frost, water the plant well a day ahead so the root ball holds together nicely. Then dig a wide circle around the stem, keeping as many roots attached as you reasonably can.
Choose a container just slightly bigger than the root ball, with several drainage holes in the bottom. An oversized pot holds extra water, and soggy soil invites root rot during the slow winter months.
Skip the garden soil, since it packs down heavily in containers and can carry pests or disease indoors. A quality potting mix stays light and airy, giving roots the oxygen they need to stay healthy.
Fair warning, your freshly dug hibiscus may look grumpy for a week or two after the move. Keep it in bright shade outdoors for a few days, if the weather allows, to ease the transition.
Trim a few branches if the roots lost a lot of mass, since fewer leaves need less water. This balance helps the plant recover without drooping badly while new feeder roots begin forming in the pot.
Some gardeners simply treat garden hibiscus as an annual and buy a new one each spring instead. If you love your particular plant, though, an hour of digging now can save it for many summers.
5. Park Your Hibiscus Near A Bright South Facing Window
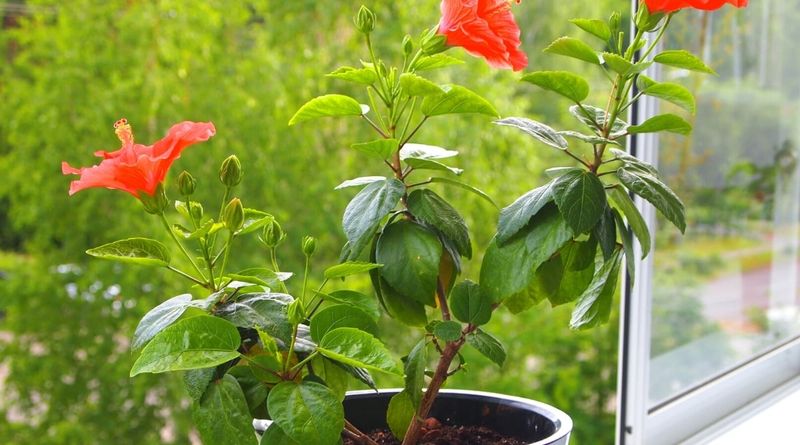
Hibiscus soaks up sunshine like a cat on a warm windowsill, and it complains loudly when the light disappears. Dim corners usually lead to pale, stretched stems and buds that drop before they ever get a chance to open.
The brightest spot in your home, ideally a south or west window, gives the plant its best winter chance. Aim for at least four to five hours of direct sunlight each day whenever the clouds cooperate.
Winter days here are short, so even a sunny window may fall a little short on gloomy weeks. A simple LED grow light on a timer can fill the gap without raising your electric bill much.
Turn the pot a quarter turn every week or so to keep growth even on all sides. Otherwise, your hibiscus will lean toward the glass like a curious kid pressed against an aquarium window.
Watch out for cold glass, too, because leaves touching a frosty pane can suffer chilly damage overnight. Leave a few inches of space between the foliage and the window to keep things comfortable.
Heat vents and drafty doors cause trouble as well, since sudden temperature swings often trigger leaf drop. Hibiscus prefers daytime temperatures around sixty-five to seventy-five degrees, with nights staying above about fifty-five.
Not going to lie, I moved my plant three times before finding the sweet spot in our dining room. Once it settled in, a few cheerful winter blooms showed up, which felt like a tiny tropical vacation.
6. Water Indoor Hibiscus Less Often Through Winter
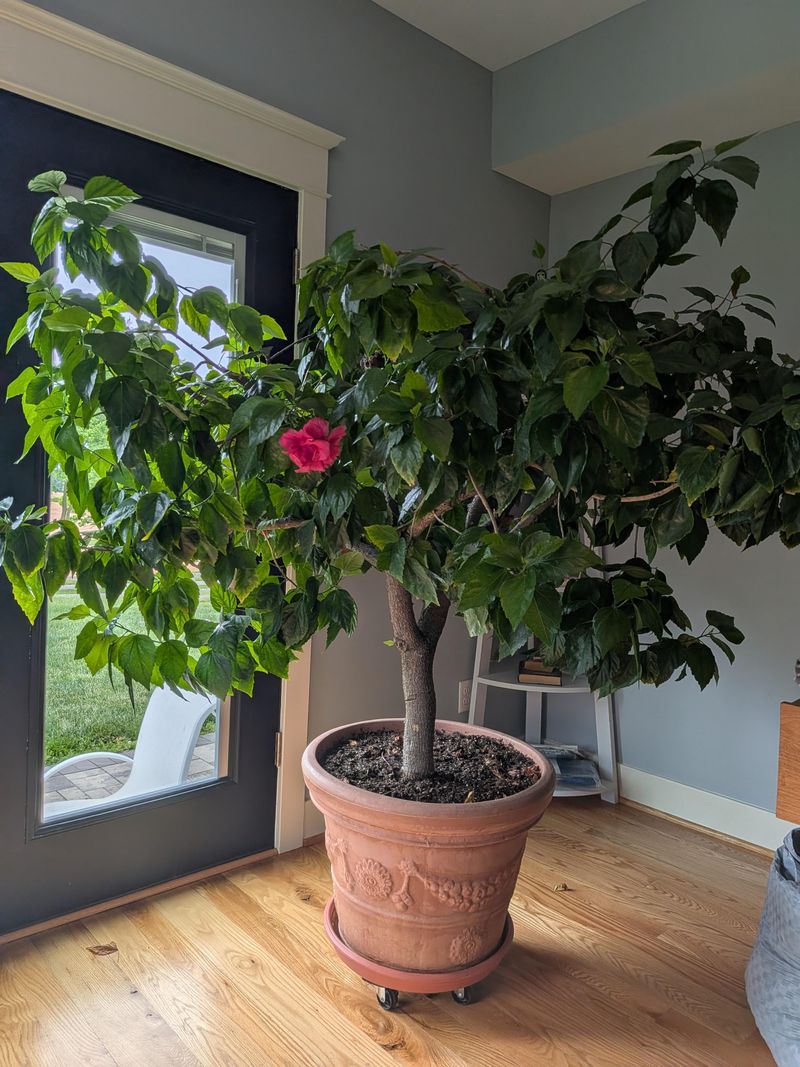
Overwatering probably sends more indoor hibiscus plants into decline than cold weather ever does during the winter. Guilty as charged, I once drowned a lovely peach variety simply because I kept up my summer watering habits.
Indoor hibiscus grows slowly in winter, so its roots drink far less than they did in July. Water only when the top inch or two of potting mix feels dry to your fingertip.
Pour slowly until water runs from the drainage holes, then empty the saucer after about fifteen minutes. Roots sitting in standing water lose access to oxygen, which opens the door to root rot.
Lifting the pot is a handy trick, because a dry container feels noticeably lighter than a soaked one. After a few weeks of practice, you will judge moisture levels almost instantly just by the weight.
Room temperature water is kinder than icy tap water, which can shock tender roots on chilly mornings. Fill a watering can the night before so it reaches indoor temperature by the time you need it.
Humidity matters too, since furnace air often feels as dry as a desert inside many homes. A pebble tray or small humidifier nearby helps the leaves stay healthy and discourages spider mites from settling in.
Yellowing leaves with soggy soil usually mean too much water, while crispy edges often suggest too little moisture. Adjust slowly and pay attention, because your hibiscus will give you clues if you watch closely.
7. Stop Feeding Hibiscus Until Spring Growth Returns
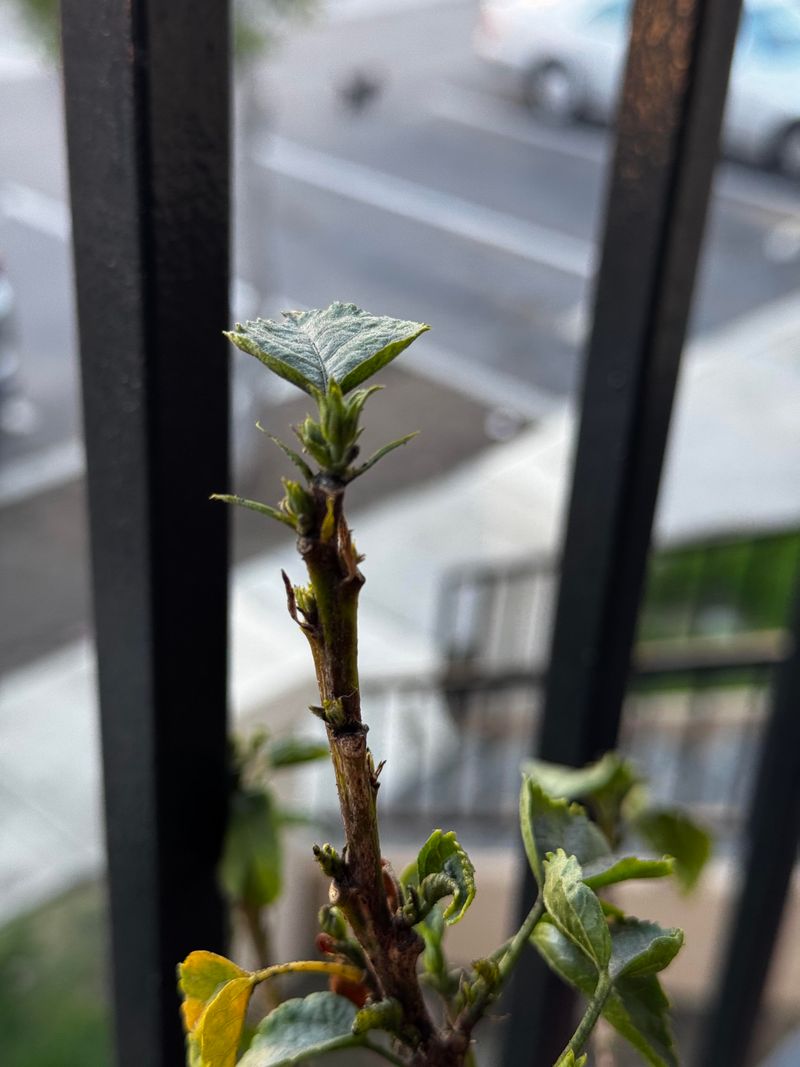
Fertilizer in winter is a bit like serving a big breakfast to someone who is trying to nap. Your hibiscus simply cannot use those extra nutrients while it rests through the dim, chilly months ahead.
Tropical hibiscus brought indoors should go without fertilizer until days lengthen and fresh growth appears again in spring. Unused salts from fertilizer can build up in the potting mix and burn delicate root tips over time.
Look for a crusty white film on the soil or pot rim, which often signals that salt buildup. Flushing the pot with plain water a couple of times can wash away some of that excess.
Hardy hibiscus outdoors needs the same break, and most experts suggest stopping fertilizer by late summer. Late feeding pushes soft new shoots that struggle when freezing temperatures arrive on a clear November night.
I’ll admit it, the temptation to feed a sulking plant feels strong when leaves start dropping indoors. Extra fertilizer rarely fixes winter stress, though, and it may make the situation worse for weak roots.
Mark your calendar for early spring, when new leaves unfurl and the plant begins actively growing again. Start with a diluted dose of a hibiscus-friendly fertilizer that is lower in phosphorus than many bloom boosters.
Patience now pays off later with stronger stems and plenty of flower buds once summer warmth returns. Consider this rest a quiet recharge rather than a period of neglect for your plant.
8. Give Hardy Hibiscus A Deep Drink Before The Ground Freezes
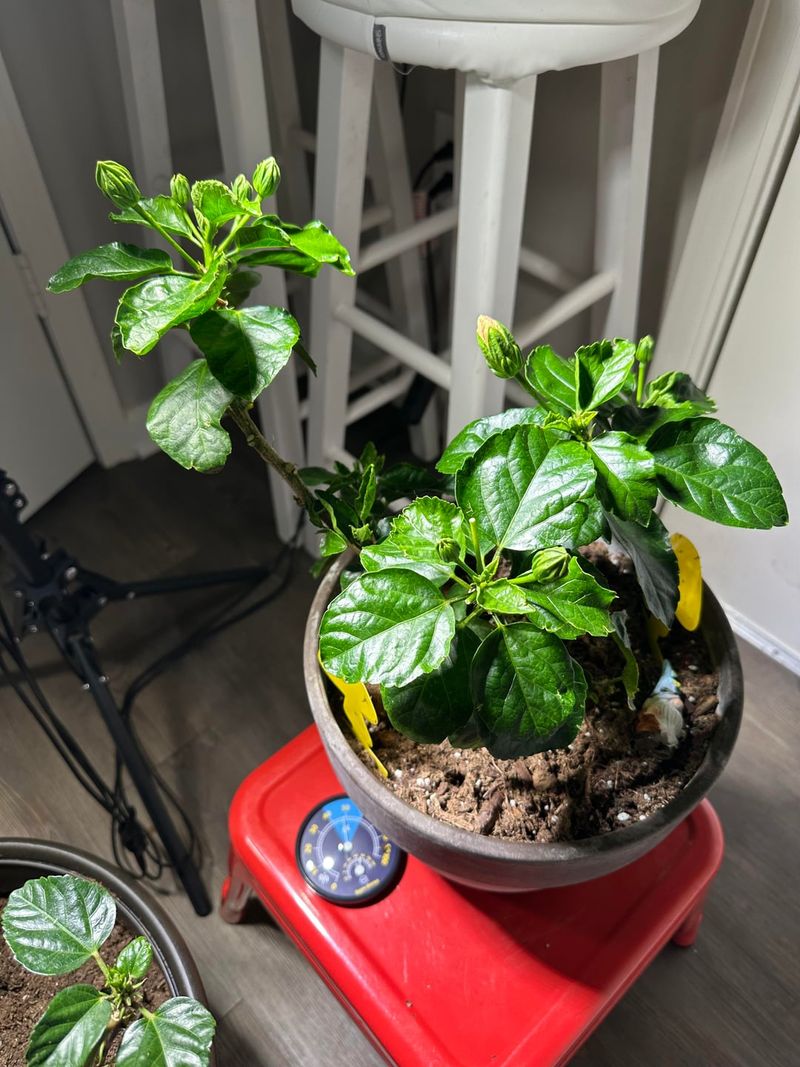
Native rose mallow, Hibiscus moscheutos, grows wild in Maryland marshes, so it handles cold far better than tropical cousins. Even these tough perennials appreciate a little help, especially when autumn rainfall turns stingy across the region.
Hardy hibiscus loves moist soil, and dry roots heading into winter face more stress from freezing winds. A slow, deep soaking before the ground freezes helps the crown and roots stay hydrated through cold snaps.
Use a soaker hose or let a garden hose trickle at the base for about thirty minutes. Shallow sprinkling mostly wets the surface, while deep watering reaches the roots where the moisture really counts.
Check the soil a few inches down with a trowel, since the top layer can fool you. If it feels dry at that depth, give the bed another long drink on a mild afternoon.
Water earlier in the day so excess moisture drains away before nighttime temperatures dip toward freezing. Soggy, icy soil around the crown is not the goal, so skip watering if heavy rain is coming.
Fun fact, those huge blooms can reach about ten to twelve inches across on some modern hybrid varieties. Big flowers like that come from strong roots, which is why fall care matters so much.
Newly planted hardy hibiscus needs this attention most, since young root systems have not spread very deeply yet. Established clumps are tougher, but a fall drink still sets them up for a healthier, more vigorous spring.
9. Leave Hardy Hibiscus Stems Standing And Pile On Mulch
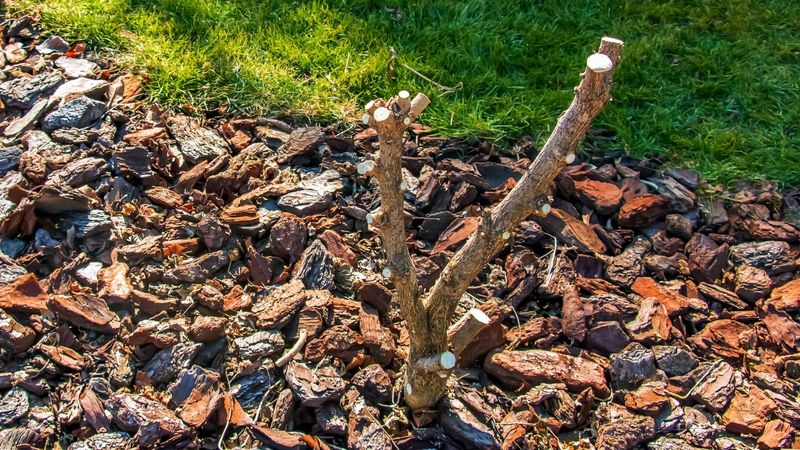
Those bare, woody hibiscus stems might look messy in November, but they actually serve a helpful purpose this winter. Standing stems trap a bit of snow and leaves, which adds insulation around the sensitive crown below.
Many experts recommend waiting until late winter or early spring to cut stems back to several inches tall. Leaving them up also marks the plant’s location, so you do not accidentally dig into it later.
Once the foliage browns or the ground starts to freeze, spread a thick layer of shredded leaves around the base. Straw or pine needles work nicely too, and they slowly break down to feed the soil underneath.
Mulch helps moderate the freeze and thaw cycles that can heave young plants right out of the ground. Gardeners in the colder western mountains of the state benefit most from a generous blanket of mulch.
Don’t laugh, but I once mulched so early that voles moved in and nibbled happily all winter long. Waiting until the ground gets cold makes the mulch less inviting for small rodents looking for cozy homes.
Hardy hibiscus is famous for sleeping late, often staying bare until late spring after other perennials leaf out. Resist the urge to dig it up in April, because new shoots usually appear once soil warms up.
Pull the mulch back gently in spring so the emerging shoots can find sunlight without struggling through it. A little patience rewards you with giant summer flowers that hummingbirds and bees find hard to resist.