First Snow Is Coming to Upstate New York. 8 Things to Do in Your Yard Before It Falls
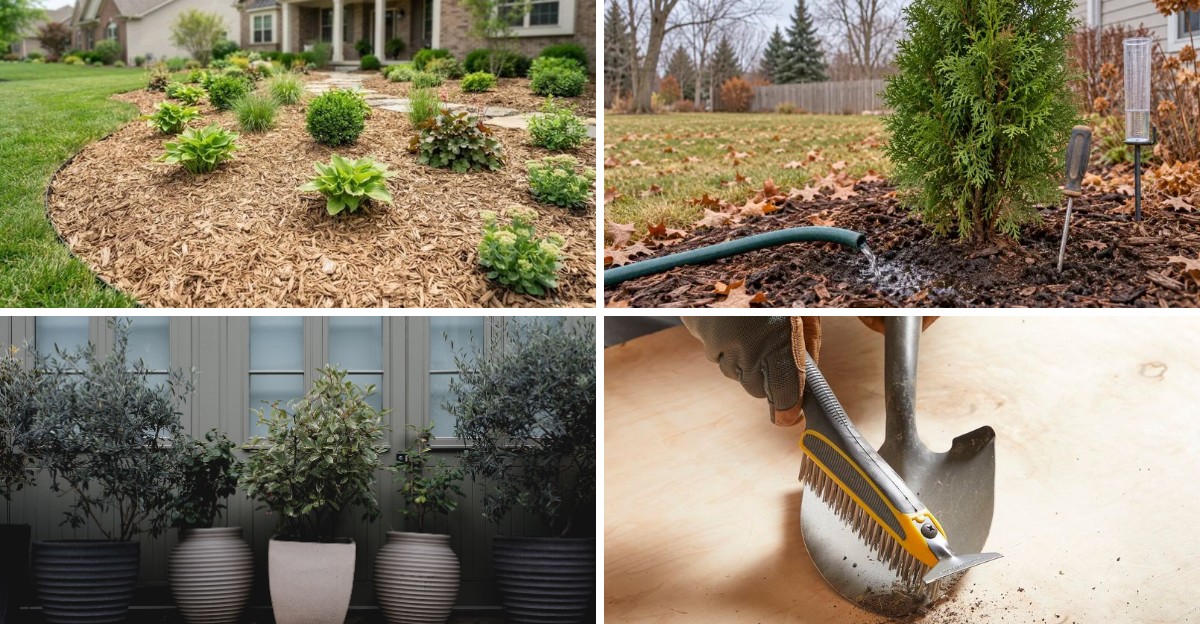
Syracuse averages more than 120 inches of snow each winter, earning bragging rights among large American cities. That first dusting usually arrives in early or mid-November across much of Upstate New York, sometimes even sooner.
Albany usually sees its first measurable flakes a little bit later, around the middle of November on average. Higher elevations in the Adirondacks and Tug Hill can get surprised by snow as early as late October.
I once left my garden hose attached to the spigot through a frosty January cold snap. Let’s just say spring started with a puddle in my basement and a very grumpy, expensive plumber visit.
The weeks before snow matter more than most gardeners realize in Upstate New York. So which quick chores will your future self thank you for when the ground thaws again next spring?
1. Rake Fallen Maple Leaves Off Your Lawn
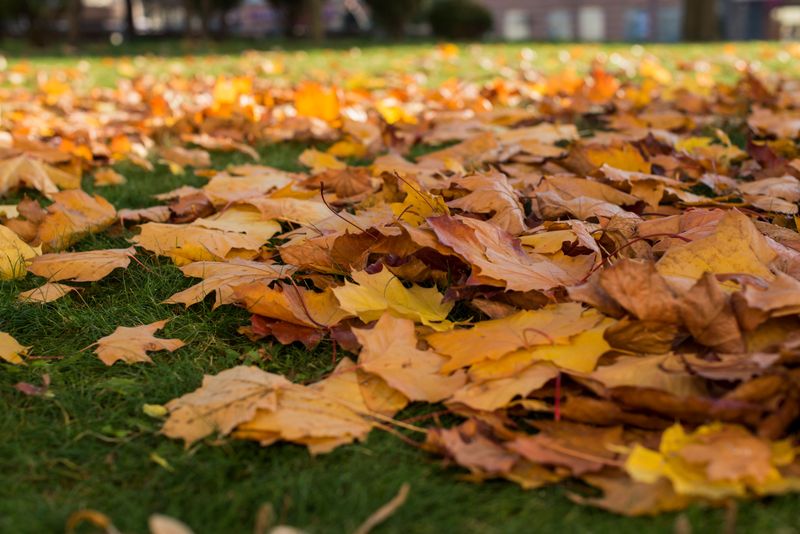
Snow mold is a real lawn fungus, and soggy leaf piles under snow give it a cozy home. Come spring, matted gray or pink patches can show up exactly where those leaves sat all winter.
In my own yard, I noticed the worst patches under the big maple near the driveway. That spot stayed wet and dark for months, and the grass underneath looked flattened and sad.
A thick leaf layer blocks light and traps moisture against the turf right before it goes dormant. Mice and voles also love tunneling under those soggy mats once a blanket of snow settles on top.
For a light leaf cover, run your mulching mower over the yard a couple of times. The shredded bits slip down between grass blades and break down into helpful organic matter over time.
Turf specialists at university extensions note that mowing leaves into the lawn works well when grass still peeks through. When you cannot see green anymore, grab the rake and move the extra leaves somewhere useful instead.
Shredded leaves make fantastic compost, and they also work as free mulch around shrubs and garden beds. Many towns across the region offer curbside leaf pickup, so check your local schedule before the snow flies.
Take it from someone who waited too long, wet frozen leaves are much harder to move. A dry afternoon with a rake now beats chipping icy clumps off the lawn in March.
2. Pull Spent Annuals But Leave Coneflower Seed Heads
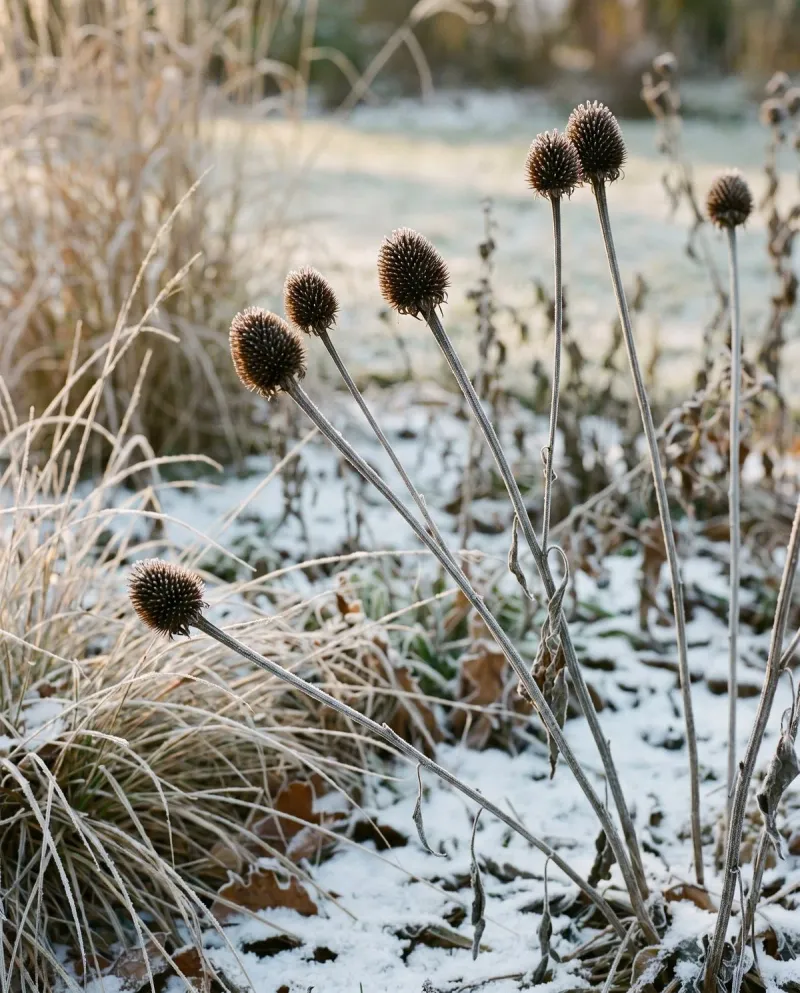
Those brown coneflower heads might look messy to you, but goldfinches see them as a winter snack bar. Leaving some sturdy stems standing feeds birds and gives your snowy yard a little shape and texture.
Selective cleanup is the smart middle path between scraping everything bare and ignoring the beds until April. The trick is knowing which plants can stay and which ones need to leave the garden right now.
Pull spent annuals like zinnias and marigolds, since they finished their run once the first hard frost arrived. Yank any lingering weeds as well, especially ones carrying ripe seed heads ready to scatter across the soil.
Diseased foliage deserves special attention, because many fungal spores overwinter on old leaves left lying around. Peony leaves with powdery mildew or tomato vines with blight should go in the trash, not the compost.
Healthy perennials like black-eyed Susans and ornamental grasses can stay standing until your early spring cleanup. Hollow stems may shelter native bees and other helpful insects during the long cold months ahead.
My garden taught me that a frosted stand of grasses looks surprisingly lovely against fresh white snow. The birds visiting my coneflowers all winter became one of my favorite parts of the quiet season.
For what it is worth, a tidy yard and a wildlife-friendly yard in Upstate New York can share the same space. Trim along walkways for neatness, then let the back corners stay a little wild until the thaw.
3. Spread Shredded Bark Mulch Around Your Perennials
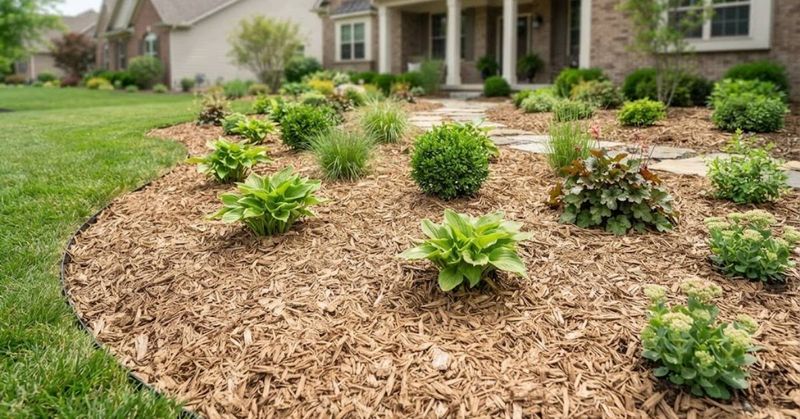
Freezing and thawing soil can actually shove young perennials right out of the ground like toast popping up. Gardeners call this frost heave, and it leaves roots exposed to cold air and drying winds.
A layer of organic mulch acts like a cozy quilt that keeps soil temperatures steadier through winter. Aim for about two to four inches of shredded bark or chopped leaves around your plants.
Timing matters more than most people realize, so watch the forecast and the soil closely this month. Many extension experts suggest spreading winter mulch after the top layer of ground freezes, not before.
Mulching too early can invite mice to build snug nests right beside the tender crowns of your perennials. Waiting a bit keeps the soil cold and steady, which is the whole goal of winter mulch anyway.
Keep mulch pulled back a few inches from tree trunks and shrub stems to prevent moisture problems. Those mulch volcanoes piled against bark can lead to rot and give gnawing rodents a sneaky hiding spot.
If you ask me, chopped fall leaves are the most underrated mulch in any northern garden. They cost nothing at all, and they slowly feed the soil as the weather warms next spring.
Newly planted perennials and fall-divided clumps benefit the most, since their roots have not settled in yet. Give those babies a little extra mulch, and they should greet you happily when the snow melts.
4. Give Your Evergreen Trees A Deep Drink Of Water
Evergreens keep losing water through their needles all winter, even when frozen soil locks every drop away. That browning you sometimes see on arborvitae in March is often winter burn from simple thirst.
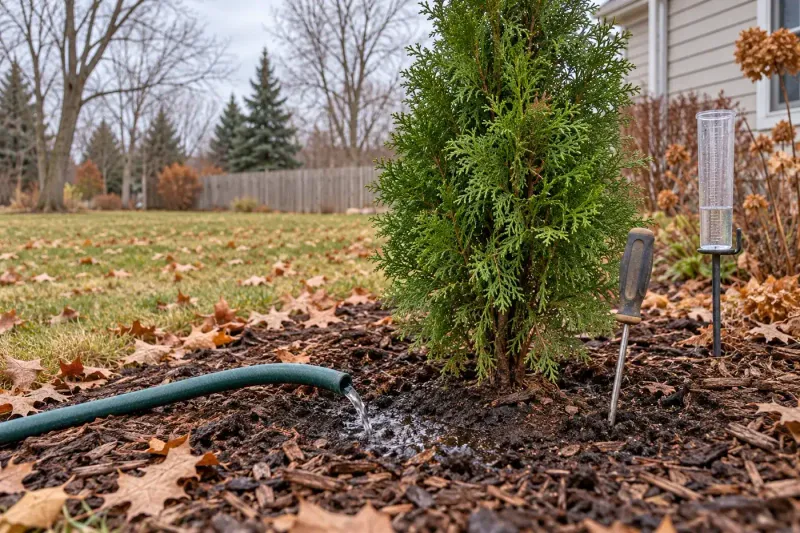
Fall rain can be spotty, so the ground under your trees may be drier than it looks. Push a trowel into the soil, and if it feels dry a few inches down, grab the hose.
Deep watering means slow and thorough, not a quick splash from the hose on your way inside. Let a hose trickle at the base for a while so moisture soaks down toward the roots.
Recently planted trees and shrubs need this the most, because their root systems are still small and shallow. Anything you planted this year or last deserves extra attention until the ground freezes for the season.
Broadleaf evergreens like rhododendrons and boxwood also lose plenty of moisture through their leaves on windy days. Spots facing strong winter winds or bright afternoon sun tend to show the most damage by spring.
Don’t make my mistake of putting the hose away too early and assuming November rain would handle it. My young holly looked crispy and sad the following spring, and it took a full season to recover.
Keep watering every week or so during dry spells, as long as the soil still accepts water. Once the ground freezes solid, disconnect the hose and let your well-watered plants rest until spring.
5. Move Potted Plants Into The Garage Before Hard Freezes
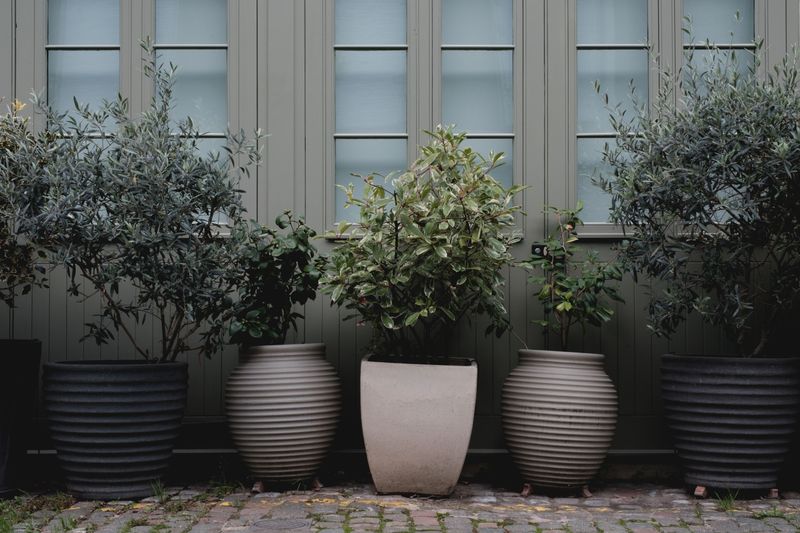
Terracotta pots full of wet soil can crack when water inside them freezes and expands overnight. Tender plants in those pots, like rosemary or geraniums, usually struggle once temperatures sink well below freezing.
Much of the region sits in USDA zones 4 and 5, while the coldest mountain spots dip into zone 3. That means anything rated for warmer zones needs a sheltered spot before the deep cold arrives.
An unheated garage or cool basement works nicely for dormant plants like potted figs and hardy shrubs. Tropicals and houseplants that summered outdoors need a bright, warm windowsill inside the house instead.
Before bringing anything inside, check the leaves and soil for hitchhiking aphids or tiny slugs hiding underneath. A gentle rinse with the hose on a mild day can send most of those freeloaders packing.
For tender shrubs staying in the ground, a loose burlap wrap helps block harsh, drying winter winds. Use stakes to hold the burlap slightly away from branches so snow and ice do not crush anything.
Let’s just say I learned this one the hard way with a gorgeous potted lavender on my patio. A single bitter week turned it into a crunchy gray stick, and I still feel a little guilty.
Large pots too heavy to move can be grouped together against a sheltered wall of the house. Wrapping them in bubble wrap or burlap gives roots a bit more protection from the freezing air.
6. Drain The Garden Hose And Shut Off Outdoor Spigots
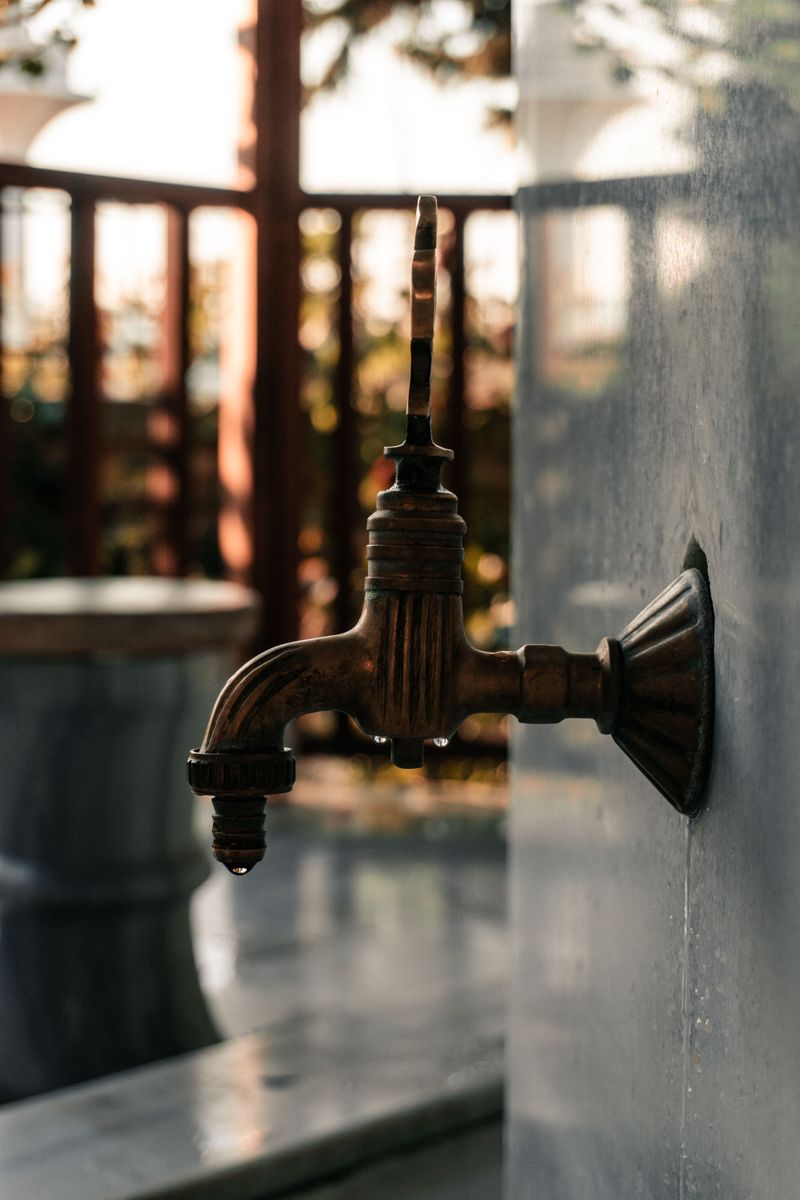
Water expands by about nine percent when it freezes, which is plenty to split a hose or pipe. That cracked pipe inside your wall might not leak until you turn the spigot on next spring.
Start by unscrewing every hose from its faucet, then stretch it out on a gentle slope to drain. Coil the empty hose loosely and store it in a garage or shed to keep the rubber flexible.
Watering wands and spray nozzles also hold small pockets of water that can crack their plastic parts. Shake them out well, and toss them in a bucket so everything stays together for spring.
Next, head indoors and find the shutoff valve that feeds each outdoor spigot, often found in the basement. Turn it off, then open the outside faucet to let any trapped water run out of the line.
Frost-free spigots are common in newer homes, but they still need the hose removed to work properly. A connected hose traps water inside the valve, and that can cause the same damage you are avoiding.
Insulated foam faucet covers cost just a few dollars and add an extra layer against bitter winter winds. Drip irrigation lines and rain barrels should be drained and disconnected before temperatures dip into the teens.
Looking back, my soggy basement adventure could have been avoided with ten minutes of work in November. Trust me, nothing ruins a cozy winter evening faster than hearing water dripping somewhere it should not be.
7. Clean And Oil Your Pruners And Shovels
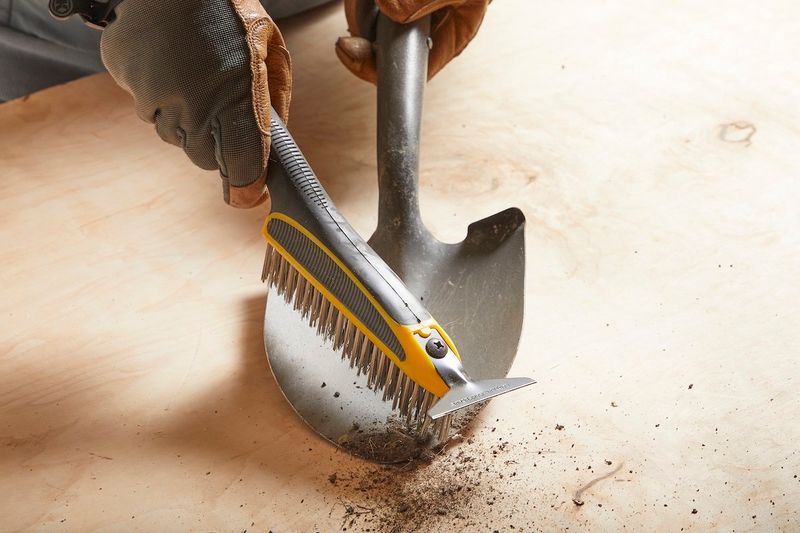
Leaving muddy pruners in a damp shed all winter is a surefire way to meet a rusty mess next spring. Soil holds moisture against metal, and that slow contact eats away at blades and hinges over months.
Start by knocking off clumps of dirt with a stiff brush, then rinse your tools with the hose. Dry everything right away with an old towel, because water left in the joints invites rust.
Pruners and loppers that touched diseased plants deserve a quick wipe with a household disinfectant before storage. That simple step helps keep fungal and bacterial problems from hitching a ride into next year’s garden.
Winter is the perfect time to sharpen blades, since you are not rushing to prune anything this week. A simple file or sharpening stone restores a clean edge to shovels and hand pruners alike.
After sharpening, rub a thin coat of light oil over metal surfaces to keep moisture from settling in. Wooden handles appreciate a little linseed oil too, which helps prevent cracking and rough splinters later.
Empty clay and ceramic pots, scrub them clean, and stack them indoors where water cannot seep inside. If space is tight, flip them upside down in a sheltered spot so rain and snow slide right off.
In my own shed, I hang tools on a pegboard so I can spot anything missing come April. Starting spring with sharp, shiny tools feels like opening a present you gave yourself months ago.
8. Plant Tulip And Daffodil Bulbs Before The Ground Freezes
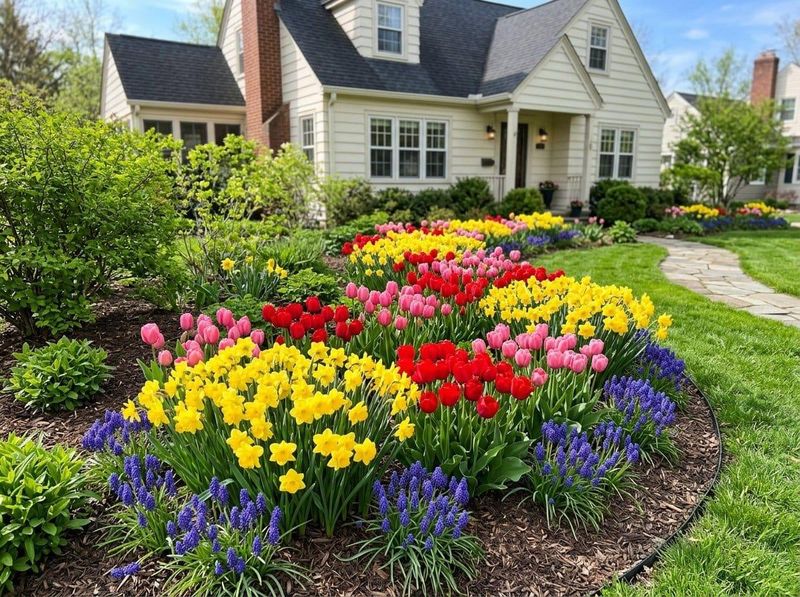
Tulips and daffodils need a long cold nap before they bloom, and a snowy winter delivers exactly that. Bulbs planted now are basically secret notes to your future self, waiting quietly under the snow until spring.
Ideal bulb planting in this part of the state usually runs from October into November, before the ground freezes. If your soil is still workable this week, you have time to tuck a few more into the ground.
Plant bulbs about two to three times as deep as they are tall, with the pointy end facing up. Most tulips and daffodils land around six to eight inches deep, which buffers them from wild temperature swings.
Choose a sunny spot with soil that drains well, since bulbs sitting in soggy ground tend to rot. Heavy clay soils benefit from a little compost mixed into the planting area to loosen things up.
Something surprised me years ago, because squirrels and chipmunks adore tulip bulbs but mostly ignore daffodils. Daffodils contain bitter compounds that critters avoid, so they are a smart pick for yards with busy wildlife.
Water the bulbs once after planting to settle the soil and encourage roots to start growing before winter. Once the ground freezes, a light layer of shredded leaves on top can help keep soil temperatures steady.
In my experience, planting bulbs in chilly November dirt feels like a small and stubborn act of hope. When those first green tips poke through the melting snow, you will be very glad you bothered.