Got A Stubborn Stump In Your New York Yard? These Easy Removal Methods Actually Work
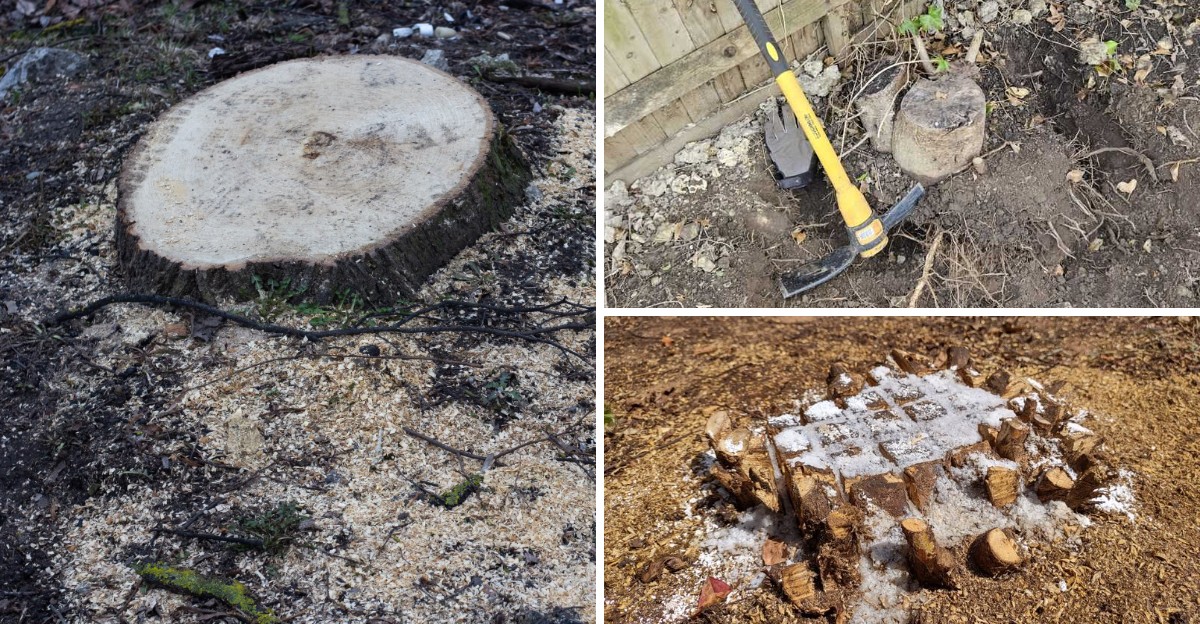
Some of the oldest tree stumps on Earth sit in Gilboa, New York, and they are 385 million years old. Workers uncovered these fossil stumps in the 1920s while building a dam for the Schoharie Reservoir.
Stumps clearly know how to stick around, and the one in your yard is probably no exception. Old stumps can attract carpenter ants and termites, and they love to ambush lawnmower blades in tall grass.
I have to admit that I once mowed around a maple stump for three summers before tackling it. You might notice the same thing happening in your New York yard, where stumps quietly become permanent furniture.
Some fixes take one sweaty afternoon, while others work slowly in the background for a year or more. So which approach matches your patience and budget, and which one actually lives up to the hype?
1. Rent A Stump Grinder And Chew The Stump Into Wood Chips
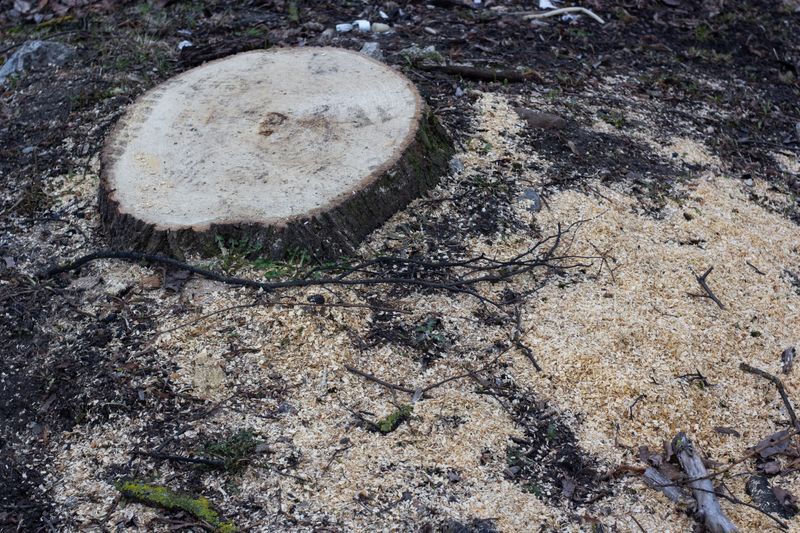
A rented stump grinder sounds like a small dragon, and it turns solid wood into a pile of chips. I love how that noisy machine erases years of mowing frustration in a single afternoon of work.
Most walk-behind rental grinders chew the stump roughly six to twelve inches below the soil surface. That depth lets you cover the spot with topsoil and grass seed once the chips are raked away.
Many equipment rental shops and big hardware stores rent these machines by the half day or full day. Prices vary by location, so call ahead and ask about trailer needs before you load up the truck.
You need to call 811 at least two full working days before grinding, because state law requires it. Crews from Dig Safely New York arrange free markings for buried gas and power lines near your stump.
Before starting, clear rocks from around the base, since stones can chip grinder teeth and send debris flying. Wear safety glasses and hearing protection, and keep kids and pets well away from the spinning wheel.
Personally, I work in slow side-to-side sweeps, lowering the wheel an inch or two each pass. Rushing the cut makes the machine buck, and a bucking grinder is no fun to wrestle with.
Leftover chips make handy mulch for paths, though fresh wood chips can borrow nitrogen where they mix into soil. Rake most of them out of the hole before you add fresh topsoil and seed for new grass.
2. Drill Holes And Pour In A Potassium Nitrate Stump Remover
Chemical stump removers look like ordinary white granules, yet they quietly turn hard wood soft and spongy. I like how they do the heavy lifting while you sip lemonade on the porch for a few weeks.
Most products sold for stumps contain potassium nitrate, which speeds the natural breakdown of the wood fibers. Results take several weeks to a few months, so plan this method when you are not in a hurry.
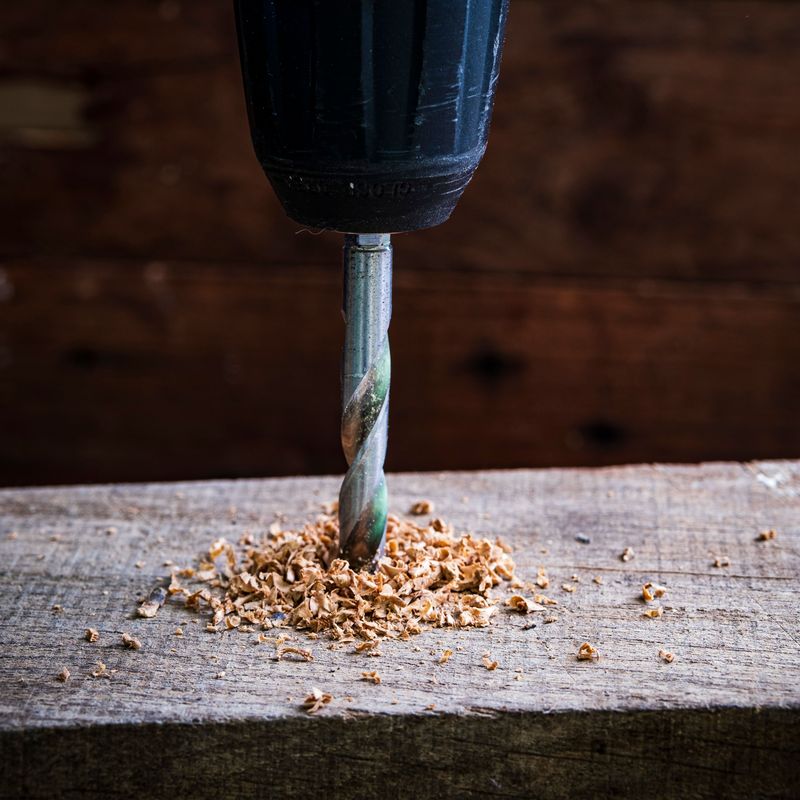
Start by drilling holes about one inch wide and eight to ten inches deep across the top. Angled holes drilled into the sides near the bark help the product reach deeper into the stump.
Fill each hole with granules, then add water if the label says to, until the crystals dissolve. Covering the stump with a tarp keeps rain from washing the product away and holds in helpful moisture.
You need to follow the label exactly, wearing gloves and eye protection while you measure and pour. Store leftover granules in a cool, locked cabinet, well away from curious children and any open flame.
Once the wood feels spongy, chop it apart with an axe or mattock and dig out the pieces. Some labels suggest burning the softened stump, but many towns restrict open burning, so check local rules first.
I believe this method shines for medium stumps that sit too close to fences for a grinder. Patience pays off here, and the reward is a soft stump that crumbles under a few swings.
3. Feed Hungry Fungi With Nitrogen To Rot The Stump Faster
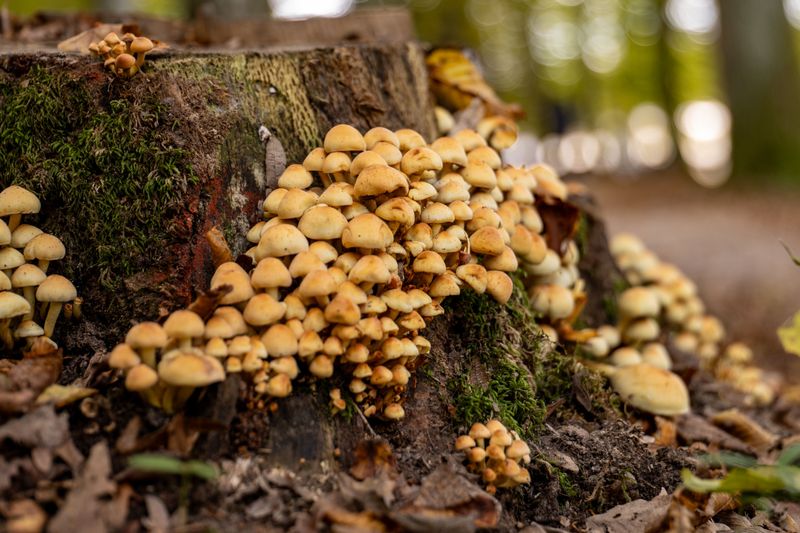
Hidden armies of fungi and bacteria already chew on your stump, and they work faster when well fed. Personally, I find it oddly satisfying to help these tiny decomposers finish a job nature already started.
Wood is rich in carbon but low in nitrogen, which slows the microbes that break it down. Adding nitrogen-rich material shifts that balance and gives the decay process a noticeable boost over time.
Drill deep holes across the top, then pack them with high-nitrogen fertilizer or well-aged manure. Water the holes thoroughly, since fungi need steady moisture to spread their thread-like hyphae through the wood.
Next, pile compost or shredded leaves thickly over the stump and keep that cozy blanket damp. The covering holds moisture and warmth, giving decomposers an inviting home where they multiply quickly during warm months.
You’re in for a slow show, because this method usually takes one to three years, depending on size. Softer woods like pine often break down faster than dense hardwoods such as oak or sugar maple.
In a New York yard, decay slows sharply during cold winters and picks back up in summer. Adding fresh nitrogen each spring keeps the microbes busy once the ground thaws and warms again.
What surprises me most is the bonus at the end, a patch of dark, crumbly, nutrient-rich soil. That spot often becomes a lovely place for a new flower bed once the last chunks are gone.
4. Dig Out Small Stumps With A Shovel And Mattock
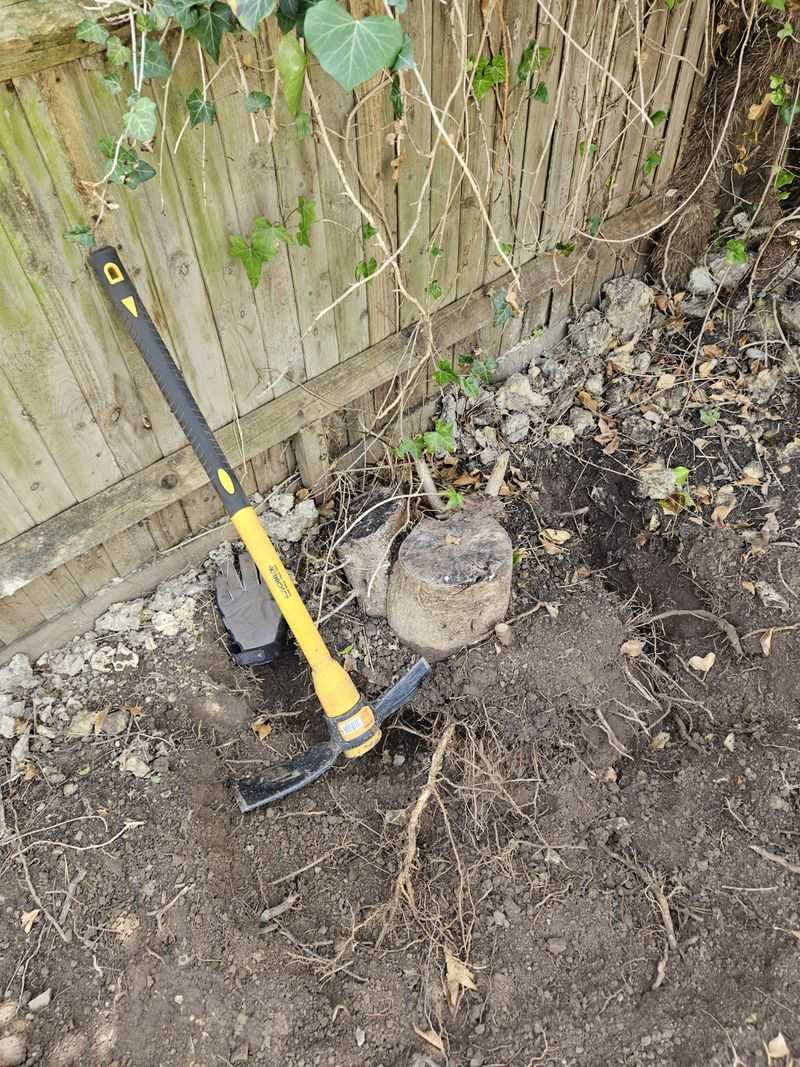
Small stumps under about eight inches wide often surrender to a sharp shovel and some stubborn determination. I can’t imagine a cheaper workout, and you finish with a tidy hole instead of sore regret.
Begin by digging a trench about a foot out from the trunk to expose the main roots. A garden hose helps here, since a gentle spray washes soil away and reveals hidden roots you missed.
Swing a mattock to slice through smaller roots, and switch to a pruning saw for thicker ones. Long-handled loppers also work nicely on tough roots up to about an inch and a half thick.
Keep the blades out of the dirt when possible, because grit dulls saw teeth surprisingly fast. Once the major roots are cut, rock the stump back and forth to find any hidden anchors.
You need to call 811 first, even for hand digging, since some service lines sit surprisingly shallow. The free service marks buried lines with flags or paint, usually within a couple of business days.
Late spring and early fall offer comfortable digging, when soil is moist but not soggy or frozen. Heavy clay soils can feel like concrete during dry spells, so soak the area the day before.
After the stump finally pops free, fill the hole with soil and let it settle for a few weeks. Top it off again before seeding, because loose fill tends to sink after a few heavy rains.
5. Smother Stump Sprouts Under A Heavy Black Tarp
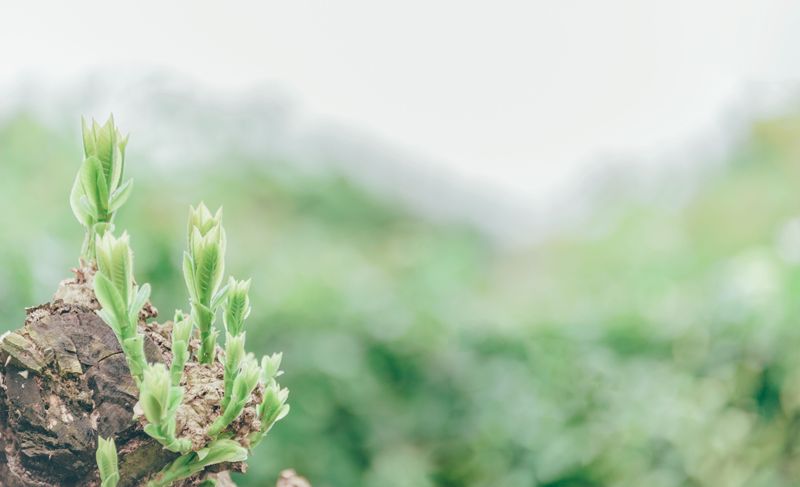
Some stumps refuse to quit, sending up leafy sprouts all summer long like stubborn little green fireworks. Species such as maple and willow are famous for this trick, especially after a fresh cut.
Those leafy sprouts feed the roots with sugar, so blocking sunlight slowly starves the whole system. Cut every shoot flush with the stump before covering it, using sharp pruners or a handsaw.
Then drape a thick black tarp or heavy plastic sheet over the stump and the surrounding root zone. Weigh the edges down with bricks or stakes so wind cannot lift the cover and let light sneak in.
I like how little effort this takes, though it does demand plenty of patience from you. Expect several months to a couple of years, depending on the tree species and stump size.
Check under the tarp every few weeks, because pale sprouts can still push out from the edges. Snip them off right away, since each one tries to send energy back down to the roots.
Pairing the tarp with a nitrogen treatment underneath can speed up decay while the cover stays in place. The dark, damp space beneath the plastic suits many wood-decaying fungi surprisingly well through the warm summer months.
A black tarp is not pretty, so tuck a few potted plants around it to soften the view. Your neighbors might even mistake that hidden stump for a clever little container garden display by the fence.
6. Epsom Salt In Drilled Stump Holes Is Cheap But Slow
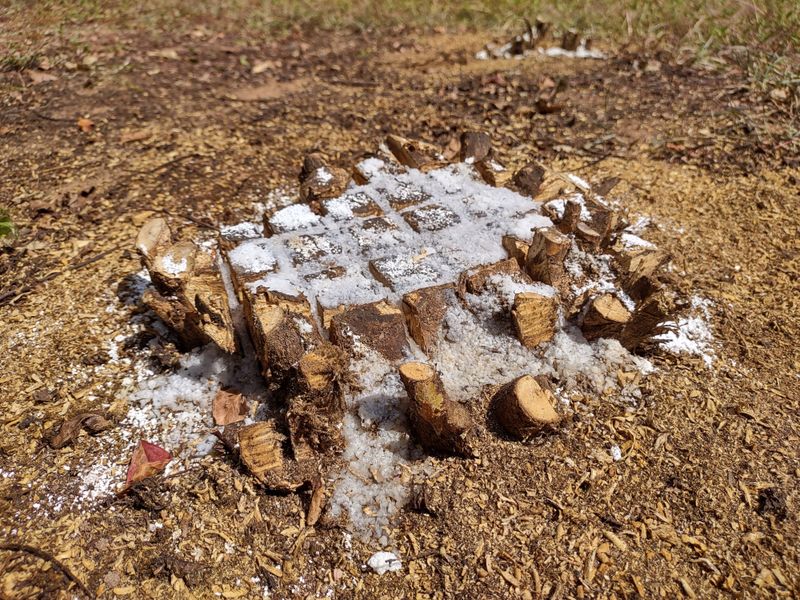
Epsom salt shows up in countless online stump tips, and its low price makes it hard to resist. I have to admit I tried it once, mostly because I had a giant bag sitting in the garage.
The salt is magnesium sulfate, and fans claim it pulls moisture from the wood over several months. Some extension experts doubt that claim, and solid research showing faster decay is pretty hard to find.
Still, the method is simple and inexpensive, and it feels gentler than many store-bought chemical products on shelves. Drill holes about one inch wide and roughly ten inches deep, spacing them a few inches apart.
Fill the holes with salt, add a splash of water, and top them off with more salt. Cover the stump with a tarp so rain does not rinse the crystals away too quickly.
Repeat the treatment every few weeks, since one round rarely makes a noticeable difference to the wood. Many gardeners report softening within six to twelve months, though results vary widely by tree species and size.
You might notice nearby grass struggling if too much salt leaches into the soil around the stump. Use only what fits in the holes, and avoid spreading extra salt across the surrounding lawn or beds.
Personally, I treat this as a helper method that works best alongside digging or a nitrogen boost. Think of it as a slow nudge rather than a magic eraser for your stubborn stump.
7. Vegetable Oil Poured Into Stump Holes Is A Patient Experiment
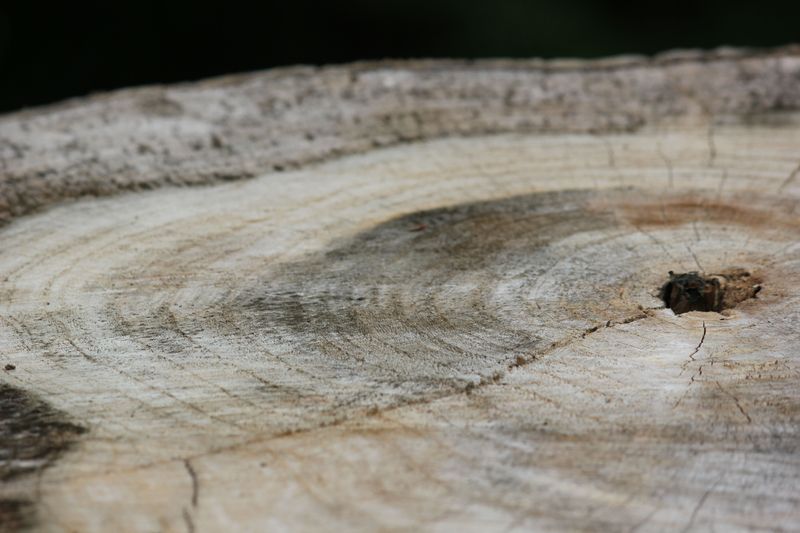
Kitchen vegetable oil seems like an odd stump remover, yet it keeps popping up in gardening forums everywhere. What surprises me most is how confidently people recommend it, considering the thin evidence behind the idea.
The usual recipe calls for drilling five-eighths-inch holes across the top and sides, about four inches apart. Fill each hole with oil, then cover the stump with mulch or compost to hold in moisture.
Supporters say the oil seeps into the wood and helps microbes break it down over many months. Scientists have not confirmed that oil speeds decay, so treat this method as a fun, hopeful experiment instead.
The mulch layer probably deserves much of the credit, because damp, covered wood softens faster on its own. Adding a scoop of nitrogen fertilizer under the mulch may help more than the oil itself does.
You need to watch for curious critters, since raccoons and skunks sometimes dig at oily, food-scented spots. Use plain oil rather than leftover cooking grease, which can smell strongly and attract even more unwanted visitors at night.
In New York, cold winters pause most microbial activity, so expect real progress only during warmer seasons. Check the stump each spring, then poke it with a screwdriver to test how soft it feels.
I believe this approach suits gardeners who enjoy tinkering and do not mind waiting a year or two. When the wood finally crumbles, a few swings with a mattock should easily break the stump apart.
8. Pry Big Stumps Loose With A Digging Bar And Root Saw
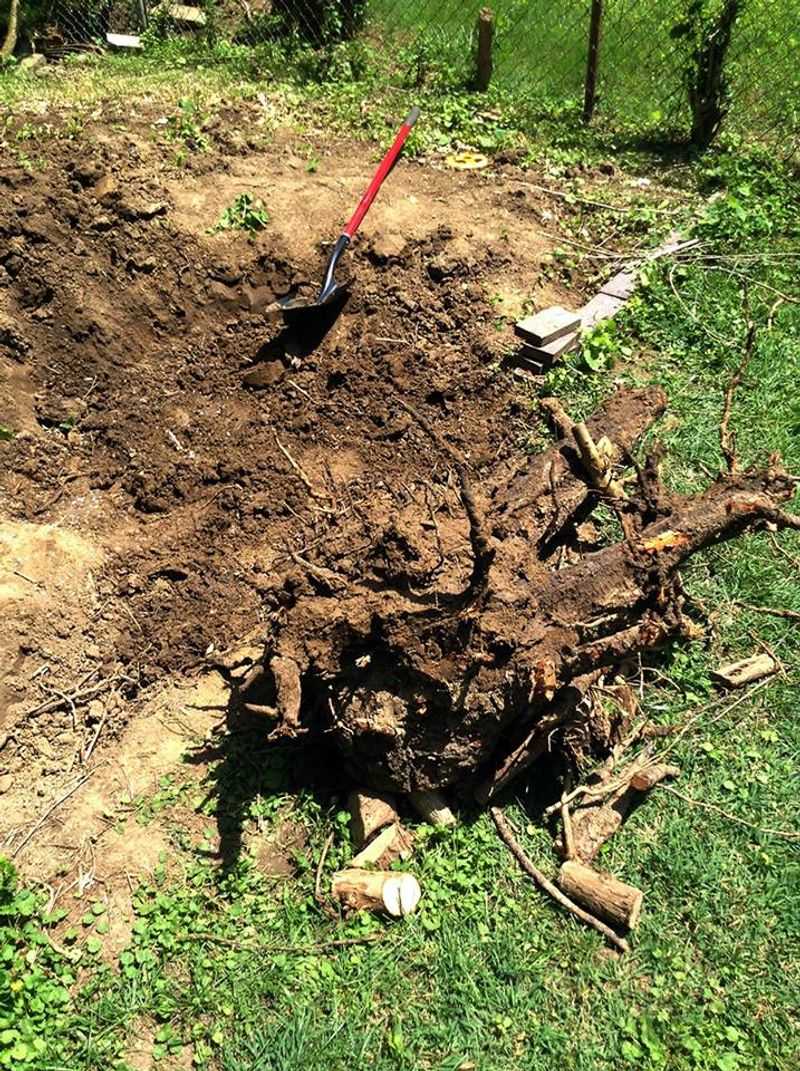
Archimedes supposedly boasted he could move the world with a long enough lever, and stump owners understand him. A heavy steel digging bar turns your body weight into serious prying power against stubborn roots.
Most digging bars weigh around fifteen to twenty pounds and stretch about five to six feet long. That length gives you leverage, while the pointed tip breaks compacted soil and loosens rocks nicely.
Start by digging a wide trench around the stump, exposing the root flare and the biggest lateral roots. Cut those roots with a root saw or sharp axe, working your way around the stump slowly.
Next, wedge the bar under one side and push down, rocking the stump to reveal hidden roots. Each time it lifts, look underneath for the taproot or any anchor roots still holding on tight.
I like slipping a sturdy block of wood under the bar as a fulcrum for extra lifting power. Moving the block closer to the stump increases your force, though each push lifts it a shorter distance.
Remember to bend your knees and keep your back straight, letting your legs and the bar do work. Take frequent breaks, because tired arms make careless swings and sore muscles last for days afterward.
Before any digging, a quick call to 811 keeps you safe from buried cables near the stump. With patience and smart leverage, even a stump that laughed at your shovel will finally roll out of its hole.