How Georgia Gardeners Can Propagate Azaleas From Cuttings In August
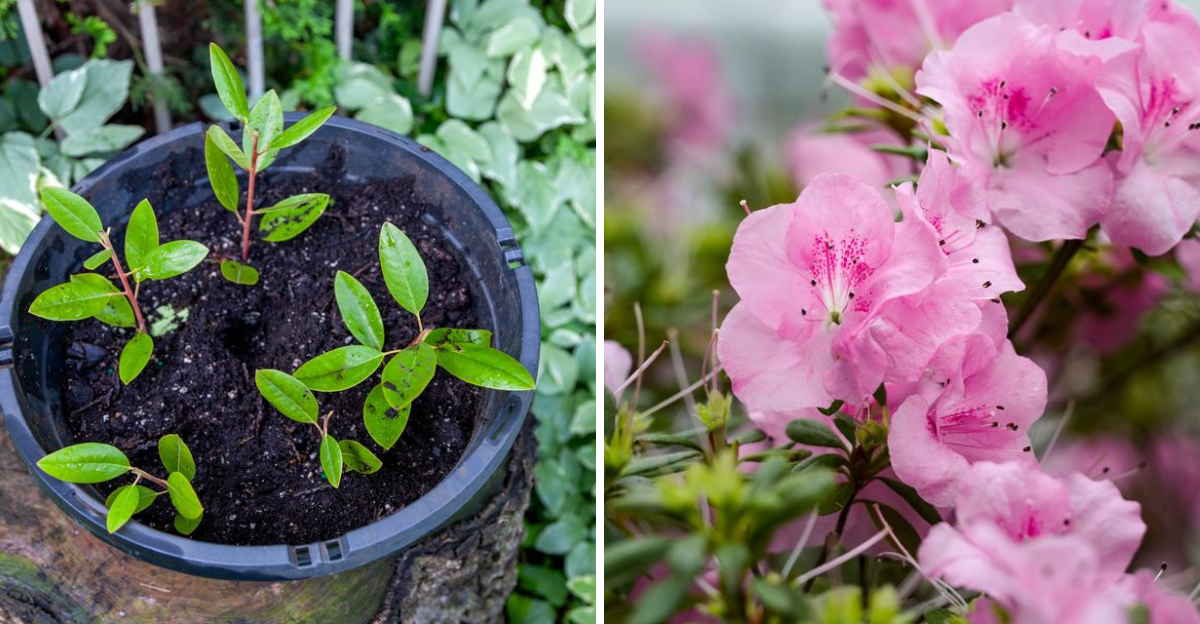
One healthy azalea can give you the start of another plant without a trip to the garden center. August offers a chance to try propagation with suitable cuttings.
For Georgia gardeners, timing matters because the stems need to be at the right growth stage. Choosing the right material gives your cutting a better chance to form roots.
Do not simply snip a branch and push it into garden soil. A few careful choices before planting can make a noticeable difference in how the cutting responds.
You will also want to create an environment that limits moisture loss while roots develop. That part is especially important during warm summer weather.
Take your time when selecting and preparing each stem for propagation.
Once you know what to look for, turning azalea cuttings into new plants becomes a rewarding garden project.
1. Start With Healthy Shoots From This Season
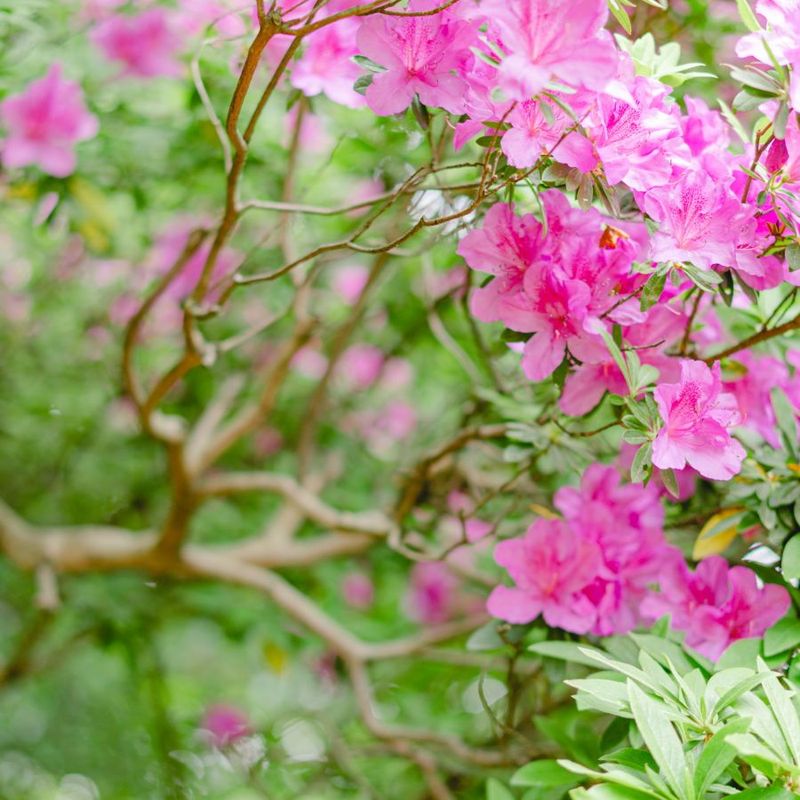
Not every stem on an azalea bush is worth cutting. Picking the right shoot from the start makes a real difference in whether your cutting roots or not.
Look for semi-hardwood growth from this season. That means stems that grew in spring and have firmed up a bit since then.
Soft, floppy green tips are too young. Woody stems from previous years are too mature.
What you want sits right in the middle.
A good cutting is about four to six inches long. It should feel slightly stiff when you bend it, not rubbery or brittle.
Healthy color matters too. Avoid any stem showing yellowing, spots, or signs of pest damage.
Early morning is a good time to take cuttings. Plants tend to be well-hydrated before the heat of the day sets in.
Bring a clean, sharp pair of pruning shears and a plastic bag to keep cuttings moist while you work.
Try to take a few extra cuttings as backup. Not every stem will root successfully, so having several gives you better odds.
Select shoots from different parts of the plant if possible, rather than stripping one area bare.
Starting with strong, healthy material is the foundation of the whole process. Weak or damaged shoots rarely root well, no matter how carefully you treat them afterward.
2. Make Each Cut Just Below A Leaf Node
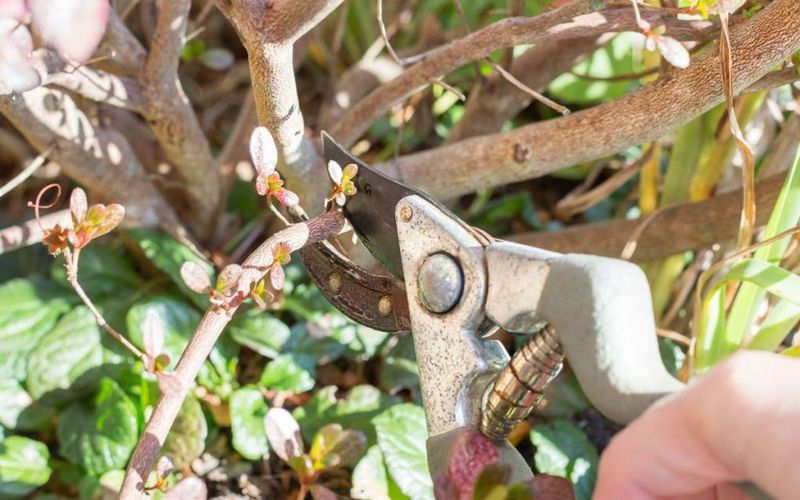
Where you make the cut matters more than most people expect. Cutting in the wrong spot can slow rooting or prevent it from happening at all.
Aim to cut just below a leaf node. A leaf node is the small bump or joint on the stem where a leaf attaches.
Roots tend to form more readily from this area because it contains concentrated plant tissue that responds well to rooting signals.
Use a sharp, clean blade for every cut. A dull blade crushes the stem tissue rather than slicing through it cleanly.
Crushed tissue does not root as effectively and may be more prone to rot in a moist growing mix.
Cut at a slight angle if you prefer. Some gardeners find a 45-degree angle increases the surface area available for root development.
Your Georgia Garden Changes Every Week. Your Plan Should Too.
Gardening in Georgia changes quickly throughout the season. Every Friday you’ll receive a simple weekly plan showing exactly what to plant, prune, fertilize, harvest, and protect so you never miss the right timing.
Others cut straight across with good results. Either approach can work when the other conditions are right.
Each cutting should have at least two or three sets of leaves above the node. Strip away any leaves that would end up buried in the growing mix later, but leave the upper foliage intact for now.
Take your time with each cut rather than rushing through the whole batch. A precise, clean cut on every stem gives each one the best possible start before it ever touches the rooting mix.
3. Strip The Lower Foliage Before Planting
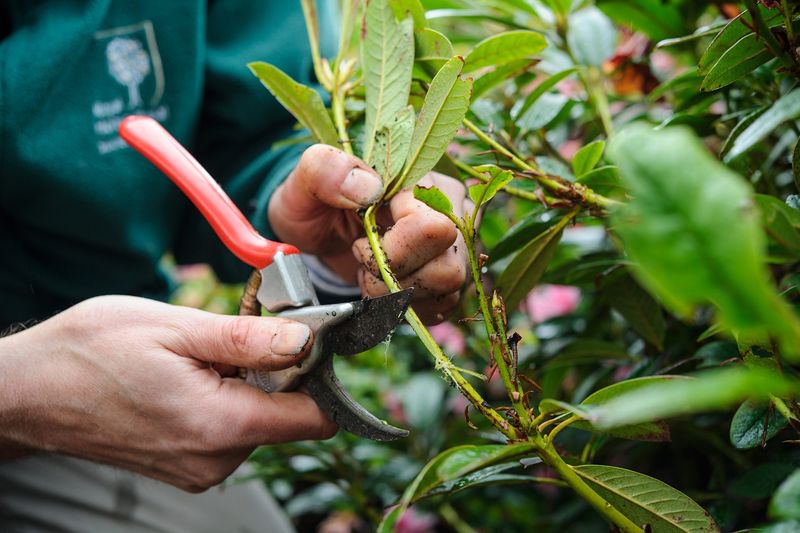
Leaves buried in moist soil can rot fast. Removing them before you plant the cutting keeps the growing mix cleaner and reduces the chance of problems developing underground.
Pull off the bottom one-third to one-half of the leaves on each cutting. Be gentle when you remove them.
Tearing or ripping can damage the stem, so a slow, downward motion works better than a quick snap.
Leave the top leaves in place. Those remaining leaves continue pulling in light and supporting the cutting while it works on developing roots.
Removing too much foliage can stress the cutting unnecessarily.
If any of the remaining leaves are very large, you can trim them in half crosswise. Smaller leaf surface area reduces how much water the cutting loses through transpiration.
Less water loss helps the cutting stay stable while it has no roots to draw moisture from the soil.
Check each cutting after stripping it. The lower portion of the stem should be clean and bare, with no leaf stubs left behind.
Stubs can rot and introduce problems into the rooting mix.
Lay the prepared cuttings on a damp paper towel while you finish prepping the rest of the batch. Keeping them slightly moist during this stage prevents them from drying out before you get them into the growing mix.
Work at a steady pace and avoid letting them sit out too long.
4. Dip The Base In Rooting Hormone
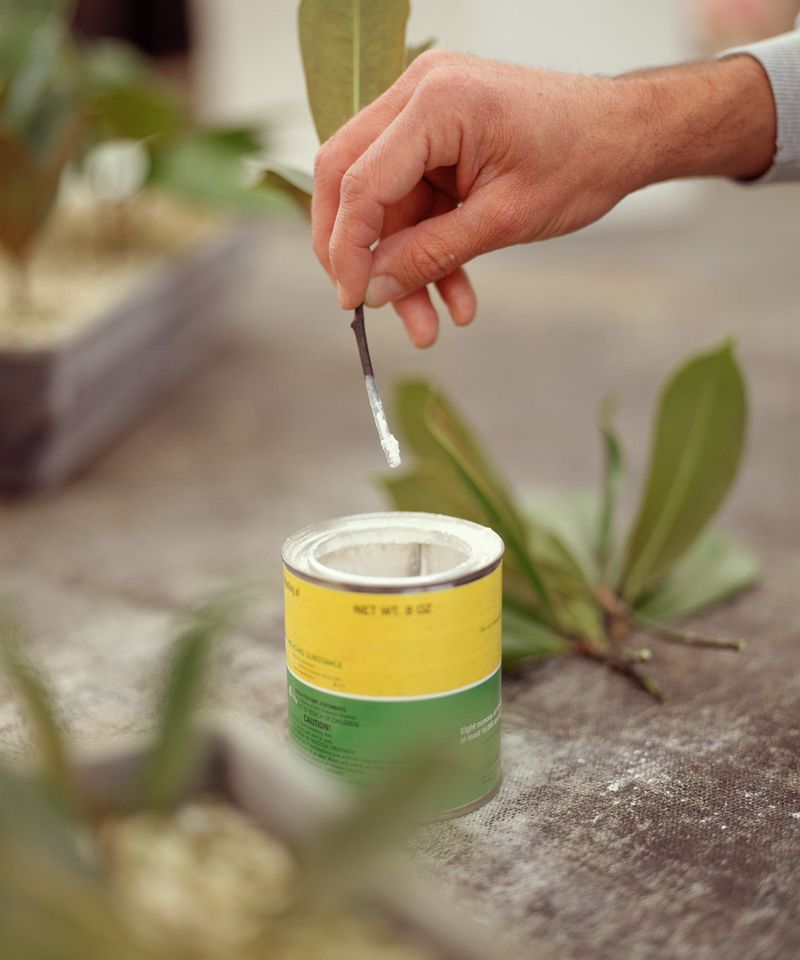
Rooting hormone is not required, but it can give your cuttings a real advantage. Azaleas can be slow to root, and a little help goes a long way.
Rooting hormone products are available in powder, gel, and liquid forms. Powder is easy to use and widely available at garden centers across Georgia.
Gel products tend to stick well to the stem, which some gardeners prefer for woody cuttings like azaleas.
Moisten the base of each cutting slightly before dipping it into powder. A dry stem does not hold powder well.
Tap off any excess after dipping so you are left with a thin, even coating rather than a clump.
With gel products, simply press the base of the cutting into the container or apply a small amount with a clean tool. Avoid double-dipping stems back into the main container, since that can introduce contamination over time.
The active ingredient in most rooting hormone products is indole-3-butyric acid, or IBA. It encourages root cell development at the base of the cutting.
Higher concentrations are sometimes used for harder-to-root plants, but standard strength products work reasonably well for azaleas.
After applying rooting hormone, move the cutting into the growing mix promptly. Leaving the treated base exposed to air for too long reduces how effective the hormone can be.
Prep your containers ahead of time so you can move efficiently through each step.
5. Set Each Stem Into A Moist Growing Mix
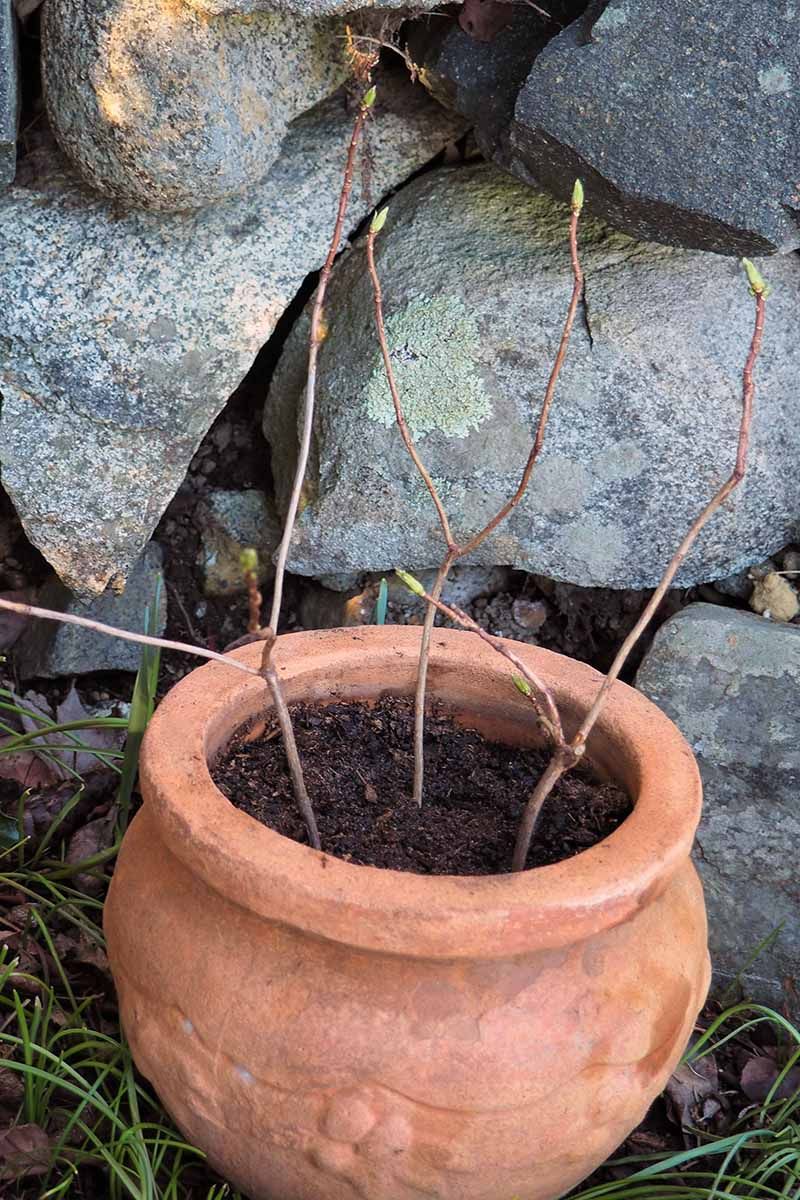
Soil straight from the garden is not a good choice for rooting cuttings. It tends to compact, holds too much moisture in some spots, and can carry pathogens that cause problems in a humid rooting environment.
A better option is a mix of perlite and peat moss in roughly equal parts. Perlite keeps the mix airy and well-draining.
Peat moss holds just enough moisture to keep the cutting hydrated without staying soggy. Coarse sand can substitute for perlite if that is what you have available.
Moisten the mix before you plant. It should feel damp when you squeeze a handful, but not drip water.
Planting into a dry mix can pull moisture out of the cutting immediately, which is not ideal.
Use a pencil or dowel to poke a hole before inserting each cutting. Pushing the cutting directly into the mix can scrape off the rooting hormone coating you just applied.
A pre-made hole keeps the treatment intact.
Insert each cutting about an inch and a half to two inches deep. Press the mix gently around the base to eliminate air pockets.
The cutting should stand upright on its own without falling over.
Space multiple cuttings at least two inches apart in larger trays. Crowding them together limits airflow and can create conditions where rot spreads more easily between stems.
Label each tray or pot with the variety name and the date so you can track progress over the coming weeks.
6. Maintain High Humidity During Early Development
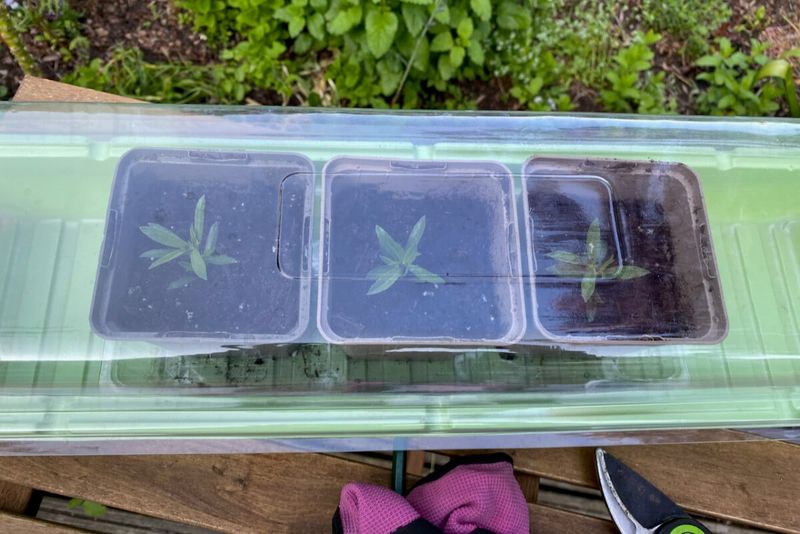
Humidity is one of the most critical factors during the early rooting stage. Without roots, a cutting cannot pull water from the soil, so it depends heavily on moisture in the surrounding air to stay hydrated.
A simple way to create humidity is to place a clear plastic bag or dome over your cuttings. The cover traps moisture and creates a mini greenhouse effect.
You can find purpose-built propagation domes at most garden centers, or you can reuse clear plastic bags supported by sticks or wire hoops.
Check under the cover every day or two. A little condensation on the inside is a good sign.
If the mix looks dry or the cover has no moisture on it at all, mist lightly and replace the cover.
Ventilate briefly a few times each week. Lift the cover for ten to fifteen minutes to let fresh air in.
Stagnant, overly wet conditions can encourage fungal issues, especially in the warm August climate of the Southeast.
Avoid sealing the cover so tightly that no air can move at all. A small gap or a few small holes in a plastic bag can help with airflow while still maintaining useful humidity levels around the cuttings.
Keep the setup out of direct sun while the cover is on. Temperatures under a sealed cover can climb fast in summer, and excessive heat can stress the cuttings before they have a chance to establish.
Bright shade works well during this phase.
7. Provide Bright Indirect Light While They Establish
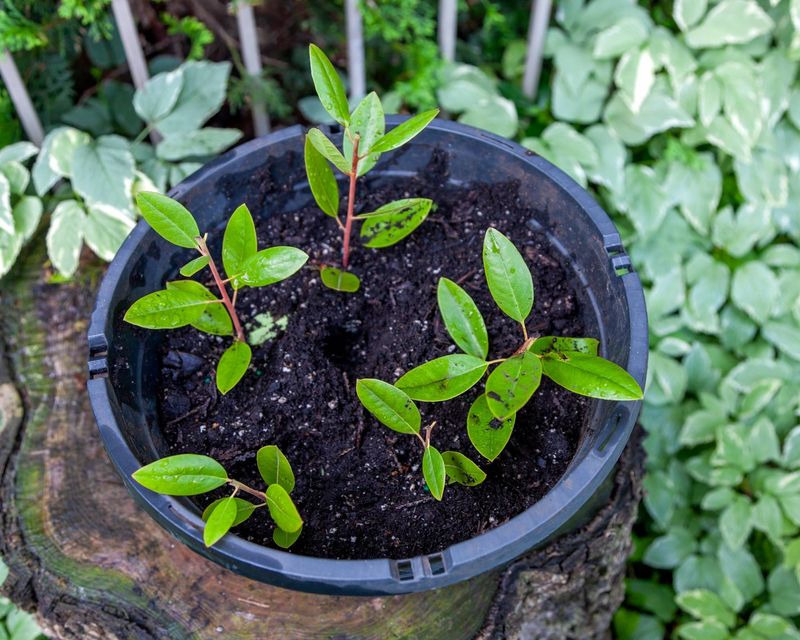
Light is necessary, but direct sun at this stage can be harsh. Cuttings without roots cannot regulate water loss the way established plants can, so too much direct sun can cause them to wilt quickly.
Bright, indirect light is the sweet spot. A spot under a porch roof, beneath a shade cloth, or near a north-facing window works well.
Dappled light under a tree can also be suitable, as long as the area does not stay too shady all day.
Avoid placing cuttings in a spot that gets hot afternoon sun. In Georgia, afternoon sun in August is intense and can heat up small pots rapidly.
That kind of heat stress makes rooting much harder.
Morning light is generally gentler and can be beneficial. A location that gets two to three hours of morning sun and then moves into shade for the rest of the day tends to work reasonably well for most azalea varieties.
Watch the cuttings for signs of too much or too little light. Wilting during the day even when the mix is moist usually points to too much sun exposure.
Pale or yellowing leaves with no improvement over time can suggest the spot is too dark.
Adjust placement as needed. You do not have to commit to one spot permanently.
Moving the cuttings a few feet in either direction can make a noticeable difference in how they respond over the first few weeks.
8. Test For New Roots Before Transplanting
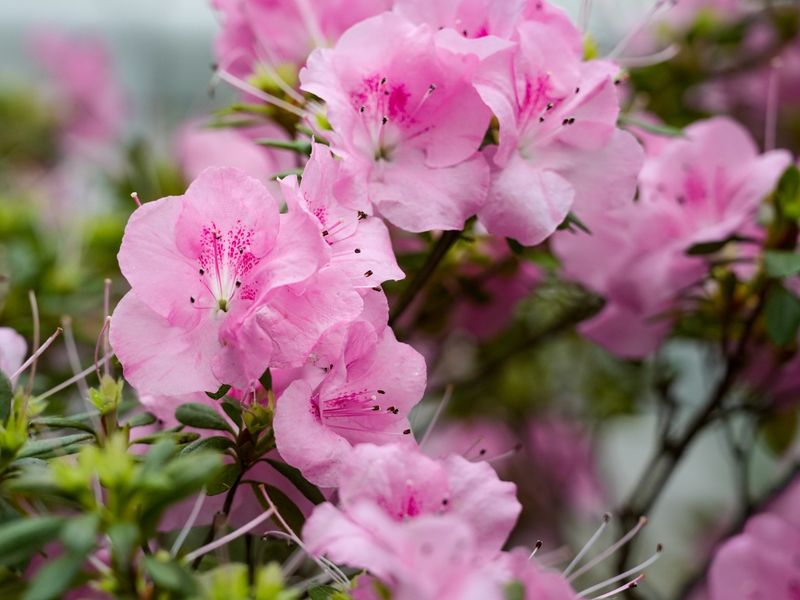
Patience is the hardest part of propagating azaleas. Most cuttings taken in August will not show strong root development for six to ten weeks, sometimes longer depending on conditions.
A simple tug test can help you check progress without disturbing the cutting too much. Gently hold the base of the stem between two fingers and apply very light upward pressure.
Resistance means roots have formed and are anchoring the cutting in the mix. Easy pull-out means it needs more time.
Avoid repeating the tug test too often. Checking every few days can disturb developing roots before they are strong enough to handle it.
Once every two weeks is a more reasonable schedule.
Another option is to look at the drainage holes of the pot. Roots that have grown long enough to reach the bottom of the container are a clear sign the cutting has rooted well and may be ready for the next step.
When you are confident the cutting has rooted, start hardening it off before moving it to a permanent spot. Gradually increase its exposure to outdoor conditions over one to two weeks.
Sudden changes in light, temperature, or humidity can set back a newly rooted plant.
Transplant into a slightly larger container with a quality acidic potting mix suited for azaleas and camellias. Let it grow and strengthen through fall before considering planting it into the ground in your yard.