How Ohio Gardeners Use The Last Sage Harvest Before Frost
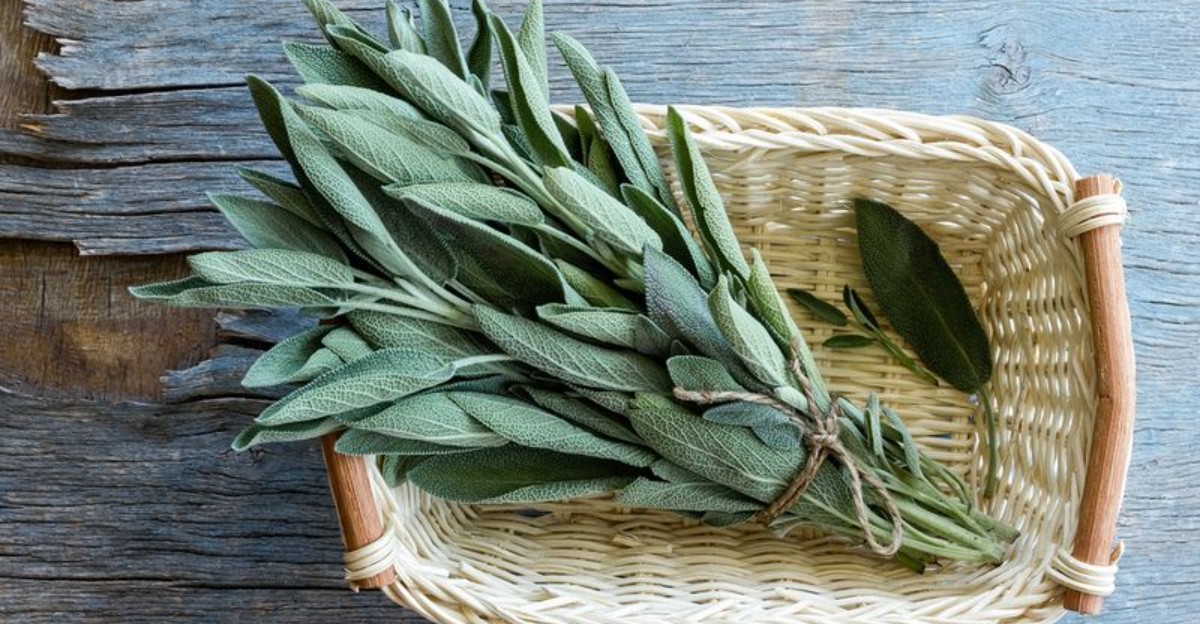
Frost is circling Ohio, and the sage patch by your back door has one last gift to hand over before the cold shuts it down.
Gardeners who know the drill don’t let this harvest go to waste. Some cut a big bundle and tuck it away for the long months ahead.
Others turn the last leaves into something that makes the whole kitchen smell like Thanksgiving. A few use it in ways that have nothing to do with the stove.
Timing makes a real difference to flavor. Snip too early and you lose potential.
Snip too late and the frost does the harvesting for you, leaving limp, bruised leaves behind.
Garden sage usually comes back next year, as long as you leave it some leafy stems for winter. Take what you need now, but save the heavy pruning for spring.
Grab your shears and head out before the forecast turns.
1. Air-Dry Bundles For The Winter Spice Rack
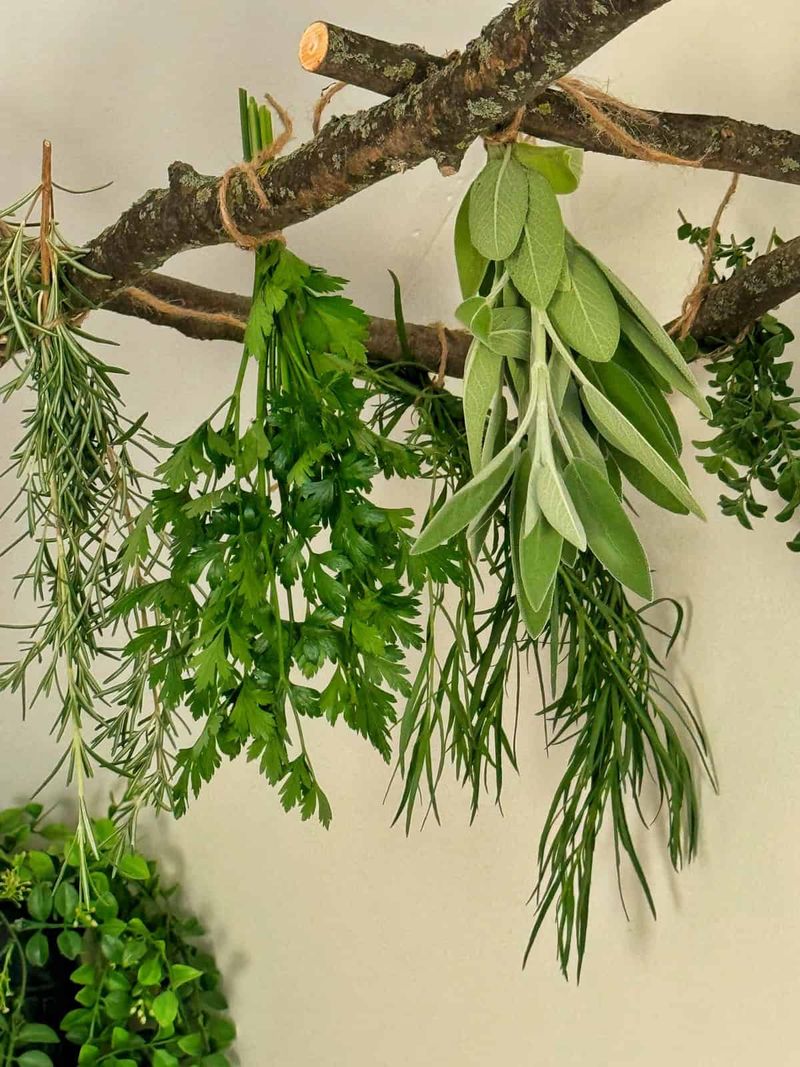
Picture a November evening with turkey stuffing on the stove and a jar of your own sage nearby. Homegrown leaves beat store-bought flakes by a mile, and air-drying is the easiest way to get them.
Start by cutting healthy stems about 12 inches long. Morning works best, right after the dew dries but before the sun warms the leaves and pulls out their oils.
Give the stems a quick rinse in cool water. Pat them dry with a towel, or spin them in a salad spinner to shake off extra drops.
Next, gather four to six stalks into a small bundle. Tie the ends with kitchen twine or a rubber band, which tightens as the stems shrink.
Hang each bundle upside down in a warm, dry spot with good airflow. An attic, a spare room, or a covered porch all work well, as long as the area stays out of direct sun and away from damp air.
Drying can take a few days or a few weeks. Ohio humidity in fall can slow things down, so be patient and check often.
You will know the sage is ready when the leaves feel crisp and crumble easily. Strip them off the stems over a clean bowl.
Store the leaves whole in glass jars or zip-top bags, since crushing them early lets the flavor escape. Keep the containers in a cool, dark cupboard, and the sage should taste good for a year or more.
Want the strongest flavor possible? Some cooks tuck a mason jar of dried sage into the freezer for extra freshness.
2. Freeze Chopped Sage In Ice Cube Trays
Here is a little kitchen secret that feels like cheating. Frozen sage keeps more of its bold, peppery bite than dried sage does, and it takes about ten minutes to prep.
Grab your leaves in the morning once the dew is gone. Rinse them well, then dry them really well, because extra water can turn into icy clumps.
Now chop the leaves into small bits with a sharp knife. A dull blade bruises them and turns the edges dark, so give it a quick sharpening first if needed.
Your Ohio Garden Changes Every Week. Your Plan Should Too.
Gardening in Ohio changes quickly throughout the season. Every Friday you’ll receive a simple weekly plan showing exactly what to plant, prune, fertilize, harvest, and protect so you never miss the right timing.
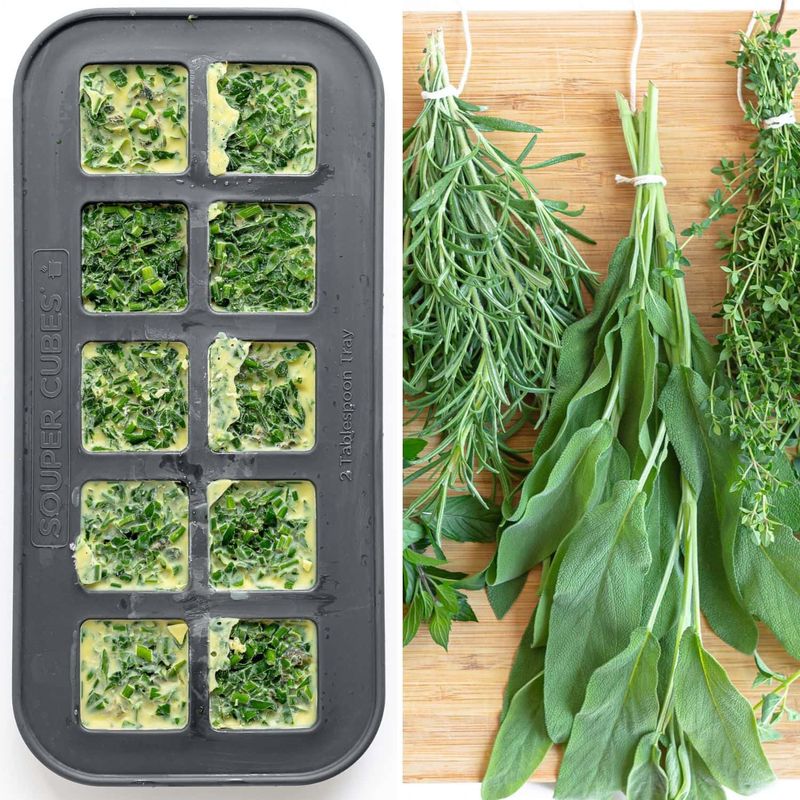
Spoon about one or two tablespoons of chopped sage into each well of an ice cube tray. Silicone trays make popping the cubes out much easier later.
Pour water or olive oil over the herbs until they are covered. Olive oil is the favorite choice for many cooks, since each cube can go straight into a hot pan.
Slide the tray into the freezer and wait until the cubes are solid. Then pop them out and move them into a labeled freezer bag, pressing out as much air as you can.
Write the date on the bag so nothing gets lost in the back of the freezer. These cubes stay tasty for about 10 to 12 months.
When a snowy Ohio Sunday calls for soup, drop a cube right into the pot. Sage cubes also melt nicely into pasta sauce, stew, or a pan of roasted squash.
Fun fact: the name sage comes from a Latin word meaning to heal or be well. Comfort food really is in its roots.
3. Weave It Into A Fall Herb Wreath
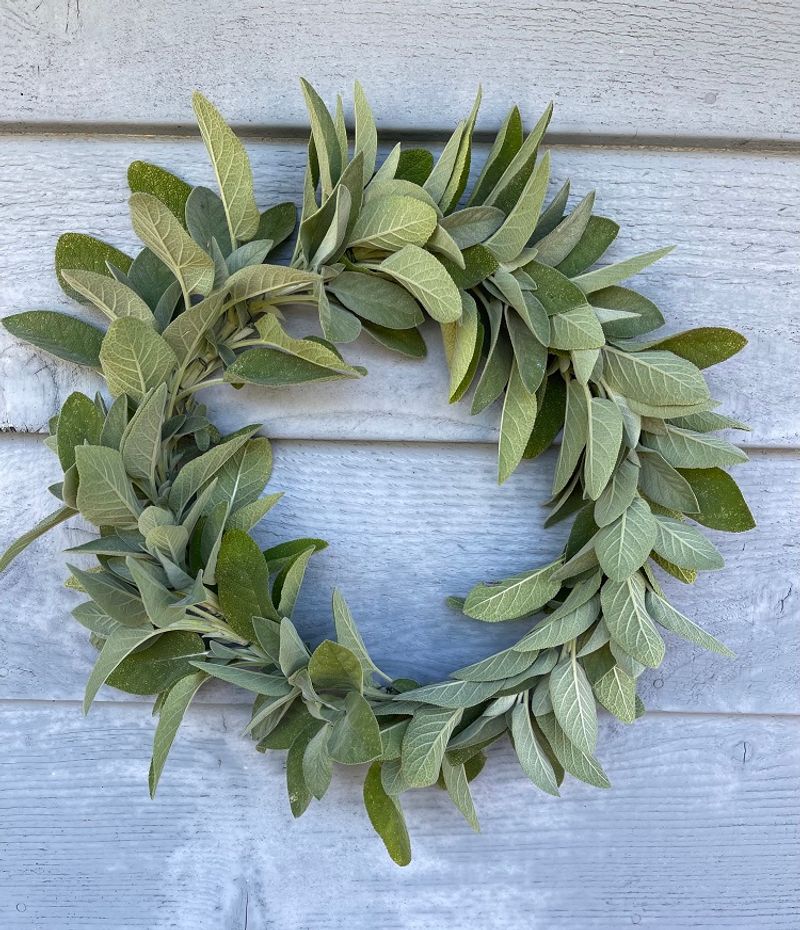
Front doors in Ohio get a lot of pumpkins every October. A soft, silvery sage wreath stands out from the crowd and smells amazing every time someone walks by.
Even better, the wreath dries right where it hangs. You get decoration and preservation in one easy project.
Begin by washing your sage and drying it carefully. A gentle rinse knocks off garden dirt and any tiny bugs that hitched a ride.
Next, pick a base. A grapevine wreath from the craft store works great, and so does a plain wire hoop.
Snip the sage into single leaves or small bunches of three or four. Lay a bunch against the base and fasten it with floral pins, sometimes called greening pins, or a wrap of thin floral wire.
Add the next bunch so it overlaps the first and hides the pin. Keep working around the circle in the same direction for a neat, flowing look.
Here is the tricky part that surprises beginners. Sage shrinks quite a bit as it dries, so pack on more leaves than seems necessary.
A wreath that looks a little too full today will look just right next week. A thin one may end up showing bare spots.
Hang your finished piece indoors at room temperature, or on a covered door away from rain. In about a week, the leaves will feel papery and dry.
Feel free to tuck in rosemary, thyme, or a few dried berries for color. Each wreath becomes a one-of-a-kind souvenir of your garden.
4. Add Silvery Sprigs To Dried Flower Arrangements
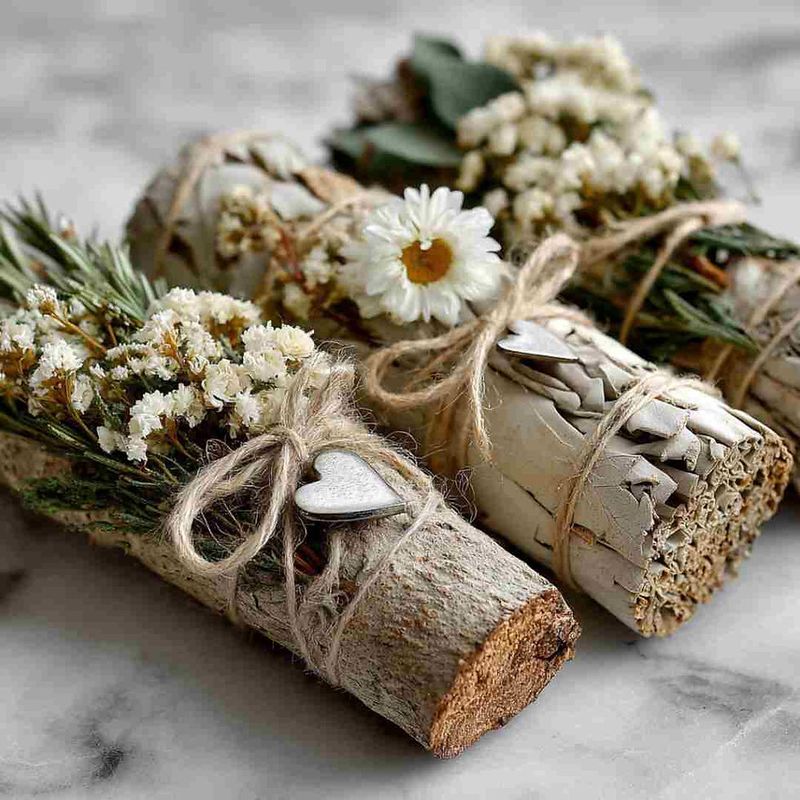
Florists pay good money for dusty, gray-green foliage. Ohio gardeners have a free supply growing right by the back steps.
Sage leaves have a soft, silvery sheen that pairs beautifully with the warm colors of fall. Next to golden wheat, rusty mums, or bright strawflowers, those pale sprigs make everything else pop.
To prepare them, follow the same steps you would for spice rack bundles. Tie small groups of stems together and hang them upside down somewhere warm, dry, and shady.
Leave the stems longer this time, since height matters in a vase. Once the leaves feel crisp, the sprigs are ready to use.
Here is a neat trick worth trying. If some of your plants still have flower stalks, let them dry too, because the little seed pods add texture and a natural, wild look.
Arrange the sage in a stoneware crock, an old mason jar, or a small galvanized bucket. Mix tall pieces in the back with shorter sprigs up front.
Dried sage can be a bit fragile, so handle it gently. A light mist of unscented hairspray helps keep leaves from dropping off.
Single dried leaves are handy too. Glue them onto place cards for Thanksgiving or tuck them into a centerpiece with pinecones.
Keep your arrangement out of strong sunlight so the silver color lasts. With a little care, it should stay lovely all winter long.
Best of all, every time you brush past, you get a gentle whiff of summer. Few store-bought bouquets can say that.
5. Fill Fragrant Sachets For Drawers And Closets
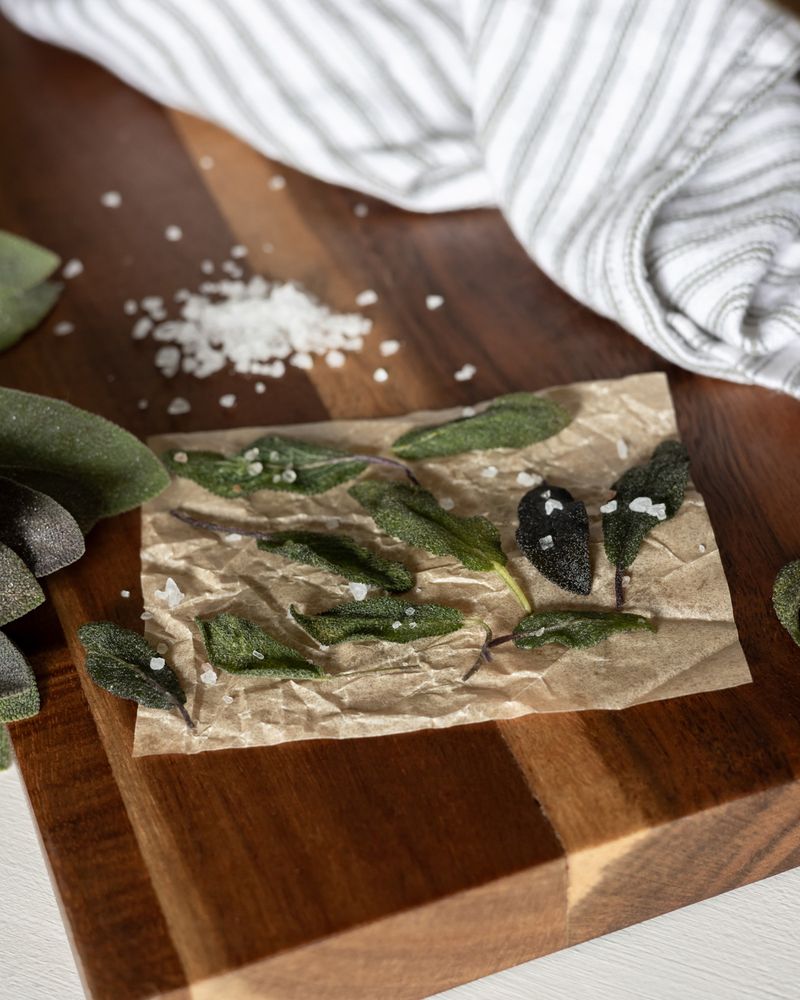
Ever open a sweater drawer and get hit with a stale, musty smell? A tiny bag of dried sage can turn that drawer into something that smells like a walk through the garden.
Sachets are one of the simplest crafts around. No sewing skills are needed if you use ready-made pouches.
First, air-dry your sage until the leaves crumble easily. Pull them off the stems and toss the woody parts into the compost.
Crush the leaves a little between your fingers or roll them under a glass. Breaking them up releases more of that warm, earthy scent.
Now scoop the crushed sage into small cloth bags. Muslin, linen, and burlap pouches work well, and old socks or fabric scraps tied with ribbon can do the job in a pinch.
Want to get creative with scents? Try mixing sage with dried lavender for a calm, flowery blend, or add rosemary for something fresh and woodsy.
Tuck finished sachets into dresser drawers, closets, linen cabinets, or even gym bags. They also fit nicely inside boots stored for the season.
Over time, the smell will fade. Give the bag a gentle squeeze to wake it back up, or refill it with a fresh batch.
Sachets make a fun rainy-day project for kids, too. Little hands love crushing leaves and picking out colorful ribbons.
People have tucked fragrant herbs among their clothes for hundreds of years. You are carrying on a very old habit with a very modern drawer.
6. Give Jars Of Dried Sage As Garden Gifts
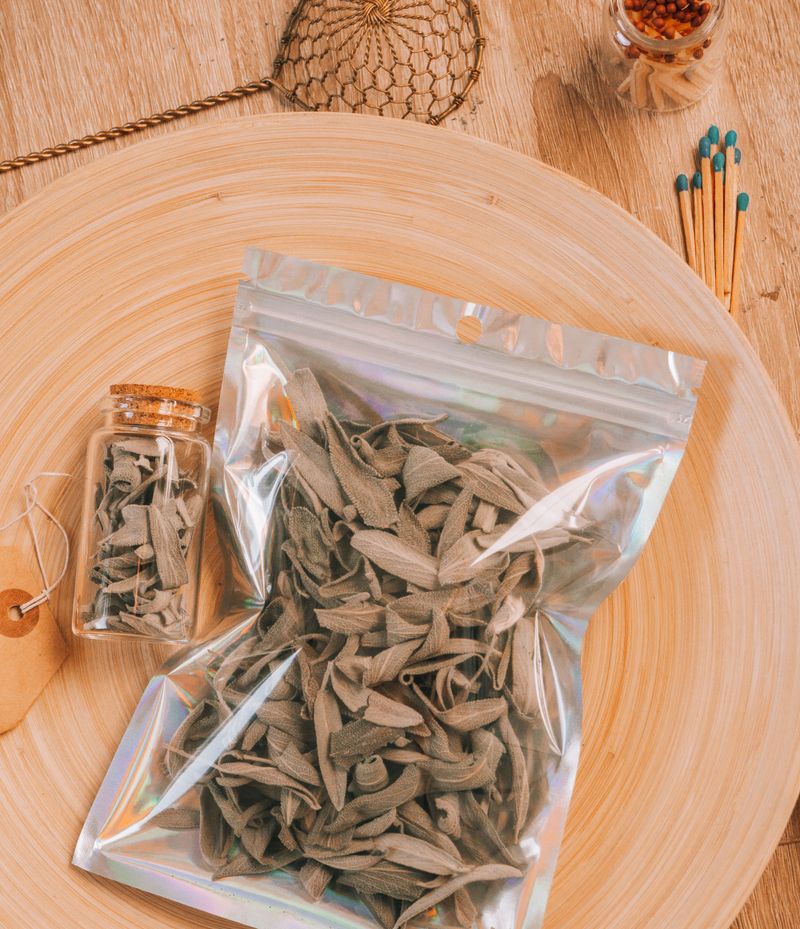
My neighbor still talks about the little jar of sage I gave her two Christmases ago. Homegrown gifts have a way of sticking in people’s memories.
Better yet, they cost almost nothing. All you need is dried sage, a few clean jars, and a little creativity.
Start with leaves that are fully dry and crisp. Any leftover moisture can cause mold, which would spoil the surprise.
Strip the leaves from their stems and pack them into small glass jars with tight lids. Spice jars, jelly jars, and tiny mason jars all look charming.
Next comes the label. Write the herb name and the harvest date, and maybe a fun note like Grown in Ohio with love.
Want to make the gift extra special? Tie on a recipe card for sage butter, which is just softened butter mixed with crumbled sage and a pinch of salt.
Sage salt is another crowd-pleaser. Crush dried leaves and stir them into coarse sea salt, then pour the mix into a jar for sprinkling on chicken, potatoes, or eggs.
Wrap the lids with a square of fabric and some twine. A sprig of dried sage tucked under the bow adds a finishing touch.
These jars work well for teachers, mail carriers, coworkers, and holiday hosts. Pretty much anyone who cooks will be thrilled.
Giving away your harvest also shares a piece of your garden story. It is a sweet way to say thanks with something you grew yourself.
7. Root Stem Cuttings To Grow New Plants
Why buy a new sage plant in spring when you can grow one for free on your windowsill? A few snips during the final harvest can give you a whole new crop.
Most experts say late spring is the prime time for cuttings. Still, many gardeners have good luck in fall, especially while they are already trimming plants.
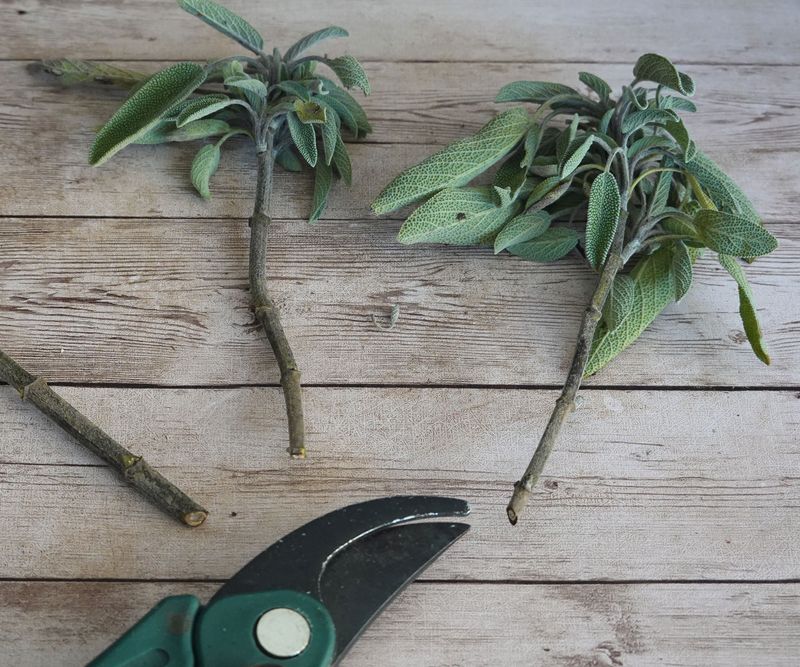
Look for healthy, green shoot tips about 4 to 6 inches long. Skip the stiff, woody stems and any stalks with flowers.
Remove the lower leaves, keeping at least two at the top. Trim those top leaves in half so the cutting loses less water.
Make a clean cut right below a leaf node, the little bump where leaves grow out. That spot is packed with natural growth hormones that help roots form.
You can root cuttings in a glass of water or in moist, well-draining potting mix. If using soil, cover the pot with a clear plastic bag to hold in humidity.
Set everything in a warm, bright spot out of harsh afternoon sun. Water cuttings usually sprout roots in one to three weeks, while soil can take a month or two.
Once the roots reach about an inch long, move each cutting into its own pot with gritty, fast-draining soil. Keep it indoors near a sunny window for the winter.
Young plants are tender during their first Ohio winter. Next spring, harden them off slowly before planting them outside.
Before long, the cycle starts again. Your last harvest quietly becomes next year’s first.