How To Insulate Texas Faucets Before The First Hard Freeze
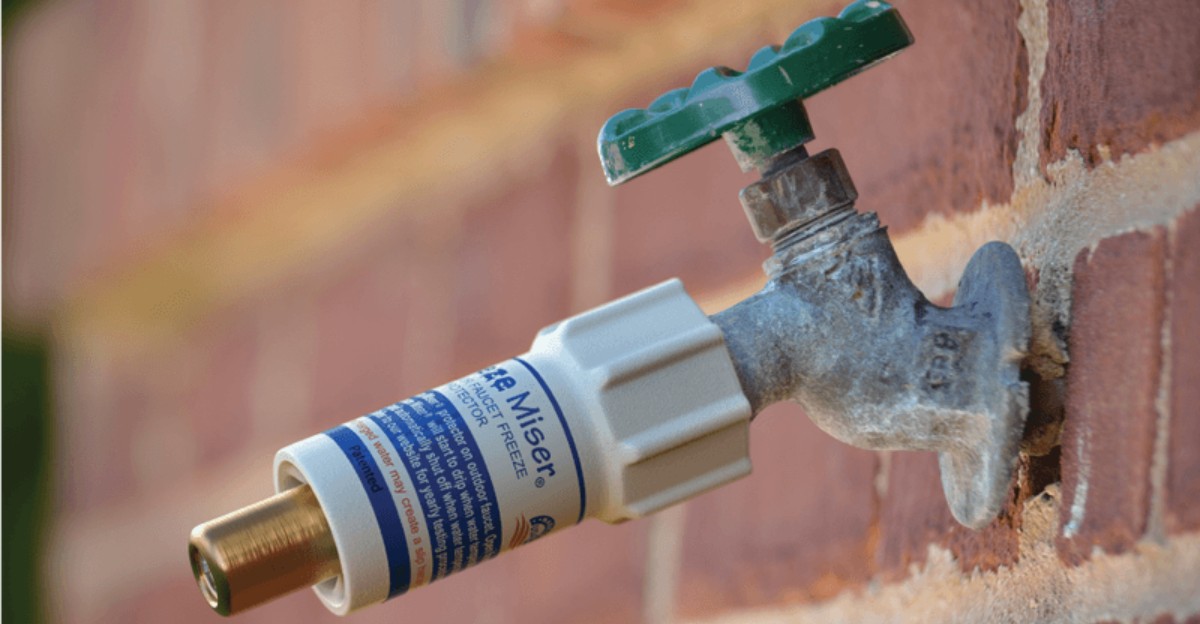
Ice inside a pipe pushes outward hard enough to split copper, and the crack often hides behind your siding. Nobody notices the damage until the thaw arrives and water starts spraying across the flower bed.
During the February 2021 winter storm, millions of people in Texas lost water pressure or boiled their tap water for days. Plumbers across the state stayed booked for weeks, and replacement parts disappeared from hardware store shelves.
I skipped my own outdoor spigot prep one year and paid for it with a soggy, muddy herb bed. You build your garden around that humble brass spout, so it deserves a little winter attention too.
Turns out the fixes cost very little, and most take less time than watering a row of tomatoes. So which cheap tricks actually hold up when a blue norther comes roaring across Texas this season?
1. Pull The Garden Hose Off The Outdoor Spigot
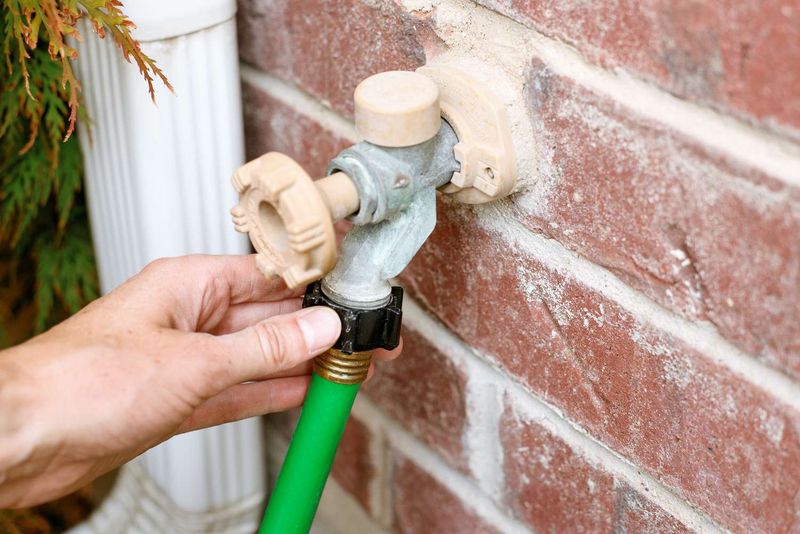
That coiled green hose looks harmless, yet it acts like a cork that holds water inside your faucet. When the temperature drops below freezing, the trapped water turns to ice and pushes back toward the pipe.
I learned this the hard way after leaving a hose attached during a surprise cold night last January. The spigot looked fine at sunrise, but a hairline split inside the wall showed up weeks later.
Unscrew every hose before the first forecast of a hard freeze, which the National Weather Service defines as 28 degrees Fahrenheit or lower. Lift the hose end and walk it downhill so the leftover water drains out onto the lawn.
Coil the empty hose loosely and store it in the garage or shed until spring planting season returns. Cold vinyl gets stiff and cracks easily, so moving it indoors also protects your investment for next year.
Frost-free hose bibs need this step even more, because an attached hose stops their long valve stem from draining. Plenty of homeowners trust that label and skip the hose removal, then wonder why the pipe still split.
Give the open faucet a quick look after removal to confirm water stops dripping within a minute or two. A steady drip may point to a worn washer, which is a cheap fix before winter settles in.
2. Slip A Foam Dome Cover Over Each Faucet
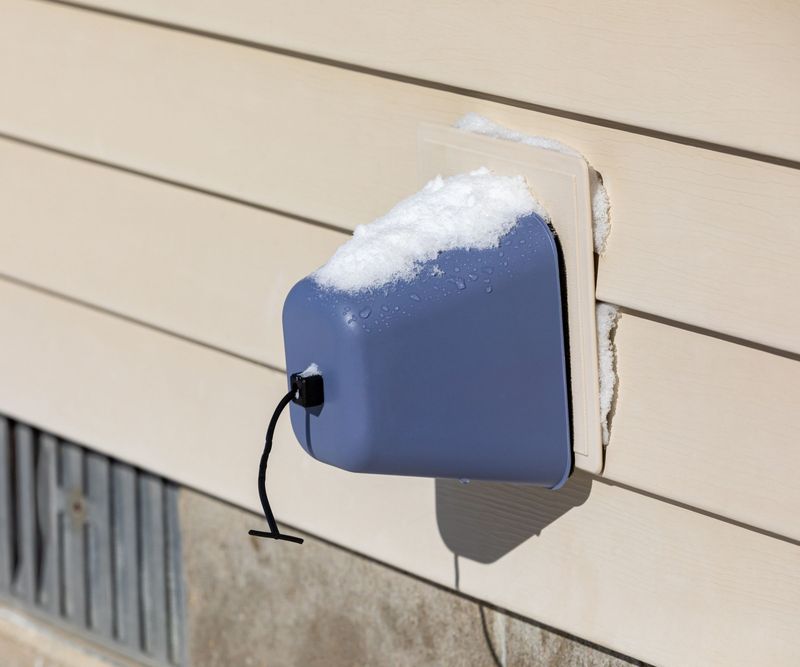
For about the price of a fast food lunch, a foam dome can guard your spigot through a frosty night. These hard shell covers look like little white helmets snugged against the brick or siding.
Inside, a soft foam gasket presses against the wall and traps a pocket of warmth leaking from your house. That stored heat keeps the metal valve a few degrees warmer than the cold air blowing past.
Most covers attach with a looped cord that hooks behind the faucet handle, then tightens with a plastic slider. Pull the cord firmly until the rim sits flat and you cannot slide a finger under the edge.
Soft pouch styles made from quilted fabric work well too, especially on oddly shaped spigots near window wells. I keep one of each style in my potting bench drawer so I am ready for any odd spout.
Remember that a dome adds insulation, not heat, so it works best on faucets with the hose already removed. During a long freeze lasting several days, the trapped warmth eventually fades, so pair covers with other steps.
Check each cover once the weather warms, since sun and wind can loosen cords over a busy winter. Stored indoors in summer, a decent foam dome often lasts for many seasons of reliable service.
3. Wrap Exposed Pipes With Foam Pipe Sleeves
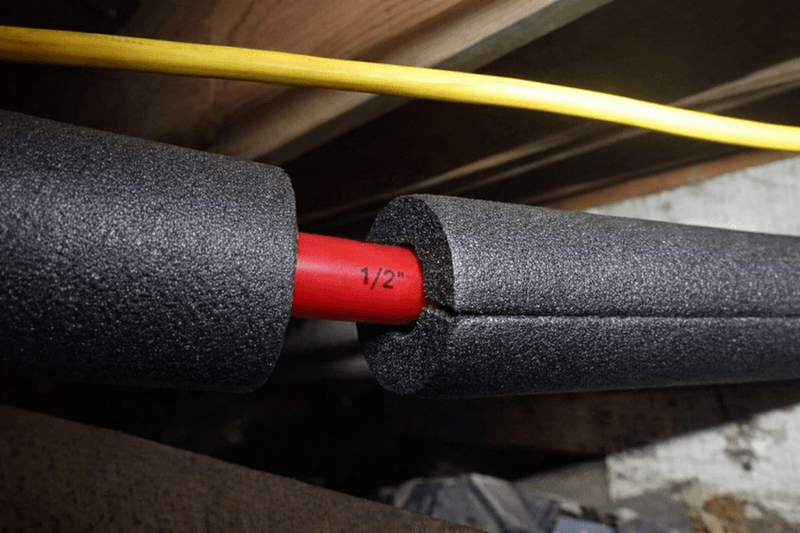
Gray foam tubes with a slit down one side might be the least glamorous thing in the plumbing aisle. Still, they quietly protect the bare copper or PVC running from your wall down to the spigot.
Many homes have a short stretch of exposed pipe outdoors, and that section loses heat faster than buried lines. Crawl spaces and unheated garages create the same problem for supply lines feeding your outdoor faucets.
Measure the pipe diameter first, since half inch and three quarter inch sleeves are the most common sizes. A sleeve that fits snugly works far better than a loose one flapping around in the north wind.
Open the slit, press the sleeve over the pipe, and seal the seam with the built-in adhesive strip. Wrap elbows and valves with extra foam pieces, then secure everything using duct tape or zip ties.
You might notice birds or squirrels picking at foam during winter, so check the sleeves after windy weeks. Patched spots take seconds to fix, and catching a gap early keeps cold air from sneaking inside.
Rubber or fiberglass wraps offer sturdier options for pipes that sit in full sun most of the year. Sunlight breaks down cheap foam over time, so painting it or adding a UV-resistant cover helps it last.
4. Bundle A Spigot In Old Towels For A Quick Fix
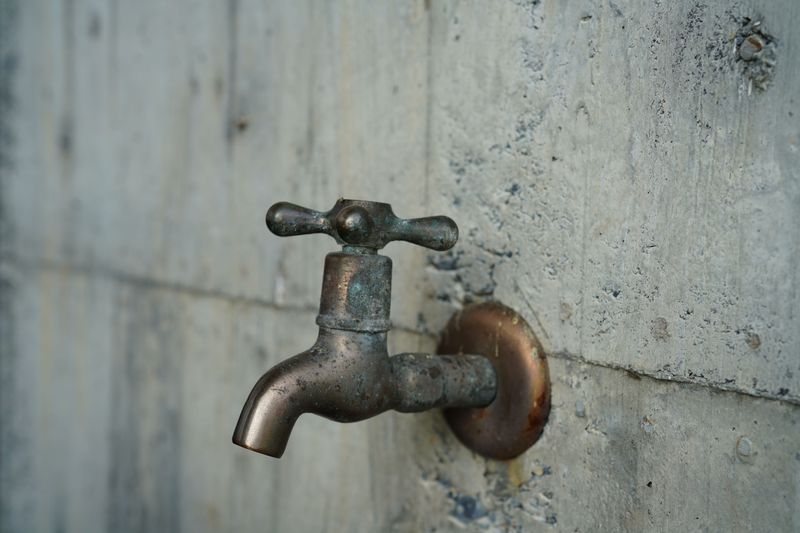
Last-minute freeze warnings have a funny way of arriving right after the hardware store sells out of faucet covers, especially in Texas, where a hard freeze can catch many people off guard.
Your linen closet probably holds everything you need to rig a sturdy emergency wrap before bedtime tonight.
Grab an old bath towel or a few thick rags that you would not mind getting dirty. Fold them around the spigot several times so the bundle is at least two inches thick on every side.
Let the fabric overlap onto the wall, because cold often sneaks in at the spot where pipe meets house. Wrap twine or string around the bundle a few times to keep it from slipping during the night.
A pool noodle sliced lengthwise can also hug a short exposed pipe in a pinch. Kids across Texas usually leave a few noodles in the garage, and repurposing them feels pretty satisfying on a cold evening.
Newspaper works as a backup layer too, though it compresses quickly and holds less warmth than thick cloth. Crumple sheets loosely before wrapping, since air pockets do most of the insulating work for you.
These homemade bundles serve best as short-term fixes for one or two cold nights rather than an entire season. Swap them for proper covers once stores restock, and toss the towels in the wash afterward, because even a mild Texas winter can bring another freeze.
5. Seal Homemade Faucet Wraps Inside A Plastic Bag
Wet towels insulate about as well as a wet sweater, which means barely at all on a freezing night. Sleet or heavy dew can soak through cloth wraps and pull warmth straight out of the metal faucet.
Once the fabric freezes stiff, it can hold icy moisture right against the spigot for hours. A simple plastic layer wrapped outside the towels stops that soggy problem well before it ever starts.
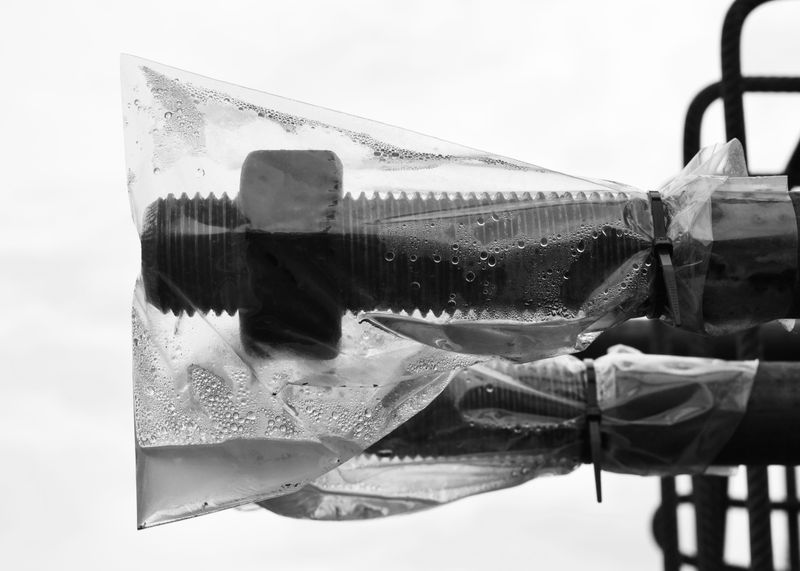
Slide a sturdy trash bag or grocery sack over the bundle, keeping the opening pressed against the wall. Gather the extra plastic behind the pipe so wind cannot catch it and tear the bag loose overnight.
Duct tape holds best on clean, dry surfaces, so wipe dust off the siding or brick before you start. Run tape around every edge of the bag until the seal feels tight and fairly waterproof.
I tried skipping the bag once during a drizzly cold front, and the towels were crunchy ice by dawn. Lesson learned, and now a roll of tape and spare bags live in my garden shed all winter.
Peel the tape slowly afterward, since some adhesives can lift paint off older wood trim around the faucet. Painter’s tape underneath the duct tape gives a little protection for delicate surfaces without losing much grip.
6. Cinch Every Faucet Cover Flat Against The Wall
A cover with a gap at the bottom is a bit like wearing a coat with the zipper wide open. Cold air slips right in, swirls around the metal, and steals the warmth you were hoping to trap.
Your house wall acts like a gentle heater, especially on homes with heated rooms right behind the spigot. Covers work by holding that faint warmth near the valve, so any leak lets it drift away.
Rough brick and textured stucco make a tight seal tricky, because the foam rim cannot sit evenly. Adding a strip of weatherstripping foam around the rim helps fill those bumpy gaps quite nicely.
Tighten store-bought covers using the cord lock until the rim presses firmly and stays put when you wiggle it. Homemade wraps need extra tape along the wall edge, where wind tends to pry plastic loose first.
After I tested my covers with a flashlight one evening, I spotted two leaky edges I had missed before. Shining a light near the rim at dusk can reveal sneaky gaps that daylight often hides from view.
Recheck every cover after strong winds, since a gusty norther can twist even a snug dome sideways. A ten-second walk around the house before bedtime is a small habit that pays off.
7. Shut Off And Drain The Outdoor Water Line
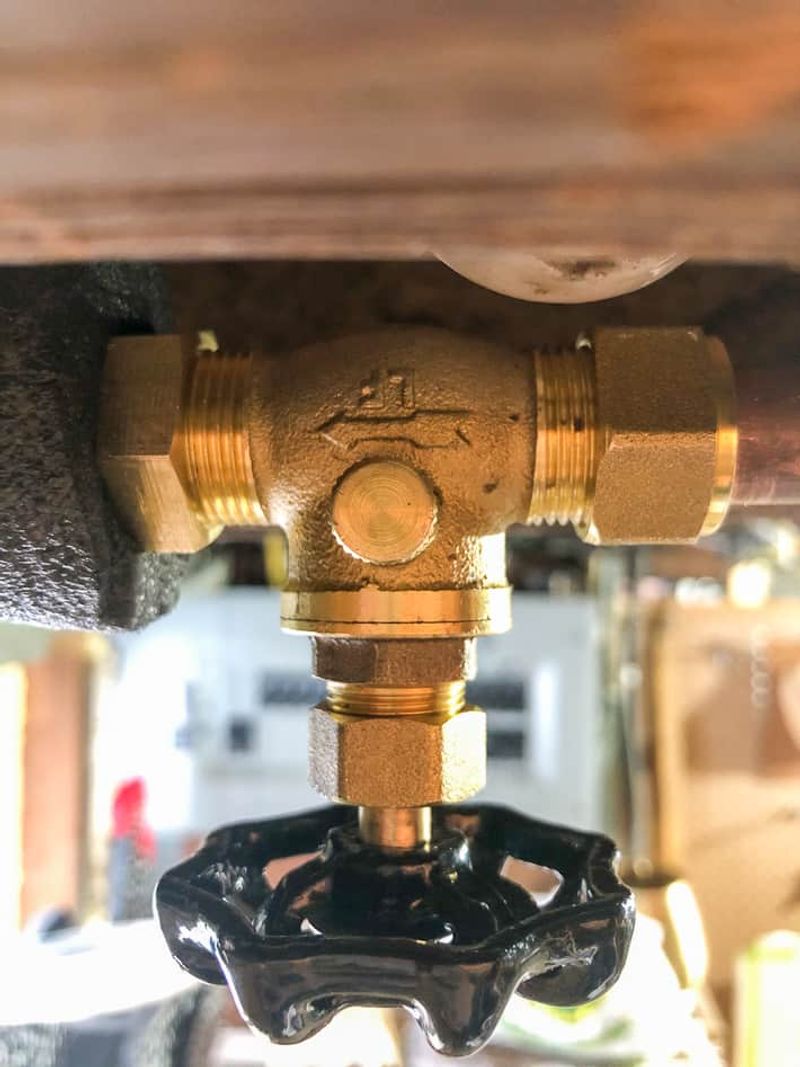
Water cannot freeze and crack a pipe if there is no water inside it, which makes this trick wonderfully simple. Many homes have a separate shutoff valve that controls only the outdoor faucets, though finding it takes some detective work.
Look in the garage, a utility closet, under a bathroom sink, or near the water heater for a small valve. Older homes with crawl spaces sometimes hide the valve under the floor, close to where the pipe exits.
Turn the indoor valve clockwise to close it, then head outside and open the spigot all the way. Let the line drain until water stops flowing, and leave the faucet open while the cold snap lasts.
Some shutoff valves include a tiny bleeder cap that releases trapped water, so loosen it over a bucket. That small extra step helps empty the short pipe section between the valve and the wall.
This approach works especially well on older standard spigots that lack any built-in freeze protection at all. Draining paired with a foam cover gives you two layers of defense for very little effort.
When warm weather returns, close the outdoor faucet first, then slowly reopen the indoor valve to restore pressure. Watch for drips around the spigot afterward, since a small leak can reveal hidden damage from a past freeze.
8. Give Frost-Free Hose Bibs A Little Extra Help
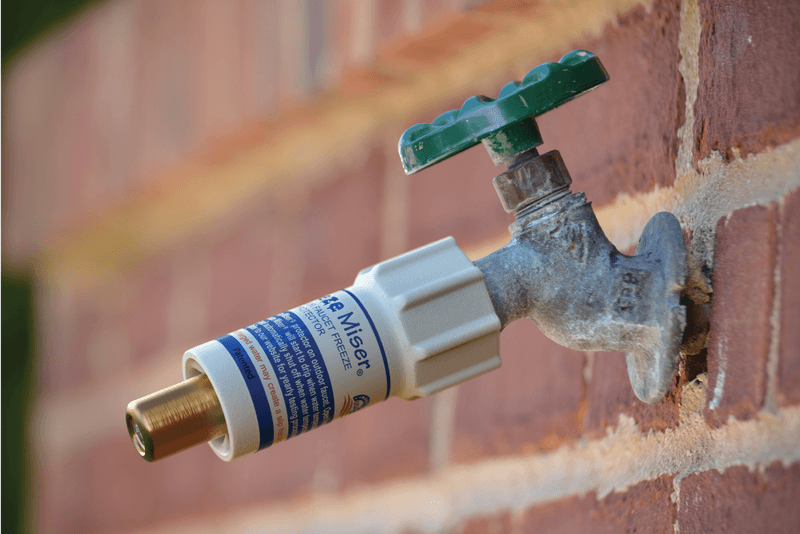
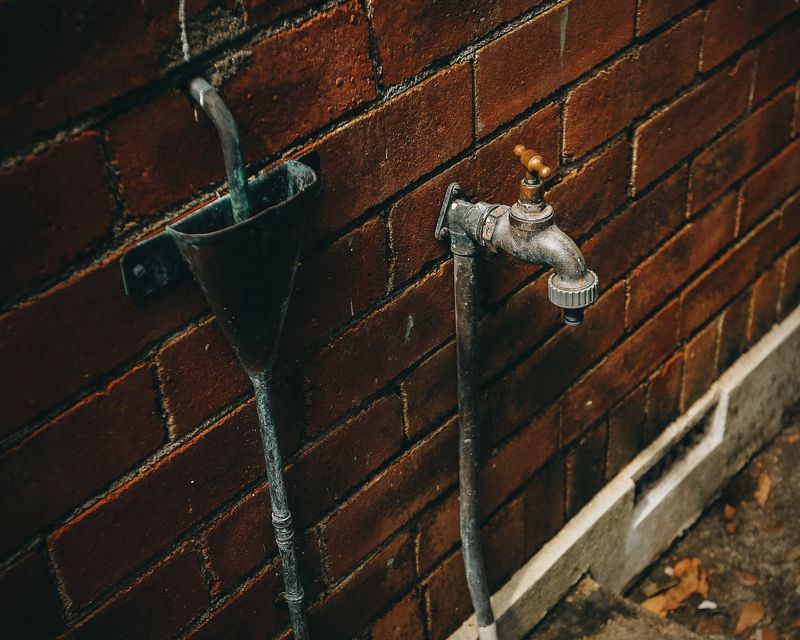
Those long frost-free spigots hide a clever secret, because the actual shutoff valve sits several inches inside your wall. Warmth from the house keeps that inner valve from freezing, while the outdoor handle stays mostly empty.
Many newer homes in Texas include them, and you can often spot one by the slim, extended body. Builders may install them on any exterior wall, including walls that face the coldest winds.
The design only works properly when leftover water can drain out freely after you turn the handle off. An attached hose or splitter blocks that drainage and leaves water sitting inside the long valve stem.
I am surprised how often people assume these faucets need no care just because of the label. Plumbers regularly report split frost-free bibs every winter, usually traced back to a hose left connected.
Check that the faucet tilts slightly downward toward the yard so gravity can pull water out properly. A level or backward slope may trap water, which a plumber can correct by adjusting the mounting angle.
A foam cover still adds helpful insurance during long hard freezes like the ones that occasionally grip northern counties. Think of the frost-free design and the cover as teammates rather than a reason to skip prep.
9. Run Heat Tape Along Pipes In Chilly Garages
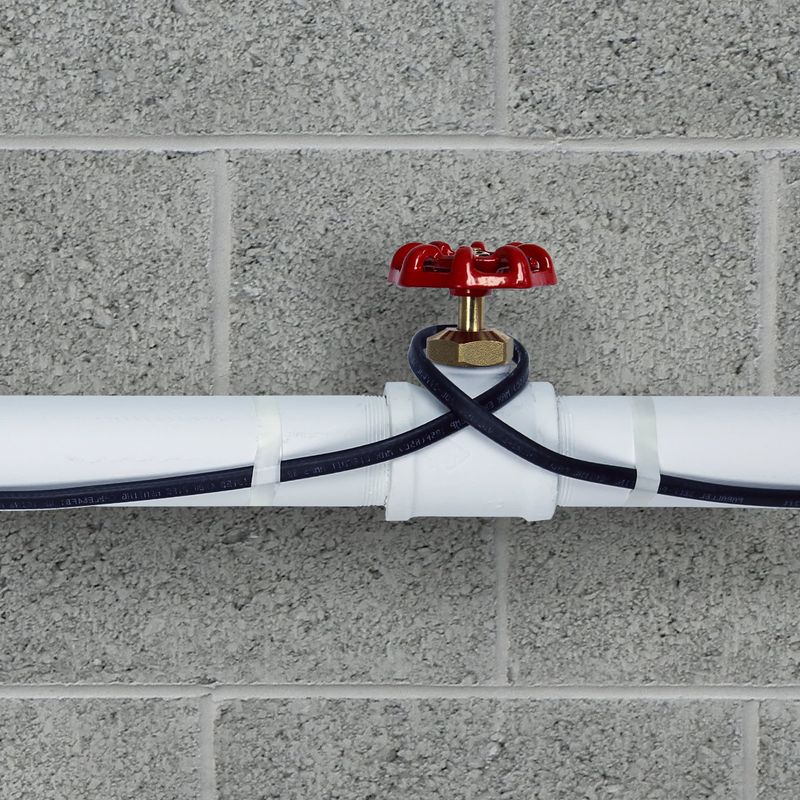
Some pipes sit in such cold, drafty corners that foam alone struggles to keep up during a long freeze. Electric heat cable, often called heat tape, delivers a gentle steady warmth directly along the pipe surface.
Many kits include a built-in thermostat that switches on when the pipe temperature drops near freezing. That feature saves electricity because the cable stays idle on mild days, which happen often in Texas winters.
Run the cable straight along the pipe or spiral it, following the instructions printed on your specific kit. Some cables cannot overlap themselves, since crossing wires may overheat, so read the package carefully before starting.
Plug the cable into a GFCI outlet, which cuts power quickly if water or damage causes a fault. Avoid indoor extension cords outdoors, and choose products listed by a recognized safety lab such as UL.
After installing the cable, cover it with foam pipe sleeves to hold the heat close where it matters. Check manufacturer guidance first, since a few cable types require specific insulation that will not trap excess heat.
Inspect the cable each fall for cracked jackets or scorch marks, and replace any worn sections right away. Older heat tapes have caused fires, so treating this tool with respect keeps your garden shed safe.