A Step-by-Step Guide To Creating An Orchid Terrarium
If you don’t have enough garden space to grow lots of beautiful plants and flowers, then creating a terrarium might be the perfect option for you!
Orchid terrariums have recently become a must-have in the gardening community. I mean, having a miniature world of orchids in your indoor space sounds like a great idea!
Even though orchids are often seen as tricky plants to grow, they can actually be surprisingly easy to care for within the controlled environment of a terrarium. Plus, they can significantly improve your indoor decor and make it more lively.
In this article, we are going to share some tips on choosing the right variety, preparing the terrarium, and laying out the plants perfectly. Stay tuned to find out more!
Step 1: Choose The Right Orchid Variety
With so many different orchid varieties, it can be tricky to find one suitable for growing in terrariums. It’s important to look for an orchid that thrives in low-light settings and high humidity.
What you also have to take into consideration is if that orchid is suitable for growing in an open or closed terrarium. The one you pick should not grow abruptly and overtake other terrarium plants.
I would recommend choosing some miniature orchids such as Lepanthes, Aerangis, Dracula, Platystele, or Masdevallia – these humidity-loving plants won’t grow more than the size of a palm, which makes them perfect for closed terrariums.
Most orchids generally can be grown in terrariums as long as their basic needs are met – that is, if they have enough space to grow and spread in warm and humid conditions.
If you love succulents and terrariums, here’s how to create a succulent terrarium!
Step 2: Consider Adding Filler Plants
Add some filler plants in the terrarium so your orchid doesn’t get lonely!
To create a miniature fairytale inside your terrarium, consider adding tiny plants that also like higher humidity and warmer temperatures. These plants will spice things up in the terrarium, especially when your orchids aren’t blooming.
Small succulents are a great option because they grow slowly and don’t take up too much space. You can also choose plants like peperomia, air plants, fibrous rooted begonias, small dracaenas, and small ferns.
Step 3: Prepare The Container

The next step is preparing the terrarium container.
Always make sure that the terrarium container is clean and intact – if you were previously growing plants in it, then wash it thoroughly to get rid of any possible pests or disease residue that would otherwise quickly spread in a humid environment.
I would suggest rinsing it several times with a mild dish-washing soap. Use a paper towel or leave it to dry before putting your orchid in.
If you’ve grown a diseased or infected plant in the container but you don’t want to throw it in the trash since it is still in good shape, then you can mix a tablespoon of bleach with a gallon of water. This will get rid of any traces of mold or fungus from the previous plant.
Don’t forget to rinse well and let it dry before adding plants to the container.
Step 4: Add A Bottom Layer
Once you’ve chosen the plants and cleaned your container, it’s time to figure out what you’re going to line the base with. A bottom layer, also called a substrate, is crucial when creating a terrarium.
Most folks add a 2-inch layer of stones to the bottom of the container. If you also want to add stones, make sure to wash them thoroughly and add an inch of water (water is required to increase humidity levels). You can find stones available on Amazon.
If you want to go a different route, you can always use potting soil. However, it is a messier option and can attract fungi. In case you want to add soil, remember to mist the terrarium daily so that the humidity is still quite high.
Related: Terrarium vs Vivarium: Learn The Differences
Step 5: Lay Out Your Filler Plants
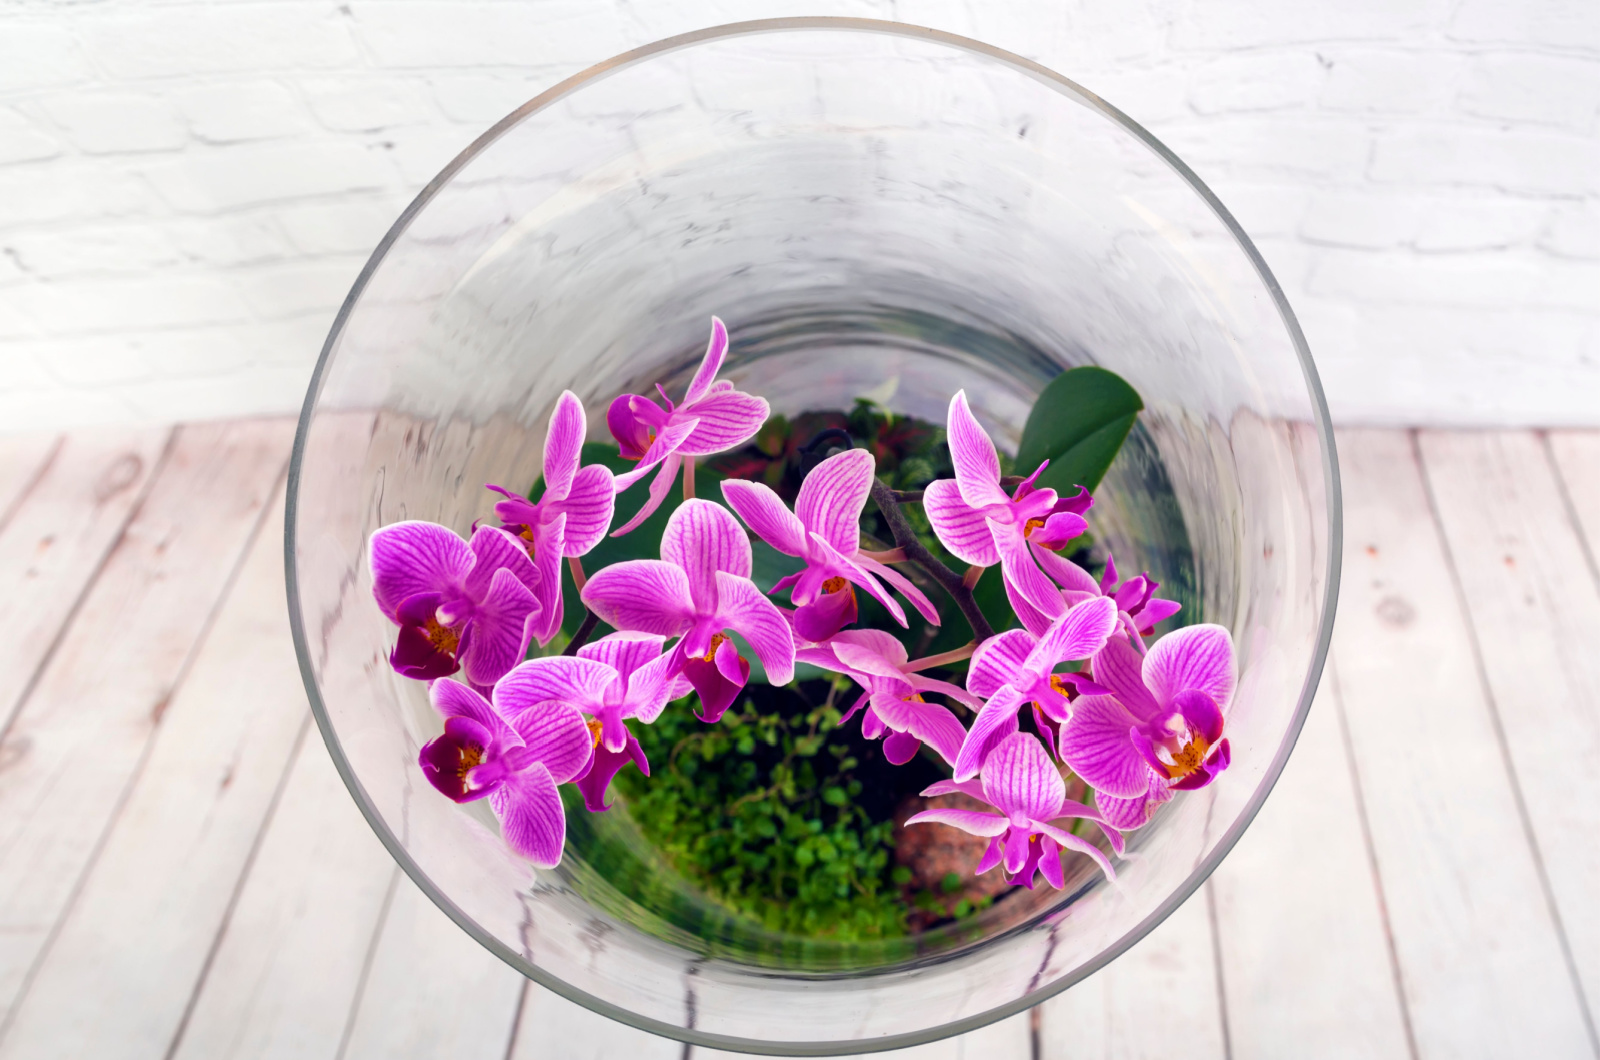
When you are making an orchid terrarium, you better put the orchid in the middle and make it the center of attention!
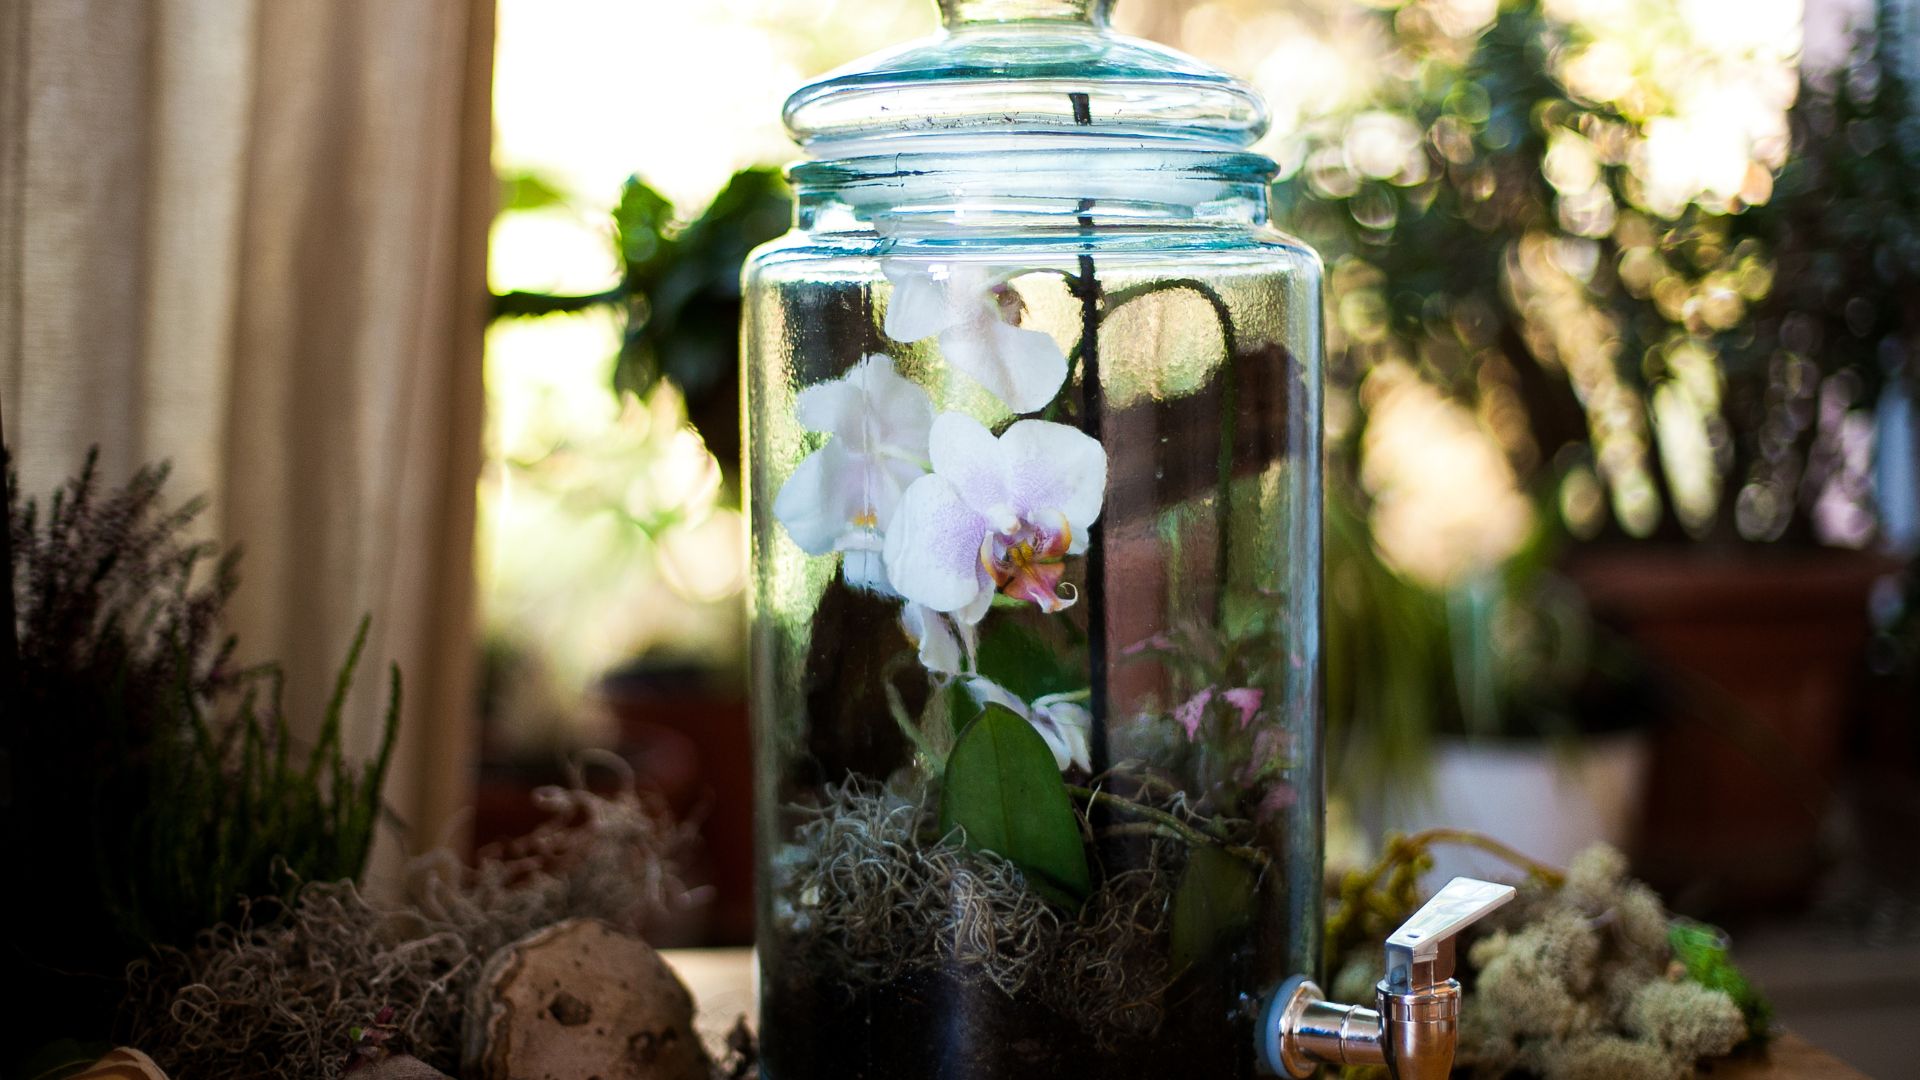
Since we are talking about such delicate plants, most experts recommend leaving orchids in their original pots rather than planting them directly in the terrarium because this would restrict proper airflow to the plants’ roots.
So, lay out the plants you picked as fillers, and leave some space in the middle for your orchid. You can even use moss to cover their pots to create a more natural terrarium look. Add some props like driftwood, bark, or cork.
If you’ve used soil as a base layer, you can bury the orchid’s pot and plant some companions around it. Put smaller plants in the front of the orchid and larger ones behind to create a balanced effect.
Step 6: Put Your Orchid In The Right Place
Once you’ve set everything up, it’s time to find the perfect place for your orchid terrarium.
Please note that you shouldn’t put it somewhere with direct sunlight exposure as it would get too hot and cause scorched leaves. However, leaving the terrarium in complete darkness is also not good because the plants need light to bloom and thrive.
It’s best to put terrariums near a window – leave some space between the terrarium and window so that outdoor weather changes don’t affect the plants in the terrarium. Cold glass can impede the orchid’s blooming so you’d end up with a flowerless terrarium.
Interestingly, most orchids require a temperature drop in order to trigger blooming – they need night temperatures between 10 to 15 degrees Fahrenheit in order to start producing flowers.
If your terrarium stays in the same place throughout the year, orchids and filler plants might exhibit heat stress. It’s always sad to see drooping orchids, especially if they are grown in terrariums.
You might also like: Terrestrial Orchid Species And The Best Way To Grow Them