How To Remove Lily Of The Valley Before It Spreads Through Your Vermont Garden

Charm hides an agenda you haven’t even noticed yet. Delicate white bells mask a plan you haven’t seen. Underground, rhizomes push outward while you sleep soundly.
Vermont gives your garden exactly what this plant craves. Cool nights and loose soil speed its spread near you. Roots move sideways faster than you might expect.
Your favorite perennials sit directly in its path. Weeks pass, and your borders blur into solid mats. Gardeners across Vermont watch cherished perennial beds disappear fast.
Patience feels wise, yet patience quickly becomes your trap. Waiting a single season costs you several seasons of progress. Every clump you ignore multiplies into dozens more.
Removing it properly demands precise timing from you. Nothing about this plant slows down or stops for you. Ignoring it now guarantees a harder fight for you.
Vigilance today spares you months of exhausting labor. You need the exact plan before this spreads further.
1. Dig Up Rhizomes With A Sharp Spade
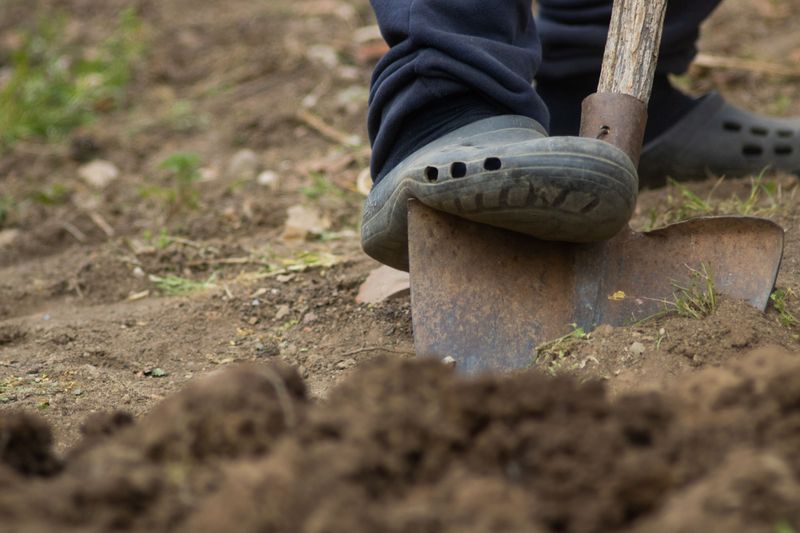
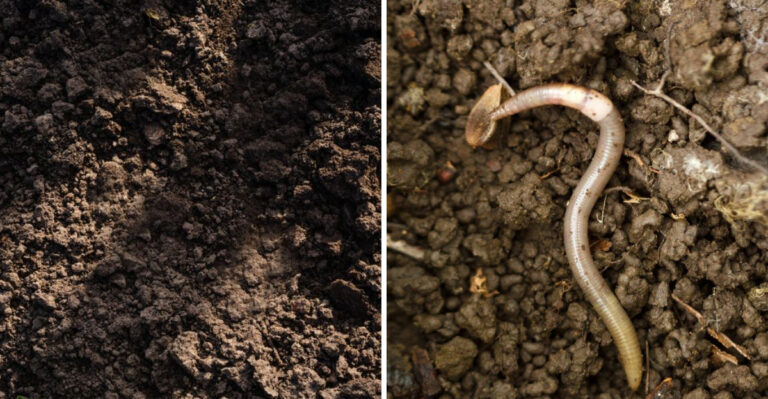
Your spade is your first tool for tackling lily of the valley. This plant stores its energy underground in thick, pale rhizomes that spread like a web beneath the soil.
Start by pushing your spade at least six inches deep around the edge of the patch. Angle the blade inward and lift the soil in chunks, exposing as much of the root network as possible.
Work slowly across the entire area. Rushing causes rhizome pieces to snap off and stay buried, which means new plants later.
Shake each clump of soil firmly over a bucket or tarp. This helps separate the roots from the dirt so you can actually see what you are pulling out.
Try to remove the rhizomes in long, connected strands rather than small broken pieces. The longer the piece you pull out, the less regrowth you will face next week.
A sharp spade matters more than you might expect here. A dull blade tears roots instead of cutting cleanly, leaving more fragments behind in the soil.
Once you have dug up the bulk of the patch, do not walk across the loosened area. Foot traffic pushes tiny root bits deeper into the ground, making your job harder.
Bag the removed rhizomes and throw them in the trash rather than the compost pile. Compost conditions can actually help these roots survive and regrow somewhere new.
2. Remove Every Root Fragment You Find
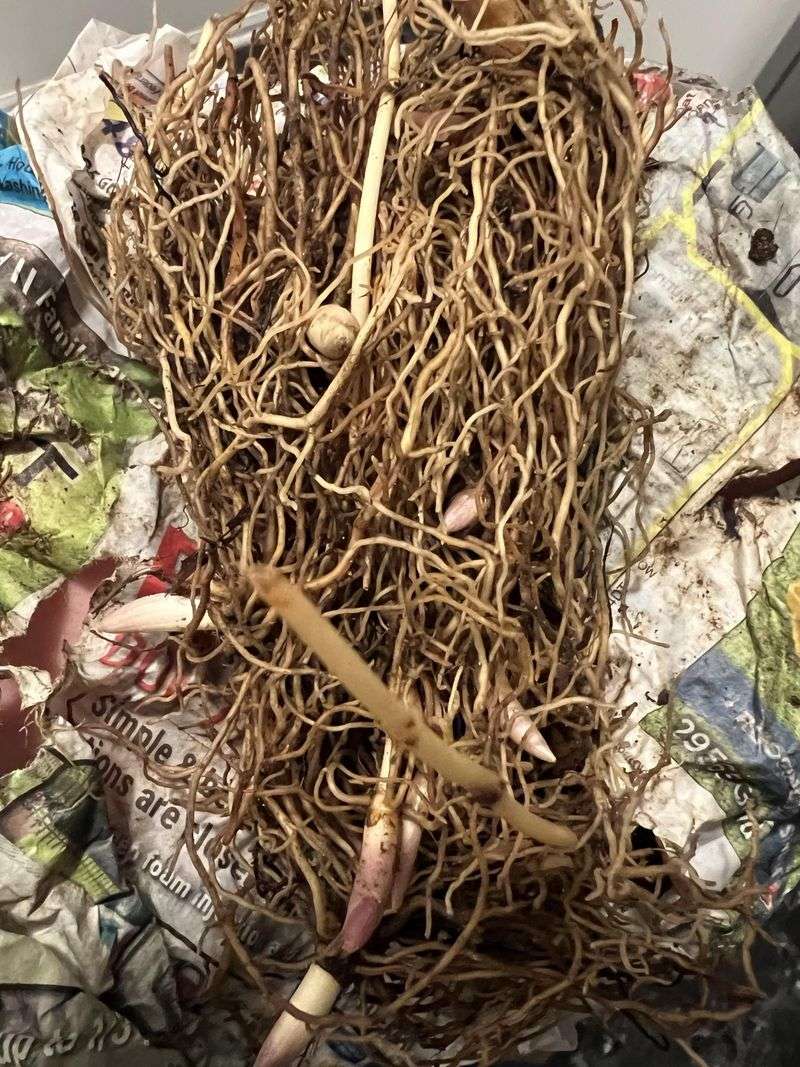
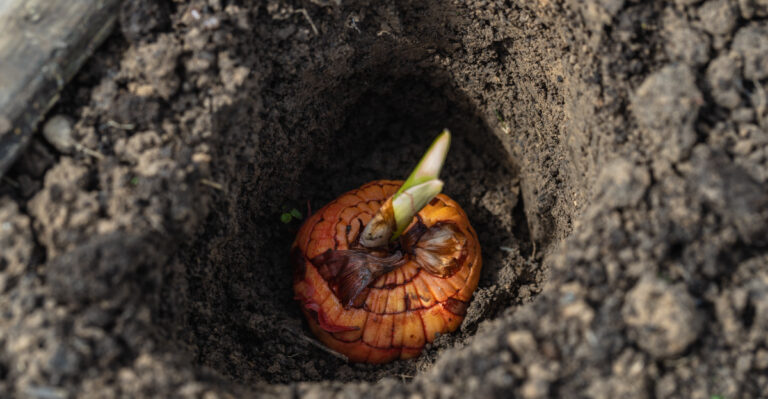
One tiny piece left behind can allow regrowth. Lily of the valley rhizomes are surprisingly tough, and even a half-inch fragment can sprout into a new plant within weeks.
After your initial dig, get down on your knees and sift through the loosened soil by hand. Wear sturdy gloves because the sap can irritate sensitive skin, and keep in mind that all parts of this plant are toxic if ingested, so keep children and pets away from cleared debris.
Work through the soil in small sections, pulling out every pale, stringy piece you find. Drop them directly into a bucket so nothing falls back into the bed.
Pay close attention to the soil around rocks, tree roots, and garden borders. Rhizomes love to hide in tight spaces where your spade cannot reach easily.
A hand cultivator or a narrow trowel helps you poke around in those cramped spots. Take your time scraping along the sides of raised beds and fence edges.
If your soil is heavy clay, which is common in parts of Vermont, try working after a good rain. Wet soil releases roots more cleanly than dry, compacted ground.
Sift through the loosened clumps a second time before moving on. Two passes through the same section catches a surprising number of fragments the first sweep misses.
Removing lily of the valley completely from your garden depends on this step more than any other. Thoroughness right now is the shortcut to actually finishing the job for good.
3. Smother Remaining Patches With Thick Cardboard
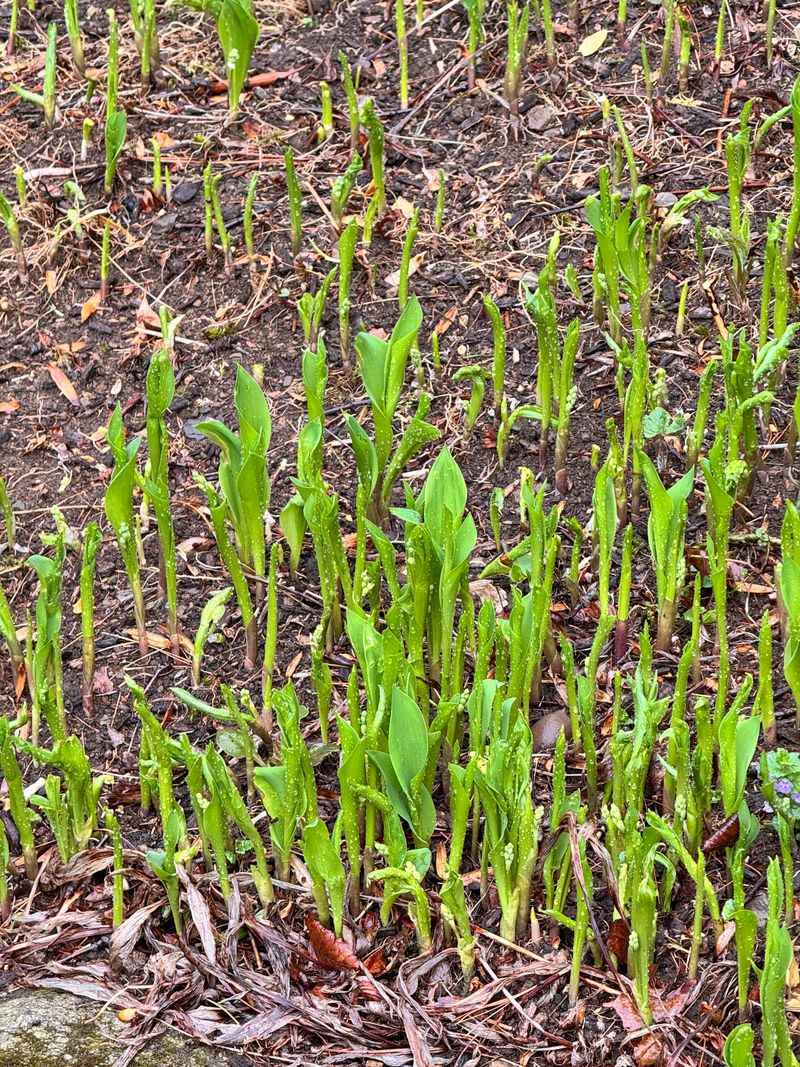
After digging, there will always be spots you cannot fully clear by hand. Smothering those remaining patches with cardboard is one of the most effective follow-up moves you can make.
Cardboard works by cutting off all light and airflow to the soil surface. Without sunlight, even stubborn rhizome fragments struggle to push new growth through.
Gather large, flat boxes from grocery stores or appliance shops. Remove all tape and staples before laying the cardboard down, since those materials do not break down in the soil.
Overlap each piece of cardboard by at least six inches on every side. Gaps are the enemy here because shoots will find any opening and push right through.
Wet the cardboard thoroughly after laying it down. Moisture helps it conform to the ground and speeds up the natural breakdown process over the coming months.
Use two or three layers in areas where the infestation was thickest. A single sheet may not be enough to hold back determined regrowth in a heavily rooted spot.
Weight the edges down with rocks, bricks, or soil so wind does not shift the cardboard out of position overnight. Vermont springs can get breezy fast.
Plan to leave the cardboard in place for roughly two to three months, adjusting based on regrowth. Patience here pays off because roots that cannot photosynthesize eventually exhaust their stored energy and stop growing.
4. Apply Mulch To Block Sunlight Completely
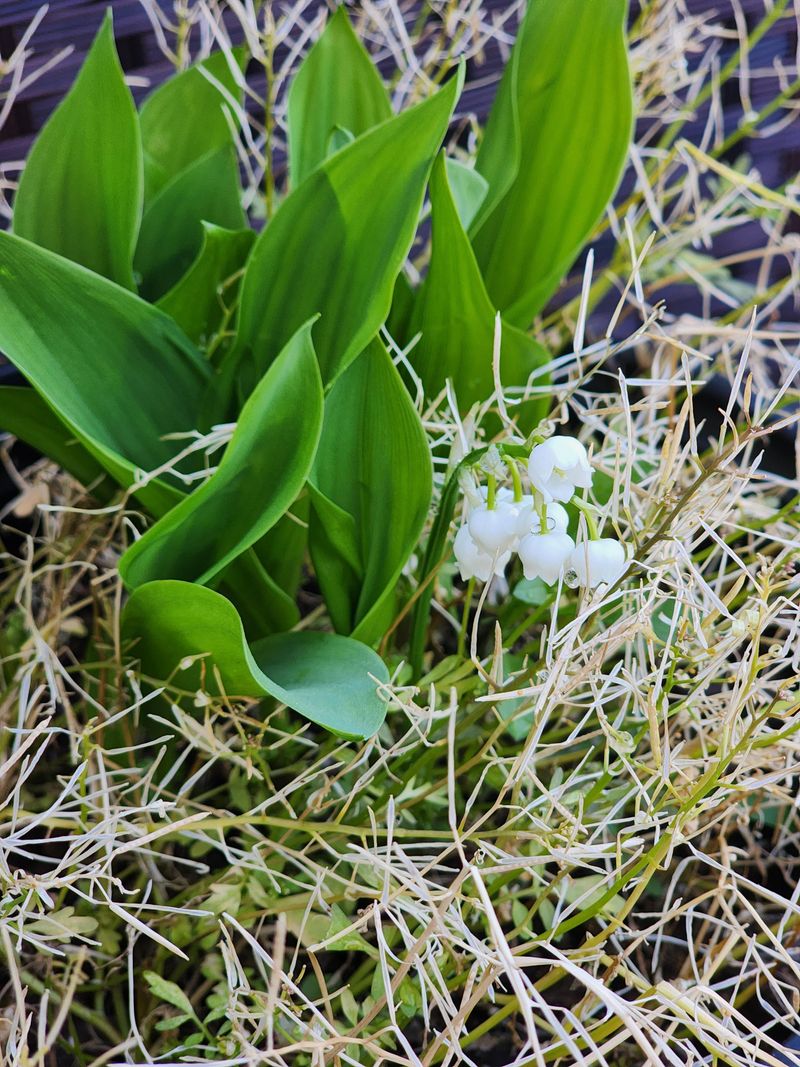
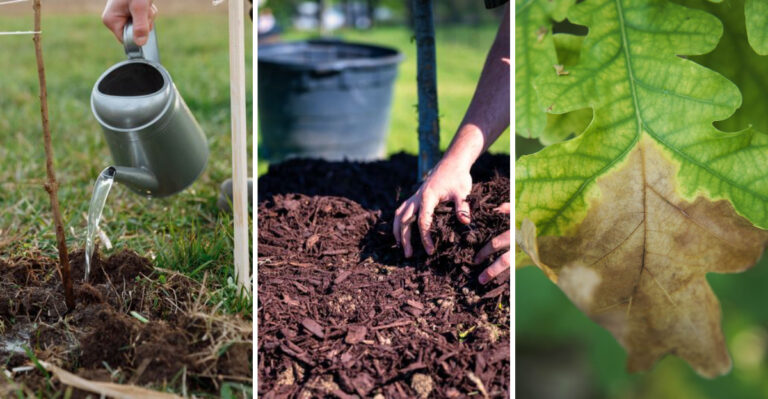
Cardboard alone is a good start, but adding mulch on top makes the barrier even stronger. A thick mulch layer blocks sunlight completely and gives your garden a clean, finished look at the same time.
Wood chips are an excellent choice for this purpose. They are heavy enough to stay in place, and they break down slowly, giving you months of reliable coverage.
Pour the mulch at least four inches deep across the entire treated area. Anything thinner allows determined shoots to push through toward the light above.
Focus extra mulch around the edges of the treated zone. Rhizomes often survive near the border of a cleared area and try to re-enter from the sides.
Avoid using straw or light decorative mulch for this job. Those materials shift too easily and allow gaps to form where new growth can sneak through.
Bark mulch from a local Vermont nursery or landscaping supplier works well and supports regional businesses at the same time. Ask for a coarse grind rather than a fine one.
Check the mulch layer regularly during the growing season. If you spot any pale, white shoots pushing up through the surface, add another inch of mulch immediately.
Blocking sunlight completely is one of the most underrated strategies for removing lily of the valley from stubborn garden beds. A consistent mulch layer buys you time while the buried roots slowly weaken below.
5. Cut Back Leaves Repeatedly To Weaken Roots
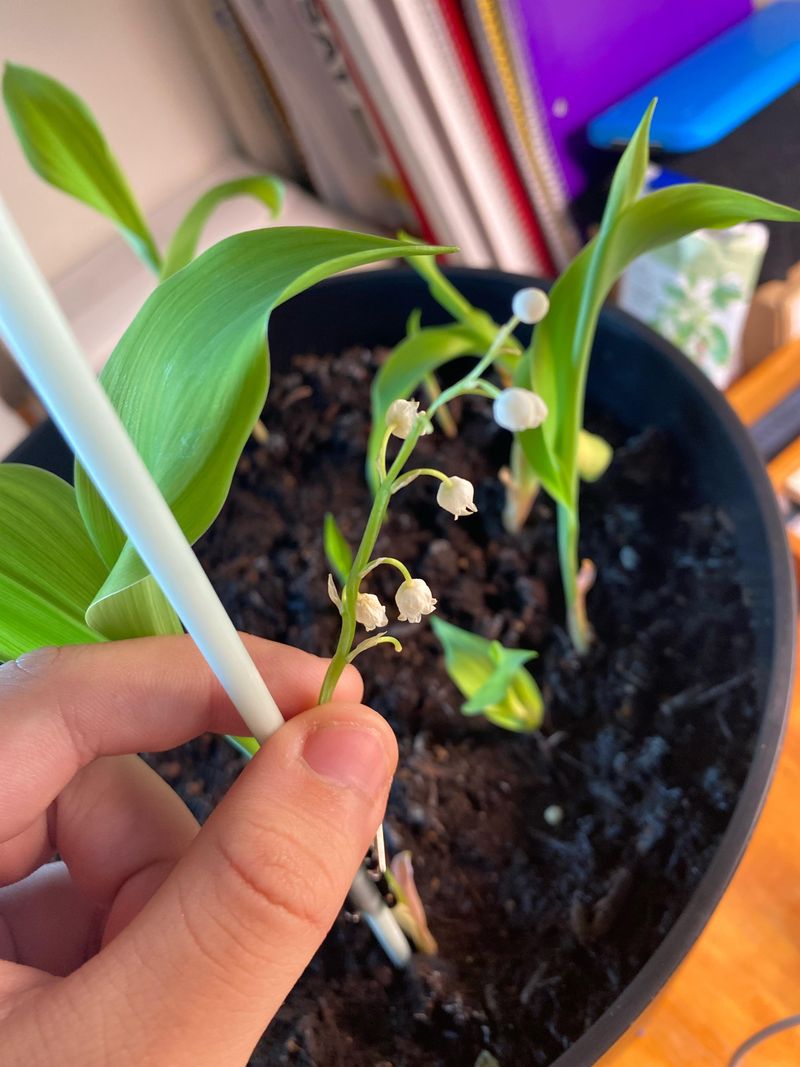
Cutting back leaves sounds simple, and it is, but the timing and consistency make all the difference. Every time lily of the valley pushes up new foliage, it is pulling stored energy from its roots to do so.
When you cut those leaves off at ground level, the plant has to dip into its reserves again to try growing back. Do this enough times, and those reserves run out.
Use sharp garden shears or a hand sickle for this task. Clean cuts heal faster and cause less stress to surrounding desirable plants nearby.
Cut the leaves as close to the soil as possible without disturbing the mulch layer underneath. Leave no green tissue behind because even a small stub can photosynthesize.
Repeat this process on a consistent weekly schedule throughout the growing season. Missing even one round gives the roots enough time to rebuild some of their stored energy.
This method is especially useful in spots where digging is not practical, like near tree roots or along a stone wall. You can weaken the plant without tearing up the surrounding landscape.
Bag and dispose of the cut leaves right away rather than leaving them on the ground. Dropped leaves can re-root in moist Vermont soil faster than most gardeners expect.
Consistent cutting breaks the plant’s growth cycle and steadily drains the root system. Stick with this routine, and you will notice far fewer shoots returning by midsummer.
6. Spray Vinegar Solution On Stubborn Regrowth

When physical removal has not finished the job, a vinegar spray can help push stubborn regrowth over the edge. Household white vinegar contains acetic acid, which burns plant tissue on contact.
Mix undiluted white vinegar with a small amount of dish soap in a spray bottle. The soap helps the solution stick to the waxy surface of lily of the valley leaves.
Spray directly onto the leaves on a dry, sunny day with no rain in the forecast. Sunlight intensifies the effect, and dry conditions prevent the solution from washing away too quickly.
Avoid spraying near plants you want to keep because vinegar does not discriminate. Cover nearby perennials with a piece of cardboard or plastic sheeting before you begin spraying.
Horticultural vinegar, which contains a higher concentration of acetic acid, is available at garden centers and works faster than standard grocery store vinegar. Handle it carefully and wear eye protection.
Reapply on a consistent weekly schedule whenever new shoots appear. One application rarely finishes the job on its own because the roots underground are still alive and trying to push through.
Watch for the leaves to yellow and wilt within a day or two after spraying. That visible response confirms the solution reached the tissue and is working as expected.
Vinegar spray is a practical, low-cost tool for removing lily of the valley from tight spots where other methods are hard to use effectively.
7. Monitor The Area For Weeks Afterward
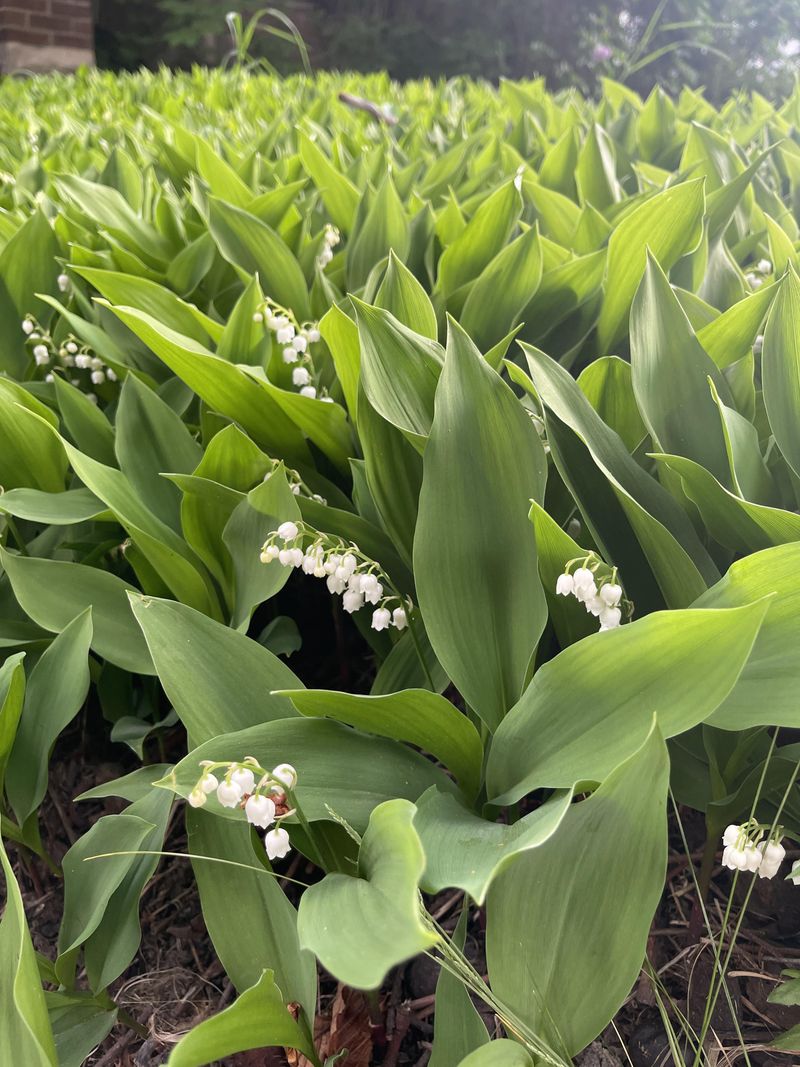
Clearing a patch of lily of the valley is satisfying, but the work is not over the moment the bed looks clean. Monitoring the area consistently for several weeks afterward is what separates a temporary fix from a lasting solution.
Set a reminder to check the treated area on a consistent weekly schedule. Regular visits catch new shoots early, before they have time to establish and spread again.
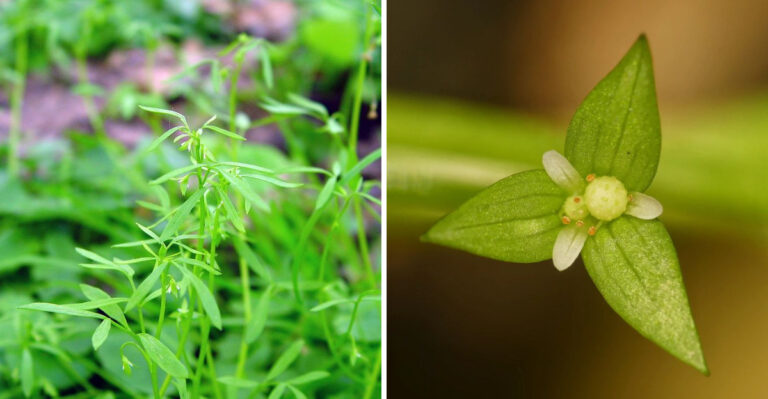
Look for pale, thin shoots pushing up through the mulch or cardboard layer. Early regrowth is much easier to address than a fully leafed-out patch that has had weeks to settle in.
Keep a small hand trowel and a bucket nearby during your monitoring walks. If you spot a shoot, pull it out immediately and check for any attached rhizome below the surface.
Note where regrowth appears most often and mark those spots with small flags or garden stakes. Patterns in regrowth often reveal areas where root fragments were missed during the initial clearing.
Take a photo of the treated area each week so you can compare progress over time. Visual records help you spot trends and decide when a second round of treatment is needed.
Bring a notebook to jot down what you find during each visit. Tracking your observations keeps you motivated and helps you plan next steps without guessing.
Monitoring is the less exciting part of removing lily of the valley, but it is often the reason some gardeners succeed where others give up too soon.
8. Repeat Treatment Until No Shoots Return
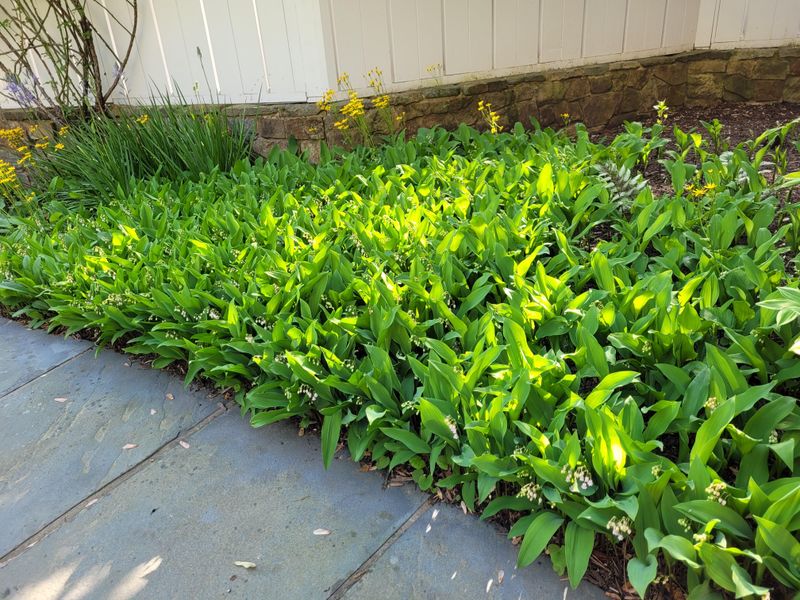
Persistence is the final ingredient that makes every other step actually work. Lily of the valley does not surrender after one round of treatment, and expecting it to will only lead to disappointment.
Plan for several full treatment cycles before you can confidently call the area clear. Each cycle weakens the root system a little more than the last.
Repeat your digging, mulching, and cutting routine whenever new growth returns. Consistency across multiple weeks is what finally exhausts the stored energy in the surviving root fragments.
Keep your tools clean and sharp between sessions. A clean spade and fresh cardboard ready to go makes it easier to act quickly when you spot a new flush of growth.
Do not reduce your effort just because the regrowth looks smaller or weaker. Smaller shoots still indicate living roots below the surface that can bounce back if left alone.
Talk to neighbors whose yards share a border with your garden. Lily of the valley spreads underground across property lines, and a neighbor’s untreated patch can allow the plant to spread back into your cleared area quietly.
Celebrate small wins along the way because this process genuinely takes time. Fewer shoots each week is real progress, even if the bed is not completely clear yet.
Staying committed to repeat treatment until no new shoots return is the only way to fully remove lily of the valley and reclaim your Vermont garden for good.