How To Safely And Quickly Remove A Tree Stump From Your Virginia Yard
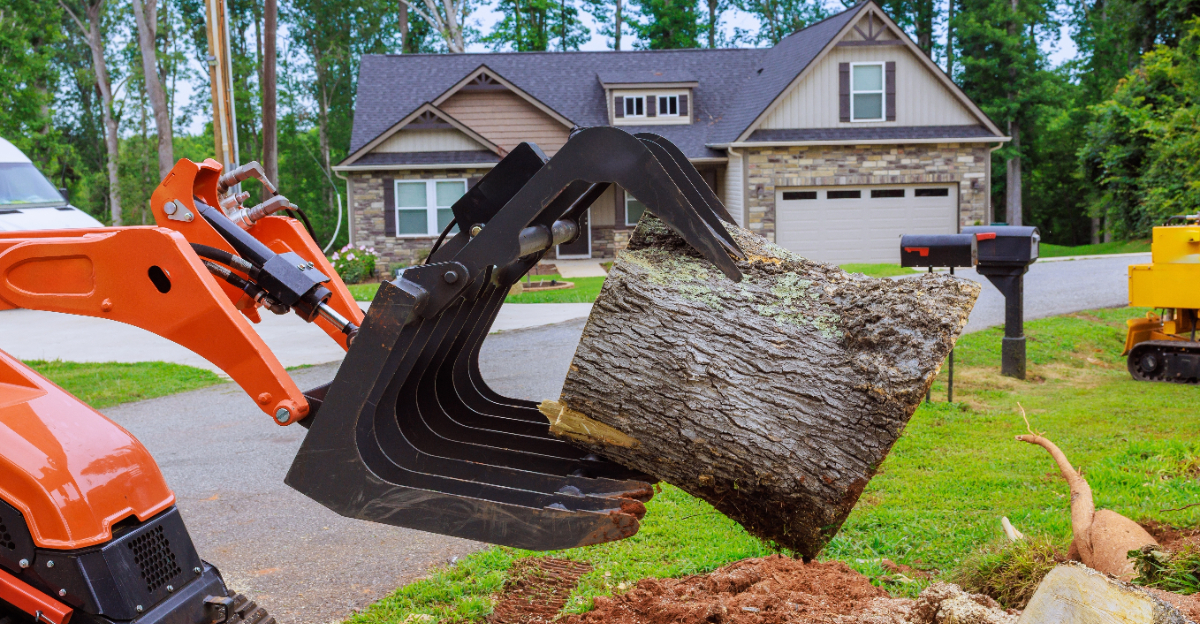
That stump beneath your window holds more surprises than you realize right now. Termites often claim that aging wood as easy shelter for their colonies.
Fungus spreads quietly underground, slowly reaching roots you cannot easily see. Virginia soil holds moisture that speeds up decay. Kids trip over hidden roots while your mower blades stall.
Nobody warns you how quickly that old stump becomes a real problem. Expensive crews will charge you steep rates for basic labor. Heavy machinery sits unused inside garages all across Virginia.
Simple tools and smart chemistry can finish the job. Weekends work far better than you probably expect right now. Confidence grows fast once you understand the real process.
Nothing about tricky stump removal demands special expertise. Every step forward pulls you closer toward open space.
Momentum builds the instant you commit to starting now. Your yard will never look the same, and neither will you.
1. Cut The Stump As Low To The Ground As Possible
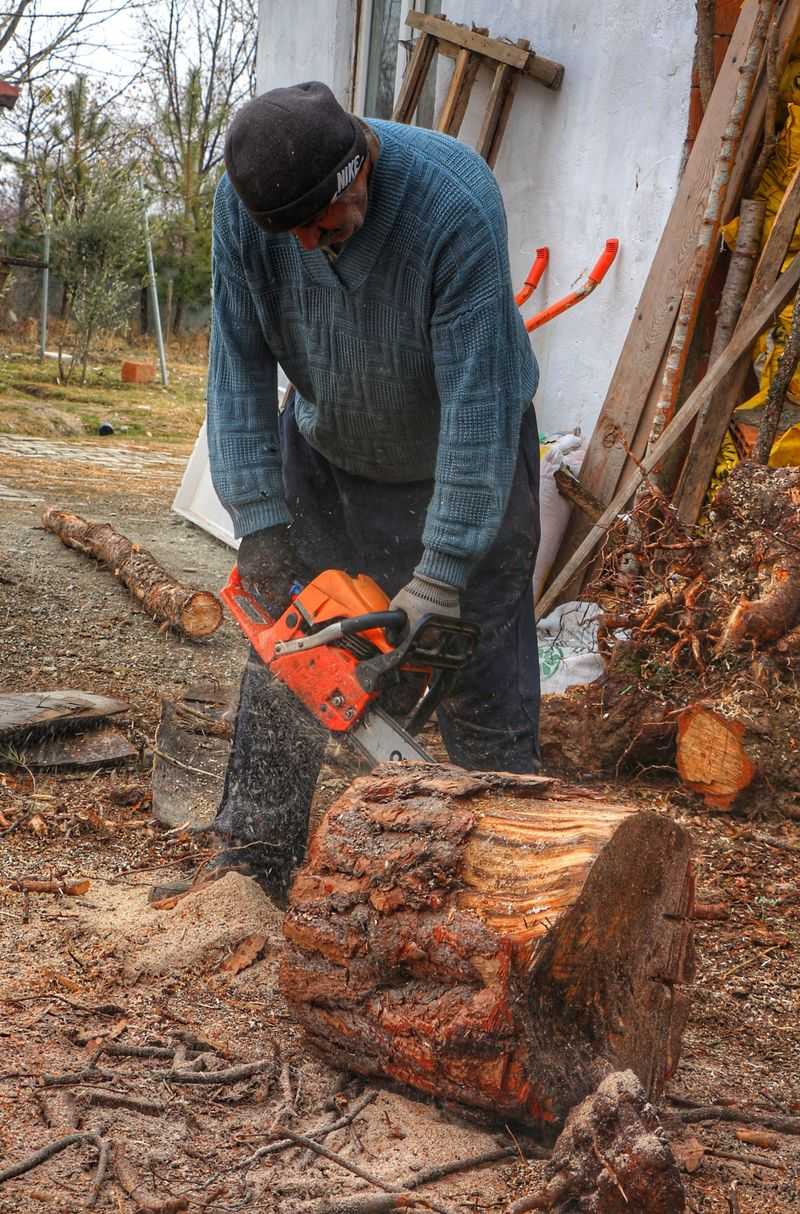
A chainsaw is the right tool to start with. Getting the stump as low as possible before anything else saves you serious time and effort down the road.
A stump that sits six inches above ground is harder to treat, cover, and grind than one flush with the soil. Lower stumps also dry out faster, which speeds up the whole removal process.
Grab a chainsaw or a reciprocating saw and work in slow, steady passes. Do not rush the cuts or you risk kicking back and losing control of the blade.
Clear away any rocks, dirt, or debris around the base first. Hitting a hidden rock with a chainsaw blade can ruin the tool and create a dangerous situation fast.
Aim to get the stump no more than two to three inches above ground level. That small height makes every following step dramatically more effective.
Wear thick gloves, eye protection, and steel-toed boots for this job. Safety gear is not optional when a spinning blade is involved.
Once the stump is low and flat on top, you have a clean surface to drill into. A flat stump top is your green light to move forward with confidence.
2. Drill Holes Into The Stump For Faster Breakdown
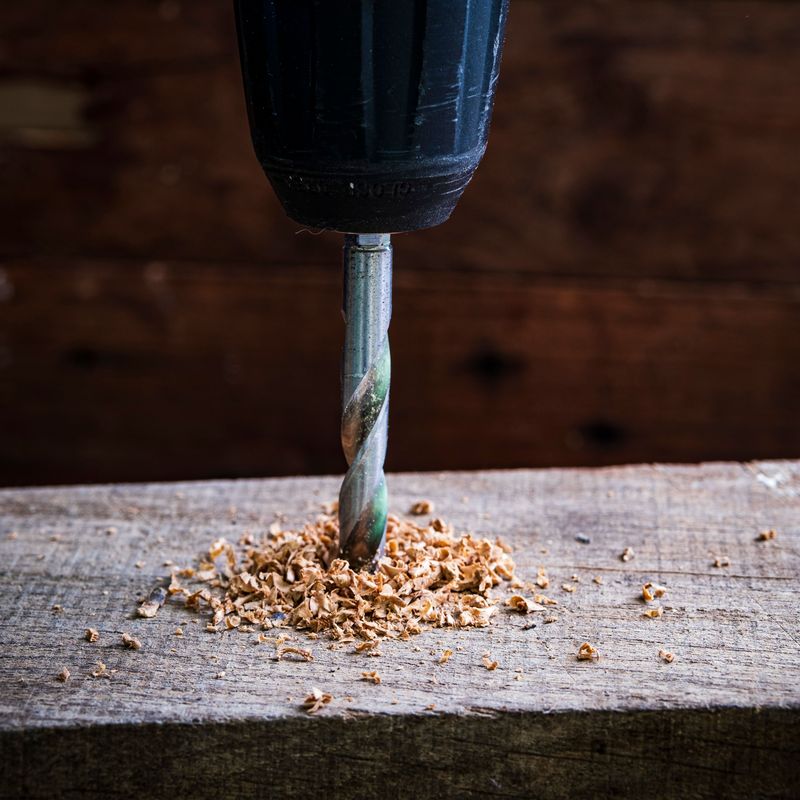
Drilling holes is a simple step that significantly speeds up decay. Those holes open up the stump’s interior and let chemicals, water, and air do serious work from the inside out.
Use a one-inch spade bit or a larger auger bit for the best results. Smaller bits leave holes that are too narrow to absorb treatment products well.
Drill straight down as deep as your bit allows, ideally eight to twelve inches. Then angle additional holes at about 45 degrees around the sides to connect with the vertical channels.
Space the holes roughly three to four inches apart across the entire top surface. More holes mean more surface area exposed, which translates to faster decay overall.
After drilling, clear out the loose wood shavings from each hole using a stiff brush or a burst of compressed air. Clean holes absorb liquids much more efficiently than clogged ones.
Your Virginia Garden Changes Every Week. Your Plan Should Too.
Gardening in Virginia changes quickly throughout the season. Every Friday you’ll receive a simple weekly plan showing exactly what to plant, prune, fertilize, harvest, and protect so you never miss the right timing.
This technique works especially well on hardwood stumps like oak and hickory, which are common across Virginia properties. Hardwood stumps are notoriously stubborn without this kind of prep work.
Think of the holes as tiny highways leading straight to the heart of the stump. Once those pathways are open, you control exactly what goes in and how fast things break down.
3. Apply A Stump-Removal Chemical To Speed Decay
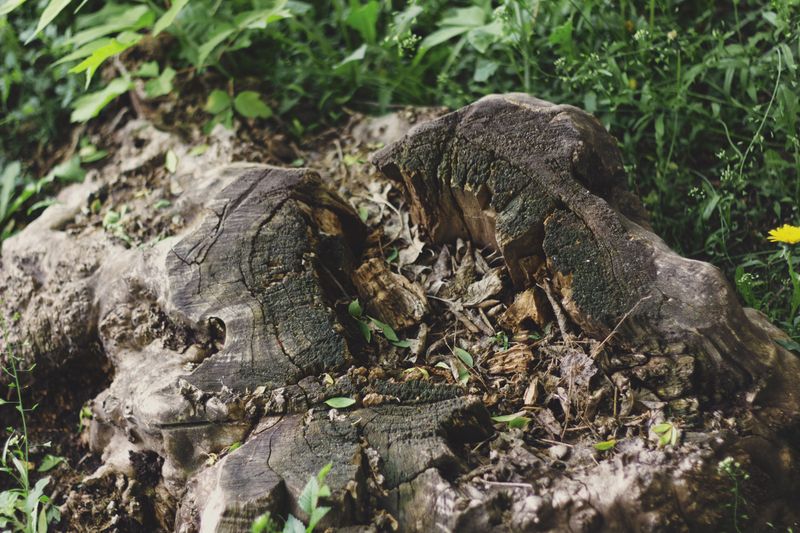
Chemical stump removers are effective, though they require patience. Products like potassium nitrate accelerate the natural rotting process by breaking down wood fibers and creating conditions that encourage fungal decay.
Pour the granules or powder directly into every hole you drilled, filling each one generously. Do not skip the angled side holes since those channels reach deep into the root system.
After adding the chemical, pour warm water into each hole to activate the product. Warm water helps the granules dissolve quickly and soak into the surrounding wood fibers.
Most stump removal chemicals typically need several weeks to show significant results, though timing varies depending on stump size and wood type. Patience is part of the process, especially with larger or older stumps that have dense, tough wood.
Always read the product label before applying anything to your yard. Some formulas require specific dilution ratios or have restrictions near garden beds and water sources.
Keep children and pets away from the treated stump during the entire waiting period. Even low-toxicity products can irritate skin and eyes on contact.
When the wood turns dark, spongy, and soft to the touch, the chemical has done its job. That spongy texture means the stump is now weak enough to break apart with basic hand tools.
Removing a tree stump from your Virginia yard gets a whole lot easier once the wood has been chemically softened from the inside out.
4. Cover The Stump To Trap Moisture And Heat
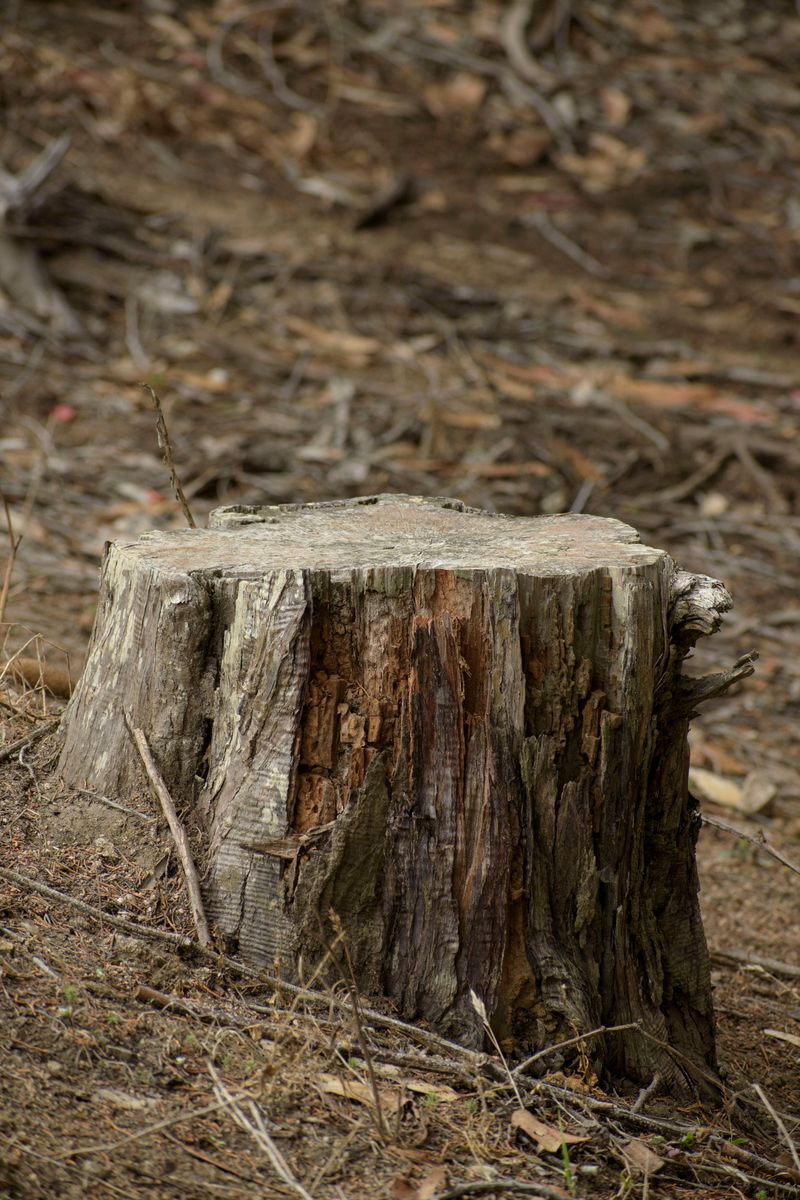
Covering the stump is one of those tricks that feels almost too simple to work. But trapping heat and moisture underneath a dark cover dramatically speeds up decomposition without any extra chemicals.
Use a thick black plastic tarp or a heavy-duty garbage bag to seal the stump completely. Black material absorbs sunlight and creates a warm, humid environment that microbes absolutely thrive in.
Secure the edges of the cover with heavy rocks, bricks, or garden stakes. A loose cover lets in air and light, which slows down the breakdown instead of helping it along.
This method pairs perfectly with the chemical treatment from the previous step. The combination of potassium nitrate and trapped heat creates a powerful one-two punch against stubborn wood.
Check underneath the cover every week or two to monitor progress. You should start seeing dark, damp, crumbling wood within a few weeks under the right conditions.
Virginia summers are actually ideal for this technique because of the heat and humidity. High temperatures and moist air create the perfect environment for fast, natural decay.
If you notice mold or fungal growth under the cover, that is actually a great sign. Fungus is a highly effective wood-decomposing organism, and its presence means the process is working.
Keep the cover in place until the stump feels soft and spongy all the way through. Then you are ready for the more hands-on removal steps ahead.
5. Dig Around The Base To Expose Major Roots
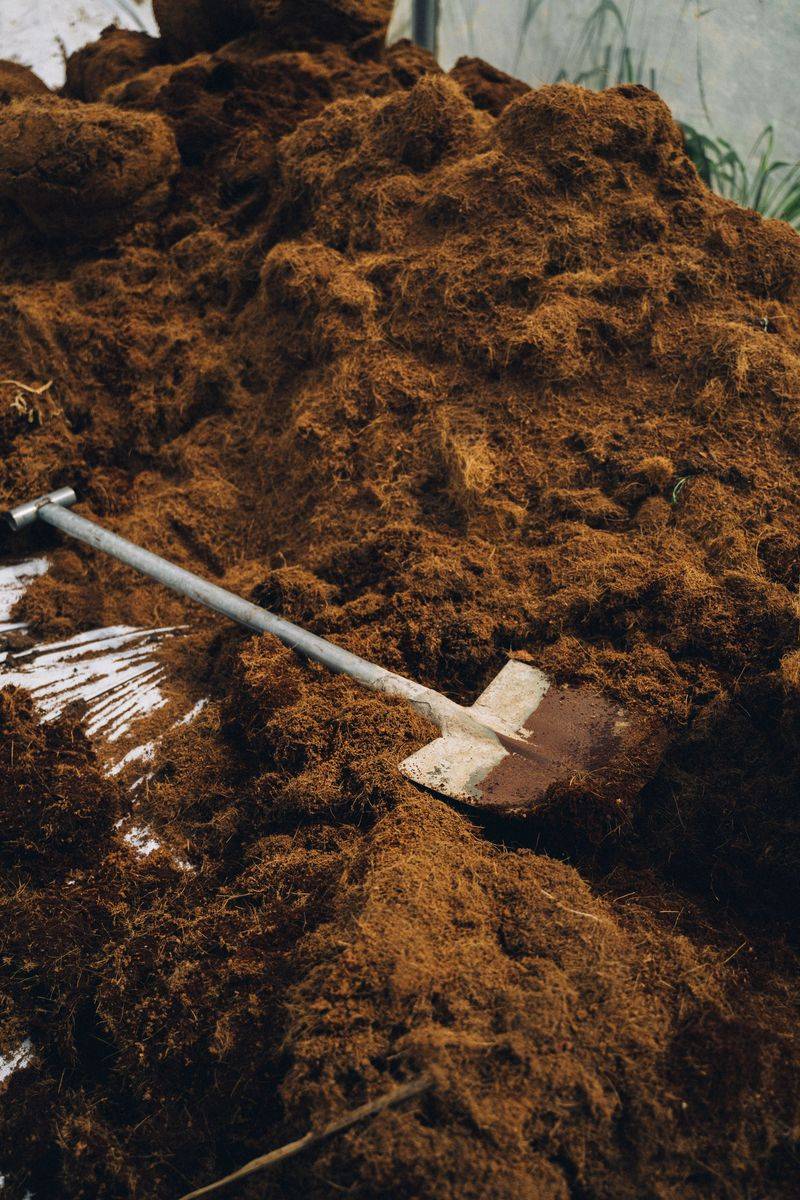
Grab a pointed spade and get ready to do some real digging. Exposing the major roots is the step that transforms a stump from an immovable object into something you can actually deal with.
Start digging a trench about six inches away from the outer edge of the stump. Work your way around the entire base, loosening soil as you go.
Virginia soil can range from heavy red clay to sandy loam depending on your region. Clay soil holds tightly around roots, so extra effort and a pickaxe may be needed in those areas.
As you dig, use a garden fork to pry away clumps of soil from around exposed roots. The goal is to reveal the top six to twelve inches of every major root.
Thick roots are the anchors holding the stump firmly in the ground. Once you can see and reach them clearly, you have the leverage you need to finish the job.
Do not worry about cutting small feeder roots as you dig since those snap easily and are not the main challenge. Focus your energy on the thick, woody roots that are as big as your wrist or larger.
A good digging session can take anywhere from thirty minutes to a few hours depending on stump size and soil conditions. Wear sturdy boots with ankle support since loose soil and hidden roots can create a tripping hazard.
Seeing those roots fully exposed feels like solving the puzzle. Now you know exactly what you are working with.
6. Sever Visible Roots With A Sharp Saw
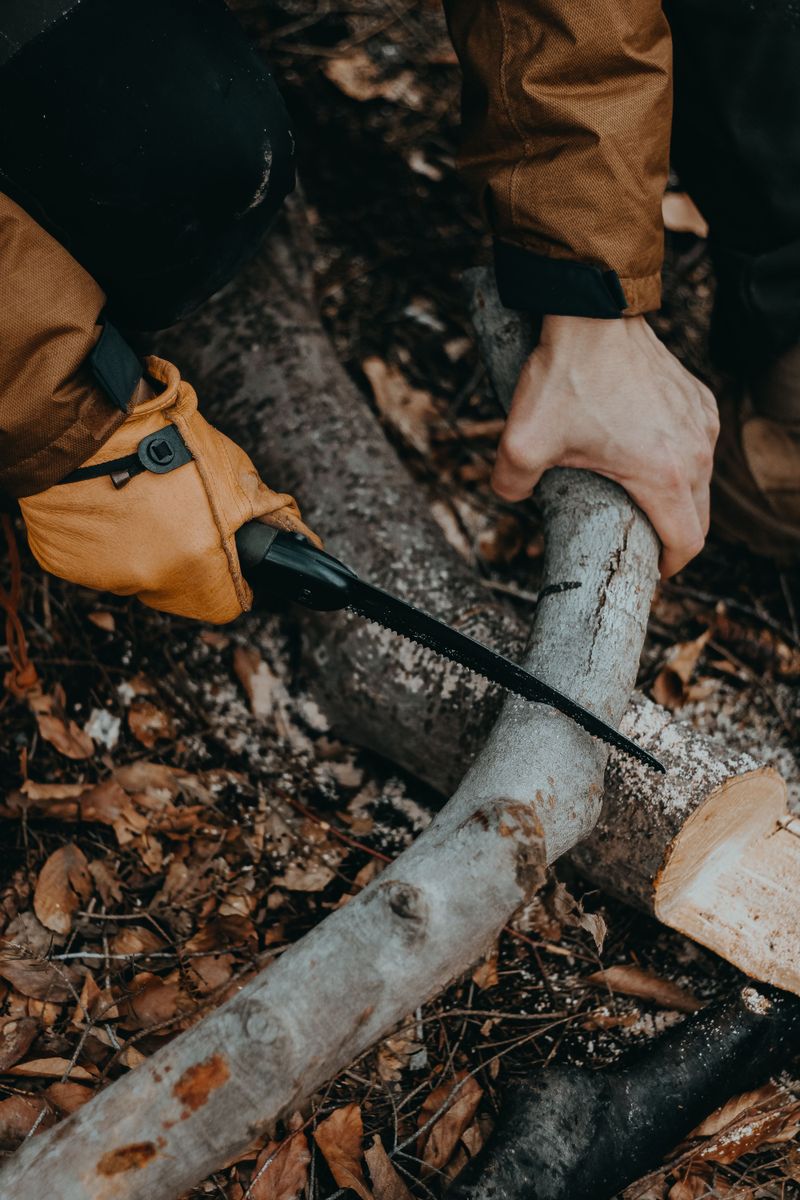
Cutting the roots is what allows the stump to come free. Once the major roots are severed, the stump loses its grip and can be rocked free from the ground.
A reciprocating saw with a wood-cutting blade is the fastest tool for this task. It handles thick, tough roots with ease and fits into tight spaces where a chainsaw cannot go.
Work your way around the stump methodically, cutting each exposed root as far from the base as possible. Longer cuts give you more leverage when you try to pry the stump loose later.
For roots thicker than three inches, make two cuts and remove a small section entirely. Removing a chunk of root prevents it from settling back into place and interfering with removal.
A sharp hand saw or a bow saw also works well for medium-sized roots in tighter spots. Keep a whetstone nearby and touch up your blade edge if it starts dragging through the wood.
After cutting, use a pry bar or a long-handled shovel to test how much the stump moves. Each severed root should give you noticeably more wiggle room.
Keep working the roots and prying until the stump tilts freely in multiple directions. At that point, a strong pull or a final push should pop it right out of the ground. Many people find it satisfying when the stump finally tips over.
7. Rent A Stump Grinder For Larger, Stubborn Stumps
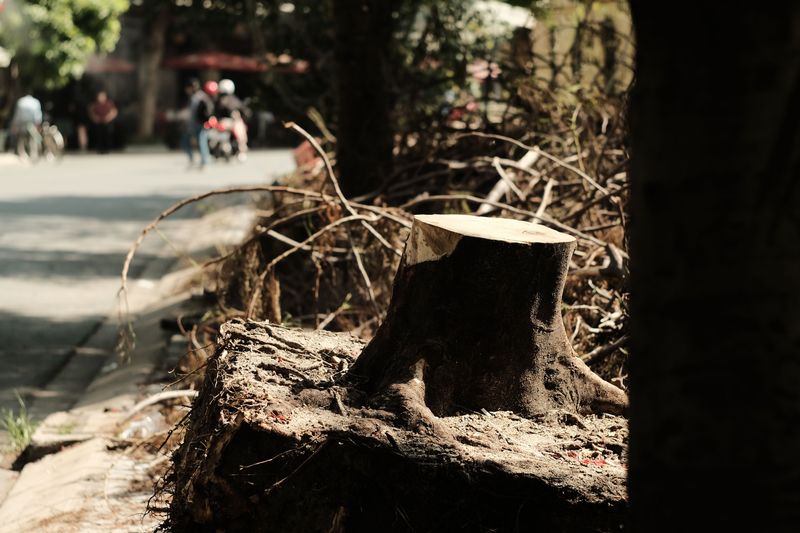
Some stumps simply refuse to budge no matter how much you dig, cut, and pry. That is when renting a stump grinder goes from a nice option to the only real solution.
Stump grinders are available at most major equipment rental shops across Virginia, with daily rental rates that vary by location and provider. That cost is a fraction of hiring a full removal crew.
The machine uses a spinning, carbide-tipped wheel that cuts through wood efficiently. It grinds the stump and surface roots down six to twelve inches below ground level.
Before you start, call 811, which is the national dig-safe hotline, to have underground utilities marked. Hitting a buried utility line with a grinder can cause serious damage or injury, so utility marking is essential.
Wear ear protection, safety glasses, and heavy work gloves when operating the grinder. Wood chips and debris fly at high speeds during the grinding process.
Work the grinder wheel back and forth across the stump in overlapping passes. Move slowly and deliberately since rushing causes the machine to bog down and wear out the cutting teeth faster.
Most rental companies offer a quick tutorial before you take the equipment home. Take them up on it, especially if you have never operated one before.
When the stump is fully ground down to below the soil line, you are officially done with the hard part. The hole left behind is your next and final challenge to tackle.
8. Fill The Leftover Hole With Soil And Grass Seed
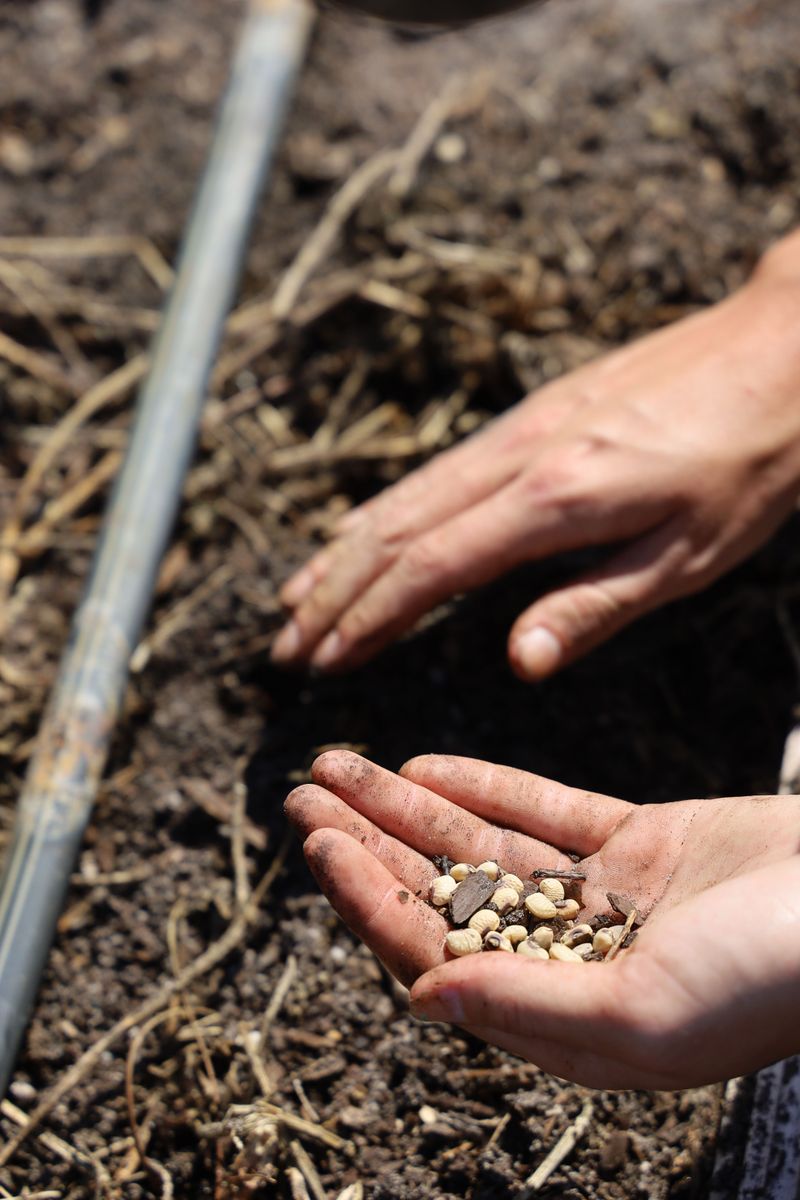
The stump is gone, but a hole remains in its place. Filling it properly is the final step that turns a rough patch back into a smooth, healthy lawn.
Mix the wood chips left by the grinder with fresh topsoil before adding it back to the hole. Wood chips alone will decompose over time and cause the ground to sink unevenly.
Fill the hole in layers, tamping each layer down firmly with your foot or a hand tamper. Loose fill settles too fast and creates a sunken spot that collects standing water after rain.
Once the hole is filled to just above ground level, rake the surface smooth and even. A slight mound is fine since the soil will compress further over the next few weeks.
Choose a grass seed blend that matches your existing lawn type for the best results. Virginia lawns commonly feature tall fescue, Kentucky bluegrass, or Bermuda grass depending on your region.
Scatter the seed generously over the filled area and press it lightly into the soil with a flat board or roller. Good seed-to-soil contact is essential for strong germination rates.
Water the seeded area lightly every day for the first two weeks, keeping the soil consistently moist but not soggy. Thin, frequent watering beats one heavy soaking when establishing new grass.
Removing a tree stump from your Virginia yard is fully complete when fresh green blades start pushing through the soil.