How To Transition A Florida Lawn From St. Augustine To A Native Ground Cover
St. Augustine grass does not give up a yard without a fight. Anyone who has tried to remove it knows that what looks like a manageable project on day one reveals its true scope by day three.
Stolons, runners, and a root system that treats setbacks as minor inconveniences. St. Augustine has been winning this argument in Florida yards for decades.
The transition is possible. It just requires a realistic approach, the right timing, and a clear sense of what the native ground cover actually needs to establish before St. Augustine reasserts itself in the gaps.
Florida homeowners who have made this shift successfully share a common experience. The first attempt taught them something the second attempt used.
A few specific decisions made early in the process determine whether the transition holds or whether St. Augustine quietly reclaims the ground that was supposed to be gone.
1. Start With The Worst Turf First
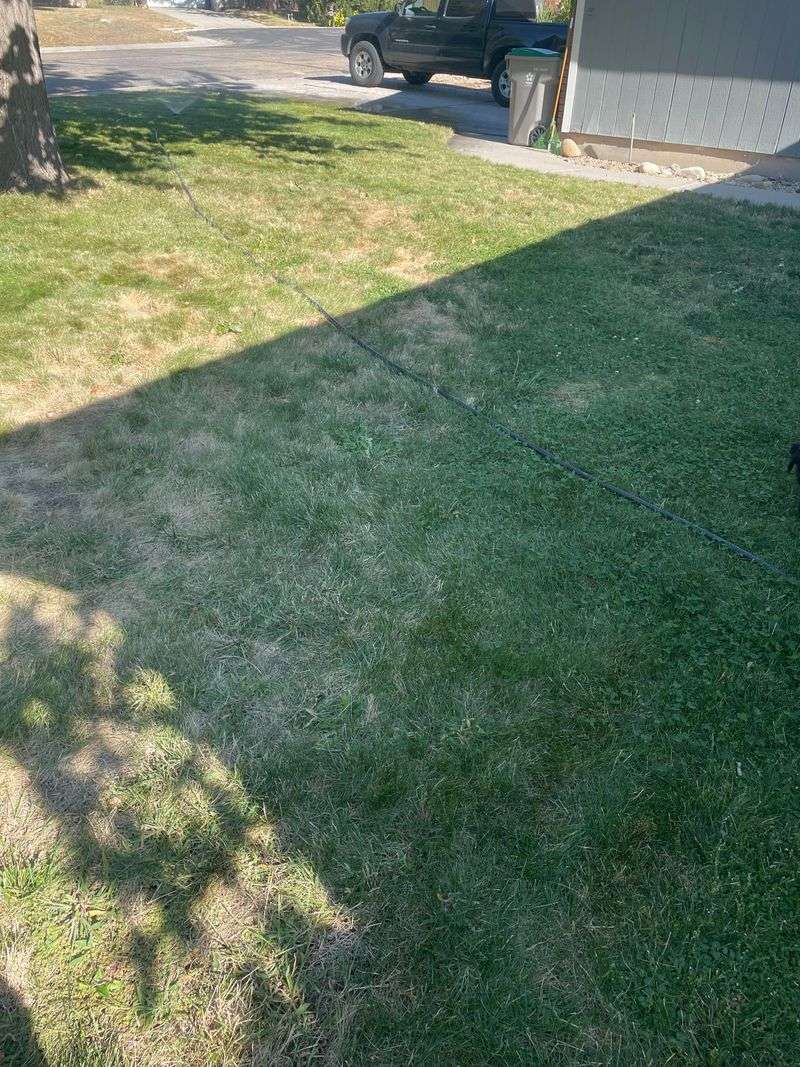
That thin, scraggly patch under the oak tree is not a failure on your part. It is actually a signal that the site conditions no longer favor St. Augustinegrass, and that is exactly where a transition should begin.
Starting with the worst turf first is one of the smartest moves a Florida homeowner can make. These are the spots that already require extra watering, extra patching, and extra frustration.
Awkward mowing strips along fences, shady tree-root zones, dry corners near the street, and perpetually soggy low spots are all good candidates. Turf rarely recovers well in these locations, no matter how much effort goes into it.
Converting one problem area at a time gives you a real advantage. You get to learn what works in your yard before expanding the project.
You can test a groundcover, observe how it handles your soil and sun conditions, and adjust your approach before committing to a larger area.
A phased approach also makes the project manageable in terms of time, cost, and labor. Removing an entire lawn at once can be overwhelming and expensive.
Tackling one section per season lets you spread out the work and the budget. Once that first converted bed looks healthy and full, the motivation to expand usually takes care of itself.
2. Choose Groundcover By Sun And Foot Traffic
Picking a native groundcover because it looks pretty in a photo is a common mistake. The plant that thrives in your neighbor’s sunny front yard may struggle completely under your dense canopy of oaks.
Site conditions should drive every plant selection decision. Start by mapping your yard into sun zones: full sun, partial shade, and deep shade.
Then consider how wet or dry each area stays after rain. Coastal yards near salt air need different options than inland neighborhoods with sandy, fast-draining soil.
Foot traffic matters just as much. Some native groundcovers can handle light stepping, while others are strictly low-traffic plants.
If pets or kids cross an area regularly, that space may still be better suited for turf. No single native groundcover replaces St. Augustinegrass in every situation, and that is perfectly fine.
Your Florida Garden Changes Every Week. Your Plan Should Too.
Gardening in Florida changes quickly throughout the season. Every Friday you’ll receive a simple weekly plan showing exactly what to plant, prune, fertilize, harvest, and protect so you never miss the right timing.
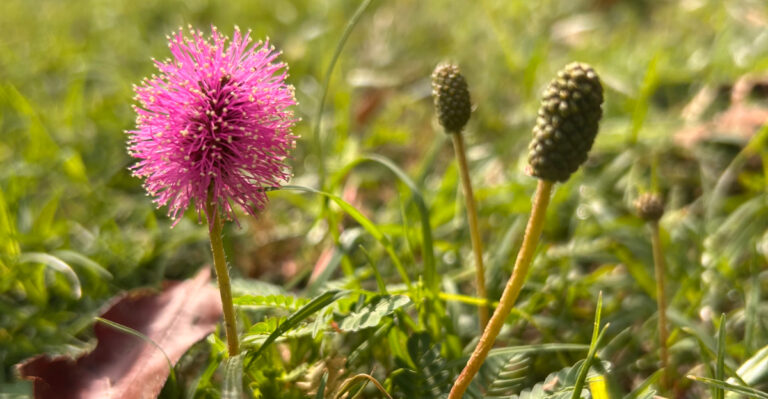
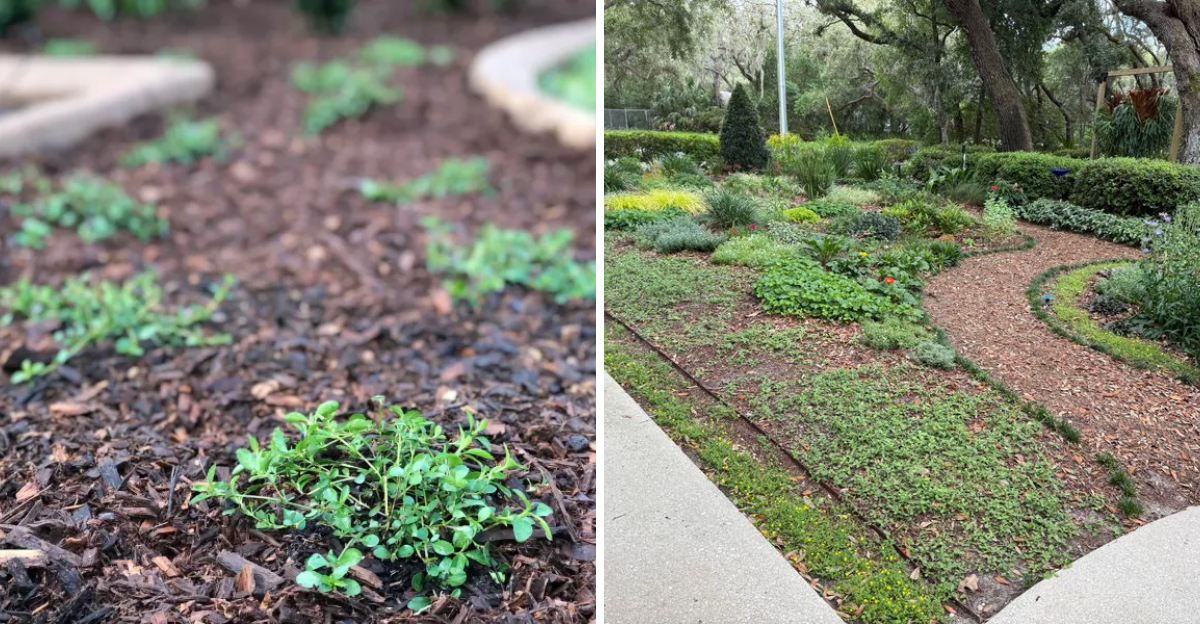
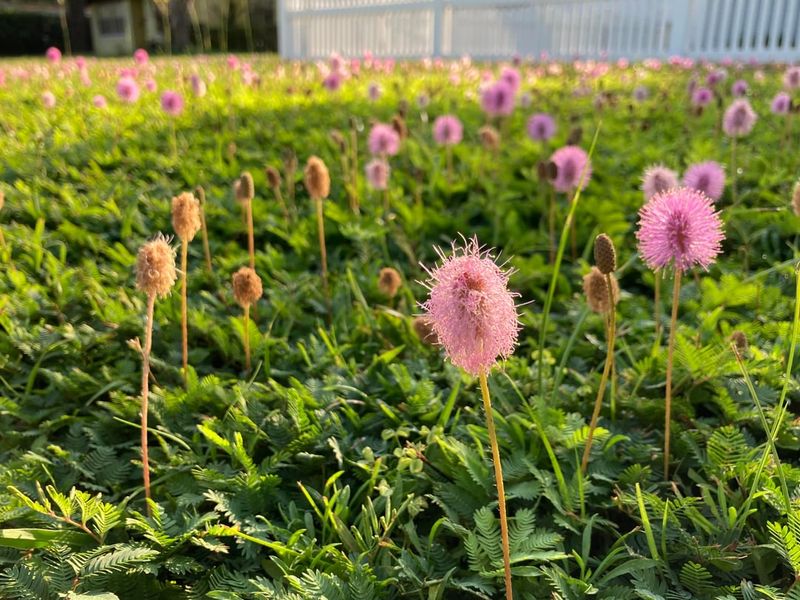
Sunshine mimosa works well in sunny, low-traffic areas and handles mowing. Frogfruit tolerates some foot traffic and moderate sun.
Native sedges like Carex floridana suit shady spots with good moisture. Twinflower and lyreleaf sage are worth considering in the right conditions.
Always verify native status and site suitability through sources like UF/IFAS or the Florida Association of Native Nurseries before planting. Right plant, right place is the rule that makes or breaks this transition.
3. Remove St. Augustine Before It Creeps Back
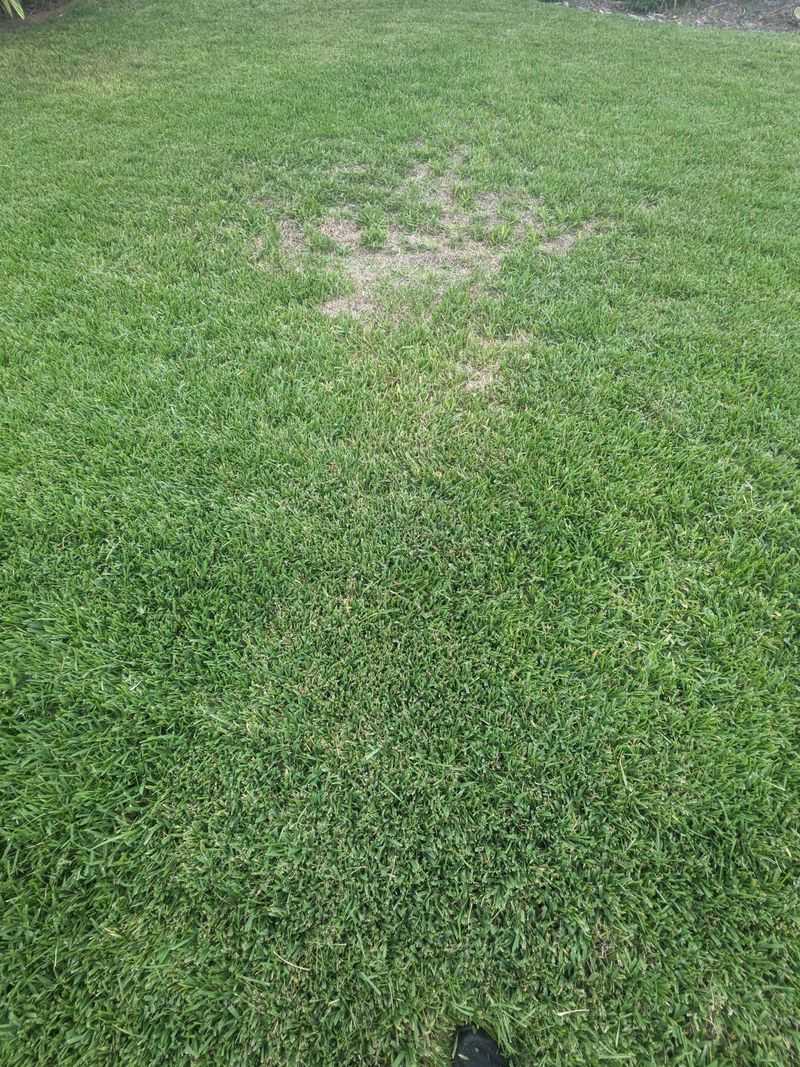
One thing St. Augustinegrass is very good at is coming back. It spreads through aboveground stems called stolons.
Even a small piece left behind in a new bed can send runners across your freshly planted groundcover within a season.
Thorough removal is not optional. It is the step that determines whether your new planting succeeds or spends its first year fighting off turf invasion.
Hand removal works well for small areas, especially when the sod is already thin. Cutting and lifting sod with a flat spade or a manual sod cutter is effective for larger patches.
Solarization involves covering moist soil with clear plastic during hot summer months. It can reduce turf and weed seed banks over several weeks, though results vary by site.
Sheet mulching with cardboard and thick organic mulch is another option some Florida homeowners use to smother turf before planting. Each method has trade-offs in time, effort, and cost.
No single approach works perfectly in every yard.
After removal, watch the edges closely. St. Augustinegrass runners from adjacent lawn areas will try to creep back in.
Check the perimeter every few weeks during the growing season and pull any runners before they root into your new bed. Staying on top of this early makes a big difference in how clean the planting looks by the end of the first year.
4. Prep The Soil Without Burying Tree Roots
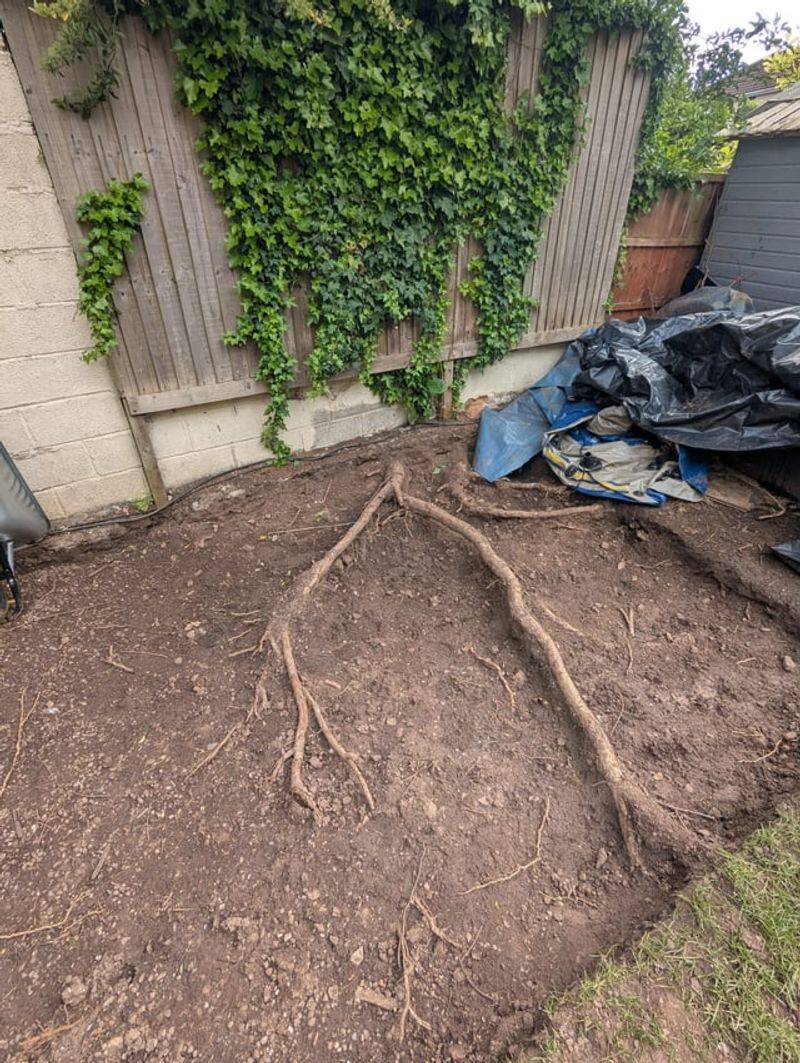
Soil preparation is important, but it comes with real limits, especially when trees are nearby. Many yards in this state have large oaks, pines, or palms with shallow root systems that spread far beyond the canopy edge.
Deep digging around tree roots can cause serious damage that shows up months later. The goal is to lightly loosen compacted surface soil where it is safe to do so, remove leftover turf debris, and improve drainage in areas that need it.
Avoid aggressive tilling near tree drip lines or in spots where you can already see surface roots.
Before you break ground anywhere, check for irrigation lines, utility lines, and any other buried systems. Call 811 to have underground utilities marked before digging.
Septic system drain fields and foundation areas also need to be respected. Digging in the wrong place can create expensive problems that have nothing to do with lawn replacement.
Adding large amounts of soil on top of tree roots is also a mistake to avoid. Even a few inches of added soil over an existing root system can reduce oxygen to the roots and create stress over time.
If the area under a tree is compacted, a light surface amendment or a thin layer of compost may help without causing harm. Keep preparation simple, safe, and site-specific.
5. Plant Plugs Close Enough To Fill In
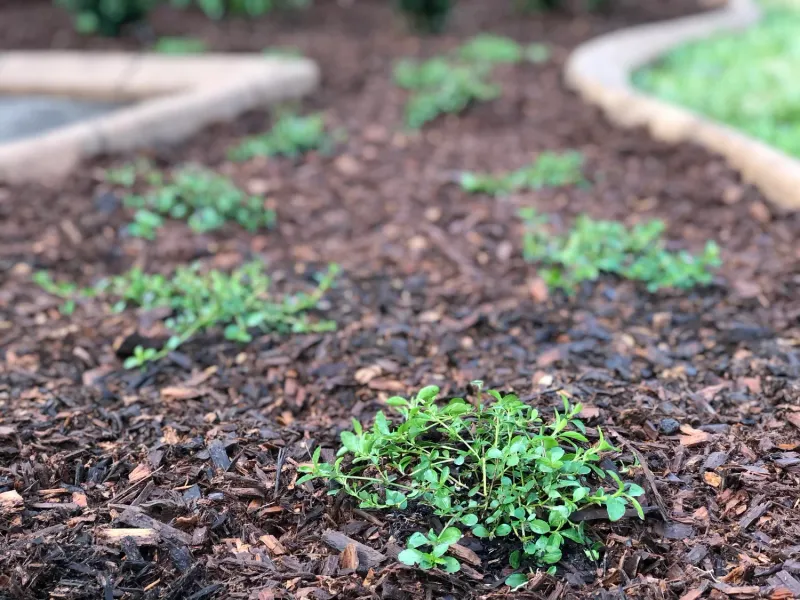
Planting day is exciting, but the spacing decisions you make in that moment will shape how your new bed looks for the next one to two years. Set plugs too far apart, and you will spend that entire time fighting weeds in open soil.
Most native groundcovers are sold as small plugs, liners, or pots from native nurseries. Spacing recommendations vary by species, but closer spacing generally means faster coverage and less open ground for weeds to colonize.
The trade-off is cost. Planting plugs at six to eight inches apart requires more plants than planting at twelve inches, but the bed fills in much faster.
Wider spacing can work if your budget is limited. You will just need more mulch between plants and more consistent weed management during the establishment period.
Some groundcovers spread by runners and fill in relatively quickly once established. Others grow more slowly and need extra patience.
Ask your native nursery how quickly a specific plant spreads under your site conditions. A plant that fills in fast in full sun may move slowly in shade.
Divisions from established plants can sometimes supplement purchased plugs and reduce costs. Whatever spacing you choose, do not skip the establishment watering.
New plugs need consistent moisture for several weeks after planting, even if the species is considered drought-tolerant once mature.
6. Mulch Gaps While Roots Settle
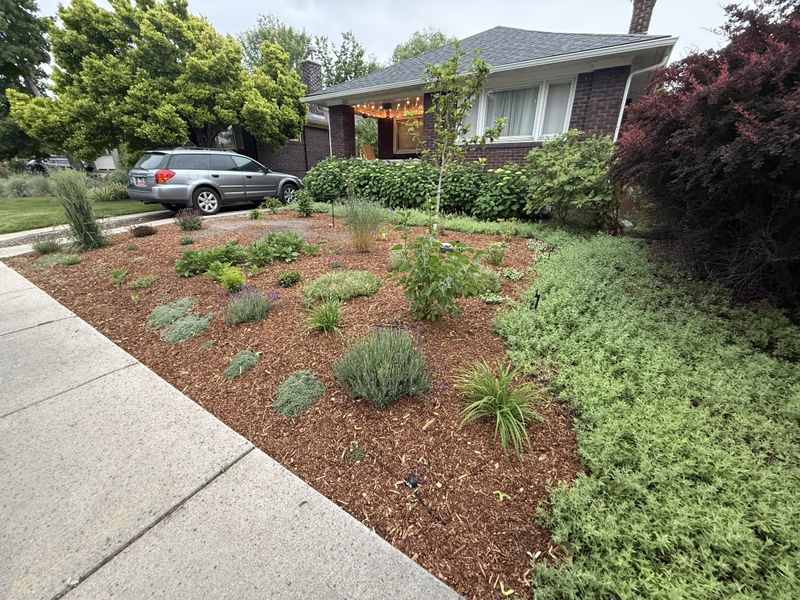
Bare soil between young groundcover plants is an open invitation for weeds. Mulch is one of the most practical tools for managing that open ground while your new planting gets established.
Apply two to three inches of mulch between plugs right after planting. Pine straw, shredded leaf mulch, or other organic options work well in most yards.
Mulch conserves soil moisture, moderates temperature during hot months, and slows weed germination. All three of those benefits matter a lot during the first growing season.
One mistake to avoid is piling mulch directly over plant crowns, stems, or runners. Too much mulch against the base of a groundcover plant can trap moisture and invite rot.
Keep mulch a few inches away from each plant’s center and spread it evenly across the open areas between them.
As the groundcover fills in over the coming months, the amount of visible mulch will naturally decrease. That is exactly how it should work.
The living plants gradually take over from the mulch, and maintenance becomes easier. You may still want to refresh mulch in thin spots during year two, but the need typically drops as coverage improves.
Think of mulch during this phase as a temporary support system, not a permanent feature. It is doing its job when the plants no longer need it.
7. Control Weeds During The First Season
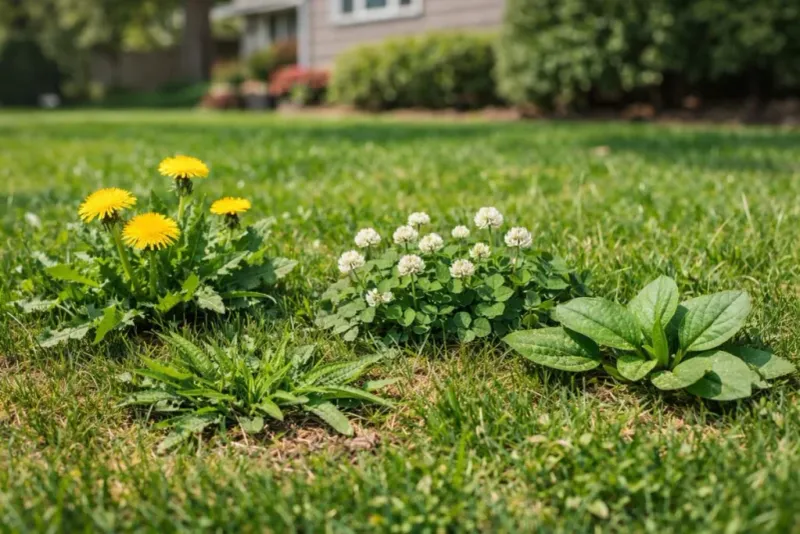
Summer rains arrive fast in this state, and so do weeds. The first season after planting is the window that determines whether your new native bed looks like a thoughtful landscape or an abandoned patch of yard.
Weed seeds were already in the soil before you started. Turf removal and soil disturbance bring them closer to the surface where light and warmth trigger germination.
Add warm-season rain, and weeds can go from seedlings to knee-high in a matter of weeks if left unchecked.
Hand-pulling small weeds right after rain is the most effective and safest approach around new plantings. Young weeds pull out easily when the soil is moist, and removing them before they set seed prevents the next wave.
Check the bed every week or two during the summer growing season. Consistent attention in the early months pays off significantly by fall.
Avoid applying herbicides randomly around new groundcover plants. Many herbicides can harm young natives, and the labels must be followed carefully for any product used.
If a specific weed problem is persistent, consult your county extension office for guidance on the safest management option for your situation. Weed pressure almost always drops as the groundcover fills in and shades the soil.
Getting through that first season with clean, consistent weeding gives your planting the best possible start.
8. Keep Edges Clean Until The Cover Takes Over
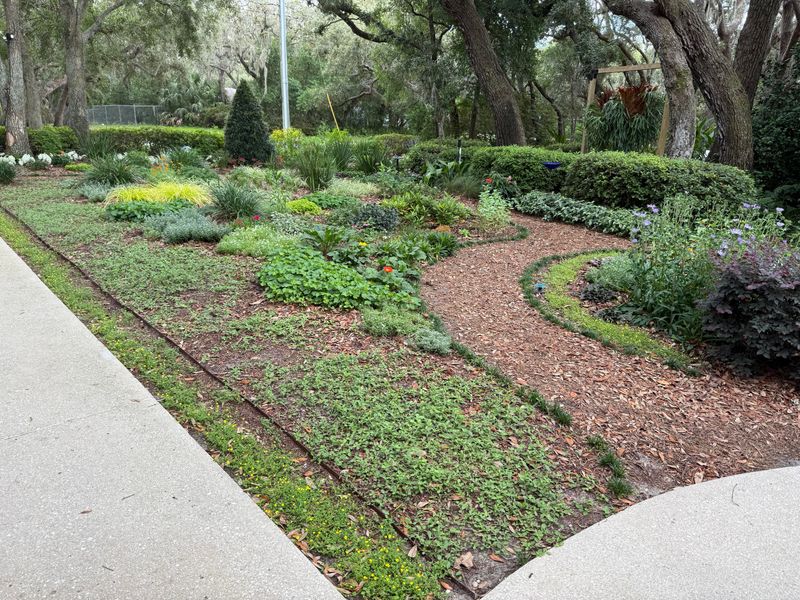
A native groundcover bed without clean edges can look unintentional, even when the plants inside it are healthy and thriving. Defined borders are what signal to neighbors, HOA reviewers, and visitors that the space is a planned landscape, not neglected turf.
St. Augustinegrass is particularly aggressive at the border. Its stolons run along the soil surface and will creep into a groundcover bed if the edge is not maintained.
A clean trench edge, paver mowing strip, or other physical barrier helps stop runners before they root in. Recheck edges every few weeks during the growing season and remove any runners that have crossed the line.
Good edging also protects the lawn side of the transition. If your groundcover spreads by runners, such as frogfruit or sunshine mimosa, it will move toward the turf as well.
Keeping a defined border manages spread in both directions and keeps the overall yard looking organized.
Patience is genuinely part of this process. A native groundcover bed often looks sparse in the first few months and fills in steadily through the first year and beyond.
Keeping edges sharp during that filling-in period makes the whole project look further along than it actually is. Each small section you convert successfully builds confidence for the next one.
A phased, well-edged transition is one of the most lasting improvements you can make to a struggling warm-weather lawn.