Pennsylvania Hellebores Need This Fall Cleanup Before Their Winter Flowers Arrive
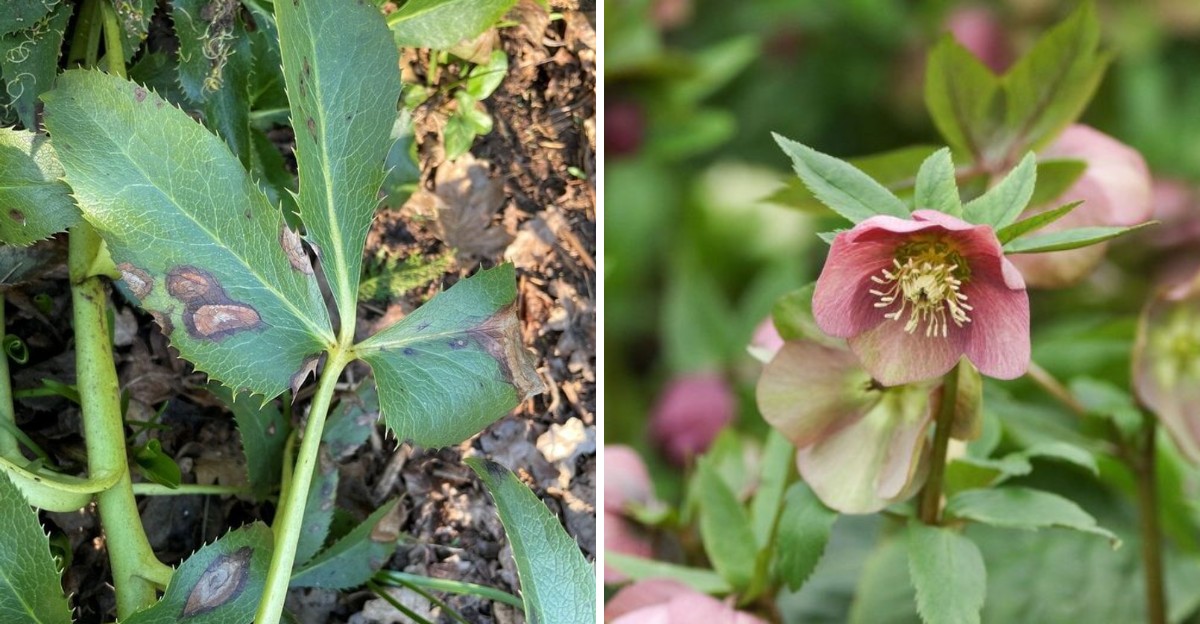
The showy blooms that open in snow each winter are not really made of petals. They are sepals, the tough outer leaves that normally guard a bud, and they can hold their color for many weeks.
That toughness explains a lot. These plants easily shrug off frost, deer mostly leave them alone, and their leathery leaves stay green in many Pennsylvania gardens until spring.
I love that kind of low-drama plant. Still, I learned the hard way that those same old leaves can hide black spots, slugs, and soggy clutter right where new buds are forming.
You need maybe twenty minutes with gloves and clean pruners this fall. The payoff shows up in the coldest weeks, when flowers rise clean and bright from tidy crowns. So which leaves stay, and which ones should go before the first bud peeks out?
1. Those Spotted Hellebore Leaves Are Hiding More Than You Think
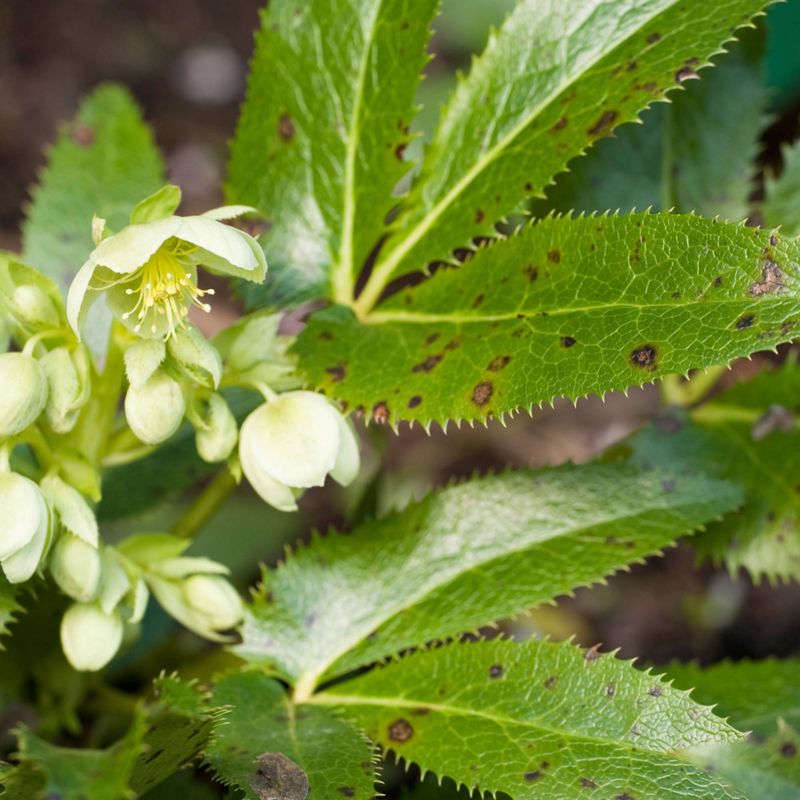
Flip over a few hellebore leaves this month and take a good look. Those dark brown or black blotches are not just age marks.
In many cases, you are seeing hellebore leaf spot, a fungal disease caused by Microsphaeropsis hellebori.
Penn State Extension and other university sources note that it thrives in cool, damp weather, which describes a typical Pennsylvania fall pretty well. The spots often start small and round, then merge into large patches with rings inside them.
I used to ignore these leaves because the plant still looked green and full. Then I noticed the spots showing up on the flower stems and buds the next winter. That was my wake-up call.
The fungus survives on old infected foliage. When rain or a garden hose splashes water on those leaves, spores travel to fresh growth nearby.
So the leaves you leave behind in October can quietly shape how your flowers look in February.
Healthy leaves, by contrast, help the plant store energy and protect the crown through cold snaps.
That is why fall cleanup is about choosing carefully, not clearing everything. Your goal is simple: remove the problem leaves and keep the strong ones working.
2. Snip Only the Damaged Hellebore Foliage This Fall
Grab your sharpest pruners and leave the hedge shears in the shed. Fall is a selective trim, not a big haircut.
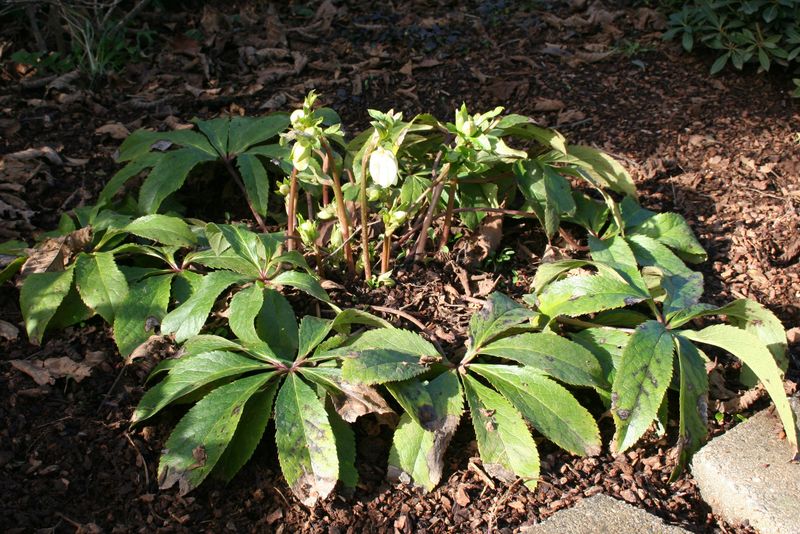
Start by looking for leaves that are yellow, torn, flattened, or covered in spots. Follow each one down to the base and snip it as close to the ground as you comfortably can. Leaving long stubs just gives fungus another place to hang out.
Keep the glossy, healthy leaves in place for now. They stay evergreen in much of the state and help shade the crown during harsh freeze and thaw cycles.
Many gardeners remove the rest of the old foliage later, in late winter, once flower buds start to show.
Here is a habit that saves trouble. Wipe your blades with rubbing alcohol or a mild bleach solution between plants, especially after cutting spotted leaves. It takes a few seconds and helps keep disease from hitching a ride to the next clump.
Personally, I work around the plant like a clock face, checking every section before I move on.
You might be surprised how many hidden bad leaves sit underneath the healthy top layer. When you finish, the plant should look lighter and more open, but still green and full of life.
3. Rake Fallen Tree Leaves Away From the Hellebore Crown
Shady spots under oaks and maples are where hellebores shine. They are also where piles of soggy tree leaves love to collect each November.
A thick, wet mat of leaves pressed against the center of the plant traps moisture and blocks airflow.
That stale, damp pocket is exactly what leaf spot and crown rot enjoy. It also makes a cozy hideout for slugs, which happily chew on emerging buds during mild winter spells.
Use a small hand rake or your fingers to clear debris from the crown. Pull out twigs, matted leaves, and any weeds that sneaked in during late summer. Be gentle, because flower buds may already be forming low in the clump.
You do not have to leave the soil bare, though. Shredded leaves make fine mulch a little farther out, and they help pollinators and soil life. The key word is shredded, since whole leaves pack down into a slick blanket.
I find this job oddly relaxing on a crisp afternoon. Plan to check again after big leaf drops or a windy storm, because neighboring trees often keep shedding into early December.
A quick five-minute sweep each time keeps the crown breathing easy.
4. Christmas Roses and Lenten Roses Like Different Cleanup Schedules
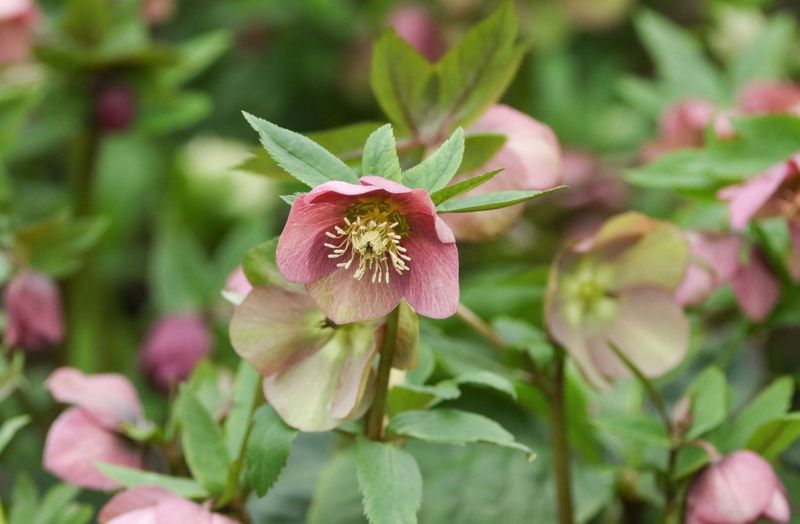
Not every hellebore keeps the same calendar. The two most common types in home gardens bloom at different times, so your cleanup timing should shift a bit too.
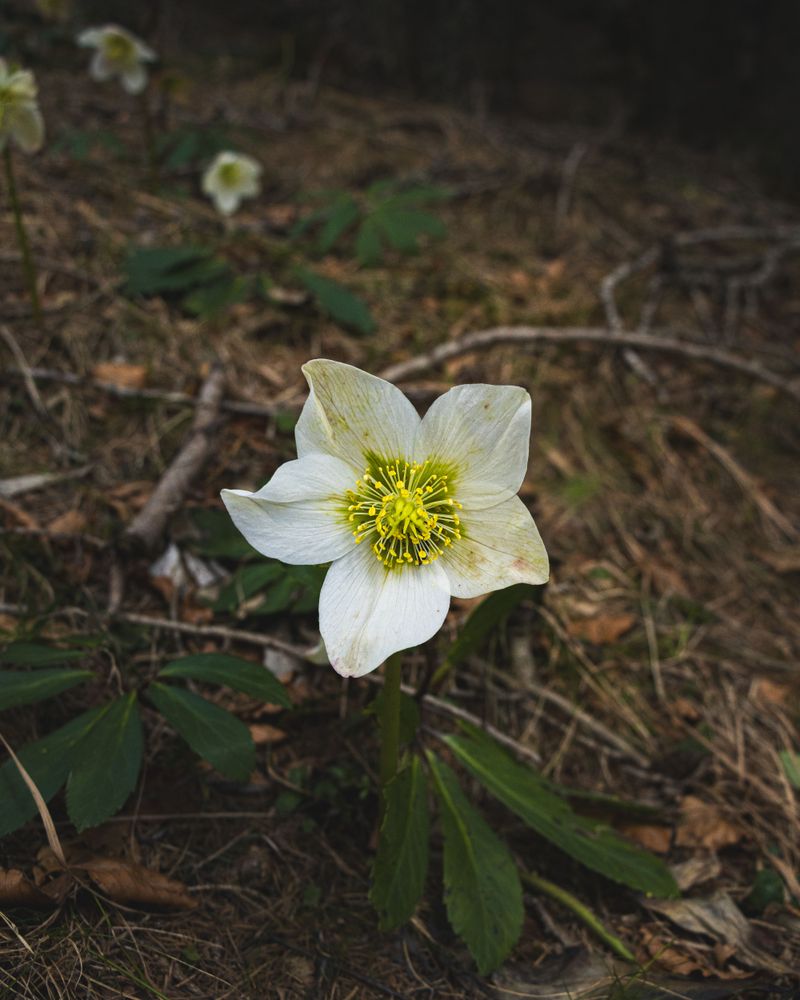
The Christmas rose, Helleborus niger, is the early bird. Despite its name, it rarely blooms on Christmas in Pennsylvania, but it can open anywhere from December through February in milder winters and protected spots.
Since buds may appear soon after fall cleanup, give these plants their tidy-up in October or early November.
Lenten roses, the Helleborus x hybridus group, usually flower from late February into April. Many gardeners do a light fall cleanup of damaged leaves, then cut back the remaining old foliage in late winter.
That second trim lets those nodding flowers show off without a tangle of tired leaves around them.
Fun fact: Lenten roses got their nickname because they often bloom around Lent. They are not roses at all, though. Hellebores belong to the buttercup family.
Not sure which type you have? Look at the leaves and flowers. Christmas roses usually have white blooms that age to pink, while hybrids come in plum, pink, cream, speckled, and even near-black shades.
5. Bag Those Blackened Hellebore Leaves Instead of Composting Them
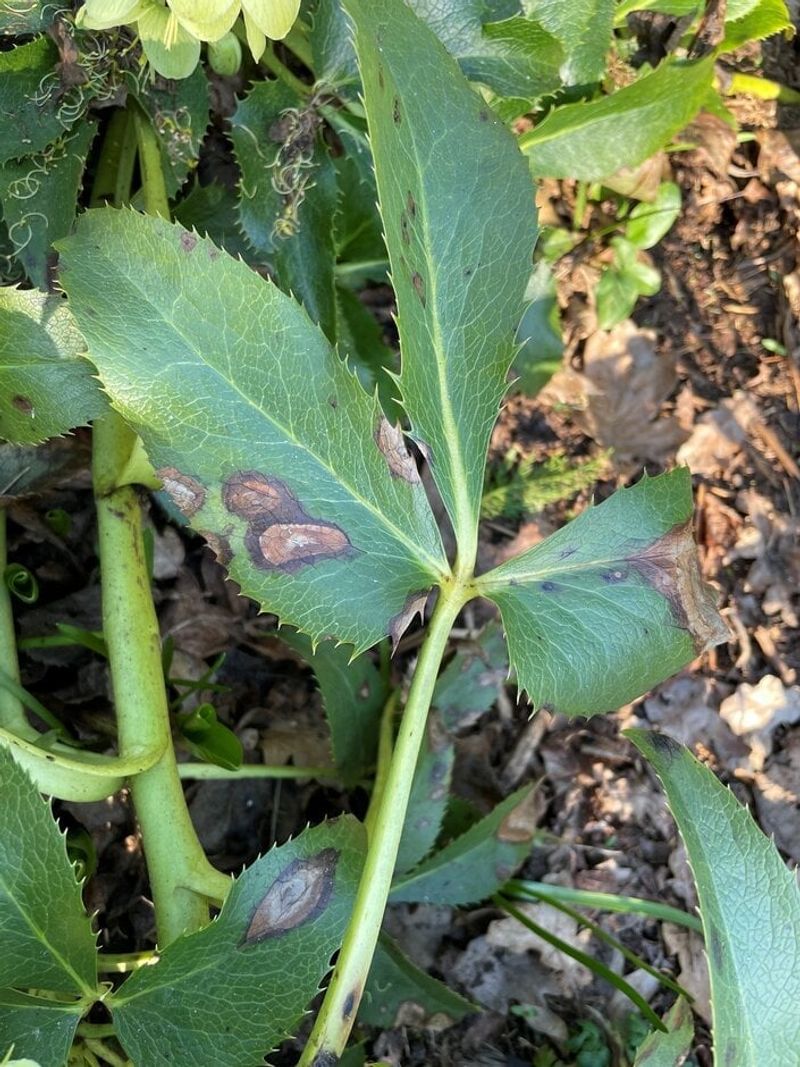
My compost bin and I have an understanding. It gets coffee grounds and veggie scraps, but it does not get spotted hellebore leaves.
Most backyard compost piles do not heat up enough to reliably break down fungal spores. If you toss infected foliage in there, you might spread the problem back across your beds next spring.
Penn State and other extension sources commonly recommend removing diseased plant material from the garden.
So where should it go? Bag it with your household trash, or check whether your township yard waste program accepts it.
Many municipal composting sites run hotter than home piles, but local rules vary, so a quick call or website check helps.
Healthy, clean leaves you trim later are a different story. Those can go into compost without much worry. The rule is easy to remember: spots go in the bag, green goes in the bin.
One more tip comes from experience. Collect the cut leaves in a bucket as you go instead of dropping them on the ground.
Spotted leaves left on the soil, even for a day, can shed spores when rain hits. A little tidiness during the job makes the whole effort worth it.
6. Put Gloves Before You Touch Hellebore Sap
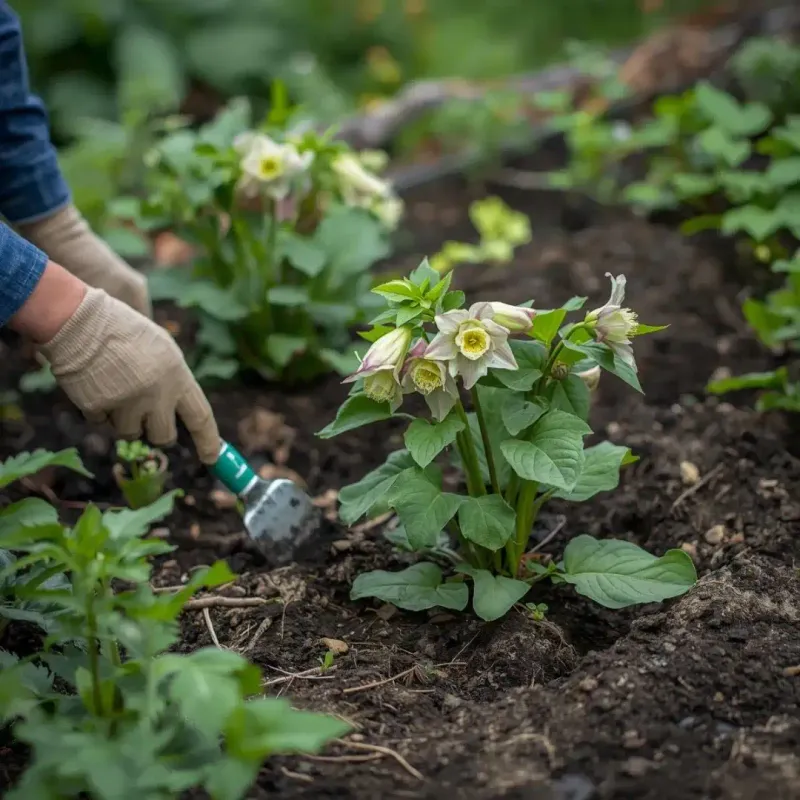
Hellebores have a sneaky side. Every part of the plant contains compounds that can irritate skin and upset your stomach if eaten.
That is part of why deer and rabbits usually walk right past them. It is great for the garden, but it means you should treat cleanup with a bit of respect. Sap from cut stems can cause redness or itching for people with sensitive skin.
Wear a pair of snug garden gloves, ideally ones that resist moisture. Long sleeves help too, since the leaf edges are often stiff and a little saw-toothed. I learned this after one bare-armed afternoon left my wrists itchy for a day.
Keep curious pets and small children nearby in mind. Collect the clippings quickly instead of leaving them where a dog might chew them.
If anyone does swallow plant parts, call a poison control center or your veterinarian for advice.
Wash your hands after gardening, even with gloves on. It sounds fussy, but it becomes second nature fast.
Honestly, this toxic streak is one reason I value hellebores so much. They bring color to shady corners in the dead of winter without becoming a buffet for hungry wildlife.
7. A Light Blanket of Shredded Leaf Mulch Keeps Hellebore Roots Cozy
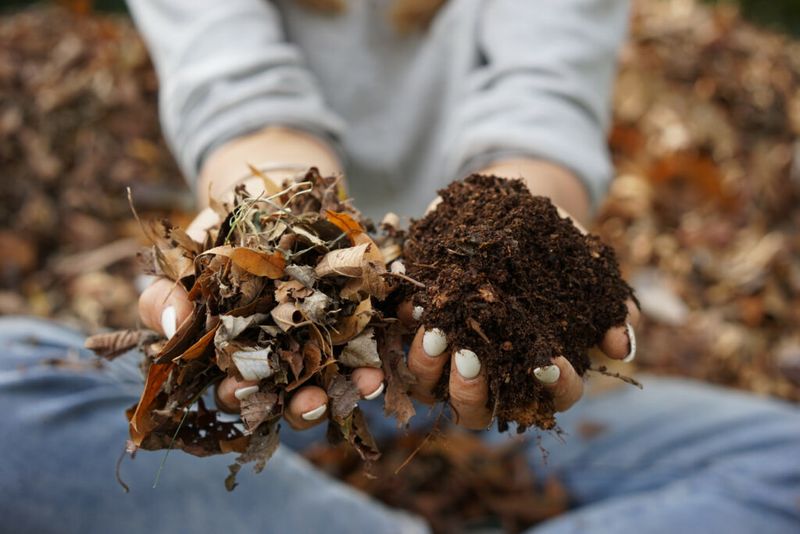
Once the crown is clean, it is time to tuck the roots in for winter. Think cozy blanket, not heavy quilt.
Spread about one to two inches of shredded leaves, finely ground bark, or compost around each plant. This layer helps steady soil temperatures during the repeated freezes and thaws common across Pennsylvania.
Those swings can heave shallow-rooted plants out of the ground, especially young ones planted this year.
Leave a few inches of open space right around the crown. Mulch piled against the center holds moisture and can lead to rot. A neat ring that starts a hand width away does the job well.
Timing matters a little. Mulching after the ground starts to cool, often in November, works nicely in most of the state.
Gardeners in colder zone 5 areas of the north and higher elevations may benefit from the full two inches, while milder southeast gardens can get by with less.
Before you mulch, give plants a deep drink if fall has been dry. Evergreen leaves keep losing moisture through winter.
Well-watered soil going into the cold season gives your hellebores a steadier start when bloom time finally arrives.
8. Watch for Fat Hellebore Buds Pushing Up Through the Snow
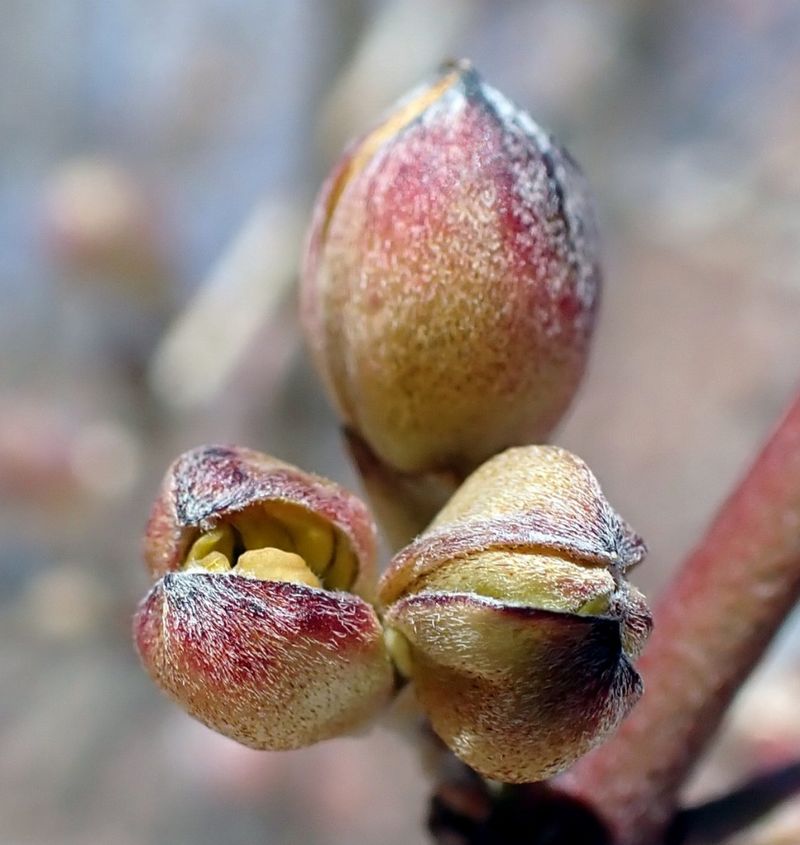
Here comes the fun part, and it starts with patience. A few weeks after your cleanup, kneel down and peek into the center of each clump.
You may spot plump, rounded buds sitting low near the soil. On Christmas roses, they can appear as early as December.
Lenten rose buds usually rise in late winter, then stretch upward on thick stems as days lengthen.
Since you already cleared the clutter, these buds have room to grow and plenty of airflow. Check them now and then for slug damage during mild, wet spells.
A few small holes are common, but heavy chewing calls for hand-picking slugs at night or using an iron phosphate bait labeled for gardens.
When the Lenten roses begin flowering, finish the job by cutting any remaining old leaves. Fresh new foliage will follow right behind the blooms. Many gardeners do this in late February or early March, depending on the region.
My favorite trick? Float a few cut blooms in a shallow bowl of water indoors, since they often droop in tall vases. It turns a quick fall chore into a winter reward you can enjoy at the kitchen table.