10 Perennials New York Gardeners Are Digging Up And Moving This Week
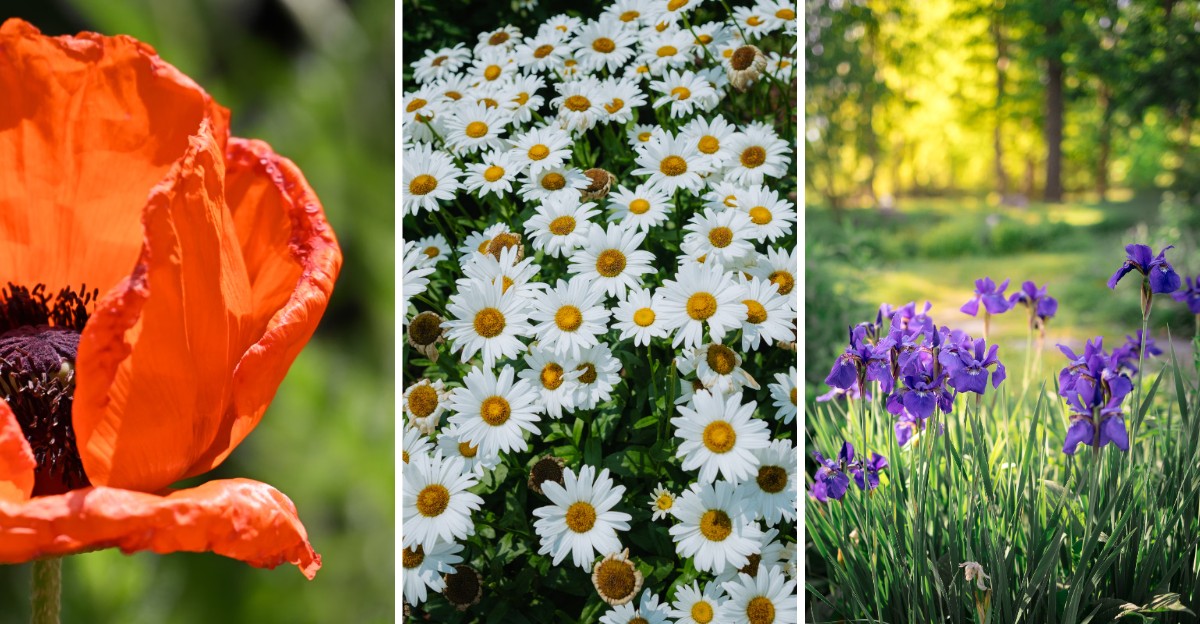
Beneath your daylily clump, crowded roots are competing for space right now. Chances are you noticed the warning signs in July. Fewer blooms appeared. Hollow centers opened up.
Hostas shrank while neighbors sprawled across the path. September fixes this for New York gardeners who move quickly. Soil across New York holds summer heat after nights turn crisp.
That warmth pushes fresh root growth while cool air spares tender foliage. Divided plants anchor fast, then return stronger in spring.
Peonies, bearded irises, and coneflowers respond especially well. Wait too long, though, and cold ground stalls new roots. Timing matters more than muscle.
Rushed cuts invite trouble, while clean splits multiply your collection for free. Imagine filling bare corners without paying nursery prices.
Picture gifting extra clumps to neighbors who admire your borders. Master these moves now, before colder October weather arrives.
1. Peonies That Stopped Putting On A Show
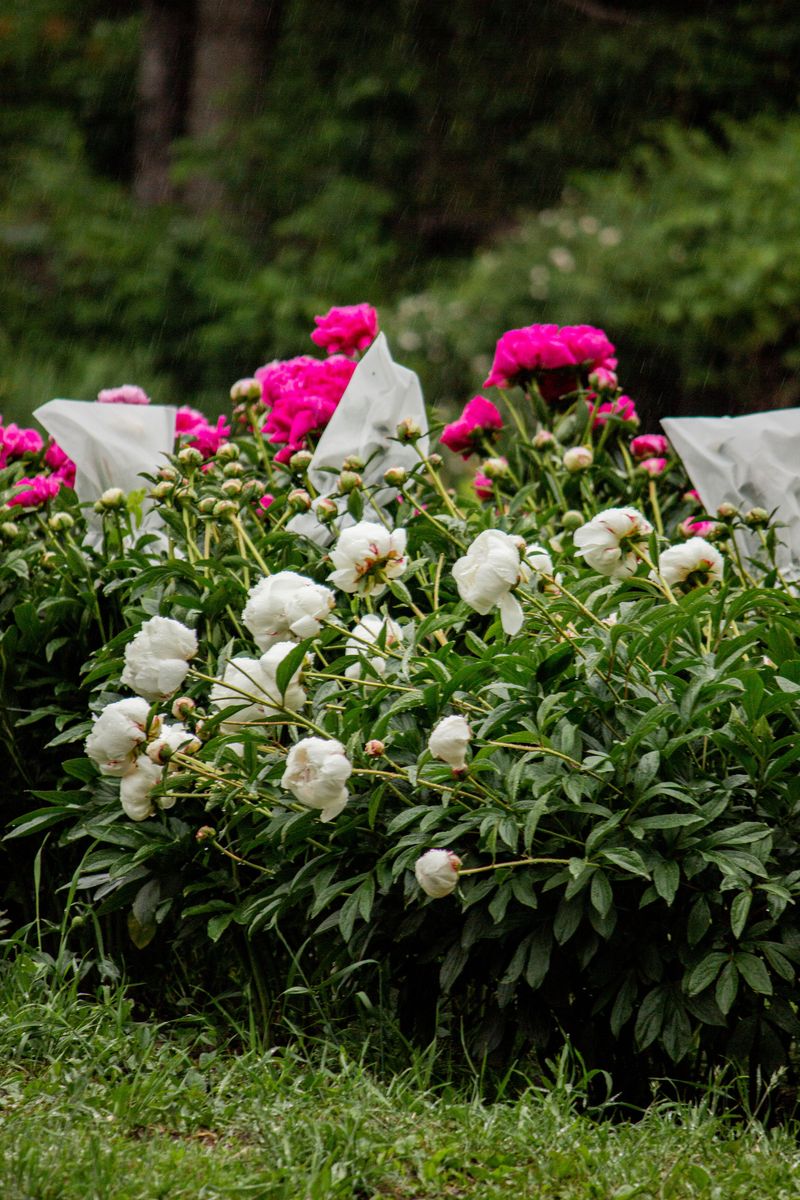
Grandma’s peony bush might be older than your car, and honestly, it deserves some respect. Yet if it produced mostly leaves this year, the roots may be crowded or planted too deep.
September is the golden window for moving peonies in New York. Spring transplants often take longer to recover, while fall moves settle in before the ground freezes.
Start by cutting the stems down to a few inches above the soil. Then dig a wide circle, about a foot out, so you save as many roots as possible.
Look for the pink or red buds called eyes on the chunky roots. Each new piece should have three to five eyes to bloom well.
Here is the big secret: plant those eyes only one to two inches below the surface. Place them deeper, and your peony may produce leaves without flowers.
Pick a sunny spot with at least six hours of light each day. Fun fact: some peonies keep blooming in the same garden for over fifty years.
Water the new spot well, then add a light layer of mulch after the first hard frost. Be patient, since moved peonies may skip flowering next spring.
2. Daylilies That Crowded The Whole Bed
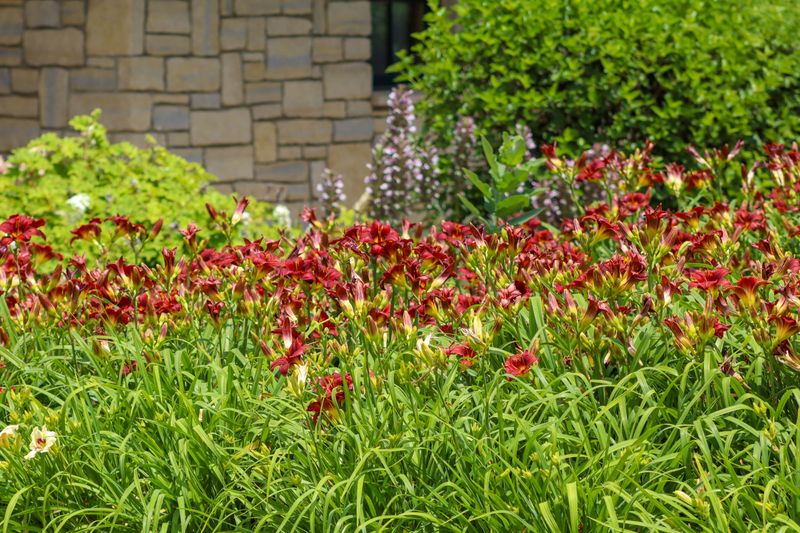
Daylilies are the houseguests who arrive for a weekend and somehow stay for a decade. They spread, they multiply, and eventually they elbow out everything else in the bed.
When a clump makes fewer flowers than it used to, crowding is usually the culprit. Every three to five years, a fresh start does wonders for them.
Luckily, daylilies are just about impossible to mess up, even for brand-new gardeners. Dig up the whole clump with a sturdy spade and shake off the loose soil.
Next, pry the clump apart with two garden forks placed back to back. Each division should keep at least two or three fans of leaves attached to healthy roots.
Trim the leaves down to about six inches so the roots can focus on settling in. Replant at the same depth they grew before, with the crown right at soil level.
Your New York Garden Changes Every Week. Your Plan Should Too.
Gardening in New York changes quickly throughout the season. Every Friday you’ll receive a simple weekly plan showing exactly what to plant, prune, fertilize, harvest, and protect so you never miss the right timing.
New York gardeners have until about mid-September to finish this job comfortably. That timing gives roots roughly six weeks to grip the ground before frost.
Got a pile of extra pieces? Share them with neighbors or a community garden, since nobody on your block needs forty orange daylilies.
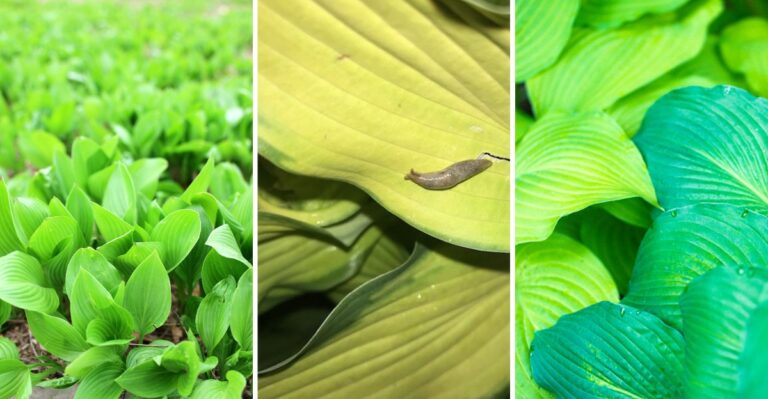
3. Hostas That Outgrew Their Shady Spot
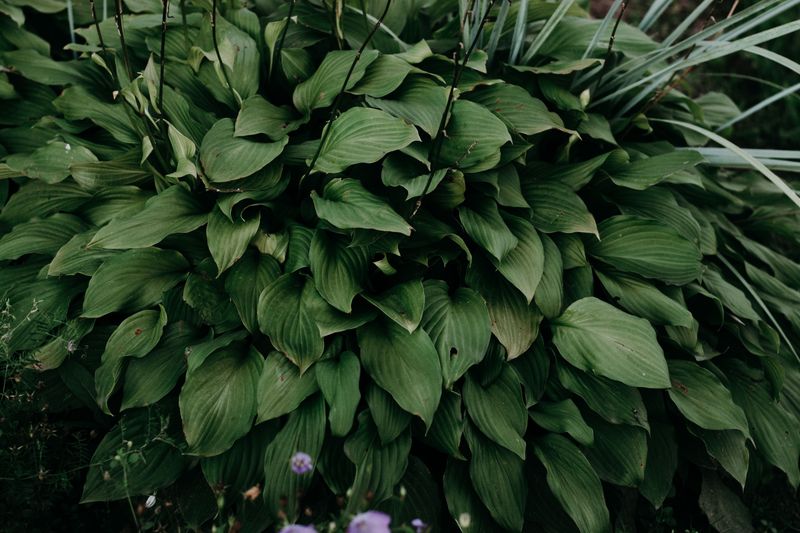
There are thousands of named hosta varieties, and nearly all of them share one habit. Give them a few years in the shade, and they grow wider than a patio chair.
Big is lovely until your hosta spreads over the walkway or shades out the ferns beside it. Early September is a smart time to split and move them in New York.
The soil still holds summer warmth, which helps new roots grow quickly. Meanwhile, cooler air means less stress on the big leaves.
Water the plant deeply the day before you dig, so the roots come out plump and hydrated. Then lift the whole clump and slice it into sections with a sharp spade or bread knife.
Yes, a bread knife works great, and hostas barely seem to notice the surgery. Just make sure each piece has a few leaves and a healthy chunk of roots.
Replant the pieces at the same depth, spacing them based on their mature size. Keep the soil moist for the next few weeks, especially during warm spells.
Worried about deer? Planting divisions closer to the house may help, though repellents or fencing offer more reliable protection.
4. Siberian Irises That Formed Hollow Rings
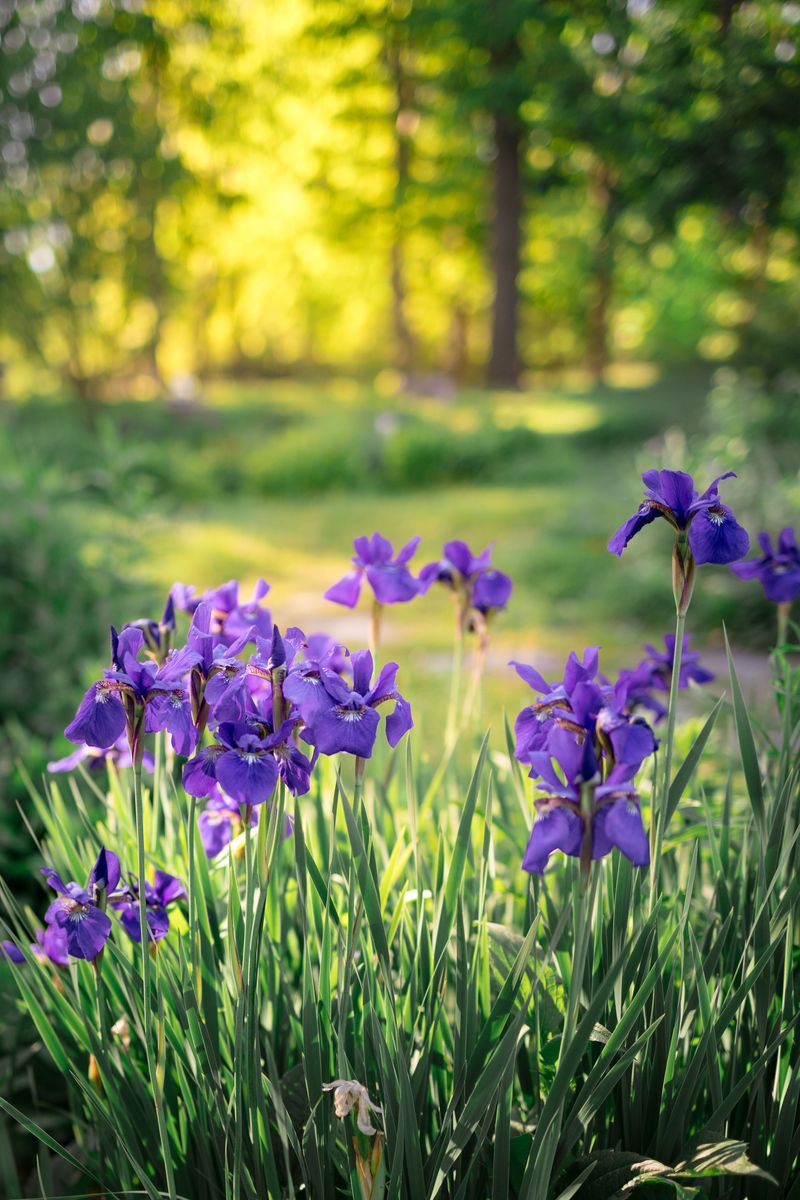
Picture a green donut sitting in your flower bed, and you have a crowded Siberian iris. The middle goes bare while the leaves keep marching outward in a ring.
That empty center is the plant’s way of asking for help. It usually shows up after five or more years in the same spot.
Late August through mid-September works well for dividing them in the New York area. Dig up the whole clump, which can be surprisingly heavy, so bring a friend or a strong back.
Siberian iris roots are tough and wiry, much tougher than bearded iris roots. A sharp spade, a hatchet, or even an old saw can help you cut them apart.
Toss the woody, empty middle into the compost pile. Keep the healthy outer sections, each with several fans and a good handful of roots.
Cut the leaves back by about half, then replant roughly one to two inches deep. Unlike their fussier cousins, these irises love moist soil and plenty of water.
Bonus: Siberian irises handle chilly winters like champs, which makes them perfect for upstate gardens. Once settled, they rarely need fussing for years.
5. Bearded Irises That Got Too Tangled
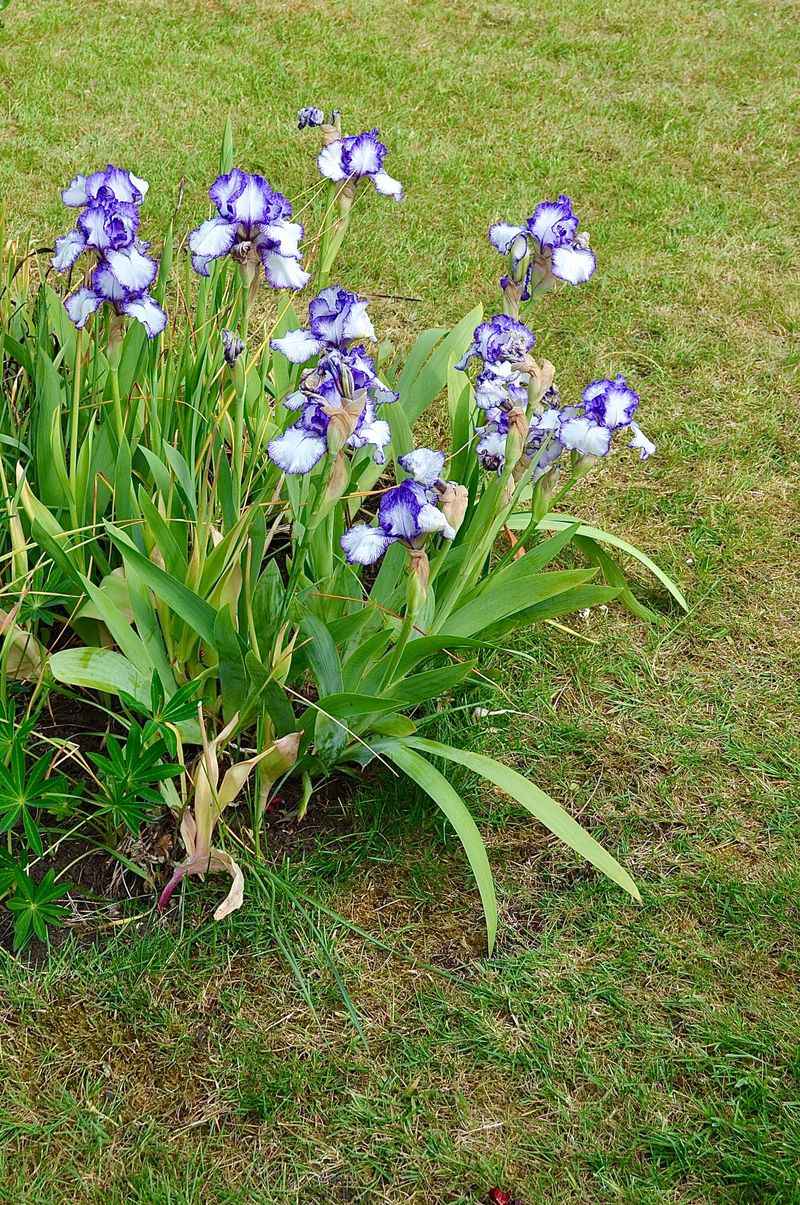
Bearded iris rhizomes look like potatoes that went to the gym and got a little too confident. After a few years, they pile on top of each other like a messy stack of laundry.
Crowded rhizomes bloom less and can hide a damaging pest called the iris borer. Early September is your last good chance to fix things before cold weather arrives.
Lift the clump with a garden fork and gently pull the rhizomes apart. Cut away any soft, mushy, or smelly pieces, because those are signs of rot or borers.
Keep firm, healthy rhizomes about the size of a thumb or larger, each with a fan of leaves. Trim those leaves into a neat fan shape, roughly a hand’s length tall.
Now comes the weird part that surprises beginners. Bearded irises like their rhizomes sitting right at the surface, with the tops peeking out like sunbathing turtles.
Planting them too deep is the most common reason they refuse to flower. Give them full sun and soil that drains quickly after rain.
Label each piece with a marker on its leaves before replanting. Otherwise, next June becomes a surprise party where nobody knows which color is coming.
6. Oriental Poppies That Went Quiet In Summer

Every July, gardeners are surprised when their Oriental poppy fades into a heap of yellow leaves. Relax, because that disappearing act is perfectly normal summer dormancy for this dramatic plant.
Now, in early fall, poppies wake up and push out a fresh clump of fuzzy leaves. That makes September the ideal moment to move or divide them.
Poppies grow a long taproot, a bit like a carrot, so they dislike being disturbed. Dig deep, at least a foot down, to lift as much root as you can.
Here is a neat trick: any root piece left behind may sprout a brand new plant. Gardeners actually use root cuttings, about three inches long, to multiply their favorite poppies.
Replant your poppy in a sunny spot with loose soil that drains well. Soggy winter ground is one of the few things these tough plants cannot handle.
Plan ahead for next summer’s quiet stage by planting late bloomers nearby. Asters or catmint can fill the gap after poppies fade in July.
Those crepe-paper petals are worth the effort, trust me. A single established plant can produce plenty of flowers the size of a salad plate.
7. Garden Phlox That Lost Its Pep
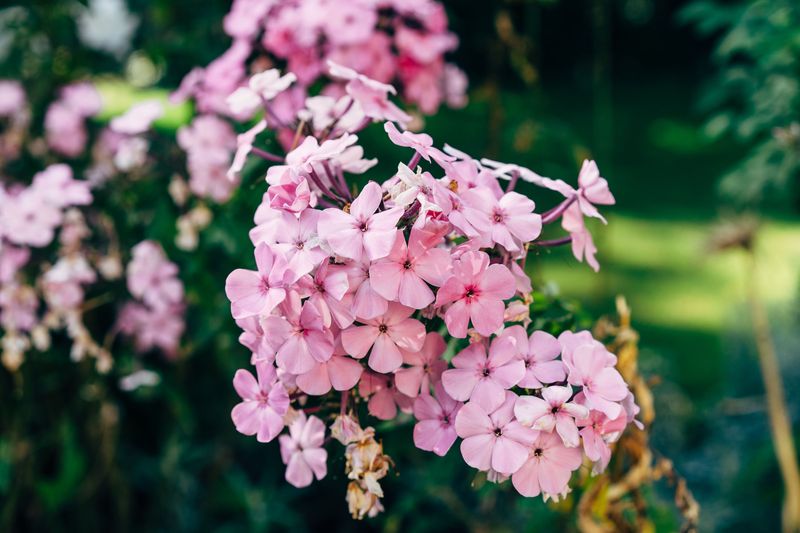
Ever notice your tall garden phlox looking tired, with a bare middle and powdery leaves? That usually means the clump is overcrowded and gasping for fresh air.
Phlox loves to spread, and after three or four years, the stems get packed too tightly. Poor airflow invites powdery mildew, that gray film that looks like someone dusted the plant with flour.
Moving phlox in September gives it a chance to settle before winter. Wait until the blooms fade, then cut the stems back to about a foot tall.
Dig around the clump and lift it out with a garden fork. Discard the tired old center and save the young, vigorous shoots around the edges.
Each new section should have three to five healthy stems and a solid root ball. Space them about two feet apart so breezes can flow between the plants.
Choose a sunny spot, and water at the base instead of sprinkling the leaves. Wet foliage in the evening is basically an open invitation for mildew.
Hummingbirds and butterflies adore phlox, so your effort pays off in visitors too. Some older varieties even carry a sweet, spicy scent on warm August nights.
8. Black-Eyed Susans That Wandered Off Course
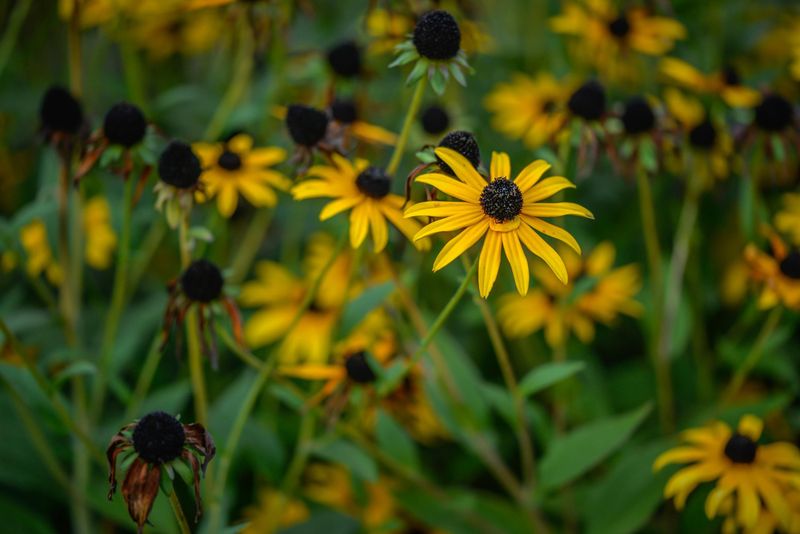
Black-eyed Susans spread more readily than many gardeners expect. You plant three cheerful clumps, and suddenly they are popping up in the lawn and between the pavers.
They spread by underground runners and by dropping seeds everywhere. Thankfully, rounding them up in September is easy, and the extras make great gifts.
Hold off until most flowers have faded but the plants still look green at the base. Push a trowel or small spade around each wandering clump and pop it out.
The roots are shallow, so this job takes minutes instead of hours. Pull big clumps apart by hand into smaller pieces, each with a rosette of leaves.
Replant them where you actually want them, in full sun with decent drainage. A simple edging strip can help keep future runners from sneaking into the grass.
Consider leaving a few seed heads standing through fall and winter. Goldfinches love picking at them, and watching those bright birds is a treat on gray days.
Quick trivia: the black-eyed Susan is the state flower of Maryland. New Yorkers still claim it proudly, since it grows wild along roadsides across the state.
9. Shasta Daisies That Flopped Over In July
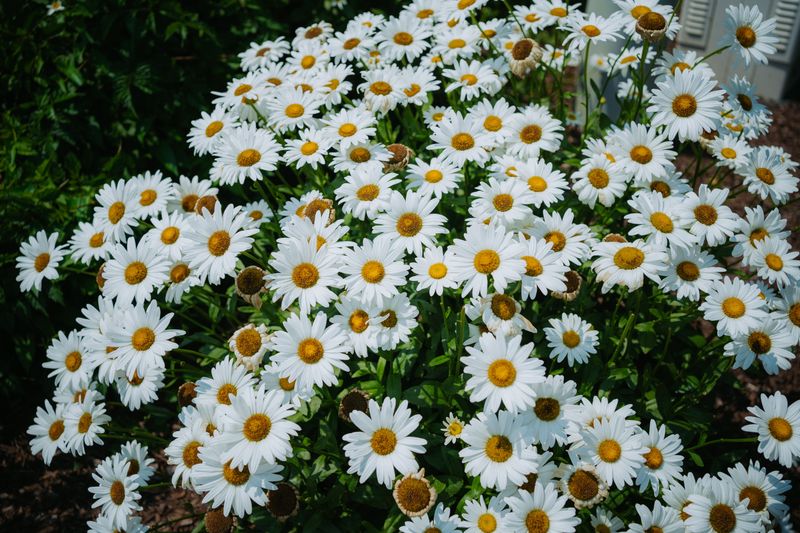
Floppy, sprawling Shasta daisies are practically waving a white flag and asking for new quarters. These cheerful flowers tend to wear out after two or three years in one crowded spot.
Unlike some long-lived perennials, Shastas actually need regular dividing to stay strong. Without it, the centers thin out and stems lean like sleepy commuters on the subway.
Early to mid-September gives them time to root before the first New York frost. Dig up the clump and gently tease or cut it into fist-sized pieces.
Hang on to the healthiest outer growth, where the newest leaves are bright and green. Compost any mushy parts or pieces that look brown and woody.
Surprisingly, rich, heavily fertilized soil can make flopping worse. Shastas prefer average soil and full sun, which keeps their stems sturdy and upright.
Space new divisions about eighteen inches apart and water them well for a few weeks. A thin layer of mulch after the ground cools will help protect roots over winter.
History corner: Shasta daisies were bred in California by famous plant breeder Luther Burbank. He named them after snowy Mount Shasta, because the petals looked just as white.
10. Astilbes That Dried Out Near The Fence
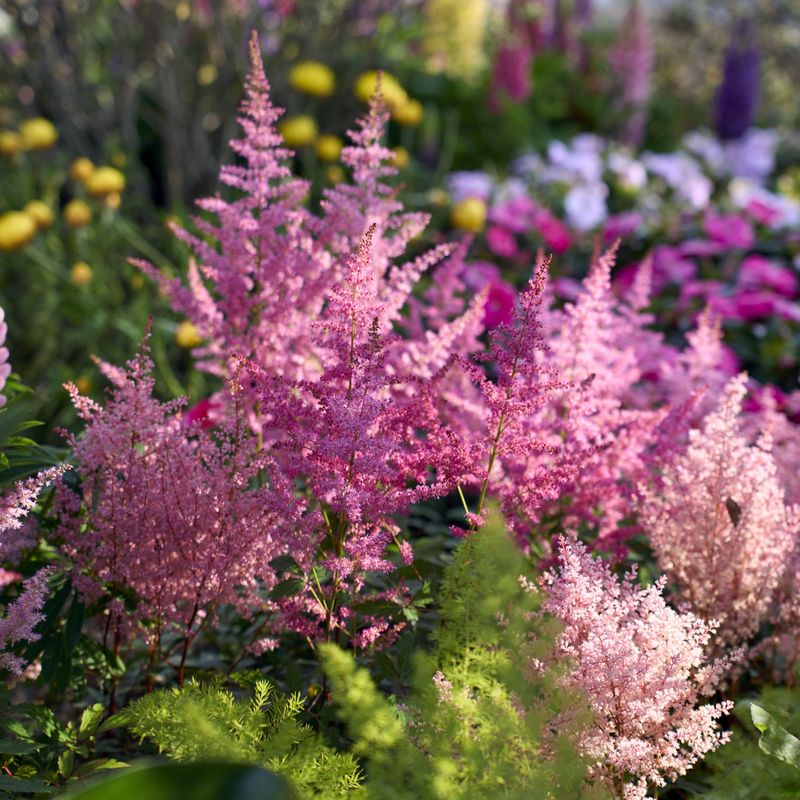
Poor astilbe had a rough summer if it spent July baking beside a sunny fence. Crispy brown leaf edges are its way of saying the location simply is not working.
Feathery astilbe plumes thrive in partial shade and soil that stays moist. Too much sun or dry ground can scorch those soft pink and white spikes.
September is a kind month for moving them, with cooler temperatures and more reliable rain. Soak the soil around the clump a day ahead so the root ball holds together.
Dig the plant out and check the crown, which can get woody and tough over time. Slice it into sections with a sharp knife, keeping several buds on each piece.
Scout a new home on the north or east side of the house, where afternoon shade arrives. Mix in compost or shredded leaves to help the soil hold moisture longer.
Plant the crowns at the same level they grew before, and water deeply after planting. Keep watering weekly until the ground freezes if autumn turns dry.
Leave the old flower plumes standing through winter if you like the look. Frosty astilbe seed heads sparkle beautifully on a cold December morning in Westchester or Queens.