Plant Sweet Onions In Georgia Between Thanksgiving And Christmas
Only 20 counties in one Southern state can legally sell a famous yellow bulb under its official name. A 1986 state law and a federal marketing order protect it, keeping its name tied to where it is grown.
I love that the secret behind it is partly the dirt. The local soil runs naturally low in sulfur, and that keeps the flavor mild enough to bite like an apple.
Some people really do eat them raw.
You can grow a close cousin in your own backyard in Georgia. The catch is timing, and it lands right when most of us are hanging lights and baking pies.
Your garden gloves probably expect a long winter nap.
But what makes the holiday season such a good time to plant a crop this sweet?
1. Those Holiday Onion Transplants Are Racing The Daylight
Sweet onions run on a sunlight clock, not a calendar. The varieties grown across the South are called short-day onions, and they start swelling bulbs once days reach roughly 11 to 12 hours of light.
In Georgia, that happens in spring. Your plants need to be big and leafy before that switch flips, because every green leaf above ground matches a ring inside the bulb.
More leaves at bulbing time means a bigger onion.
Planting between Thanksgiving and Christmas gives the young starts about three months of cool weather to build roots and tops. Onions handle chilly winter days well, and the mild Southern winter lets them keep growing slowly instead of sitting frozen.
I like thinking of it as a head start in a race. Plant too late, and the daylight trigger arrives while your onions are still skinny, leaving you with golf balls instead of softballs.
Plant too early in fall, and you run a different risk. Big plants exposed to a long cold spell can bolt, sending up a flower stalk that ruins the bulb for storage.
That holiday window is the sweet spot University of Georgia Extension points home gardeners toward for transplants.
2. Pick A Short-Day Sweet Onion Variety Like Granex
Grab the wrong onion and you may grow lovely green tops with almost no bulb at all.
Long-day types sold up north generally need 14 to 16 hours of daylight to form bulbs, making them unsuitable for Georgia’s shorter growing-season days.
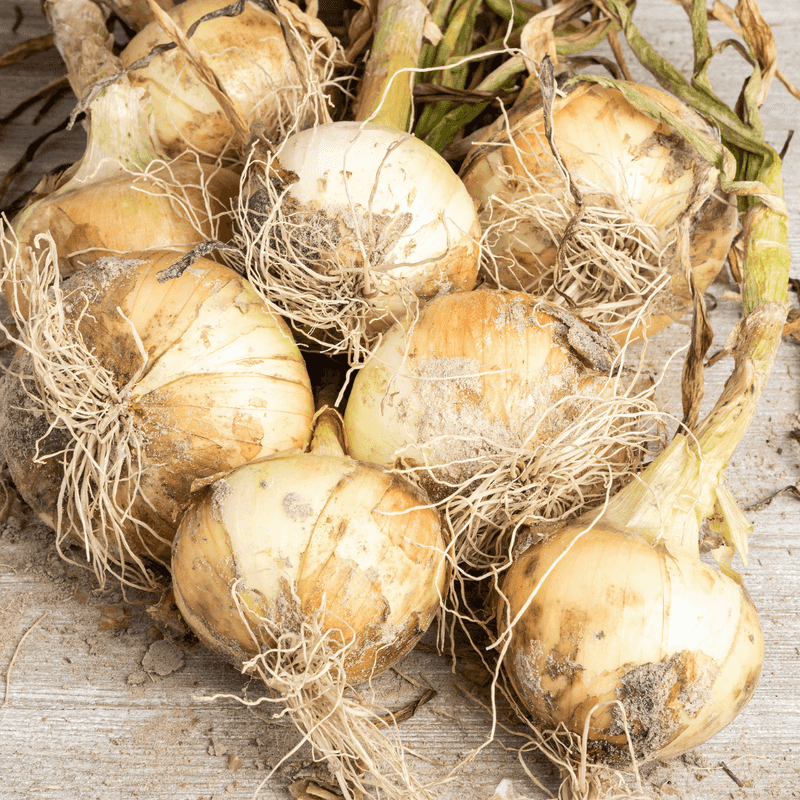
Look for short-day sweet varieties instead. Yellow Granex is the famous one, since it is the type grown for Vidalia onions.
Texas Grano 1015Y, often sold as Texas Sweet or 1015, is another dependable pick.
Red Creole and Southern Belle Red work if you want color in your salads. White Bermuda and Savannah Sweet also show up at many Southern feed stores.
Most home gardeners buy transplants in bundles of about 50 to 75 plants. Pick bundles with firm, green stems about the thickness of a pencil or a little thinner.
Skip any that look slimy, moldy, or badly dried. Transplants that are much thicker than a pencil are more likely to bolt in spring.
A fun bit of history to share at dinner: Vidalia onions started in the 1930s when a Toombs County farmer named Mose Coleman noticed his onions tasted sweet. Same seed, different soil, and a whole industry grew from that surprise.
3. Loose, Well-Drained Soil Helps Onion Bulbs Swell
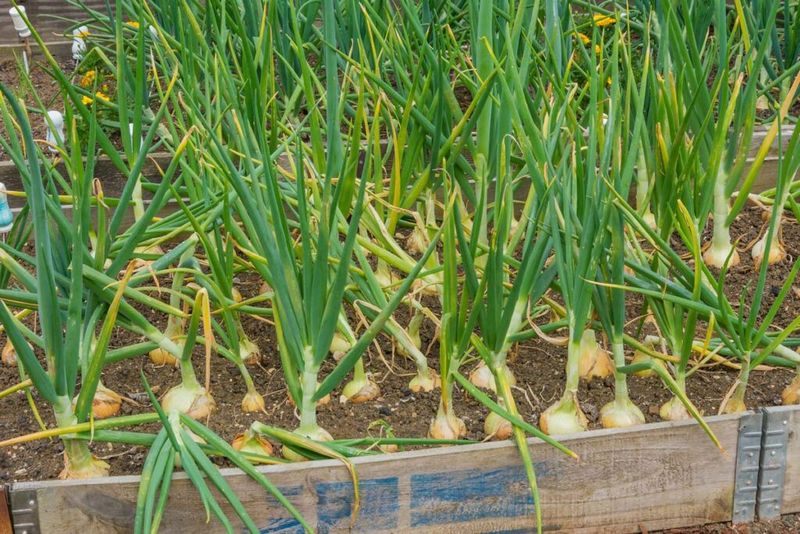
Red clay can be stubborn, and onions notice. Their roots are shallow and short, so they need soil that crumbles easily and drains after heavy winter rains.
Start with a soil test from your county Extension office. Onions grow best with a pH around 6.0 to 6.8, and many Georgia soils run more acidic than that.
The test tells you how much lime you need, if any.
Work two to three inches of compost into the top six inches of soil. That loosens clay and helps sandy soil hold moisture longer.
Raised rows or raised beds help a lot in wet spots. Standing water around onion roots invites rot, and winter is often the soggiest season in the state.
Choose a spot with full sun, at least six to eight hours a day. Onions dislike competition, so clear out grass and weeds before planting.
One tip I picked up the hard way: rake the bed smooth and level. Bumpy ground makes it tricky to set every transplant at the same shallow depth, and uneven planting leads to uneven bulbs.
4. Set Each Onion Start Just An Inch Deep
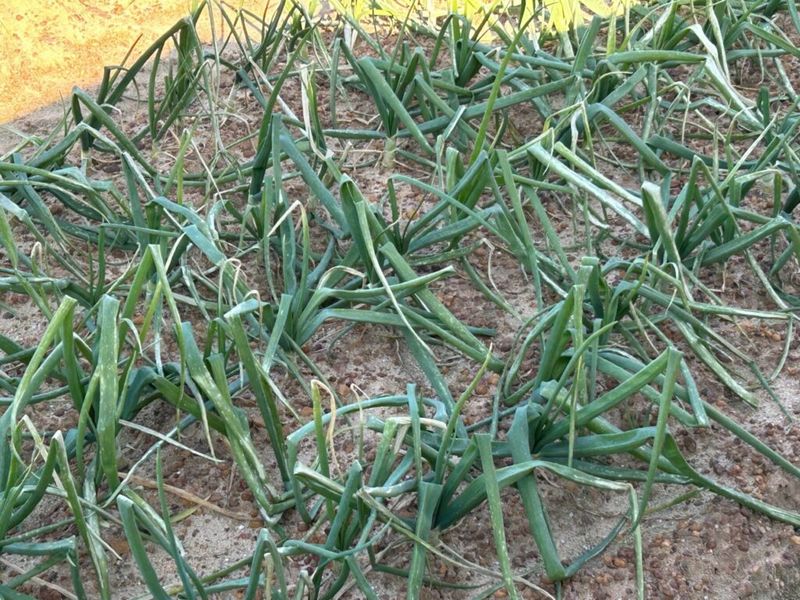
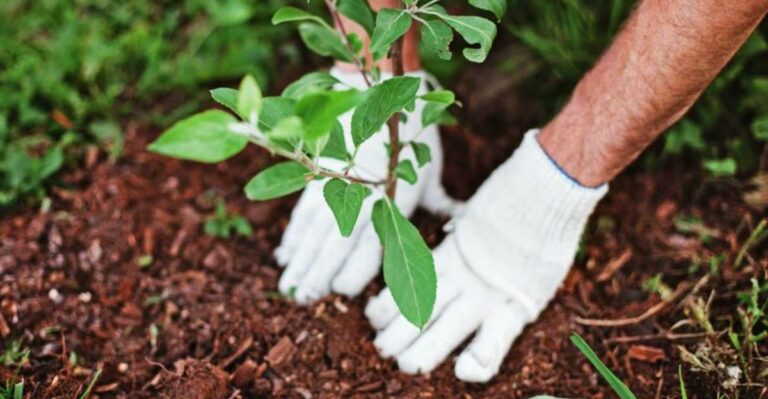
Shallow is the magic word here. Plant each transplant about one inch deep, just enough to cover the roots and hold the plant upright.
Bury them deeper and the bulb struggles to expand, sometimes coming out long and narrow. Onions like their shoulders sitting near the soil surface as they grow.
Space plants about four to six inches apart in the row. Closer spacing gives you smaller bulbs, which is fine if you like snacking-size onions.
Leave 12 to 18 inches between rows so you can weed and walk easily.
Some gardeners trim the tops back a little and snip long roots to about an inch before planting. It makes handling easier, though it is optional.
Water the bed well right after planting so soil settles around each root. That first drink helps the starts recover from being pulled and shipped.
Personally, I like to lay a string line down the bed before I start. It keeps rows straight, and straight rows make winter weeding much less of a chore.
If a hard freeze in the teens is forecast soon after planting, cover the young plants with frost cloth or a light layer of pine straw for extra protection.
5. Low-Sulfur Feeding Keeps Your Onions Mild
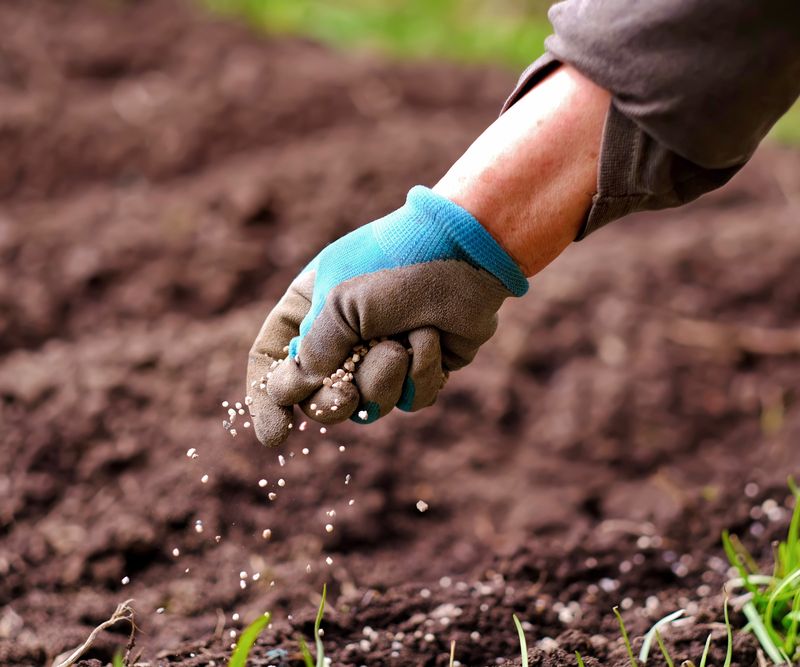
Sweetness in an onion is mostly about what is missing. The sharp bite comes from sulfur compounds, so low-sulfur soil and fertilizer help keep the flavor gentle.
That explains why Vidalia growers watch their fertilizer so closely. You can follow the same idea at home by checking labels and skipping products heavy in sulfur, such as ammonium sulfate.
Onions are hungry feeders with small roots, so they need steady nutrition. Follow your soil test, or use a complete fertilizer like 10-10-10 mixed into the bed before planting.
Then side-dress with a nitrogen fertilizer, such as calcium nitrate, every few weeks through late winter. Sprinkle it a few inches from the plants and water it in.
Stop feeding nitrogen once bulbs begin to swell in spring, usually around March. Late nitrogen can give you thick necks and onions that store poorly.
Keep the soil evenly moist, roughly an inch of water a week, counting rain. Dry spells followed by heavy watering can split bulbs.
Sweetness also depends on variety and weather, so do not expect a perfect Vidalia twin. Homegrown short-day onions still taste wonderfully mild compared to grocery store yellows.
6. Watch For Weeds, Thrips, And Flower Stalks In Your Onion Rows
Onions are lousy at sharing. Their thin, upright leaves cast almost no shade, so weeds sneak in fast and steal water and nutrients.
Pull weeds by hand or hoe very lightly. Deep hoeing can nick those shallow roots.
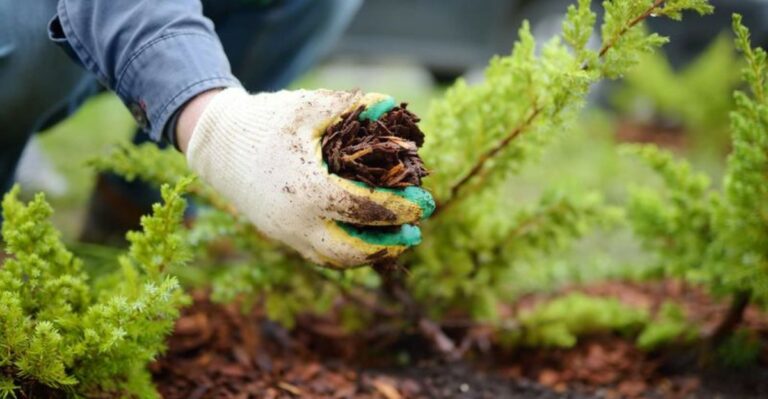
A thin layer of pine straw or shredded leaves between rows helps hold weeds back.
Thrips are the main insect pest to watch in spring. These tiny insects leave silvery streaks on leaves.
Spraying the plants with a strong stream of water or using insecticidal soap can reduce small outbreaks.
Fungal leaf spots can show up in wet springs. Good spacing, morning watering, and clean beds lower that risk.
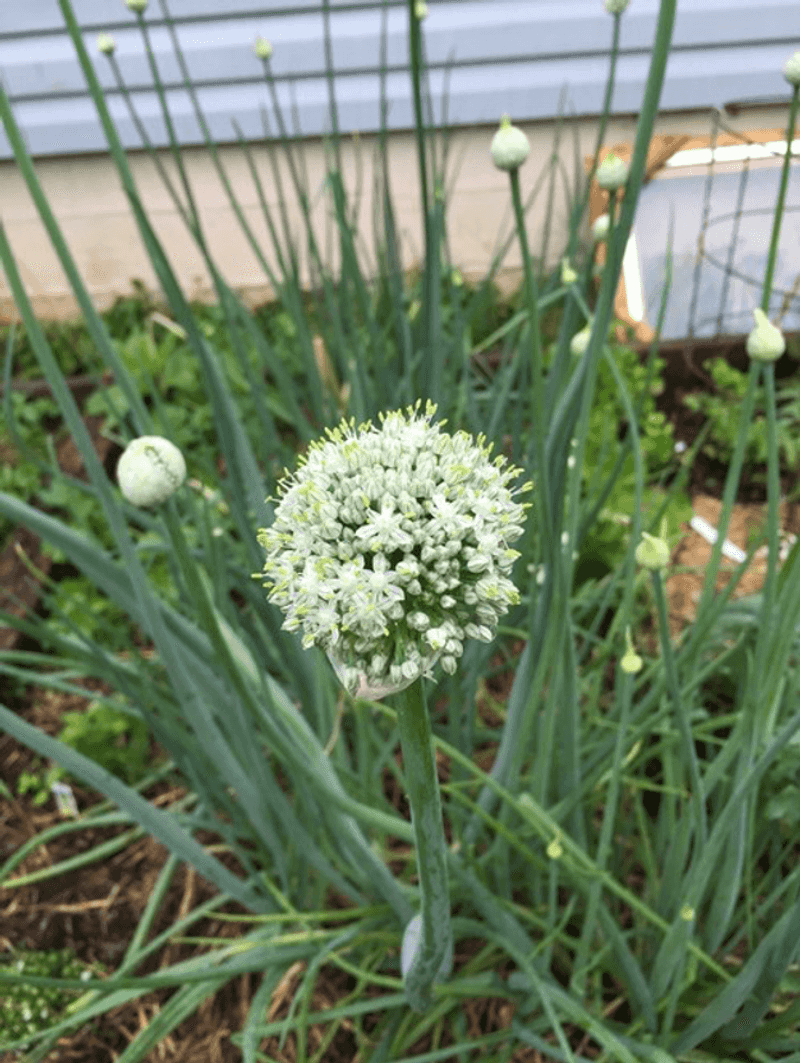
Then there is bolting. A cold snap after warm weather can trick onions into flowering, and you will spot a tall, round-headed stalk rising from the center.
Snip the stalk off, but plan to use those bulbs soon. They develop a hard core and rarely store well.
Honestly, I count a few bolted onions as part of the deal with Georgia’s up-and-down spring weather. Eat them first, and enjoy the rest later.
7. Flopping Green Tops Mean Harvest Time Has Arrived
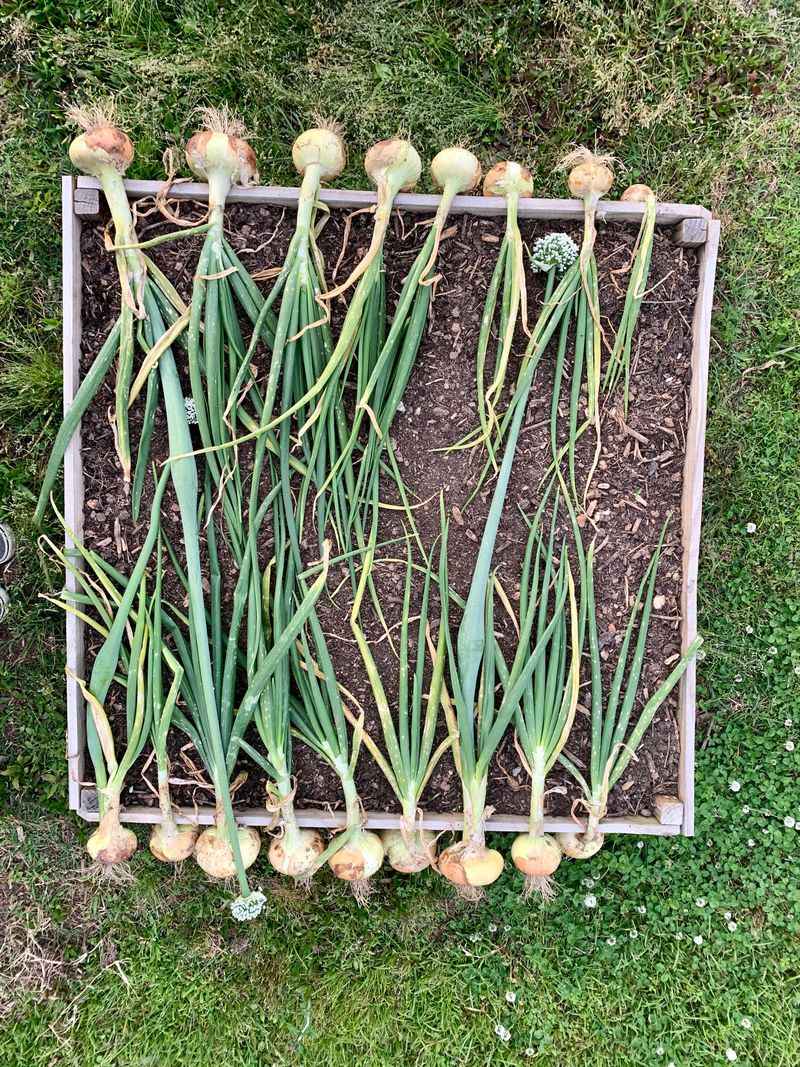
Nature hands you a pretty clear signal. When about half the tops in your bed yellow and fall over on their own, the onions are ready.
For most Georgia gardens, that happens from late April through May, a bit later in the cooler northern parts of the state. South Georgia gardens usually finish first.
Choose a dry day for harvest. Loosen soil with a garden fork and lift each bulb gently instead of yanking it by the tops.
Sweet onions bruise more easily than storage types, so treat them like peaches. A bruise turns soft quickly and can spread rot to its neighbors.
Lay the bulbs out in a shady, airy spot for a few days to a couple of weeks. The necks should dry and tighten, and the outer skins turn papery.
Once cured, trim tops to about an inch and roots close to the bulb.
Nothing beats slicing one fresh from the garden for a tomato sandwich. I think that first raw bite explains why people plant onions during the busiest weeks of the year.
8. Store Sweet Onions In Old Pantyhose For Months Of Flavor
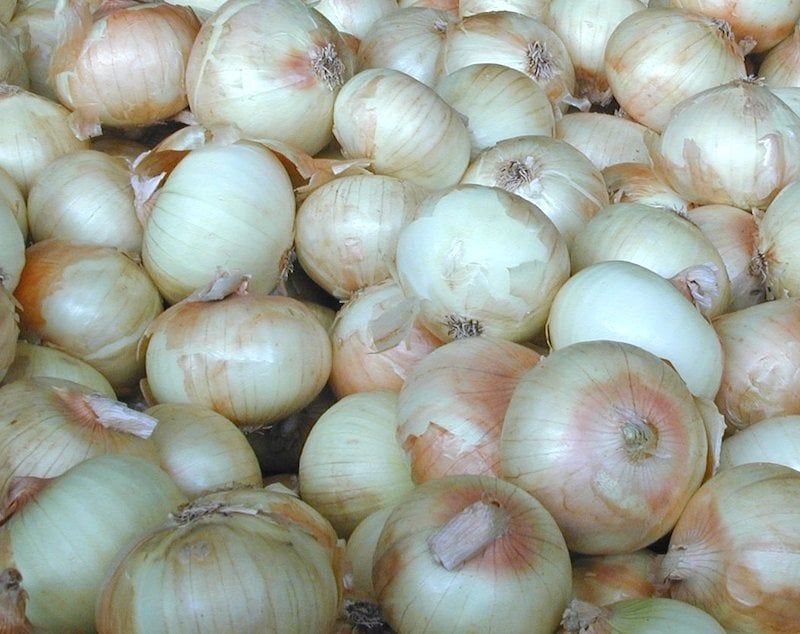
Sweet onions generally have a higher water content and fewer pungent sulfur compounds than storage onions, making them more prone to spoilage.
Smart storage can stretch your harvest from weeks into months.
The old Southern trick still works best. Drop an onion into a leg of clean pantyhose, tie a knot, add another, and keep going.
Hang the chain in a cool, dry, airy place, then snip below a knot whenever you need one.
The key is keeping bulbs from touching. Air around each onion slows rot.
Wire racks or single layers on newspaper also work.
Some folks wrap each onion in paper towels and keep them in the refrigerator crisper. That method can hold them for many weeks.
Keep onions away from potatoes, since they speed up each other’s spoiling. Check your stash often and use any soft ones right away.
Once you have grown a bed, jot down your planting date, variety, and harvest size in a notebook. Next fall, adjust spacing or timing based on what you learned.
Then circle late November on your calendar. A few minutes of planting between holiday meals can fill next spring with sweet, homegrown flavor.