What Smart Illinois Growers Tuck Into The Ground This Month
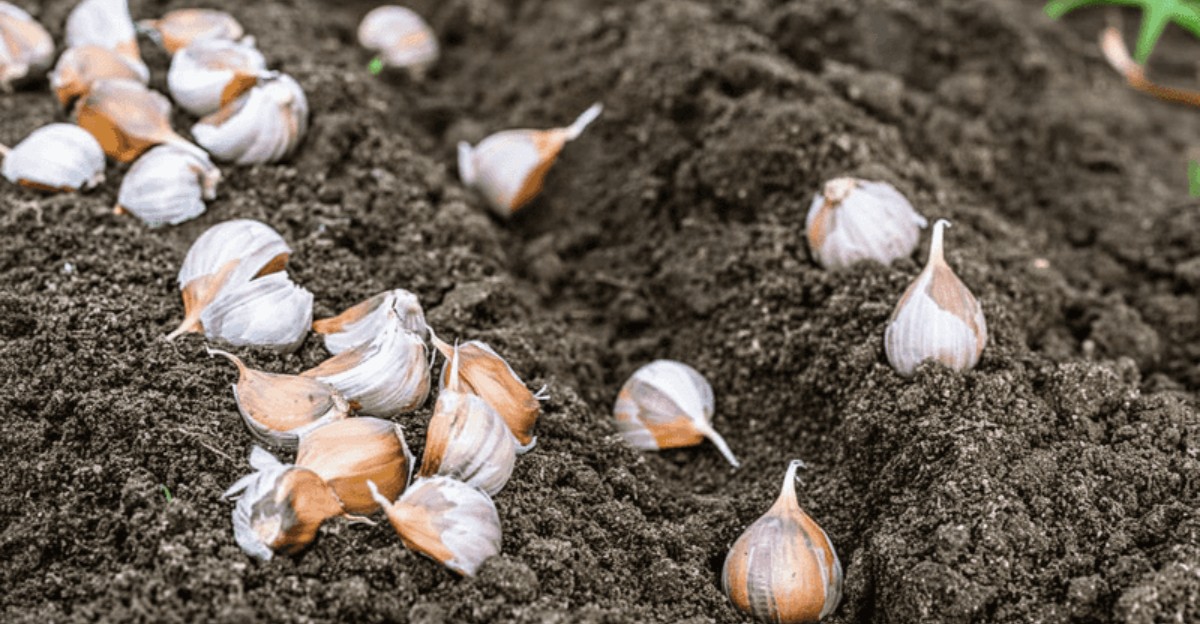
November in Illinois means short days, frosty mornings, and a garden that looks like it is winding down. Plenty of growers assume the season is over by now. It isn’t, if you know what to plant and how to protect it.
Hard freezes are here or close behind, and the soil is cooling fast. That cold soil is a gift for one special crop.
Garlic goes in now, settles into the ground for winter, and takes off in spring for a big harvest next summer. A few hours of work today sets up months of reward.
Timing matters. The classic planting window runs from mid-October to mid-November, so this week is the moment to act.
Soil in northern Illinois is often near freezing by now, while central and southern parts of the state stay workable a little longer. Use the guidance below as a starting point and adjust for your own region.
Garlic asks for very little: good seed bulbs, loose soil, and a thick blanket of mulch. Plant it now, and winter will do the rest.
1. Why November Is Garlic Time
Mid-November in Illinois brings short days, frosty mornings, and soil that is cooling quickly. Many gardeners feel the season has wrapped up, yet this is a wonderful moment to plant garlic.
Of all the crops in a fall garden, garlic is the one that truly belongs to this part of the calendar. It goes in now, rests through winter, and wakes up in spring.
The classic Illinois planting window runs from mid-October to mid-November, so we are near the end of it. That makes this week a good time to get cloves into the ground.
In northern Illinois, the soil is often close to freezing by now, so plant as soon as you can. In central and southern Illinois, you have a little more room, and a planting in the next week or two should still settle in nicely.
Garlic uses the cool weeks to grow roots, and those roots give the plant a steady start when spring arrives.
Most other garden crops need a cold frame or tunnel to keep going this time of year, while garlic only needs soil you can still work. A few hours of effort today sets up a summer harvest of full, flavorful bulbs.
2. Choosing Seed Garlic
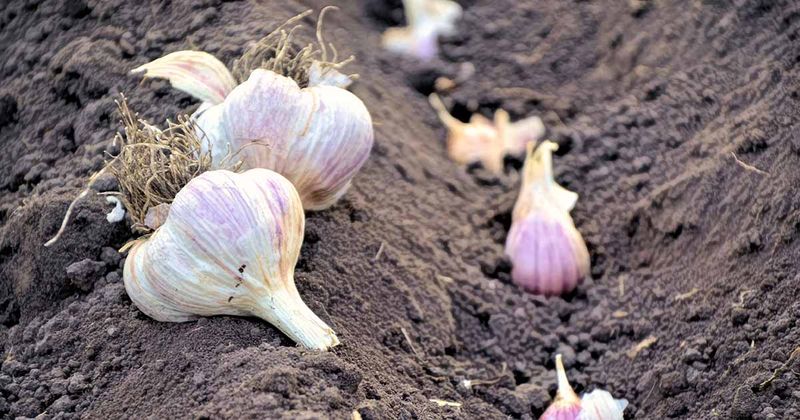
The best garlic harvest begins with good seed stock. Buy seed garlic from a nursery or a local grower rather than using grocery-store bulbs.
Store-bought garlic is sometimes treated to slow sprouting, and it may come from regions with very different climates, so it can be less reliable in Illinois soil.
Hardneck varieties are a favorite choice for Midwest winters. German Extra Hardy and Music are two well-loved options, known for handling cold with ease and for their rich, full flavor.
Hardnecks also send up a curly flower stalk in early summer, called a scape, which is a tasty bonus. You can chop scapes into scrambled eggs, pesto, or stir-fries.
If you have not ordered yet, check local garden centers and farmers market growers, since many still have seed garlic available this time of year. Look for firm, plump bulbs with intact papery skins and no soft spots.
Choose the largest bulbs you can find, because large cloves tend to grow into large bulbs. Keep the bulbs whole until planting day, since the outer skin protects the cloves. A little planning here pays off beautifully next July.
3. Preparing the Bed
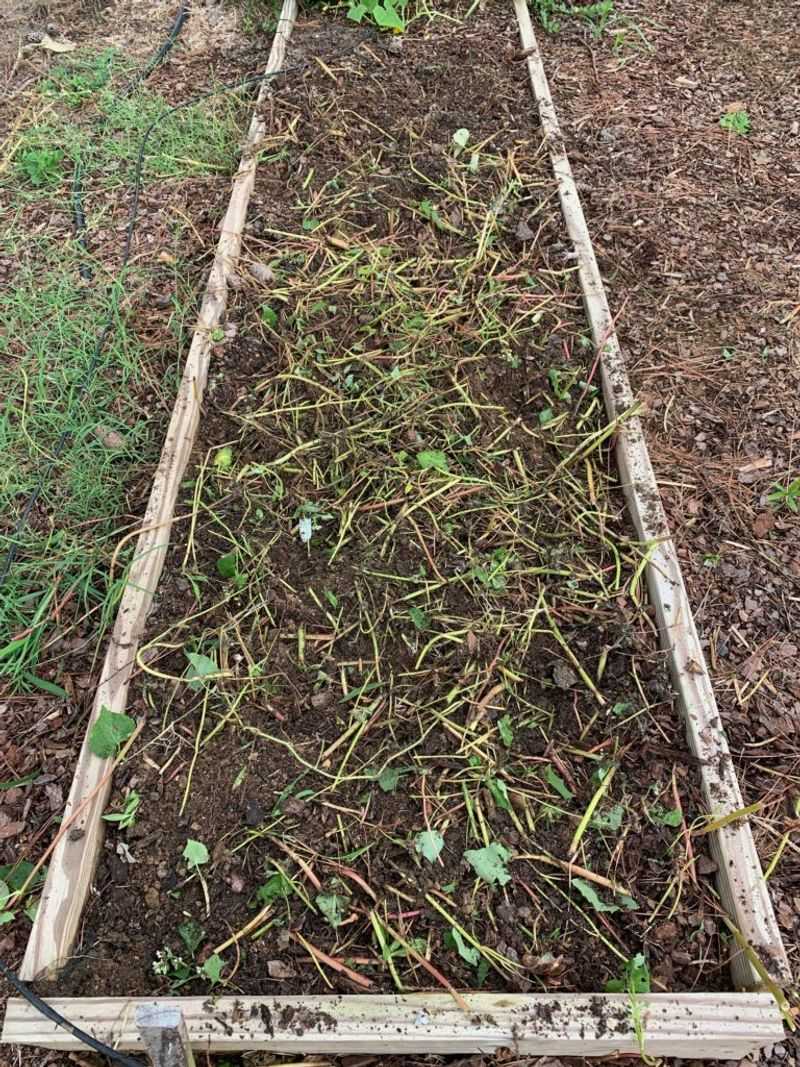
Garlic is happiest in loose, well-draining soil with plenty of organic matter. Choose a spot that gets full sun and avoid low areas where water tends to collect, since soggy soil can cause cloves to rot over winter.
Start by clearing away leftover plants and weeds from the summer garden. Loosen the top eight to ten inches of soil with a garden fork, breaking up any clumps so the roots can spread easily.
If the ground is already chilly, work gently and take it one section at a time. Mix in a few inches of finished compost to improve texture and feed the soil. Skip heavy nitrogen fertilizer at this time of year.
The goal in fall is strong roots, not leafy top growth that winter would trim back. A light dusting of bone meal or a balanced organic amendment is plenty if your soil is on the lean side.
Rake the bed smooth and water lightly if the soil is dry. Evenly moist soil helps cloves root quickly.
If rain is in the forecast, nature will handle the watering for you, and a well-prepared bed will be ready for planting in no time.
4. Planting the Cloves
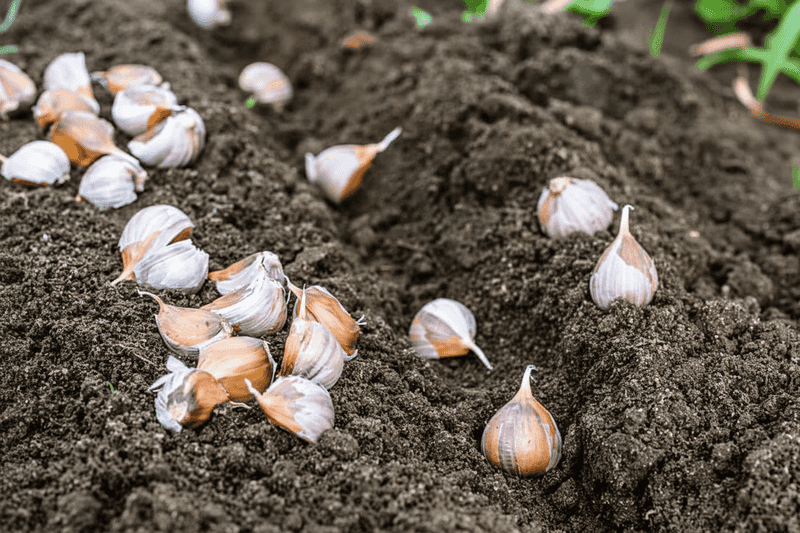
Planting day is the most satisfying part. Break the bulbs into individual cloves just before planting, and keep the papery skins on each clove.
Set aside any small or soft cloves for the kitchen, and save the biggest, healthiest ones for the garden.
Plant each clove with the pointed end facing up and the flat root end facing down. Place cloves about two inches deep and four to six inches apart.
Rows spaced about a foot apart give you room to weed and mulch comfortably. Cover the cloves with soil and gently firm it down with your hand.
If you are planting late in the window, you can set cloves slightly deeper, around three inches, for a little extra cushioning from the cold. Mark the rows with a stake or label, because nothing will show above ground for a while.
Water the bed gently once after planting. This settles the soil around the cloves and encourages root growth.
After that, the weather does most of the work. A single head of garlic yields many cloves, so even a small bed can turn into a generous harvest.
5. Mulching Before the Freeze
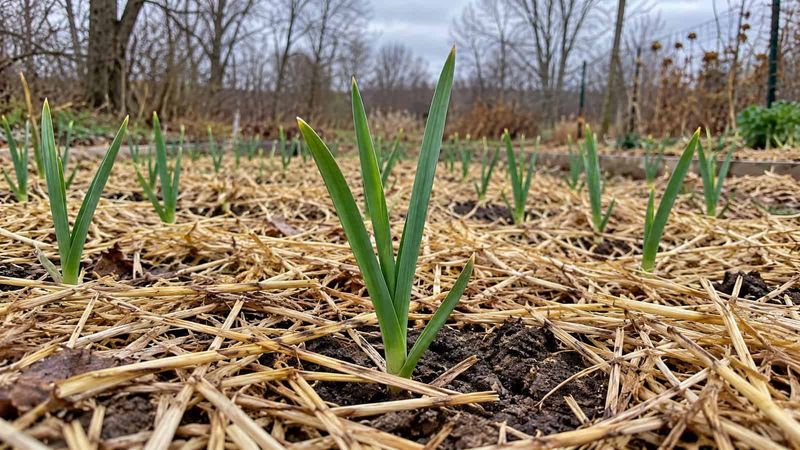
Mulch is the cozy blanket that carries garlic through winter. Once the ground starts to freeze, cover the bed with four to six inches of straw or shredded leaves.
This layer keeps soil temperatures steady and helps prevent frost heaving, which is the repeated freezing and thawing that can nudge cloves up toward the surface.
Straw is a popular choice because it is light, tidy, and easy to pull back in spring. Shredded leaves work well too, and they are often free in November.
Whole leaves can mat down, so shredding them with a mower first makes a fluffier layer that lets air move through.
Spread the mulch evenly over the entire bed, and tuck it in around the edges. If you plan the timing, apply it after a few frosty nights so the soil has already begun to chill. You can also add mulch right after planting if the ground is about to freeze.
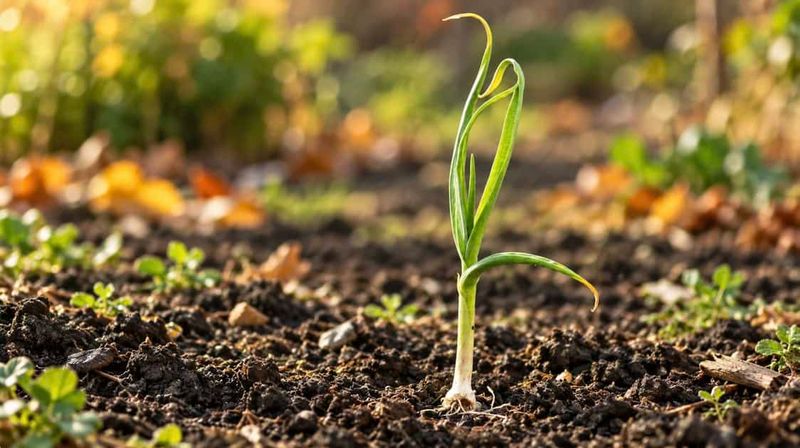
In late winter or early spring, you will see green shoots poking through. Leave the mulch in place and let the shoots come up on their own. Mulch also keeps weeds quiet and holds moisture, which helps garlic all season.
6. Companion Crops for the November Garden
Garlic is the star, but a few friends can join it this month. Shallots are a natural partner. Plant shallot sets about an inch deep, pointed end up, spaced about six inches apart, and mulch them after the ground begins to freeze.
They will be ready next summer, close to garlic harvest time. Spinach offers a fun option called dormant seeding. In late November, after the soil is too cold for germination, sow seeds about half an inch deep and one inch apart.
They rest in the ground all winter and sprout on their own in early spring, often giving you one of the earliest harvests of the year.
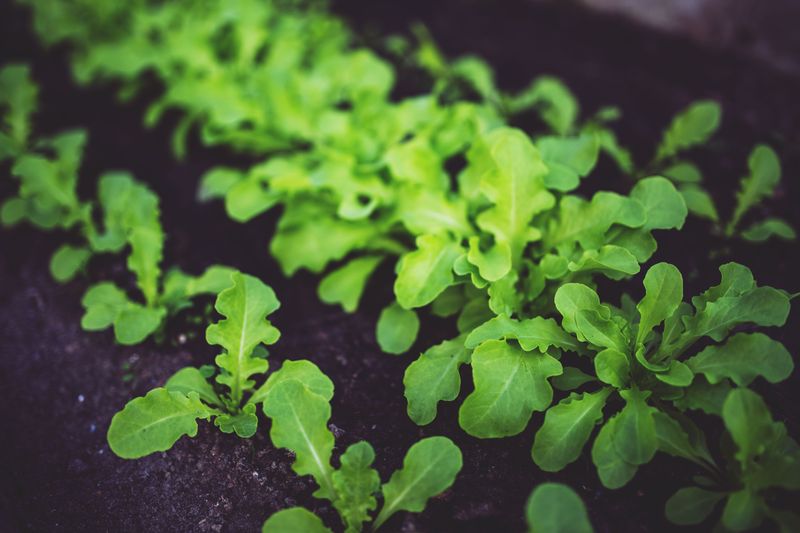
If you already have kale, lettuce, arugula, or mâche growing from earlier plantings, keep them cozy with a row cover, cold frame, or low tunnel.
Kale grows sweeter with every frost, and mâche is built for chilly conditions. Open cold frames on sunny days so plants stay comfortable.
These extras make good use of the same bed or nearby space. A little protection now means fresh greens in winter and an early start when spring returns.
7. Spring Growth and Summer Harvest
After the winter rest, garlic returns with energy. Green shoots appear in late winter or early spring, and growth picks up as days lengthen and soil warms.
When shoots are a few inches tall, you can gently thin the mulch if it looks very thick, so the plants have room to reach upward.
Water during dry spells in spring, aiming for about an inch per week. Keep the bed free of weeds, since garlic does not compete well for space.
A light feeding with compost or a nitrogen-rich organic fertilizer in early spring gives leaves a nice boost. Stop feeding by early summer so bulbs can focus on sizing up.
If you grew hardneck garlic, snip the curly scapes in early summer. This sends more energy to the bulb, and the scapes are delicious in the kitchen.
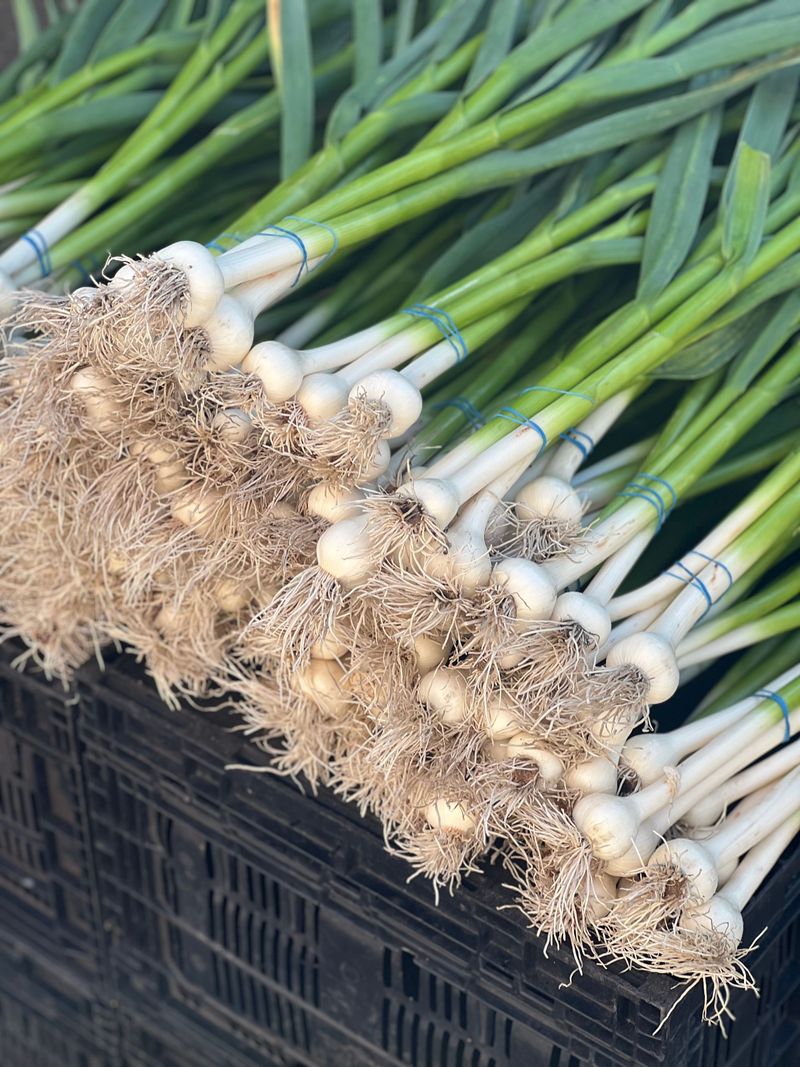
Harvest in July, when the bottom few leaves turn brown while the upper leaves are still green. Loosen the soil with a fork and lift the bulbs gently.
Cure them in a shaded, airy spot for two to three weeks, then store them somewhere cool and dry. Your November planting will reward you for months.