If You Want Your Lawn Lush And Green, Follow These 7 Spring Care Steps

I have to admit that the lush lawns of my neighbors make me green with envy sometimes. It takes years to understand what it takes for healthy grass and a beautiful lawn.
If there’s one thing I wish I knew when I started my lawn, it would be this: planning and taking all the steps for spring care. So, your goal is to give your lawn a head start and encourage the grass to grow healthy.
Now the only question is, what are these steps? Don’t worry, I’ve got you covered! The 7 steps I’m about to show you are a result of years of experience, and if I managed to get a stunning lawn, you can do it, too!
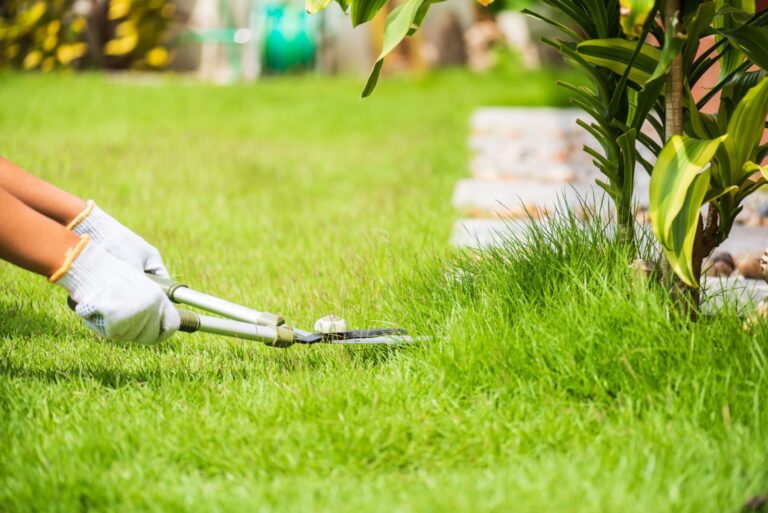
Step #1: Cleaning Debris Is Your Priority
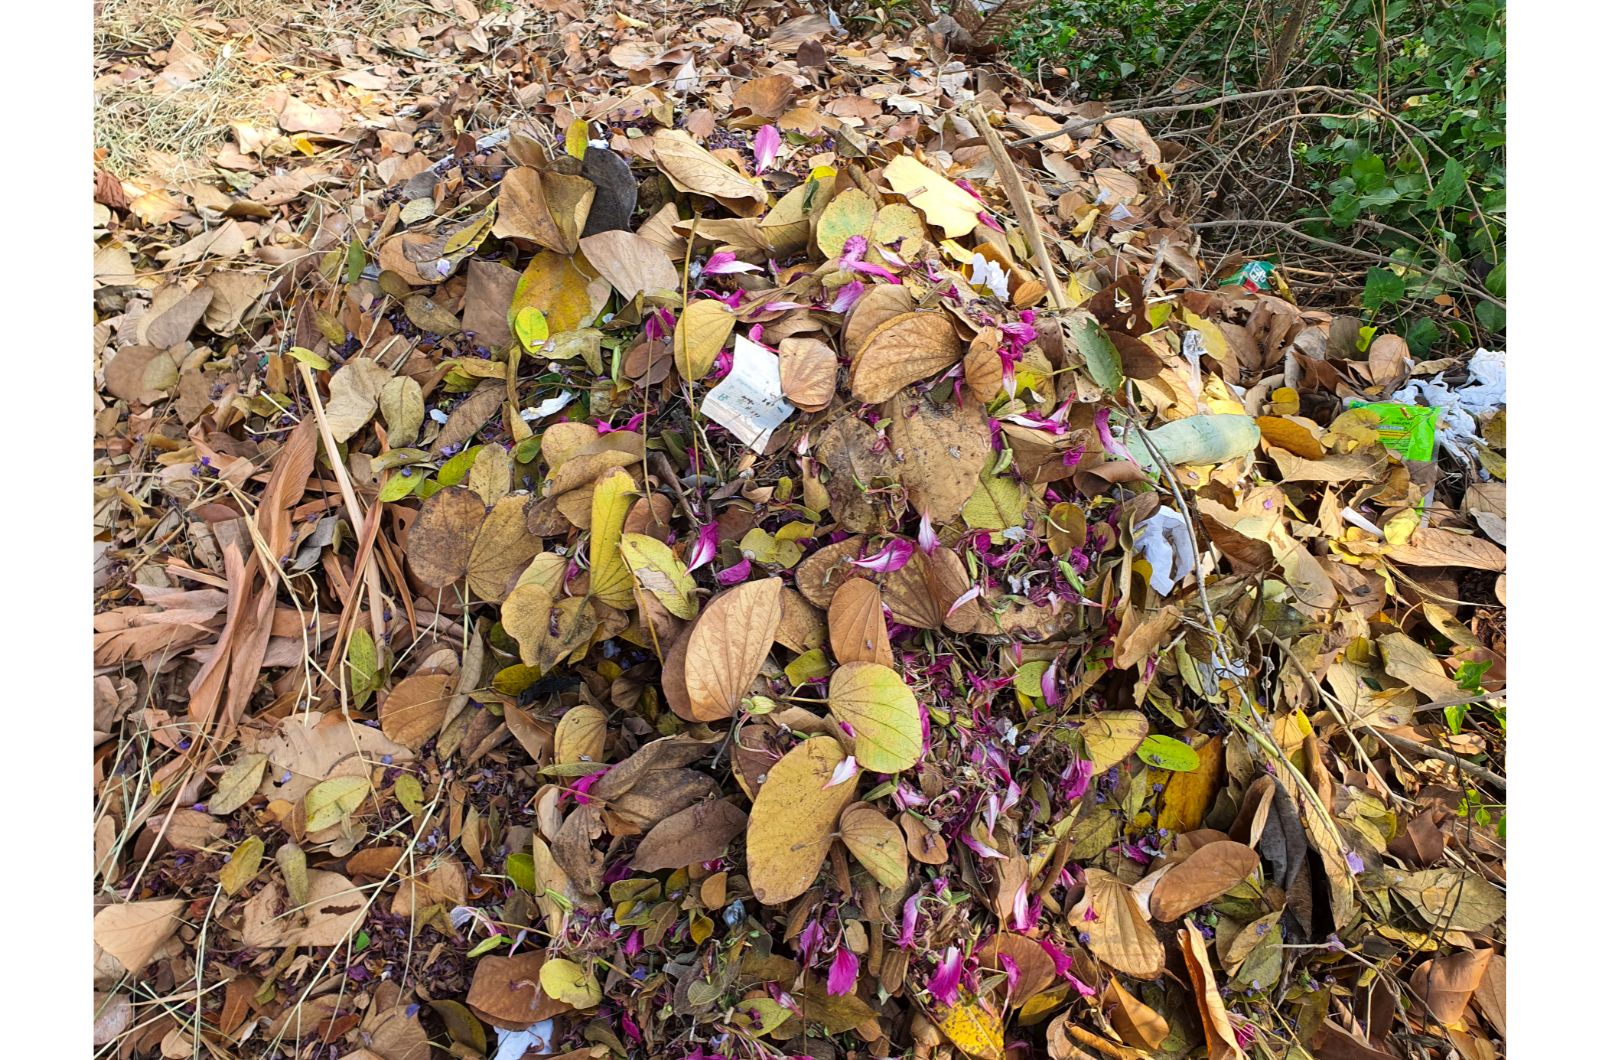
OK, I know, you don’t want new cleaning chores on your list, but the thing is that this step is crucial for your prized lawn.
Even if you had a thriving lawn last year, unfavorable weather conditions surely left consequences you need to deal with ASAP.
Fallen leaves, twigs, dead branches, and pine cones are just a few examples of what you don’t want on your lawn at this point.
And I should warn you that this task isn’t focused on the appearance of your lawn. Remember, any debris can inhibit the growth of your grass because it’ll prevent the sunlight from reaching it.
This debris was also a reason why my grass got a disease a couple of years ago, so you definitely don’t want to risk it.
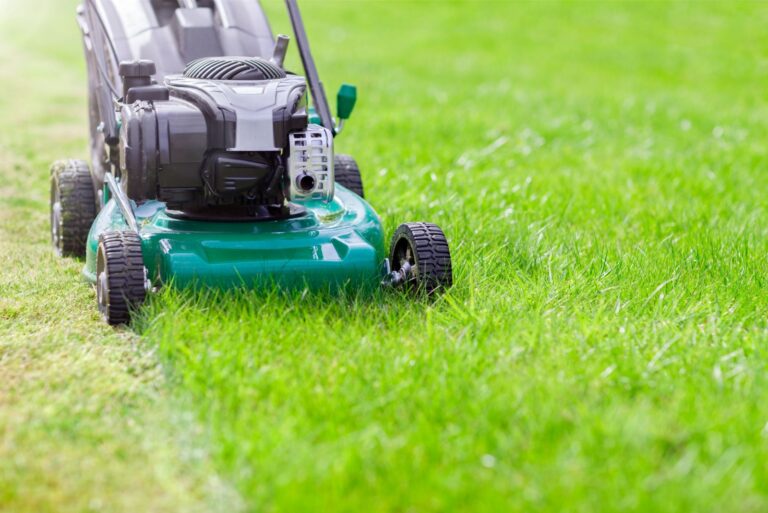
Step #2: Don’t Get Carried Away And Mow Too Much
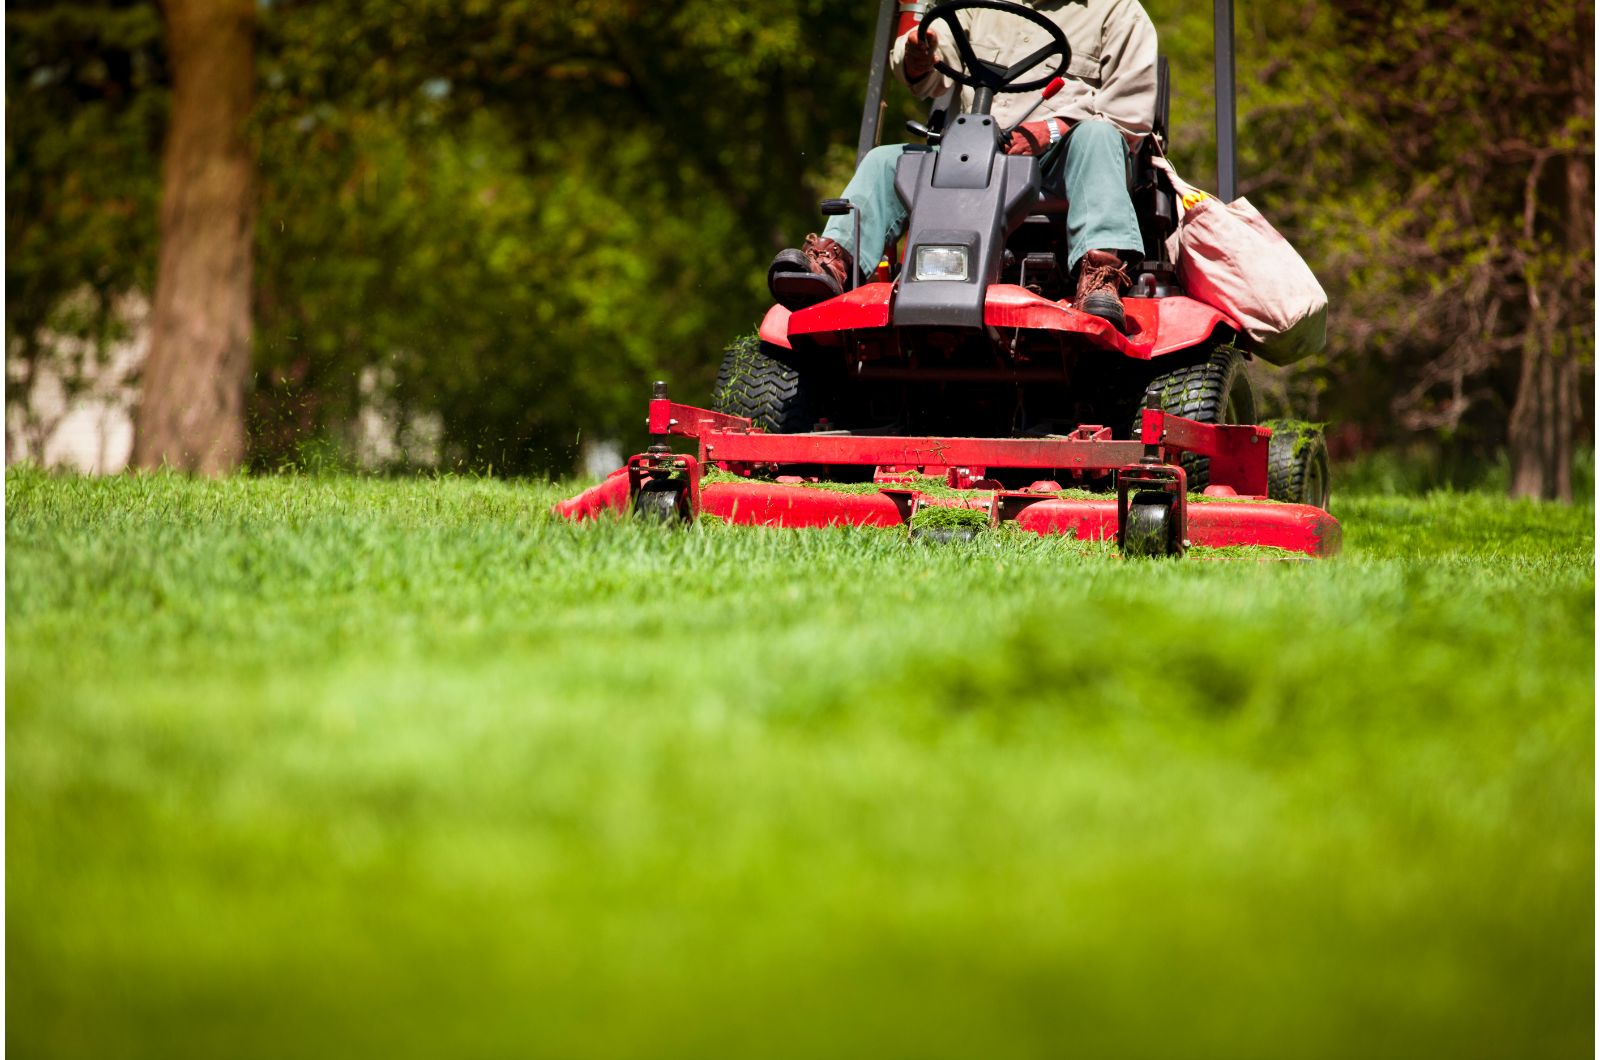
I’m not a big fan of mowing, to be honest, but most of my fellow lawn owners are. If you’re one of these people, don’t rush things and let your mower rest for a little bit longer.
Resist the temptation to mow until your grass starts growing actively. Wet grass or too moist soil aren’t really desirable conditions for mowing, so you’ll do more harm than good; don’t ask how I know that!
I only mow my lawn in spring if my grass grows straggly somewhere, but I’m super careful not to mow too low.
Be gentle with your grass and make sure to sharpen those mower blades before touching your grass!
Step #3: It’s Time To Dethatch
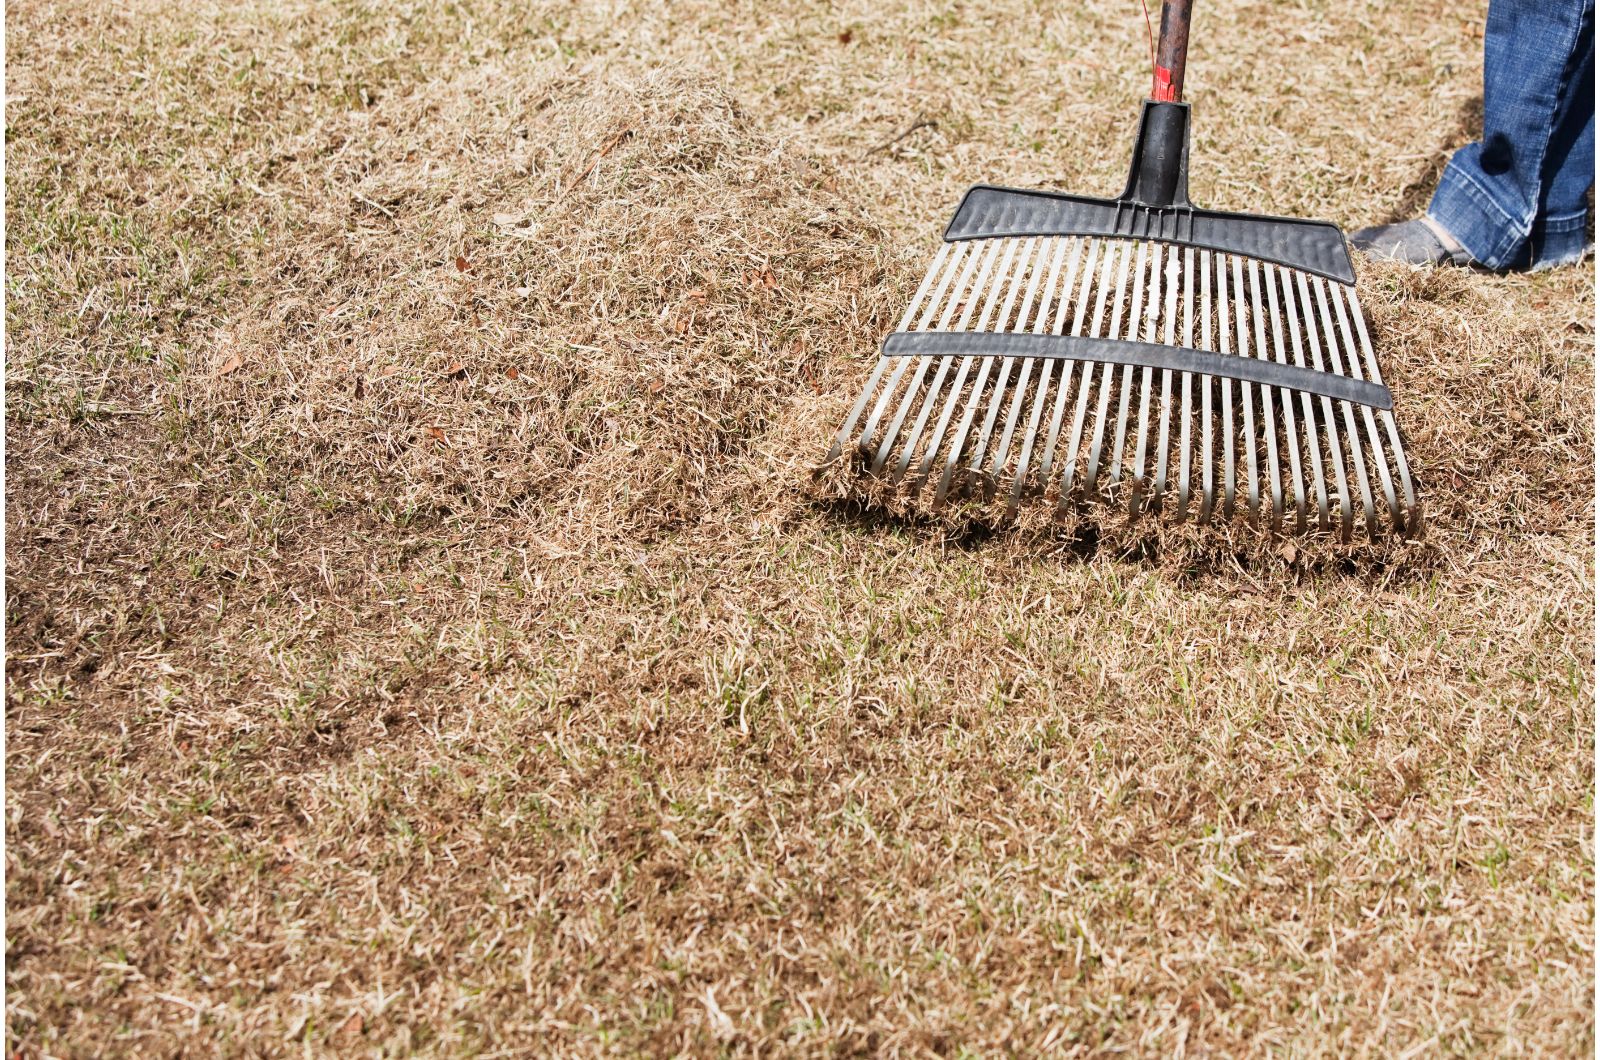
Have you ever heard of dethatching a lawn? Of course, this is a question for beginners because experienced lawn owners definitely know the drill.
So, what’s the thatch and why do you need to dethatch? The surface underneath all the grass blades is the home of organic matter, dead and living. Think of it as a sort of barrier that affects soil aeration and inhibits the water uptake of your soil.
And even worse, it creates a perfect environment for various lawn diseases. Well, I can call myself an expert on lawn diseases because, unfortunately, I’ve had a lot of experience with them.
Don’t repeat my mistakes, and always work through the surface layer of the soil to dethatch it.
You may also hear about scarifying a lawn, and while it’s a similar technique to dethatching, it’s way more aggressive and includes a garden rake or even a mechanical machine. I wouldn’t do it if I were you and I would stick to the good old dethatching technique.
Step #4: Aeration Is The Key
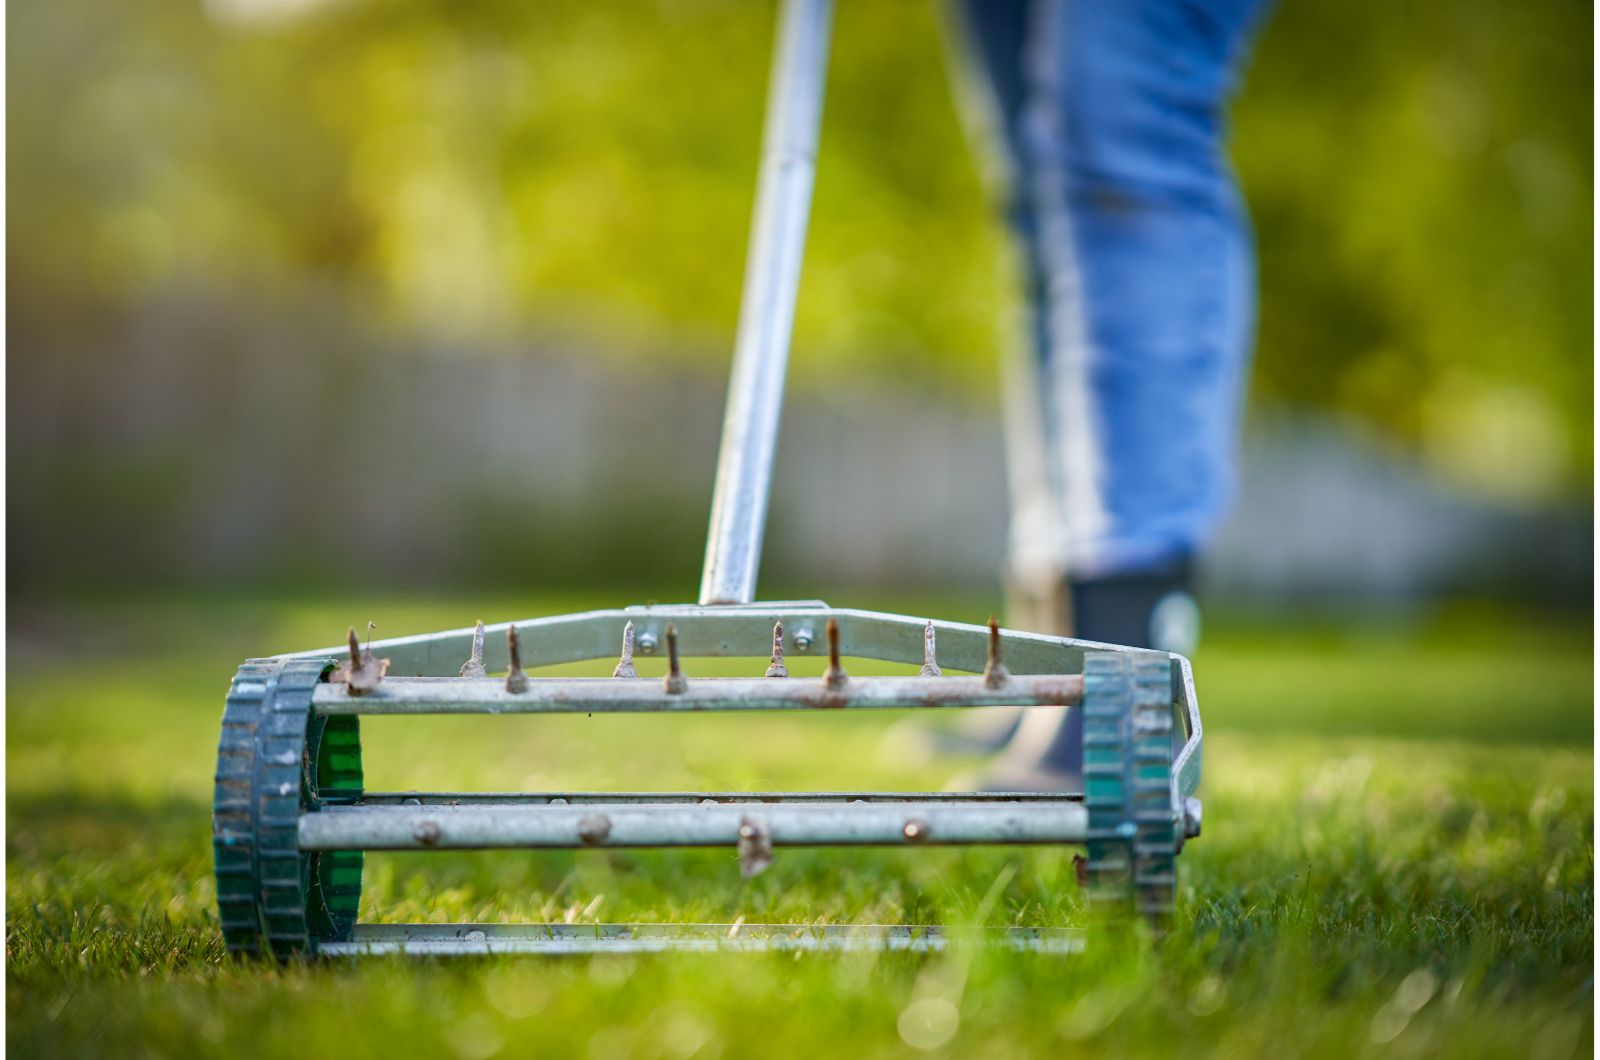
I have a question for you: How many times have you aerated your lawn? If someone asked me this question a couple of years ago, my answer would be, what are you talking about?
But this technique does wonders for lawns and its main focus is to break the compact soil, enhance air circulation, and improve drainage.
It will make it easy for your grass to produce robust roots and survive all the lawn chores you’ll do in summer.
Another benefit of this method is that it will help you get rid of moss from your lawn.
The way you’ll aerate mainly depends on the size of your lawn. If you have a smaller lawn, you can use a garden fork and employ the spiking technique.
If you’re lucky enough to have a large lawn, then I highly recommend getting machines to get it done.
Last year, I tried those shoes with spikes and I have to admit they work pretty well, plus you’ll have a fun time.
No matter which technique you use, make sure to get it done before you feed your lawn or sow grass seeds.
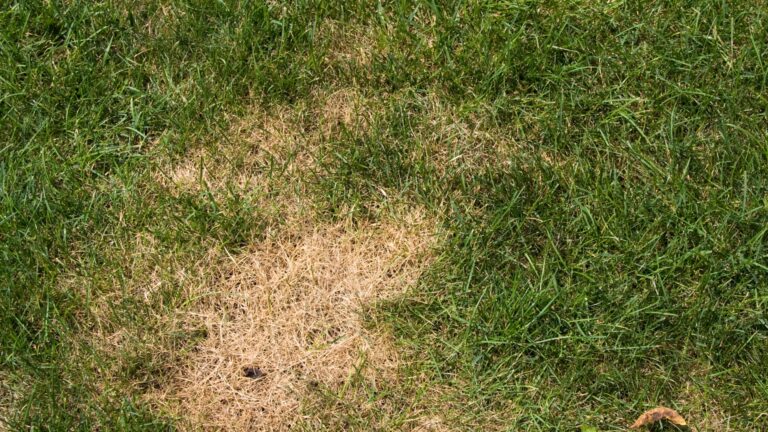
Step #5: Sprinkle Your Grass Seeds
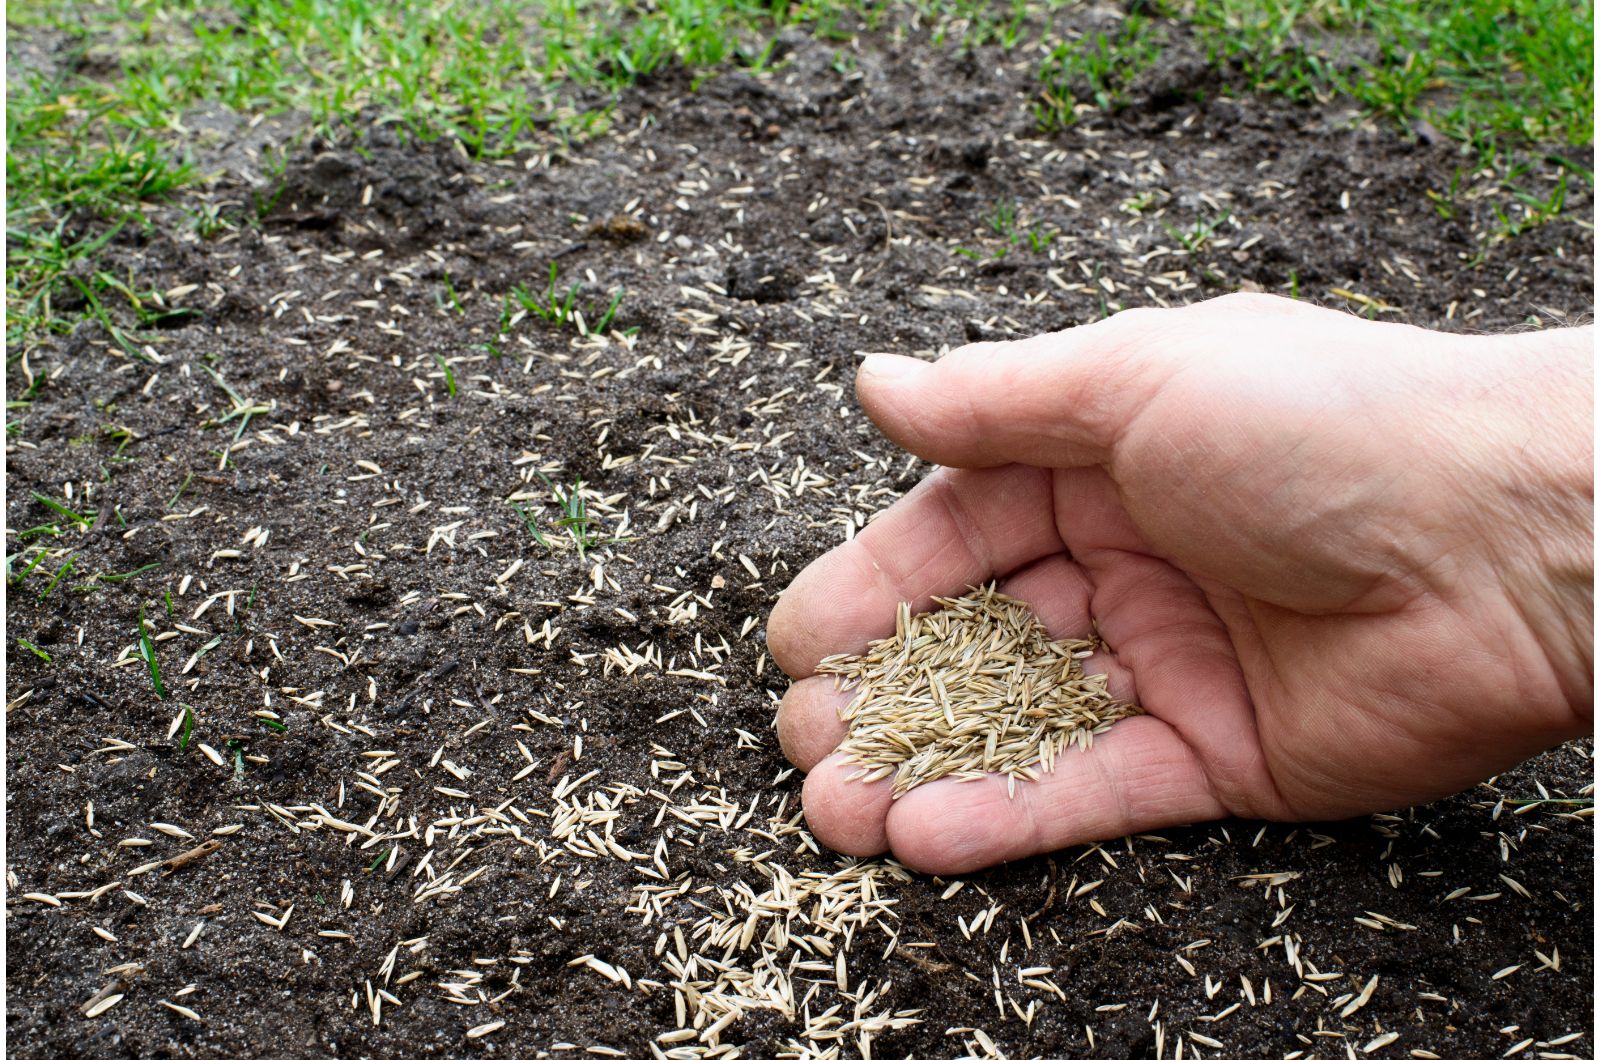
My lawn isn’t really pretty right now because there are some patches that were caused by unfavorable weather.
You can heal these ugly patches on your lawn using a couple of techniques, such as loosening the soil, changing the planting schedule, and so on.
But my approach is to overseed my lawn to make it thicker and it worked every year.
First, I wait for the soil temperatures to increase to about 50-65 degrees Fahrenheit; a soil thermometer is a lifesaver in this case!
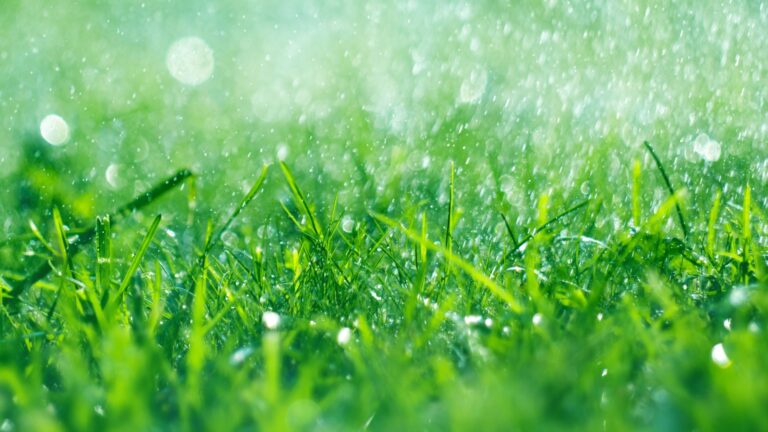
You’ll also need to keep the soil consistently moist to enhance grass seed germination. When it comes to sowing the seeds, you have 2 options: scatter them by hand or use a specifically designed machine.
If you’ve had issues with birds and caught them feeding on seeds, you might want to consider installing covers or using deterrents this spring.
Step #6: Feed Your Hungry Grass
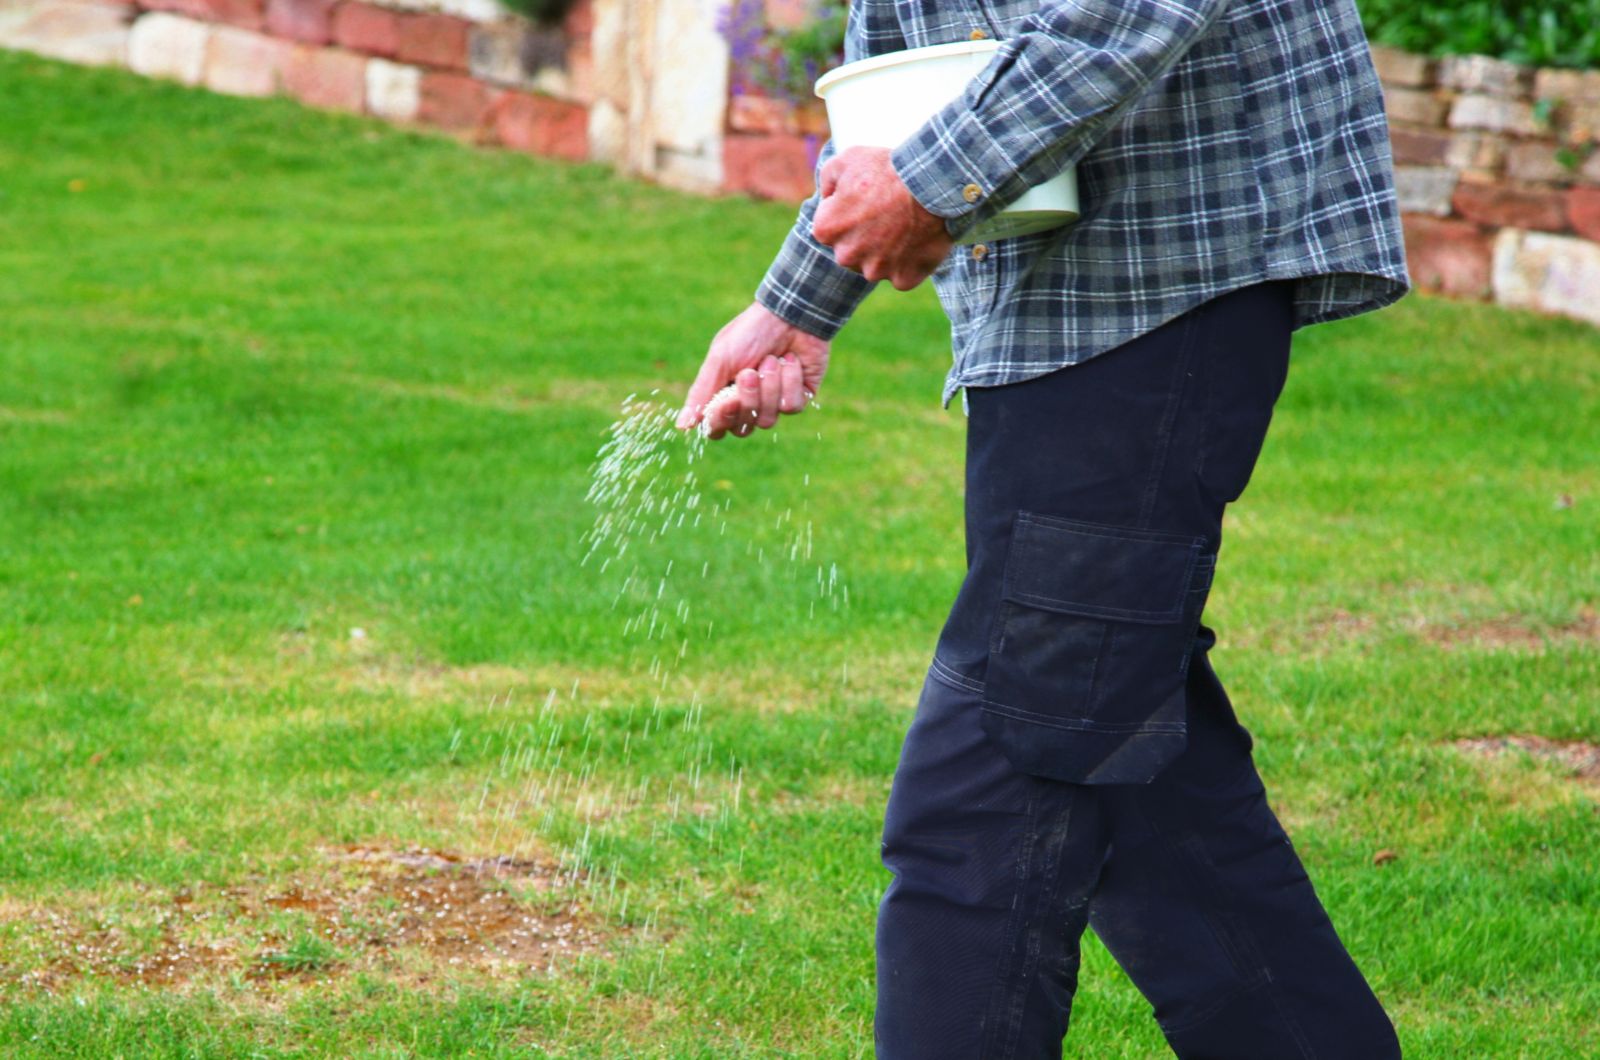
Of course, you want your lawn to grow healthy and be happy this season, and you can achieve it by feeding.
I use slow-release spring lawn fertilizer and it gave me the best results for the past few years.
Be careful not to overfeed because it will encourage your grass to produce a lot of leafy growth, but the roots won’t be strong enough.
You can apply lawn fertilizer with your hands or use machines designed for this purpose. After you’re done with feeding, give your lawn a good soak.
Wait approximately a month to feed your lawn after seeding unless it says differently on the label.
Step #7: Get Rid Of Annoying Weeds
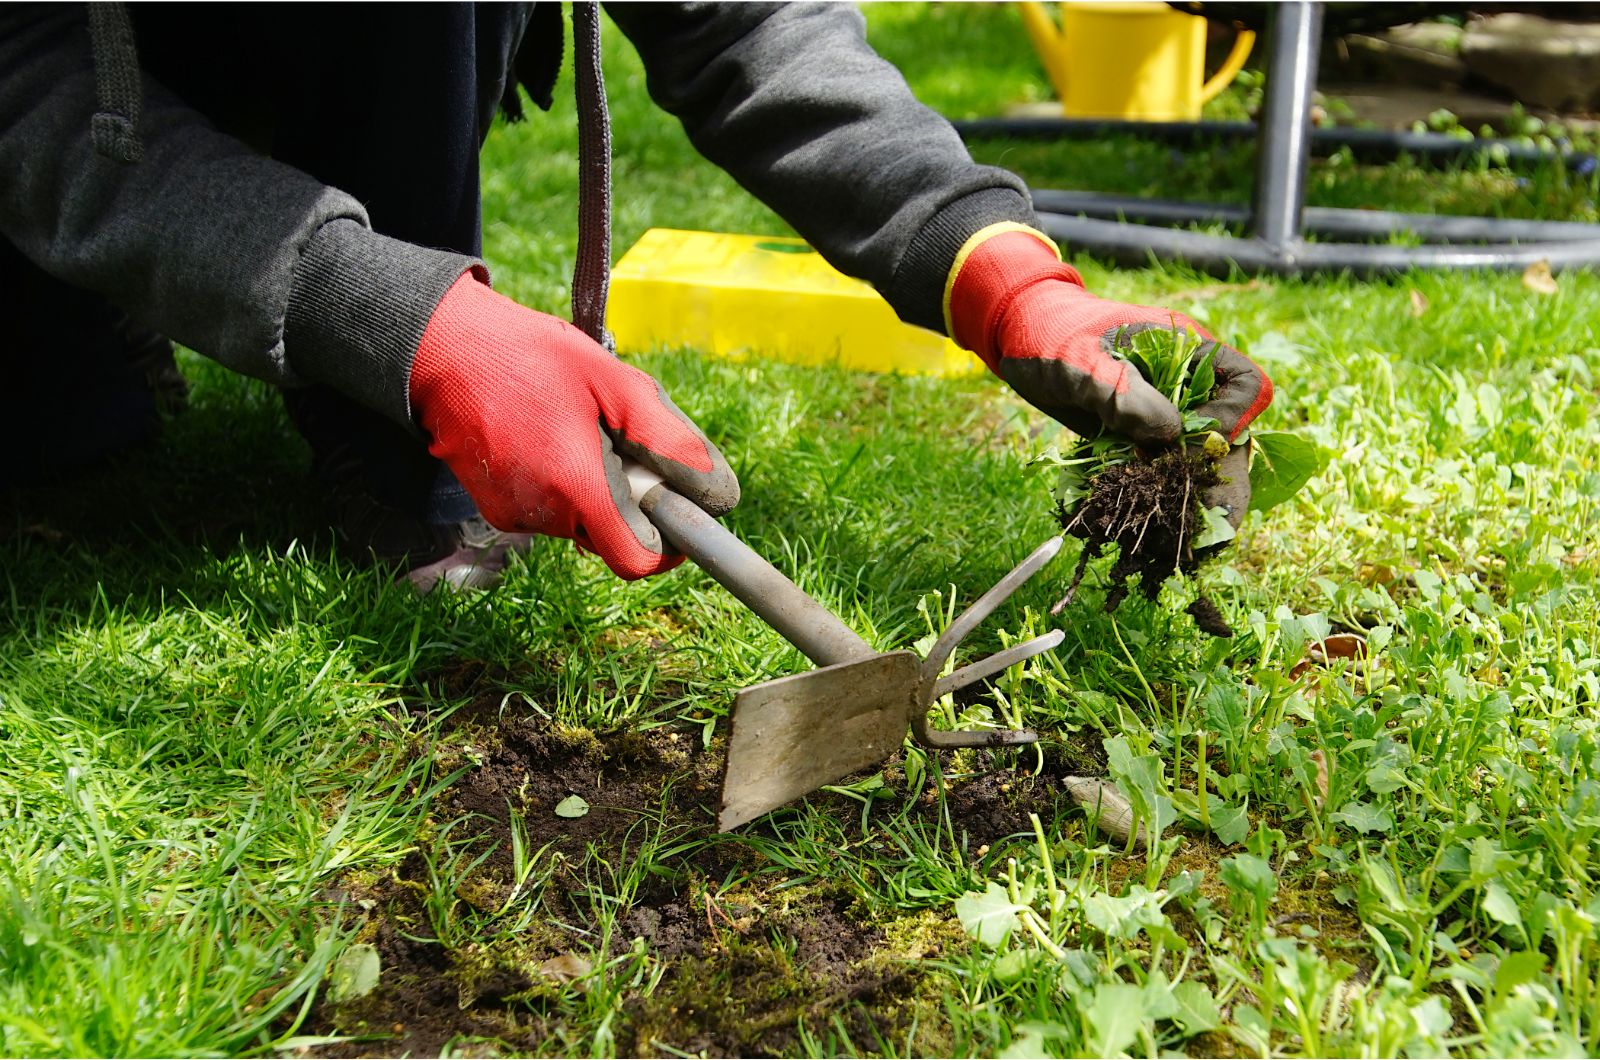
You may be disappointed to hear that the last step on my list is probably the hardest. But remember, a thriving lawn requires a lot of effort!
Weeds ruin the overall appearance of a lawn and they pose a danger to the health of your grass. Spring is definitely a great time to remove these nuisances from your lawn.
There are a couple of methods for removing weeds from the lawn, such as using pre-emergent and post-emergent herbicides.
I’m old school when it comes to de-weeding and I do it manually; I carefully loosen the soil around the weeds and pull them up by the roots. Avoiding herbicides is my priority, so I don’t mind taking a rest day after this not-so-easy task.
Getting a green and thick lawn requires patience and effort, but you’ll be rewarded after you complete all our steps!