8 Steps Every Virginia Blackberry Grower Should Take After Harvest Ends
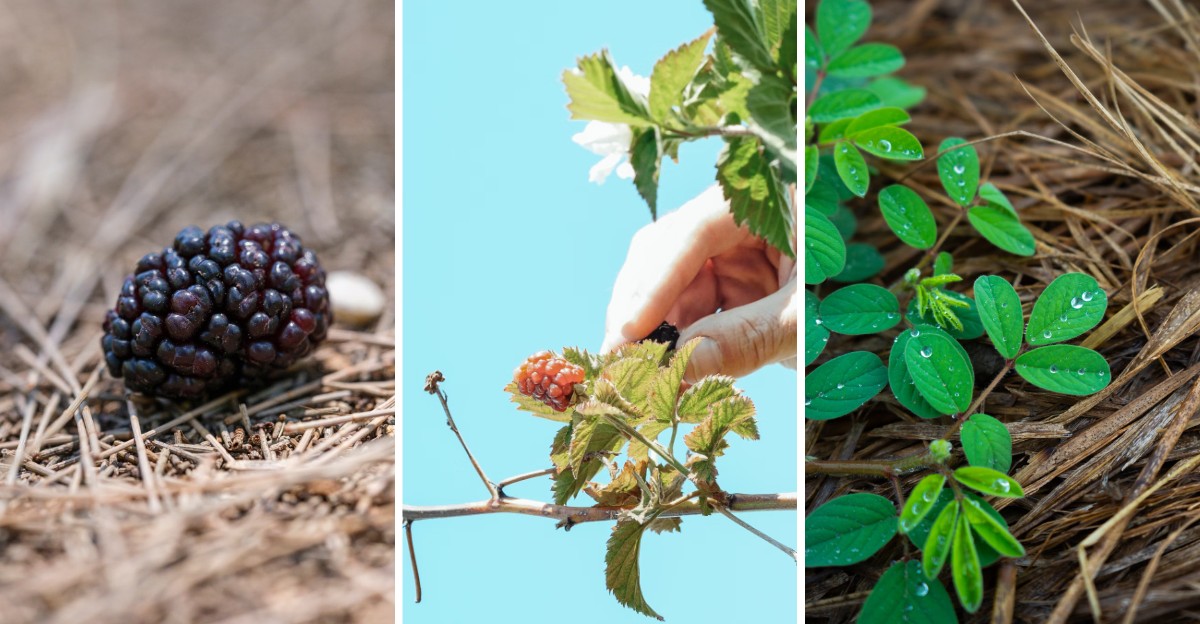
Those spent blackberry canes you ignored in August are shortchanging next July. Each floricane finishes its job, then hosts cane borers and spur blight.
Meanwhile, fresh green primocanes are racing skyward to carry next summer’s crop. Virginia’s humid summers and unpredictable fall weather give pests and disease plenty of chances to win. You can tip those odds.
Cut fruited canes flush to the ground before disease spores settle into winter quarters. Thin the new growth, keeping only the thickest, sturdiest canes. Skip nitrogen now, because late feeding pushes tender shoots vulnerable to frost.
Tie remaining primocanes to the trellis so winter wind cannot bend them. Whether you garden in Virginia or far beyond it, timing decides your yield.
Wait too long, and you get fruit buds forming on spindly, crowded wood. Here is how you turn this September into your biggest harvest yet.
1. Cut Out The Spent Fruiting Canes
Every blackberry cane lives a short, two-year life, a bit like a summer camp counselor. It grows the first year, fruits the second, and then it is done for good.
Growers call those first-year shoots primocanes and the second-year ones floricanes. Once the floricanes finish fruiting, they slowly turn brown, brittle, and pretty much useless to you.
Leaving them in place is like keeping empty cereal boxes in the pantry. They take up space, block sunlight, and give fungus a cozy place to hide.
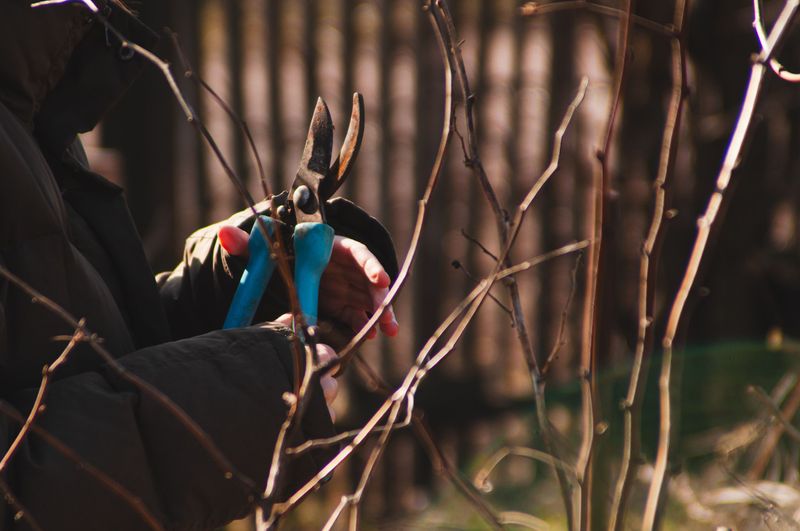
Grab a pair of sharp bypass pruners, thick leather gloves, and a long-sleeved shirt. Cut each spent cane right at ground level so no stubs are left behind.
Stubs may look harmless, but they can invite cane borers and diseases like anthracnose. A clean cut at the base heals faster and keeps the crown healthy.
Not sure which canes to remove from a tangled Virginia row in September? Old floricanes have gray, peeling bark and leftover fruit stems, while new canes look green and fresh.
Many Virginia growers finish harvest by early August, so September is a great time to catch up. The cooler mornings make thorny work much more pleasant, too.
One quick exception applies to primocane-fruiting types like Prime-Ark Freedom. Those varieties may still be fruiting now, so save their pruning for late winter.
Haul the cut canes away from the patch and bag them for trash or yard waste pickup. Tossing them in the compost pile can spread pests right back to your plants.
2. Thin And Train The New Green Canes
Picture a crowded school bus on the first day, with everyone elbowing for a window seat. Your new canes feel the same way when too many of them sprout in one spot.
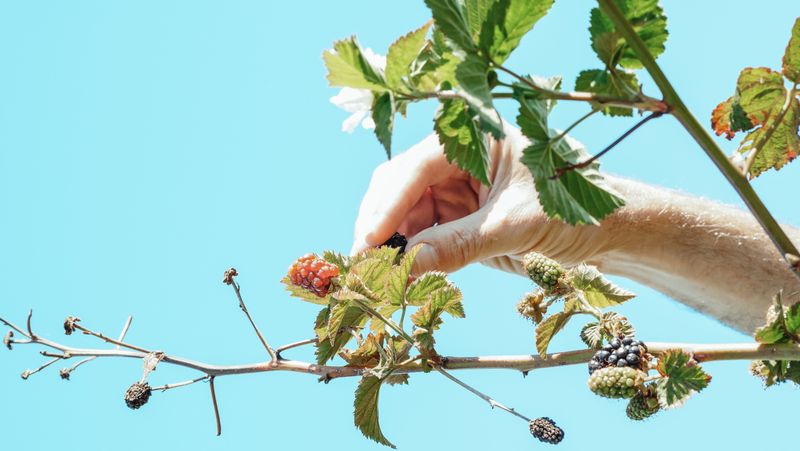
Those green first-year canes, called primocanes, will hold next summer’s berries. Giving the strongest ones room to grow is one of the smartest moves you can make.
For upright types like Ouachita and Natchez, keep about four to six healthy canes per foot of row. Choose the thickest, greenest canes and snip the skinny or crooked ones at the ground.
Your Virginia Garden Changes Every Week. Your Plan Should Too.
Gardening in Virginia changes quickly throughout the season. Every Friday you’ll receive a simple weekly plan showing exactly what to plant, prune, fertilize, harvest, and protect so you never miss the right timing.
Semi-erect thornless kinds, like Chester and Triple Crown, sprawl more and need a trellis. Keep five to eight sturdy canes per plant and gently guide them along the wires.
Soft garden twine or stretchy plant ties work well for fastening canes to the wire. Avoid tying them too tightly, since canes keep thickening as they grow through fall.
Tall upright canes should have been tipped earlier in summer at about four feet. By September, those canes will have bushy side branches, which is exactly what you want.
Side branches, or laterals, are where next year’s flowers and fruit will appear. Leave them long for now and trim them back to about a foot or so in late winter.
Better airflow is a sweet bonus of thinning, since crowded canes stay damp and breed disease. Your future self will thank you when picking day feels like a stroll instead of a tangle.
3. Clear Away Fallen Fruit And Old Debris
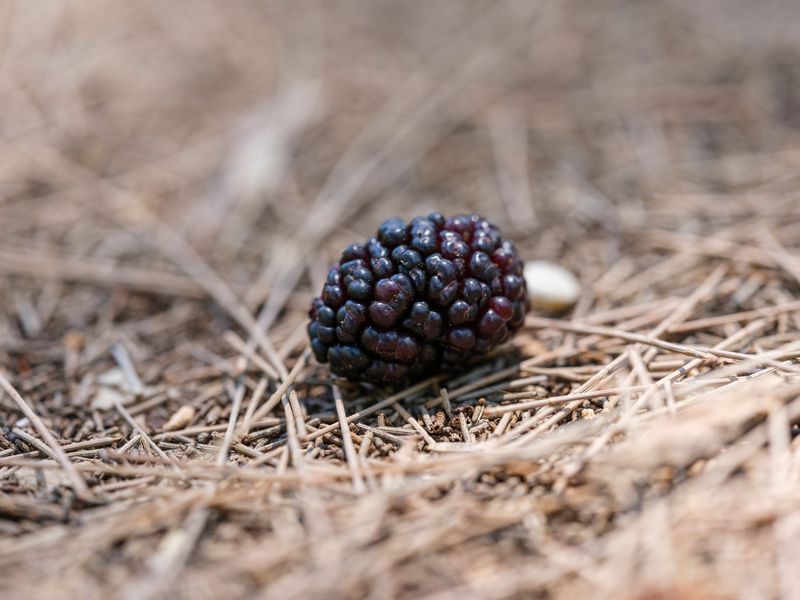
Spotted wing drosophila is a tiny fruit fly that targets ripening berries. It was first detected in Virginia around 2011 and has challenged berry growers ever since.
Rotting berries on the ground are like a free hotel for these pests. Females lay eggs inside soft fruit, and the next generation hatches right under your plants.
Walk each row with a bucket and pick up every mushy, moldy, or shriveled berry you spot. Check the canes, too, since some fruit clings on long after picking ends.
Seal the collected fruit in a plastic bag and let it bake in the sun for a week. After that, it can go in the trash without spreading flies around.
Fallen leaves, broken twigs, and pruned canes deserve the same treatment. Fungal troubles like cane blight and septoria leaf spot can hide out all winter on old plant bits.
A leaf rake and a wheelbarrow make quick work of the mess between rows. Be gentle near the base of each plant so you do not damage shallow roots.
Keeping things tidy also helps you notice problems you might otherwise miss. A clean patch makes it easier to see odd marks, holes, or wilting leaves.
Wild brambles along fence lines and wood edges can host the same pests and diseases. Clearing them near your patch cuts down on sneaky visitors.
Think of this cleanup as sweeping the kitchen after a big family dinner. It is not glamorous work, but it keeps unwanted guests from moving in for next season.
4. Test The Soil Before You Feed The Plants
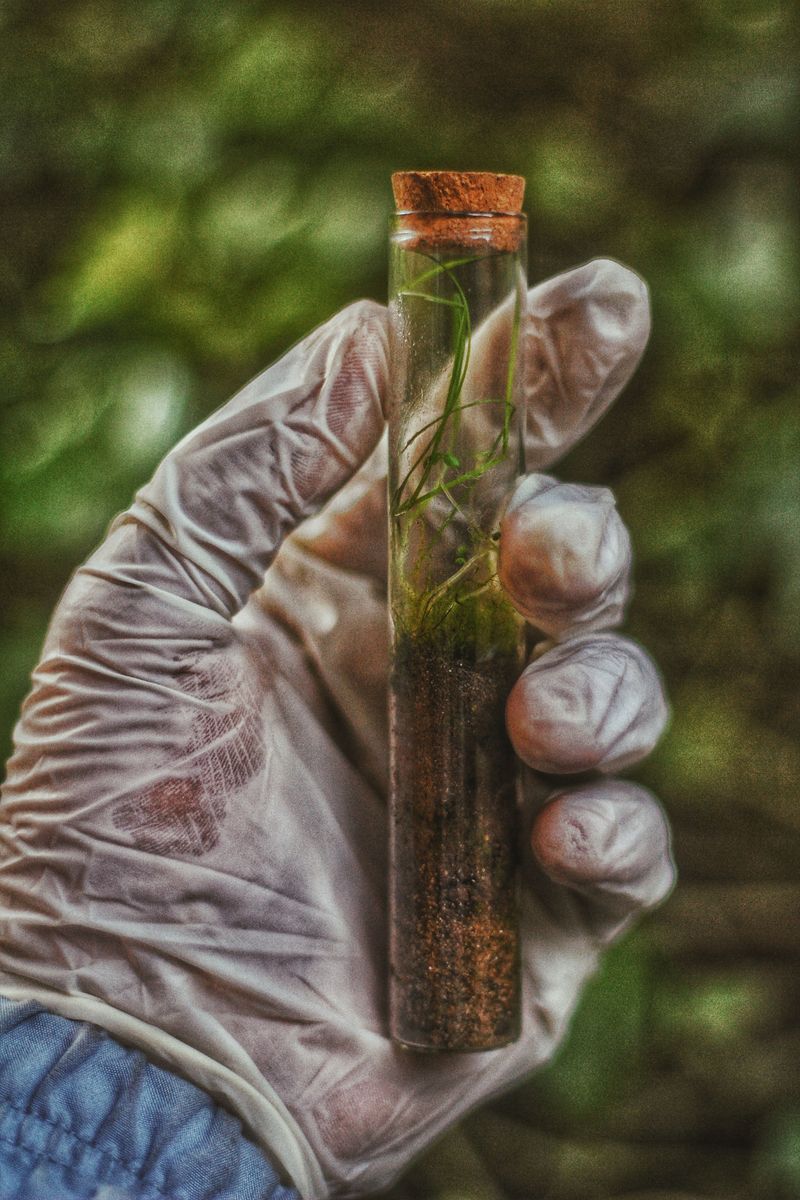
Guessing what your soil needs is a little like seasoning soup without tasting it first. A simple soil test takes the mystery out and saves you money on fertilizer.
Virginia Tech runs a soil testing lab, and your local Extension office can hand you a sample kit. The cost is low, and results usually arrive within a couple of weeks.
Use a trowel to gather soil from six to ten spots along your rows, about six inches deep. Mix it all in a clean bucket and send in about a cup.
Blackberries grow best when the soil pH sits between about 5.5 and 6.5. Much of Virginia has naturally acidic clay, so many patches need a dose of lime.
Fall is a perfect time to spread lime because it works slowly through the cold winter months. By spring, the soil chemistry will be adjusted and ready for fresh, vigorous growth.
Hold off on heavy nitrogen fertilizer this late in the season, though, even if plants look pale. Feeding now can push tender new growth that frost will easily damage in October or November.
Most Virginia growers feed their plants in early spring, right as new growth wakes up. Your soil test report will suggest how much to use, so keep it somewhere safe.
Phosphorus and potassium levels matter too, and the report will flag any shortages clearly. Treat those results like a report card that tells you what your soil needs to study.
5. Scout The Rows For Pests And Disease
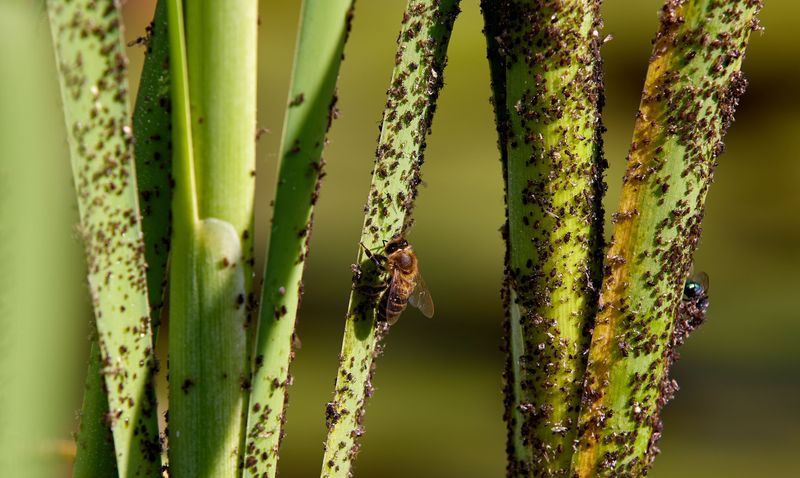
Put on your detective hat, because September is prime time for sneaky bramble troubles. A slow walk down each row with a magnifying glass can reveal a lot.
Start by checking the green canes for small purple spots with light gray centers. Those marks often point to anthracnose, a fungus that thrives in humid Virginia summers.
Next, look low on the canes for swollen, knobby bumps a few inches long. Rednecked cane borers cause those galls, and the canes above them often wilt or break.
Cut out any cane with a gall well below the swelling and remove it from the patch. Larvae spend the winter inside, so leaving them means more borers next year.
Hot, dry September weather can bring spider mites, which make leaves look speckled and dusty. Flip a leaf over and tap it on white paper to see tiny moving dots.
A strong spray of water from the hose can knock mites down without harsh chemicals. Insecticidal soap is another gentle option if the problem keeps growing.
Plants with rough, warty lumps near the soil line may have crown gall, a bacterial disease. Remove affected plants entirely, since the bacteria can linger in the soil.
Snap a few phone photos of anything strange and jot down which row it came from. Your local Virginia Cooperative Extension agent can help identify mystery problems for free.
Catching trouble early is far easier than fixing a full-blown outbreak next June. A weekly ten-minute stroll is a small price for a healthy patch.
6. Keep The Water Coming Through September
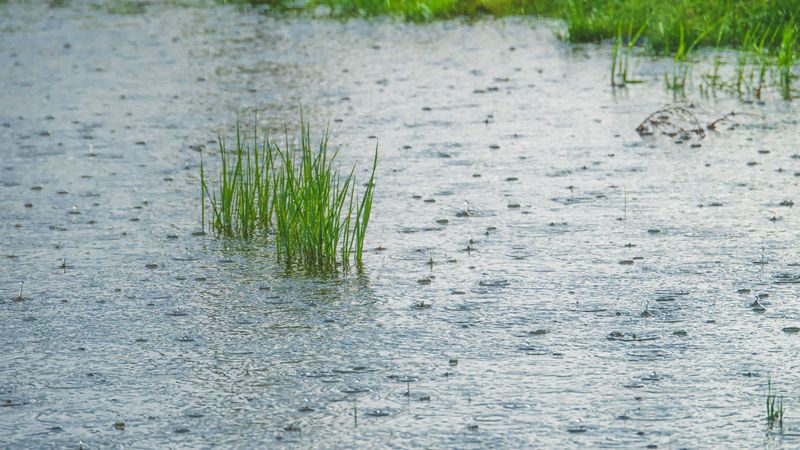
Grandma used to say a thirsty plant is a grumpy plant, and she was onto something. Even after harvest, your bushes are working hard below and above the ground.
Late summer and early fall are when new canes build strength and form next year’s flower buds. Skimping on water now can mean fewer berries when summer returns.
Virginia Septembers can swing from muggy downpours to weeks of dry, dusty heat. A simple rain gauge stuck in the ground helps you track how much water falls.
Aim for about one inch of water per week, counting both rain and irrigation. Sandy soils on the Eastern Shore may need a little more, while heavy clay holds moisture longer.
Drip lines or soaker hoses are the best way to deliver that water. They soak the roots slowly and keep the leaves dry, which helps prevent fungal problems.
Water early in the morning so any splashes have time to dry before evening. Overhead sprinklers at night can leave plants damp for hours, which disease-causing fungi love.
Wondering whether your patch is thirsty on a hot afternoon? Push a finger two inches into the soil, and if it feels dry, turn on the hose.
Ease off watering once cool October nights arrive and growth slows down. Plants need to harden up before winter, and soggy soil can make that harder.
Grandma’s rule still holds true for bramble patches today. A steady drink now is the quiet secret behind those big, glossy berries next summer.
7. Pull The Weeds And Refresh The Mulch
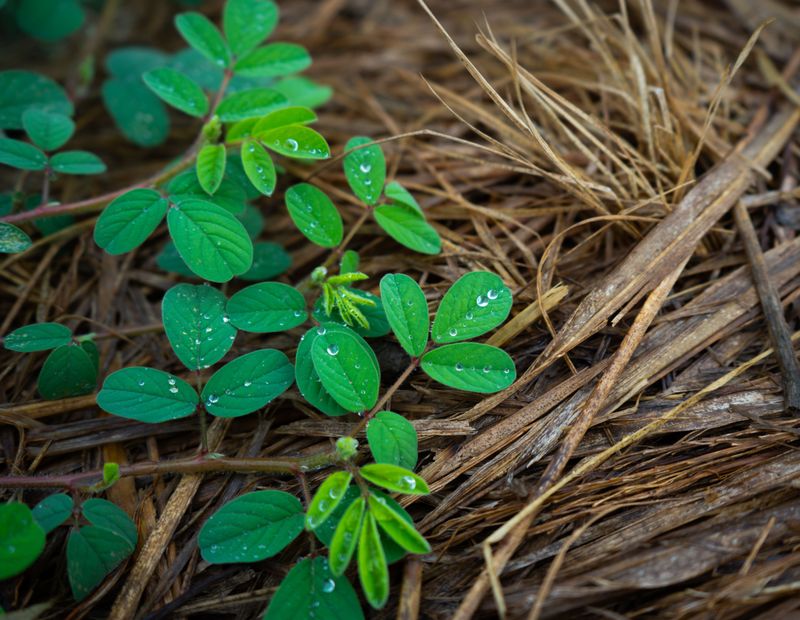
Weeds compete directly with your canes for everything they need. They steal water, food, and sunlight that your canes need to get ready for winter.
Bermudagrass and other creeping grasses are especially tough in Virginia berry patches. Their runners slip right into the crowns and are a pain to pull out later.
September is a smart time to tackle them, since soil is often soft after storms. Pull weeds by hand near the plants, since hoeing too deep can slice shallow roots.
Blackberry roots mostly live in the top foot of soil, so gentle work wins the game. A narrow hand weeder helps you pop out stubborn roots without much digging.
Once the rows are clear, spread a fresh layer of mulch about three to four inches deep. Shredded hardwood, pine bark, or clean straw all work nicely.
Mulch holds in moisture, keeps soil temperatures steady, and smothers many new weed seeds. It also breaks down over time and adds rich organic matter to the ground.
Keep the mulch a couple of inches away from the base of each cane. Piling it right against the crown can trap moisture and attract rot or hungry voles.
Between rows, a strip of mowed grass or a wide path of wood chips keeps things tidy. Mowing also chops up wild suckers that pop up in the wrong places.
A tidy, mulched row looks sharp, and your plants will feel the difference all winter. Consider it a cozy blanket and a bouncer rolled into one.
8. Prepare The Patch For A Virginia Winter
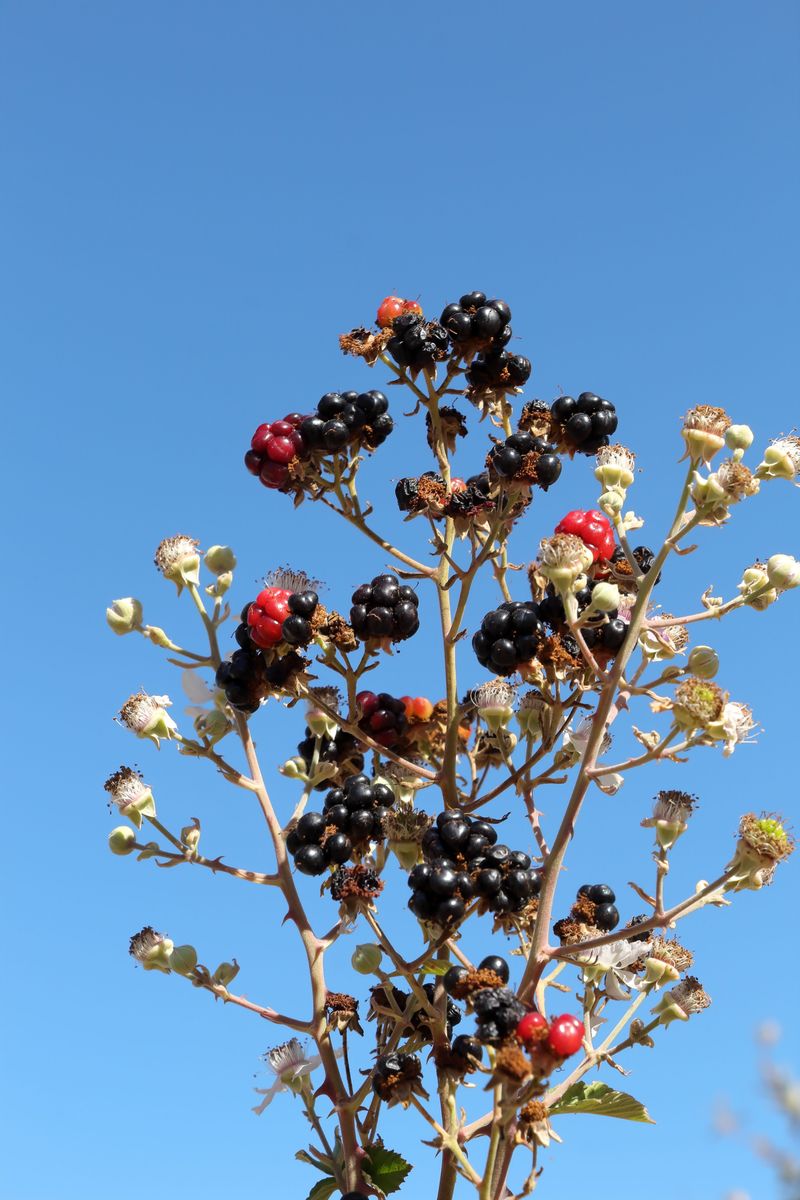
Winter in Virginia can mean anything from a mild drizzle in Norfolk to a hard freeze in Blacksburg. Your plan for protecting the patch depends a lot on where you live.
Thornless semi-erect types, like Chester and Triple Crown, handle cold fairly well. Some trailing kinds are more tender, and canes can show cold damage once temperatures fall into the low teens.
Growers in the mountains often untie trailing canes in late fall and lay them along the ground. A thick layer of straw over the top shields them from icy winds.
Frost cloth or row covers are handy backups for surprise cold snaps in early spring. Keep a roll in the shed so you can toss it over rows quickly.
Check your trellis while the leaves are still on and the weather is pleasant. Tighten loose wires, replace cracked posts, and fix anything that wobbles before winter storms arrive.
Clean and sharpen your pruners, then wipe them with rubbing alcohol to stop spreading germs. Store tools somewhere dry so they are rust-free for late winter pruning.
Grab a notebook and record what went well and what flopped this season. Write which varieties tasted best, which rows struggled, and when harvest started and ended.
Here is a fun bit of trivia to share at your next picnic. Each blackberry is actually a cluster of tiny fruits called drupelets, each with its own seed.
Those notes and small fixes add up to a smoother, sweeter season ahead. By next July, you will be glad you gave your patch some fall attention.