8 Summer Daylily Tasks Every Kentucky Gardener Should Know
Kentucky has a way of testing what you plant. Humidity settles in like a permanent guest, and storms rewrite your plans without asking.
Daylilies feel every shift before you do. Are yours ready for what this season demands?Smart gardeners across the Bluegrass State have learned something most people miss.
Timing separates a forgettable bed from a remarkable one, and attention to small things produces outsized results.
Nothing here is complicated, but everything here is intentional. Certain moves, made at the right moment, change what your garden becomes. Across Kentucky, the best-looking beds share a quiet logic. That logic is learnable.
Behind every stunning display is a set of deliberate, repeatable choices made by someone who understood exactly when to act. Your daylilies are capable of more than you have seen yet.
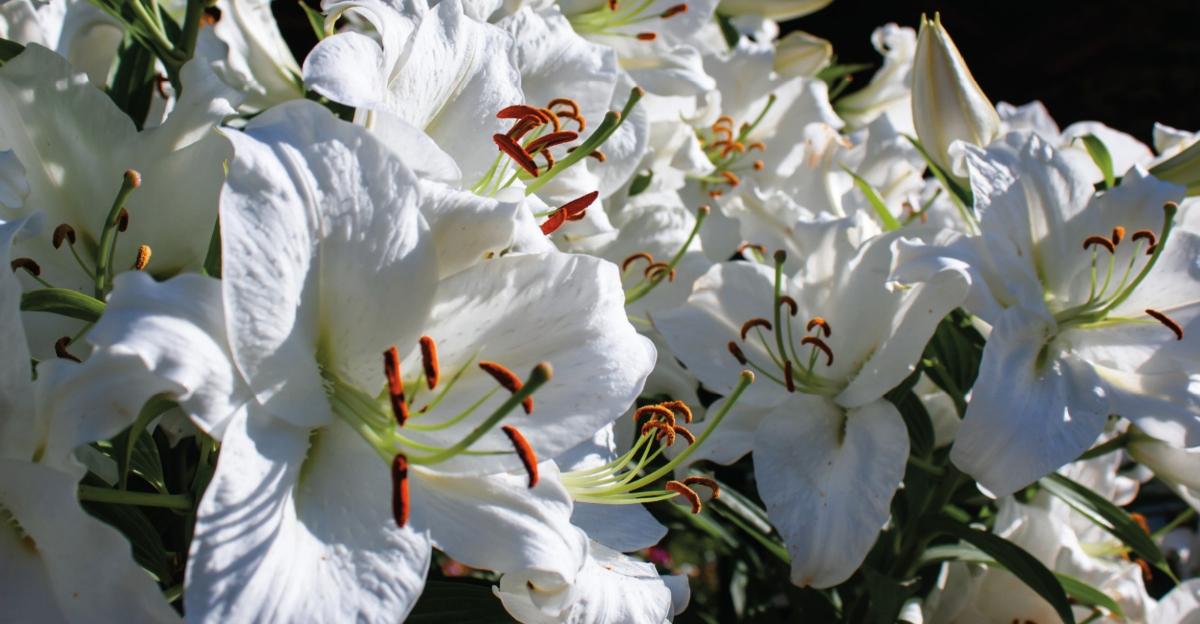
1. Photograph And Catalog Varieties At Peak Bloom

Peak bloom lasts only one day per flower, so documenting each one while it is open is the only way to capture it at its best. Grab your phone and start snapping the moment those petals unfurl fully.
Experienced daylily growers keep a dedicated photo album sorted by bloom date. Each shot captures the color, form, and height so you never mix up your favorites again.
A simple notebook or spreadsheet works beautifully alongside your photos. Write down the variety name, bloom date, and any notes about performance in your specific soil or light conditions.
Cataloging also helps when you want to plan next season’s color palette. You can spot gaps in your bloom sequence and fill them with new varieties that extend the show.
Some gardeners use free plant-tracking apps to log everything digitally. These tools let you add reminders for dividing or fertilizing each clump based on its own history.
Kentucky’s bloom window typically runs late spring through midsummer, though reblooming varieties can extend the display well into fall.
Knowing exactly when each plant peaks helps you schedule garden tours, events, or even just a quiet morning coffee outside.
Your catalog becomes a treasure map over time. Future-you will be grateful every single spring when planning begins and the guesswork disappears completely.
2. Divide Overcrowded Clumps To Improve Vigor And Blooming

A daylily clump that looks like a tangled mess is basically begging for help. When clumps get too crowded, bloom production drops and the plants compete hard for nutrients.
Most Kentucky gardeners divide their daylilies every three to four years. That rhythm keeps plants energetic, well-spaced, and producing the kind of blooms that stop neighbors in their tracks.
The best time to divide is late summer or early fall, after blooming slows down. Cooler temperatures give transplanted fans time to settle before winter arrives.
Use a sharp spade or garden fork to lift the entire clump from the ground. Shake off excess soil so you can clearly see where individual fans separate naturally.
Pull fans apart by hand when possible to avoid slicing through healthy roots. Each division should have at least two to three fans and a healthy root system attached.
Your Kentucky Garden Changes Every Week. Your Plan Should Too.
Gardening in Kentucky changes quickly throughout the season. Every Friday you’ll receive a simple weekly plan showing exactly what to plant, prune, fertilize, harvest, and protect so you never miss the right timing.
Replant divisions at the same depth they were growing before. Water them in thoroughly and add a light layer of mulch to help them settle without stress.
Divisions from your best performers make incredible gifts for fellow gardeners. Sharing a clump from a standout plant is one of the most generous things a daylily lover can do.
Healthy divisions bloom stronger within just one season of replanting. That payoff alone makes division one of the most rewarding tasks in the entire daylily calendar.
3. Water Deeply At The Base, Avoiding Foliage In Humid Weather

Humid summers and wet foliage are a recipe for fungal trouble in any garden. Kentucky heat combined with overhead watering creates the perfect conditions for leaf streak and rust to take hold.
Watering at the base keeps moisture where roots actually need it. Soaker hoses and drip irrigation are the two most reliable ways to deliver water without splashing leaves.
Daylilies prefer deep, infrequent watering over shallow daily sprinkles. One good soak every week or so encourages roots to grow deeper and stronger into the soil.
Sandy soils may need more frequent watering than clay-heavy ground. Check soil moisture a few inches below the surface before reaching for the hose each time.
Morning is the best time to water if you must use a sprinkler temporarily. Any moisture on leaves has time to evaporate before the humid evening air settles in.
During extended dry spells, daylilies will show stress by producing fewer buds. Consistent base watering through July and August keeps bloom counts high even in tough summers.
A rain gauge in the garden takes the guesswork out of supplemental watering. If nature delivers an inch per week, your plants are likely covered without extra effort from you.
Proper watering is one of those quiet tasks that pays off loudly. When your daylilies stay clean and disease-free all season, you will know exactly why.
4. Apply A Balanced Slow-Release Fertilizer During Bloom Season

Feeding daylilies at the right moment is like giving a runner the perfect meal before a big race. Timing and formula both matter more than most people realize.
A balanced fertilizer, something like a 10-10-10 or similar ratio, supports healthy roots, strong stems, and vibrant flower color simultaneously.
Slow-release granules are especially popular because they feed steadily over several weeks without burning roots.
Apply fertilizer just as buds begin forming in late spring or early summer. That window gives plants exactly the nutrients they need right when demand is highest.
Scatter granules evenly around the base of each clump and water them in well. Avoid piling fertilizer directly against stems or crowns, since concentrated contact can cause damage.
A second light application mid-season can extend the bloom period noticeably. Some Kentucky growers swear by this two-step approach for reblooming varieties especially.
Avoid high-nitrogen formulas that push excessive leafy growth at the expense of flowers. Too much nitrogen gives you a lush green clump with disappointing bloom counts.
Soil testing every few years tells you exactly what your garden actually needs. Your local cooperative extension office can run a test and give specific recommendations for your property.
Well-fed daylilies reward you with deeper colors, more buds per scape, and stronger overall plants. Consistent fertilizing during bloom season is one task that serious growers never skip.
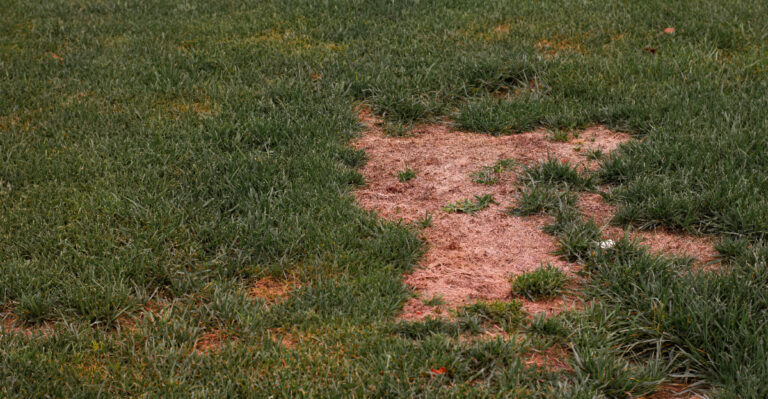
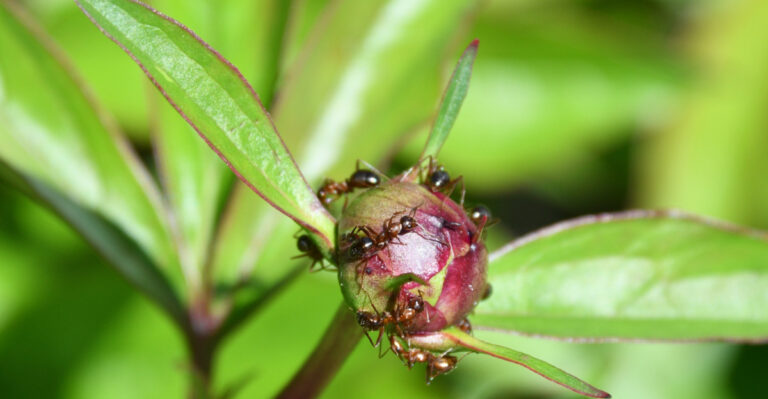
5. Scout For Aphids, Thrips, And Spider Mites Throughout The Growing Season

Summer heat in the Bluegrass State brings more than just humidity. It also brings populations of tiny insects that build up gradually and can quietly compromise a daylily display before you even notice them.
Aphids cluster on tender new growth and flower buds, drawing moisture from plant tissue and leaving a sticky residue behind. A strong spray of plain water knocks most colonies off without any chemicals needed.
Thrips are sneakier and harder to spot since they hide inside unopened buds. You will often notice their damage first as streaked or distorted petals when flowers finally open.
Spider mites thrive in hot, dry conditions and leave a telltale bronze or silvery stippling on leaves. Look for fine webbing on the undersides of foliage as a reliable confirmation sign.
Scout your plants at least once a week during peak summer. Early detection is always easier and less disruptive than dealing with a widespread pest problem later in the season.
Insecticidal soap or neem oil handles most soft-bodied pest problems effectively. Apply either product in the early morning or evening to avoid harming beneficial insects like bees.
Healthy, well-watered plants resist pest pressure better than stressed ones. Keeping your daylilies strong through good soil care is honestly the best long-term pest strategy available.
Catching a small aphid colony before it spreads can save an entire planting. Your eyes are the most powerful pest-management tool in the whole garden shed.
6. Mulch Around Plants To Retain Moisture And Suppress Weeds

A good layer of mulch is like giving your garden a protective blanket for the whole season. It keeps the soil cooler, holds moisture longer, and makes weeding almost effortless.
Shredded hardwood bark is one of the most popular mulch choices among Kentucky gardeners. It breaks down gradually over the season, adding organic matter back into the soil as it decomposes.
Apply mulch two to three inches deep around each daylily clump. Keep it pulled back slightly from the crown to prevent rot in the humid summer months.
Straw and pine needles also work well as seasonal mulch options. Both are lightweight, easy to spread, and readily available at most local garden centers or farm supply stores.
Weed suppression alone makes mulching worth every bit of effort. Fewer weeds mean less competition for water and nutrients, which translates directly into stronger blooms.
Mulch also moderates soil temperature swings between hot days and cool nights. That stability reduces stress on roots and keeps plants performing consistently through the unpredictable summer season.
Refreshing your mulch layer mid-season is a smart move if it thins out. Just add another inch or so on top to maintain that protective barrier through the rest of summer.
Gardeners who mulch consistently often spend far less time watering and weeding overall. That freed-up time goes right back into enjoying the daylily display you worked so hard to create.
7. Stake Tall Varieties Early To Protect Against Wind And Summer Storms

Kentucky summer storms can arrive with almost no warning and bend or break tall scapes. Tall daylily varieties are especially vulnerable when wind and rain hit at full force.
Staking before a storm is always smarter than trying to rescue bent stems after the damage is done. A few minutes of prep work can protect weeks of growing effort in one shot.
Bamboo stakes are a classic choice because they are inexpensive, sturdy, and blend into the garden naturally. Push them firmly into the ground a few inches from the base of each tall clump.
Use soft plant ties, stretchy garden tape, or even strips of old pantyhose to secure stems gently. Avoid tying too tightly, since scapes need a little room to move without snapping under pressure.
Metal spiral stakes are another solid option for heavier clumps. They grip stems more securely and hold up through multiple storm seasons without rusting or breaking down quickly.
Check your local forecast regularly from spring through summer, when storm activity is most frequent across the state. A quick weather check each morning takes seconds and can save an entire season of blooms.
Some gardeners plant tall varieties near fences or shrubs that provide natural wind protection. That smart placement reduces staking needs without sacrificing the dramatic height those varieties deliver.
A staked daylily standing tall after a summer storm is a genuinely satisfying sight. That small act of preparation carries a payoff far bigger than the effort it took.
8. Tag Your Favorite Performers For Fall Division Or Sharing

Not every daylily in your garden is going to be a showstopper, and that is perfectly fine. The ones that truly shine deserve a little recognition before the season fades and memory gets fuzzy.
Tagging your standout performers while they are still blooming is the most reliable way to track them. A simple plastic tag tied to the scape or pushed into the soil near the crown does the job beautifully.
Write the variety name and the date you tagged it on each label. That information becomes incredibly useful when fall division season arrives and the whole garden looks uniformly green.
Waterproof markers and UV-resistant tags hold up through rain and sun far better than regular alternatives. Investing in quality labeling supplies saves a lot of frustration and confusion down the road.
Tagging also helps you identify which plants to propagate and share with friends or neighbors. Passing along a clump from your absolute best performer is a gift that keeps giving for years.
Some growers use color-coded tags to separate categories like rebloomers, fragrant types, or award winners. That system makes planning next season’s layout faster and far more organized than relying on memory alone.
Fall is the ideal time to divide daylilies in most parts of the state. Having your favorites already tagged means you can move straight into action without second-guessing which clumps deserve that attention.
Your tagged plants are the foundation of next year’s best daylily display. Treat that information like gold, because it genuinely is.