The Biggest Mistake Florida Homeowners Make Trying To Turn Bahia Into St. Augustine
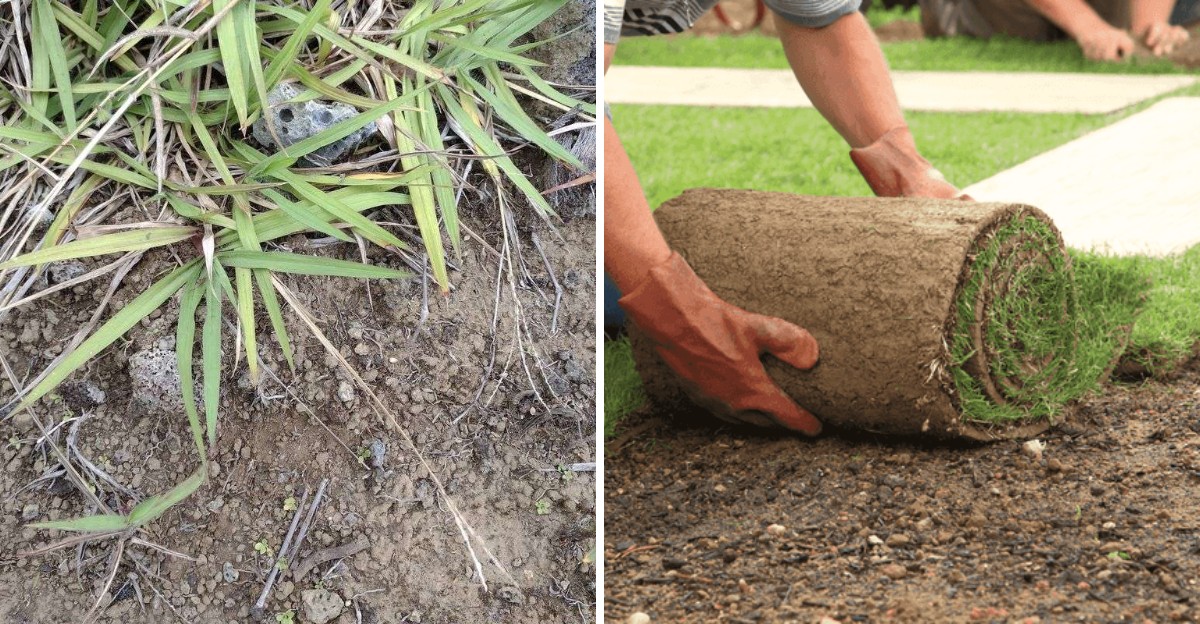
Ripping out Bahia for St. Augustine sounds like a clean swap. Plenty of Florida lawns prove otherwise.
Homeowners swing the sod cutter, lay fresh squares, and expect a lush carpet by summer. Instead the patchy mess keeps coming back, and Bahia pokes through like it never left.
One early move decides the whole project. Skip it and you’re paying for sod that never gets a fair shot at taking over.
Both grasses play by different rules underground, and that’s where the fight is won or lost. Learn the trap before you buy a single pallet, or you’ll fund the same lawn twice.
1. Skipping Bahia Removal Is The Big Mistake
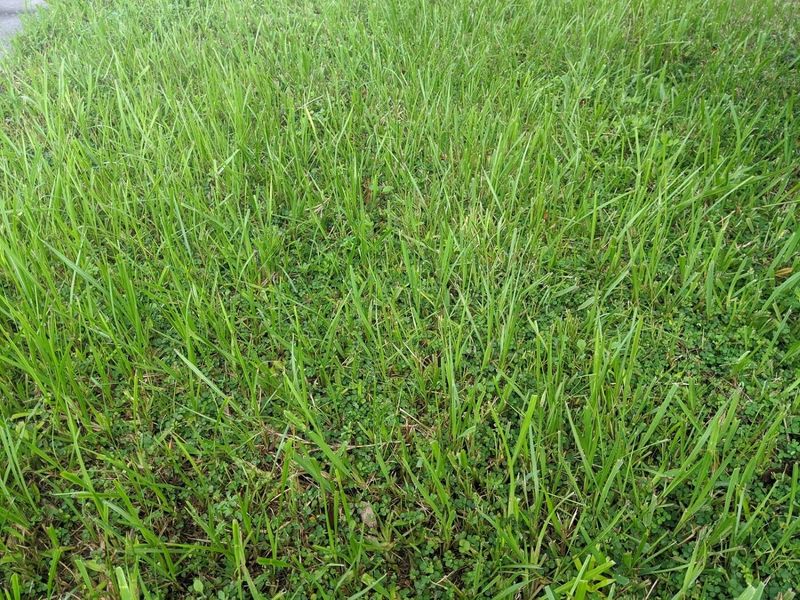
Picture spending a whole weekend and a pile of cash on beautiful new sod. Two months later, skinny Bahia seed heads pop up through it like uninvited party guests.
That scene plays out in Florida neighborhoods all the time. The main reason is simple: the old Bahia grass was left in place under the new lawn.
Many people think fresh sod will smother whatever grows beneath it. Sadly, Bahia is far too tough for that plan to work.
Laying sod right on top of old turf also creates a small air gap. New roots end up hanging in that gap instead of reaching down into real soil.
Without good soil contact, the new grass struggles to settle in. It may turn yellow, dry out fast, and look patchy by the end of summer.
Bahia, meanwhile, keeps right on growing. It is an aggressive spreader, and it will happily push up through the gaps and take back its old home.
The smart move is to treat removal as step one, not an optional extra. Clearing the old lawn first gives St. Augustine a clean start with nothing fighting it for water, sunlight, or food.
Think of it like painting a wall. You would not paint over peeling paint and expect a smooth finish, and the same idea applies right here in your yard.
2. Treat The Old Lawn With Herbicide First
Timing is the secret sauce here, and May is often the sweet spot. That is when Bahia grass is actively growing and soaking up whatever lands on its leaves.
A non-selective herbicide like glyphosate is the common choice for this job. It works on just about any green plant it touches, so it clears the slate for your new lawn.
Because it is non-selective, be careful near flower beds and shrubs. A little drift on a windy day can harm plants you actually want to keep.
Spot treatments work well for smaller patches. For a full lawn swap, you may need to cover the whole area evenly.
Once you spray, give it time to do its work. Waiting about 7 to 14 days is the usual advice before moving on to the next step.
During that wait, the grass will slowly turn brown. Some stubborn spots may need a second round, so walk the yard and look for green clumps.
Your Florida Garden Changes Every Week. Your Plan Should Too.
Gardening in Florida changes quickly throughout the season. Every Friday you’ll receive a simple weekly plan showing exactly what to plant, prune, fertilize, harvest, and protect so you never miss the right timing.
Always read the product label before you start, since mixing rates and safety tips can vary. Wear gloves, long sleeves, and closed shoes to protect your skin.
Kids and pets should stay off the treated area until it dries. A little patience now saves a lot of headaches down the road.
3. Clear Out All The Old Turf Before Sodding
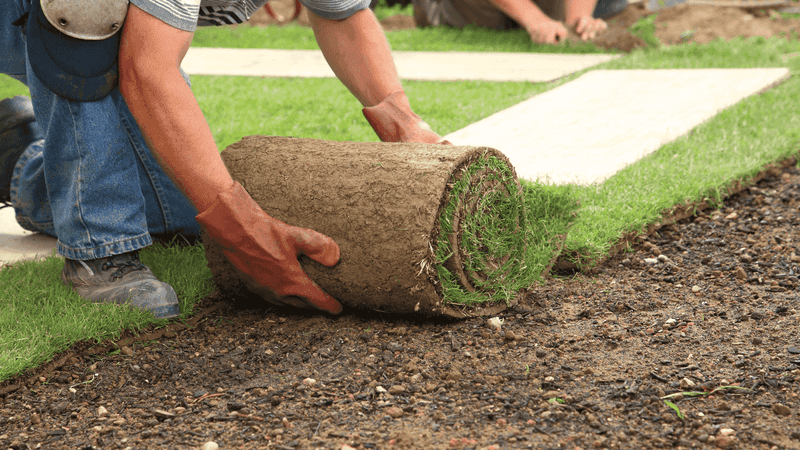
Brown grass might look harmless, but it is still a barrier. Leaving those spent strips on the ground can block new roots just as much as living Bahia would.
After the herbicide has done its job, the old turf needs to go. Clearing it away stops that pesky air gap from forming under your fresh sod.
For bigger yards, a sod cutter is the hero of the day. It slices under the turf and rolls it into neat strips you can haul away.
Many home improvement stores rent sod cutters by the day. Splitting the rental with a neighbor who has the same project can save some money.
Small areas are easier to handle with a flat shovel. It takes more muscle, but it lets you work around sprinkler heads and garden edges with care.
Some people prefer to till the brown material right into the soil. That option can work, but be sure to rake the area smooth afterward so the surface is level.
Once cleared, take a moment to remove rocks, roots, and lumpy spots. A smooth, firm base helps the new sod sit flat and grow evenly.
Fun fact: professional installers often say prep work is about 80 percent of a great lawn. The fun part, laying sod, is the quick and easy finish.
4. Bahia Spreads Underground By Rhizomes
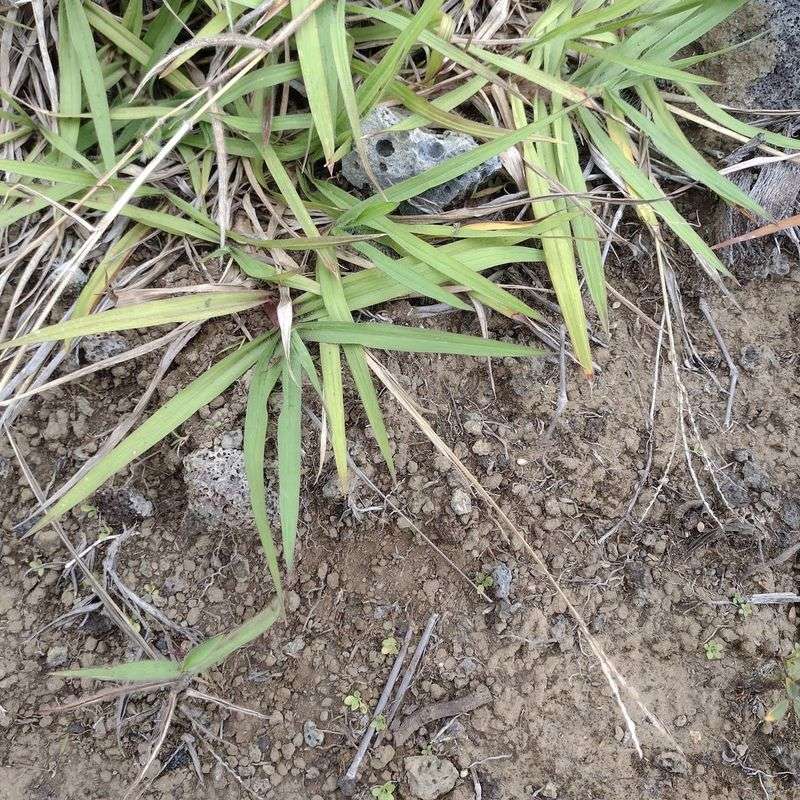
Did you know Bahia grass has a secret travel system? Beneath the surface, thick stems called rhizomes creep sideways through the soil like little tunnels.
Those rhizomes are a big reason Bahia is so hard to get rid of. Even when the leaves look gone, chunks of rhizome can stay alive and sprout again later.
Bahia also spreads by seed. Those tall, V-shaped seed heads you see in summer can drop seeds that start brand new plants.
Put those two tricks together and you have one stubborn grass. It is a big reason Bahia works so well along Florida highways where nobody pampers it.
St. Augustine is a bit less rugged in comparison. If even a few Bahia pieces stick around, they can slowly push into the new lawn and crowd it.
So what can you do about it? Removing as much of the old turf and root layer as possible gives you the best odds of a clean lawn.
Keep an eye out during the first year for any thin, tall blades that look out of place. Pulling them early, roots and all, stops them from getting a foothold.
Edging along driveways and beds also helps. A clear border makes it harder for sneaky rhizomes from a neighbor’s yard to wander into yours.
5. Check Whether Your Soil Suits St. Augustine
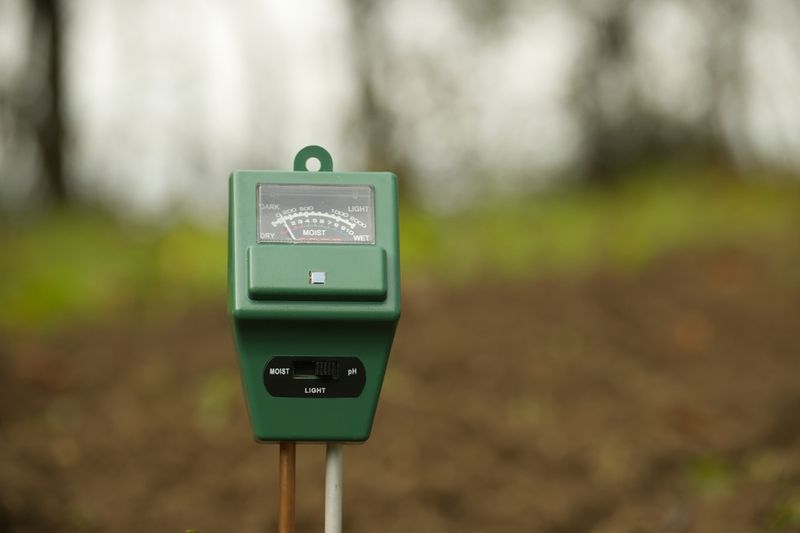
Here is a question many homeowners forget to ask: does my soil even want St. Augustine? The answer matters more than you might think.
Bahia grass is happy in sandy, acidic, and fairly poor soil. That is why it grows so easily in many Florida yards without much help.
St. Augustine has pickier taste. It does best in well-drained, fertile soil with a pH between about 5.0 and 7.5.
If your yard grew thick Bahia with little care, the soil may lean more acidic or low in nutrients. That does not mean St. Augustine is impossible, but it may need some help.
A soil test is the easiest way to find out. Your local county extension office often offers affordable testing, and home kits are also available.
The results will show your pH and key nutrient levels. From there, you can decide whether to make changes before planting.
Lime is used to raise pH when soil is too acidic. Sulfur does the opposite and lowers pH when soil is too alkaline.
Adding compost or quality topsoil can also boost fertility in very sandy yards. Taking this step first is like checking the weather before a picnic, and it can save your whole project.
6. St. Augustine Needs More Upkeep Than Bahia
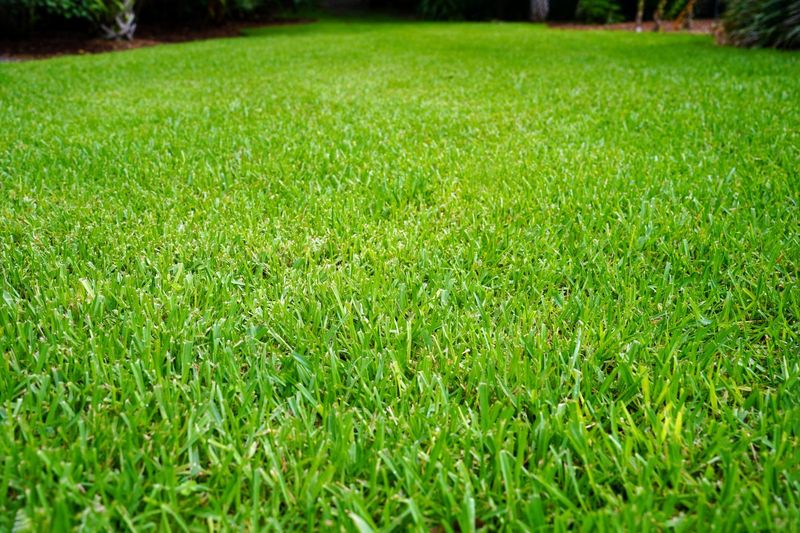
Let’s be honest for a second. Switching to St. Augustine is a bit like trading a cactus for a fern.
Bahia can handle drought, poor soil, and plenty of neglect. St. Augustine looks lovely, but it asks for more time, water, and attention in return.
Watering is the first big change. St. Augustine usually needs more frequent drinks, especially during hot, dry stretches in spring.
Fertilizer is another difference. A steady feeding schedule helps keep that rich green color many people are chasing.
Pests and diseases also enjoy St. Augustine more than Bahia. Chinch bugs and fungal problems like brown patch can show up, so watch for odd yellow or brown spots.
Mowing happens more often, too. During peak growing season, plan on weekly cuts at a height of about 3.5 to 4 inches.
Bahia can sometimes go longer between trims, which is part of its low-effort charm. With St. Augustine, letting it grow too tall can lead to a thick, spongy layer called thatch.
None of this should scare you away. Knowing the workload ahead of time helps you budget your weekends and enjoy the soft, gorgeous lawn you worked so hard to earn.
7. Lay Sod Tightly Like A Jigsaw Puzzle
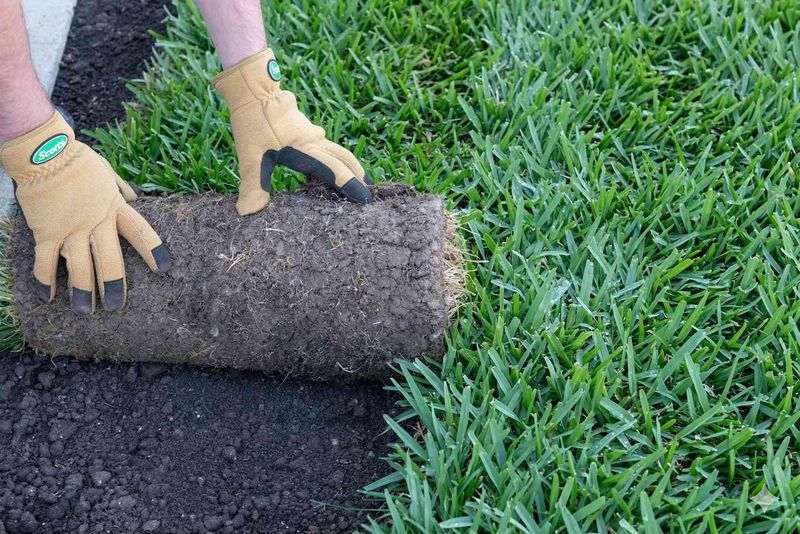
Remember building puzzles at the kitchen table as a kid? Laying sod uses the same happy skill, just with a lot more dirt on your hands.
Start along a straight edge, like a driveway or sidewalk. That gives you a clean line to follow as you work across the yard.
Place each piece in a staggered pattern, like bricks in a wall. This keeps the seams from lining up in long rows that can dry out.
Push the edges snug against each other without stretching or overlapping them. Tight, flush seams help the pieces knit together into one smooth carpet.
Gaps might seem tiny, but they cause big trouble. Bare soil dries fast in the Florida sun and becomes an open invitation for weeds.
Use a sharp knife or flat shovel to trim pieces around trees, beds, and curves. Save small scraps to fill odd corners instead of leaving holes.
Once the sod is down, roll it with a lawn roller. Rolling presses the roots firmly against the soil so they can start growing right away.
Water deeply soon after installing, ideally within the first half hour of each section. Moist, well-pressed sod settles in faster and looks great sooner than you might expect.
8. Space Plugs Closer To Crowd Out Weeds
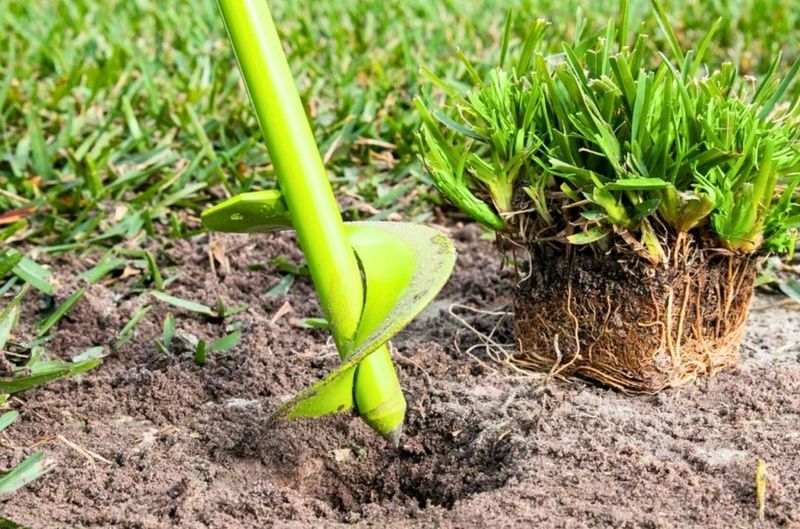
Plugs are the budget-friendly cousin of full sod. They cost less upfront, but spacing can make or break the final result.
Each plug is a small square of grass planted into the soil. Over time, it sends out runners that spread and connect with nearby plugs.
Here is the catch with wide spacing. The open soil between plugs gives weeds plenty of room to move in first.
Planting plugs about 6 to 12 inches apart helps solve that problem. The closer they sit, the faster they meet and form a thick, leafy cover.
That dense cover shades the ground and makes life harder for weed seeds. It is like filling every seat at a movie so no strangers can sneak in.
Closer spacing does mean buying more plugs. Still, many homeowners find the faster fill-in worth the extra cost and the fewer weeds to pull.
A grid pattern keeps things neat and even. A simple string line or measuring tape helps you stay on track as you plant.
Keep the soil evenly moist while the plugs settle in. With good care, a closely spaced plug lawn can fill in within a single growing season.