The Florida Dry-Season Mistake That Steals Next Spring’s Azalea Flowers
Azaleas never warn you about this one. The bill arrives in March, when the bushes show up to the party with leaves and nothing else.
Florida’s dry season starts to settle in, and every gardener has a routine for it. Water more, mulch more, tidy up a bit.
One of those habits sounds responsible and still costs you the show.
Right now, tiny buds are forming at the tip of every branch, and they’re touchier than they look. One well-meant chore at the wrong moment can erase them without a trace.
By the time you notice, there’s nothing left to save.
Experienced growers have a short list of rules for these months. Ignore them and spring feels flat.
Check your routine against the season before you pick up another tool. Next year’s flowers are counting on you.
1. Azaleas Develop Next Spring’s Buds Through Late Summer And Fall
Here is a garden secret that surprises plenty of people. The flowers you admire in March are built many months before, during the hot and sticky end of summer.
After azaleas finish blooming in spring, they push out fresh green shoots. Once that growth settles down, the plant starts tucking tiny flower buds at the tips of those new stems.
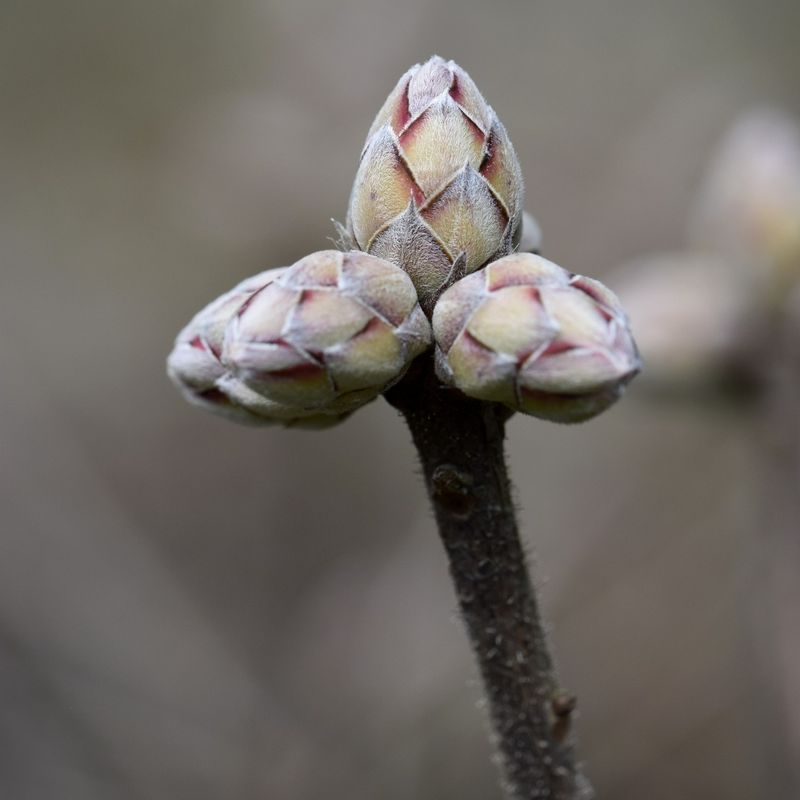
Bud building keeps going through late summer and well into fall. You can spot the buds if you look closely, since they are a bit fatter and rounder than leaf buds.
Think of each bud as a little lunchbox packed for next spring. If the plant goes hungry or thirsty while packing, the lunchbox ends up half empty.
Fun fact: azaleas belong to the same plant family as blueberries. Both love acidic soil and both plan their flowers far in advance.
Because of that long timeline, fall care matters just as much as spring care. Many Florida gardeners relax once the summer rains slow down, but the shrubs are still hard at work.
Treat late summer and fall as the season of quiet preparation. Water wisely, keep tools tucked away, and give the plant steady support.
Do that, and the payoff arrives right on schedule when the weather warms again.
2. Skipping Water During Dry Spells Is The Big Mistake
Ever notice how the hose gets forgotten once the summer storms fade? That is exactly when azaleas start whispering for help.
Florida’s dry season often runs from fall into spring. Afternoon showers vanish, the air turns crisp, and the soil quietly loses moisture day after day.
Many gardeners figure cooler weather means thirsty plants are no longer a concern. Sadly, the opposite can be true for azaleas building their buds.
When water runs short during bud formation, the plant goes into survival mode. It may drop some buds or form fewer of them, saving its energy for roots and leaves instead.
The result shows up months later. You get a spring display that looks patchy, with flowers scattered here and there instead of a full blanket of color.
Your Florida Garden Changes Every Week. Your Plan Should Too.
Gardening in Florida changes quickly throughout the season. Every Friday you’ll receive a simple weekly plan showing exactly what to plant, prune, fertilize, harvest, and protect so you never miss the right timing.
Drought stress can also weaken the shrub overall. A tired azalea is more open to pests like lace bugs, which love plants that are already struggling.
The fix is pleasantly simple. Keep an eye on the weather, check the soil, and water when rain does not show up for a week or two.
A quick reminder on your phone works wonders. One small habit now can protect a whole season of blossoms later.
3. Shallow Roots Dry Out Fast In Sandy Soil
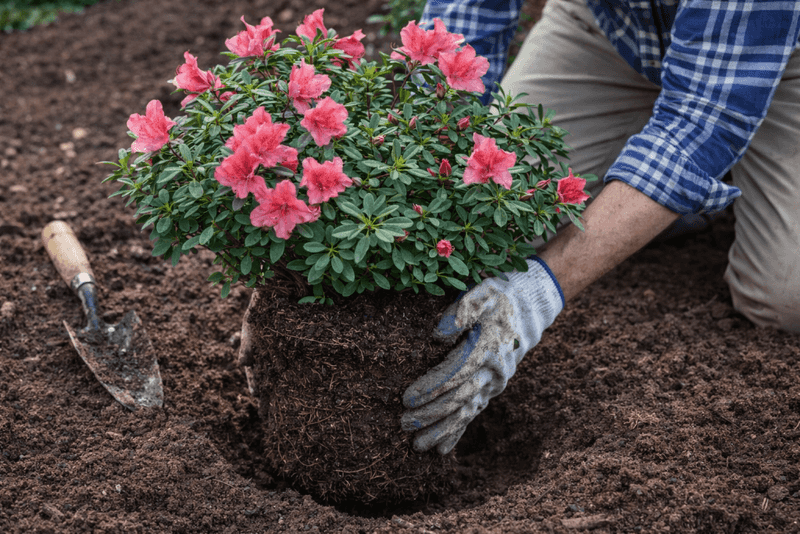
Dig gently beside an azalea and you will find something unexpected. The roots spread out like a flat, fuzzy mat sitting just below the surface.
Unlike trees that send roots deep, azaleas keep their fine, fibrous roots close to the top. Most of them live in the first several inches of soil.
That shallow setup works well in their native woodlands. Forest floors stay cool, shady, and covered with fallen leaves that hold moisture.
Florida yards are a different story. Much of the state sits on sandy soil, and sand lets water slip through like a kitchen strainer.
Put shallow roots and fast-draining sand together, and you have a recipe for quick drying. A sunny, breezy week can pull the moisture right out of the root zone.
Here is a handy test. Push your finger about two inches into the soil near the plant.
If it feels dry and dusty, your azalea is ready for a drink.
You can also improve the soil over time. Working in compost or other organic matter helps sand hold water a little longer.
Knowing how the roots grow changes how you care for them. Light, frequent worry is less useful than smart, thorough soaking when the soil turns dry.
4. Give Established Plants 3/4 To 1 Inch Every 10 To 14 Days
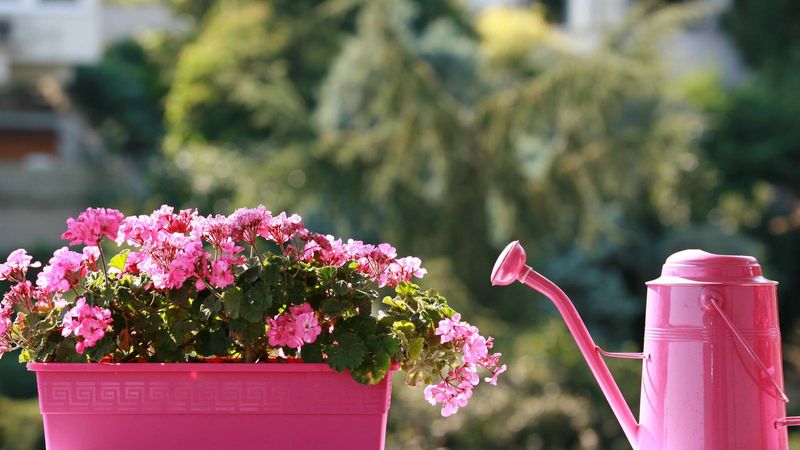
Numbers might feel boring, but this one is a real bloom saver. Established azaleas in Florida do well with about three quarters to one inch of water every 10 to 14 days when rain is scarce.
Established means the plant has been in the ground for at least a year or two. Brand new shrubs need more frequent water while their roots spread out.
So how do you measure an inch? Try the tuna can trick.
Set a few empty tuna or cat food cans around the plant. Turn on your sprinkler and time how long it takes to fill the cans about one inch deep.
Using a soaker hose or drip line? Skip the cans and use the screwdriver test in the next section.
Write that time down and stick it on the garage wall. Now you know exactly how long to run the water each session.
Remember to count the rain. If a nice soaking shower drops an inch, you can push your next watering back.
Check your local watering rules too. Many Florida counties limit irrigation to certain days, so plan your schedule around them.
Deep, spaced-out watering beats a daily sprinkle. Light daily splashes keep roots lazy near the surface, while a solid soak every week and a half encourages sturdier growth.
5. That Amount Soaks The Soil 10 To 12 Inches Deep
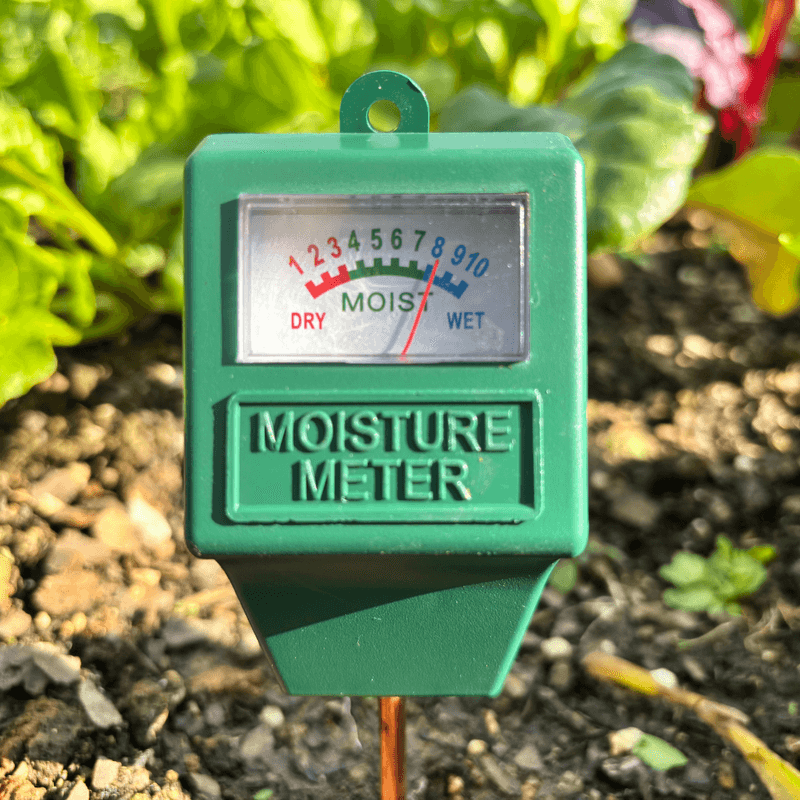
Why bother with a full inch? Because in sandy Florida soil, that inch travels down roughly 10 to 12 inches, wetting the whole root zone.
Picture pouring water into a jar of sugar. It sinks fast and spreads evenly, which is pretty close to how sand behaves.
A short splash might only wet the top inch or two. The surface looks dark and damp, yet the roots just below stay thirsty.
Soaking deeper also builds a little moisture bank. Water held lower in the soil lasts longer, carrying your azalea through those sunny stretches between waterings.
Some UF/IFAS Extension guides call for wetting the soil a bit deeper, around 14 to 18 inches. In sandy yards, that takes a little more than an inch of water.
That extra reach gives roots plenty of backup moisture.
Want proof your watering works? Grab a long screwdriver or a thin metal rod.
About an hour after watering, push it into the soil near the drip line. It slides easily through moist soil and gets tough to push once it hits dry ground.
Measure how far it went, and adjust your timer if needed. It feels a bit like detective work, and it takes the guessing out of watering for good.
6. Water The Roots, Not The Leaves And Blooms
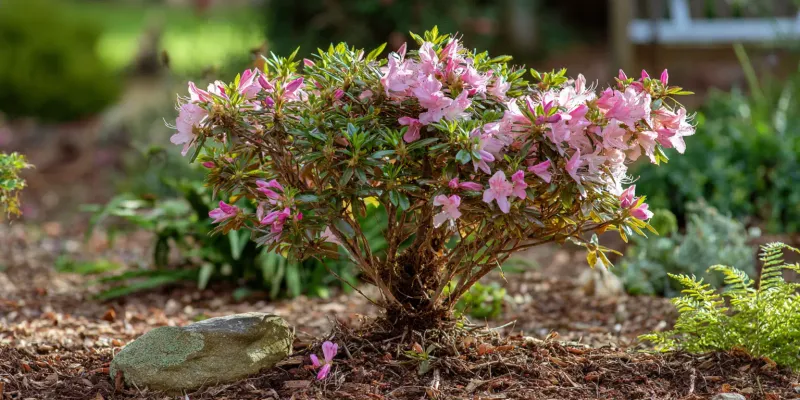
Spraying the whole bush might look satisfying, like giving it a refreshing shower. Your azalea, however, would much rather you aim lower.
Roots do the drinking, so water belongs on the soil. When most of it lands on leaves, a good share evaporates before it ever reaches the ground.
Wet foliage brings another problem. Leaves that stay damp for hours, especially overnight, invite fungal troubles like leaf spot and petal blight.
Petal blight is a real spring spoiler. It turns open flowers into mushy brown spots that cling to the plant in an unpleasant way.
Drip lines and soaker hoses are your best helpers here. They deliver slow, steady water right where roots live, with very little waste.
Tuck the hose under your mulch and nobody will even see it. Set a simple timer, and the job nearly takes care of itself.
No fancy setup? A regular hose with the nozzle off works fine.
Lay it near the base and let it trickle slowly so the sand can absorb every drop.
Morning is the best time to water. Any stray splashes dry quickly in the sun, and the plant starts the day fully hydrated.
7. Keep 2 To 3 Inches Of Organic Mulch Over The Roots
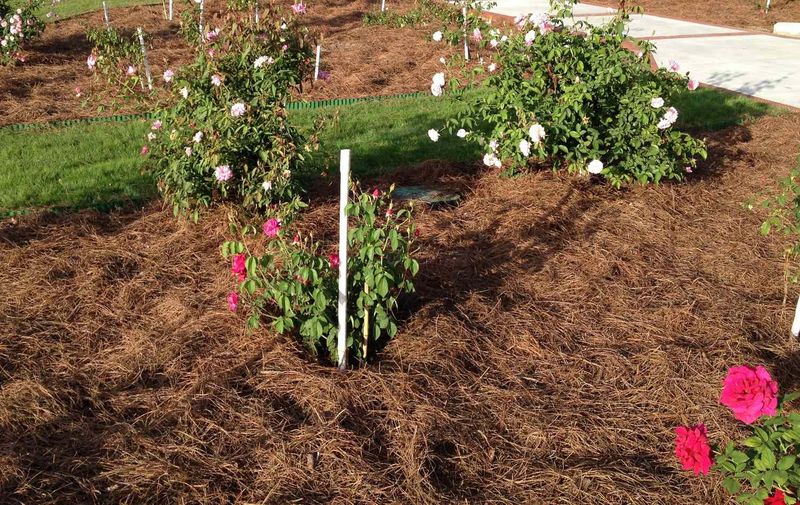
Think of mulch as a cozy blanket for your azalea’s toes. A 2 to 3 inch layer over the roots makes a huge difference in Florida’s dry months.
Organic mulches like pine straw, pine bark, or shredded leaves slow evaporation. They shade the soil, so moisture hangs around much longer after each watering.
Mulch also keeps soil temperatures steady. Shallow roots stay cooler on hot days and a bit warmer during chilly snaps.
Weeds have a harder time breaking through, too. Fewer weeds means less competition for the water you work so hard to supply.
Pine straw is a classic choice for azaleas. As it breaks down, it adds organic matter and helps keep the soil slightly acidic, just the way these shrubs like it.
Leave a gap of a few inches around the main stems. Mulch piled against the bark can trap moisture and lead to rot.
Avoid going too thick as well. More than about three inches can block air and water from reaching the roots.
Refresh the layer once or twice a year as it settles. A quick top-off in fall sets your plants up nicely for the dry season ahead.
8. Wilting, Yellowing Lower Leaves Signal Drought Stress
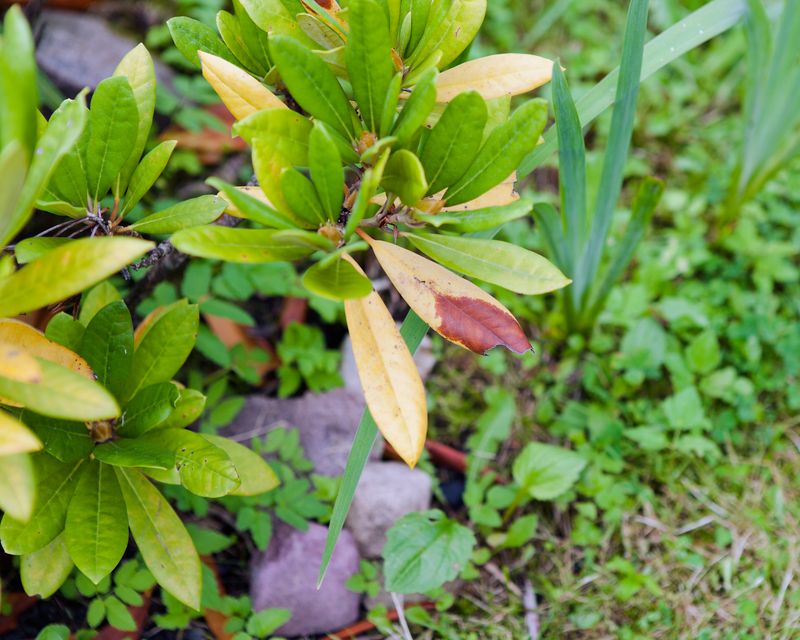
Plants cannot talk, but azaleas drop some pretty clear hints. Learning to read them can save next spring’s show.
Wilting is the first big clue. Leaves droop and look limp, especially during the warmest part of the afternoon.
Color changes come next. Foliage may fade to a dull gray-green, and older lower leaves can turn yellow and fall off.
You might also notice leaves curling inward along the edges. That curl is the plant’s way of reducing water loss from the sun and wind.
Here is the tricky part. Soggy soil can cause very similar symptoms, because roots sitting in water struggle to work properly.
So before grabbing the hose, check the soil first. Dry, dusty sand points to thirst, while cold, mucky soil suggests too much water.
Timing helps too. If leaves perk back up by evening, the plant was likely just handling midday heat, which is normal.
If they stay droopy into the next morning, your azalea really needs a drink. Give it a deep soak and watch for improvement within a day or so.
Catching stress early protects those developing buds. A quick daily glance on your way to the mailbox is all it takes.
9. Put The Pruners Away Until After Spring Bloom
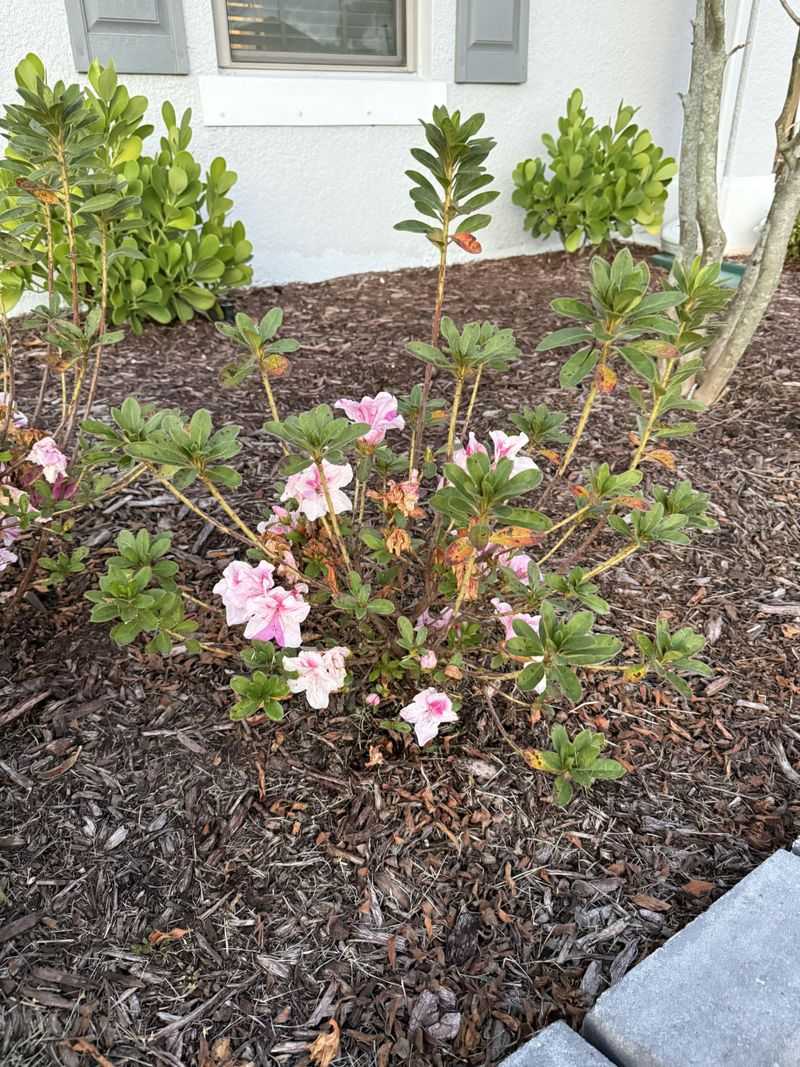
A neat, tidy shrub in October feels great until spring rolls around. Then you realize those clippings carried most of your flowers away.
Remember those buds forming in late summer and fall? Every snip at the branch tips during that time removes potential blooms.
The best window for pruning is right after flowers fade in late spring or early summer. Many gardeners use the Fourth of July as a handy cutoff date.
Pruning early gives the plant time to grow new shoots. Those fresh shoots then set buds for the following year, right on schedule.
Got a branch poking into the walkway in fall? Snip just that one if you must, and accept losing a few flowers.
Broken or diseased stems are fine to remove any time of year. Cleaning those up keeps the plant healthier without affecting the overall display.
Hedge trimmers deserve extra caution. Shearing azaleas into tight boxes chops off buds and leaves the shrub looking stiff.
Hand pruners give you more control. Cut individual branches back to a leaf or side shoot for a natural, relaxed shape.
So hang those tools up for the fall season. Pair that patience with smart watering, and spring should reward you generously.