The Gardenia Pruning Job Florida Homeowners Should Finish Before October
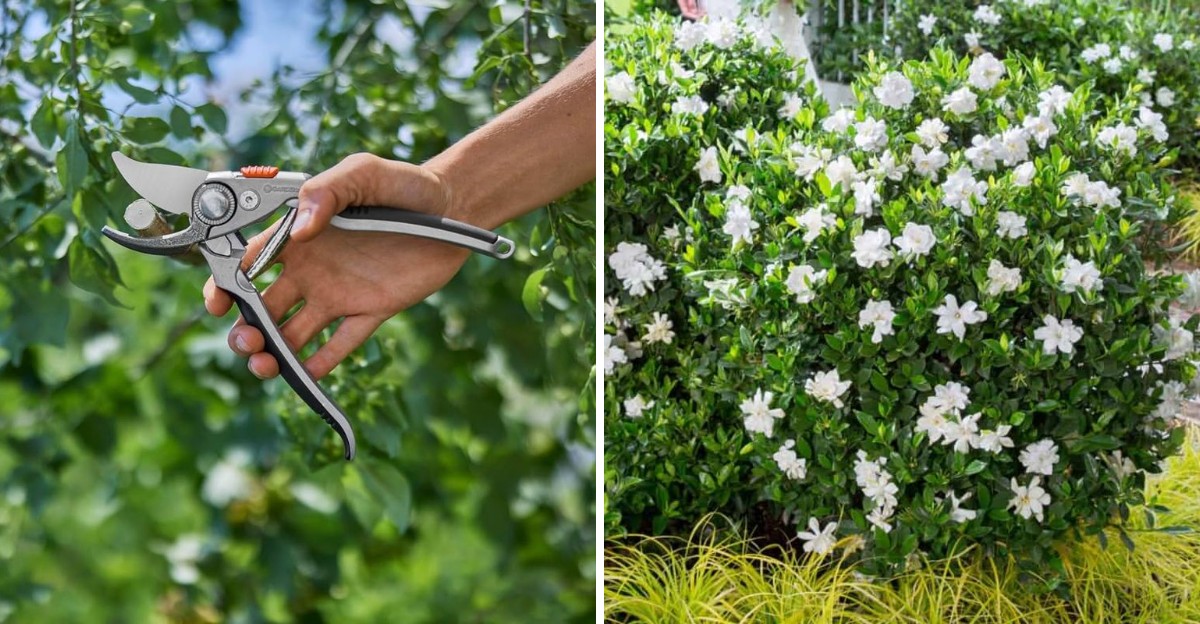
That gardenia by the porch already gave its show this year, all those heavy, sweet blooms back in spring. Right now it just sits there quiet and green, easy to forget about until next year rolls around.
Here’s the problem. Gardenias set next year’s flower buds sometime in late summer or early fall, months before anyone’s thinking about pruning shears again.
Cut after those buds form and you’re not trimming the plant, you’re removing next year’s flowers one branch at a time. The plant itself is fine either way.
It just won’t bloom much, if at all, come spring. Florida homeowners have until October to get this right.
Miss that window and the damage is already done, quietly, months before anyone notices a single missing bloom.
1. Wait For The Last Bloom To Fade Before You Trim
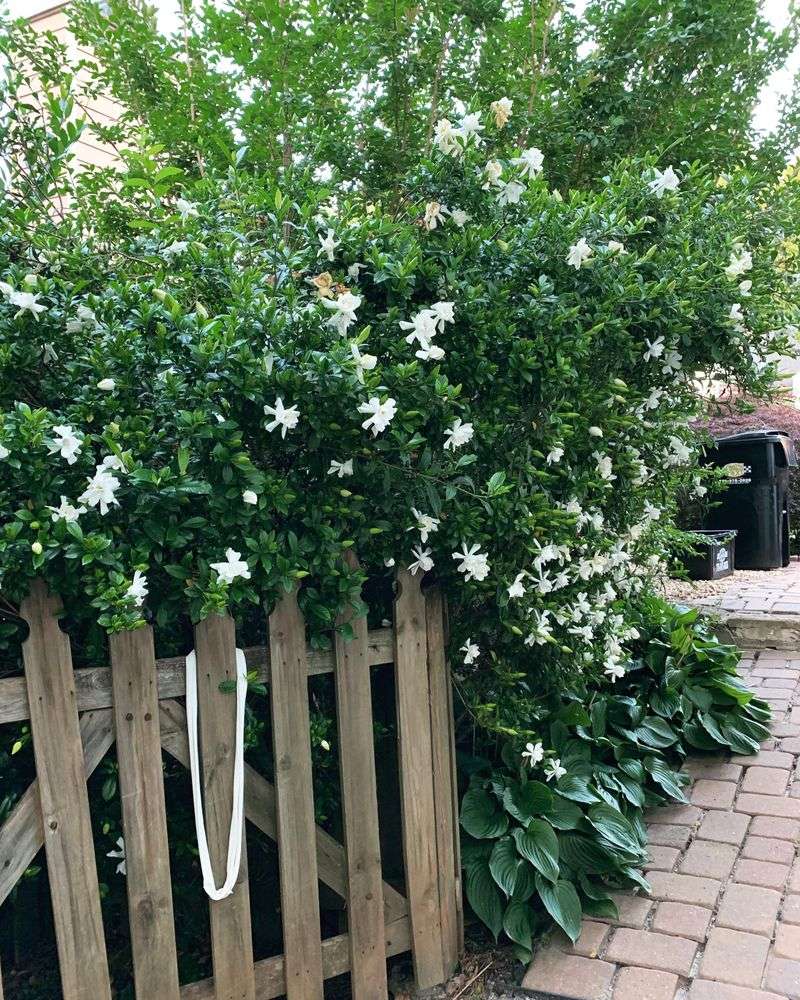
Gardeners who love a neat hedge sometimes get itchy hands in May, while the buds are still opening. Holding off pays off, because the best window opens once the main flush of flowers has finished, usually somewhere between late spring and mid summer in Florida.
Blooming takes a lot of energy from the shrub. Once the last fragrant flowers brown and drop, that energy shifts toward roots, stems, and fresh leaves.
Trimming right then lets the plant put its push into the shape you just gave it.
A simple way to track it: walk the plant weekly and count open flowers. When you find only a handful of tired blooms and no new buds swelling, grab your shears.
Cutting during peak bloom is not harmful, though you will be carrying armloads of perfume to the compost pile instead of enjoying them. Snipping a few stems for a vase counts as light pruning, so feel free.
South Florida plants often finish flowering earlier than those in the Panhandle, so watch your own shrub rather than a calendar someone else wrote. Local timing beats a general rule.
Mark the date on your phone once you notice the finish line. Next year you will know your shrub’s rhythm, and the guessing stops.
Two seasons of notes and the timing becomes second nature.
2. August And September Are When Next Year’s Buds Get Set
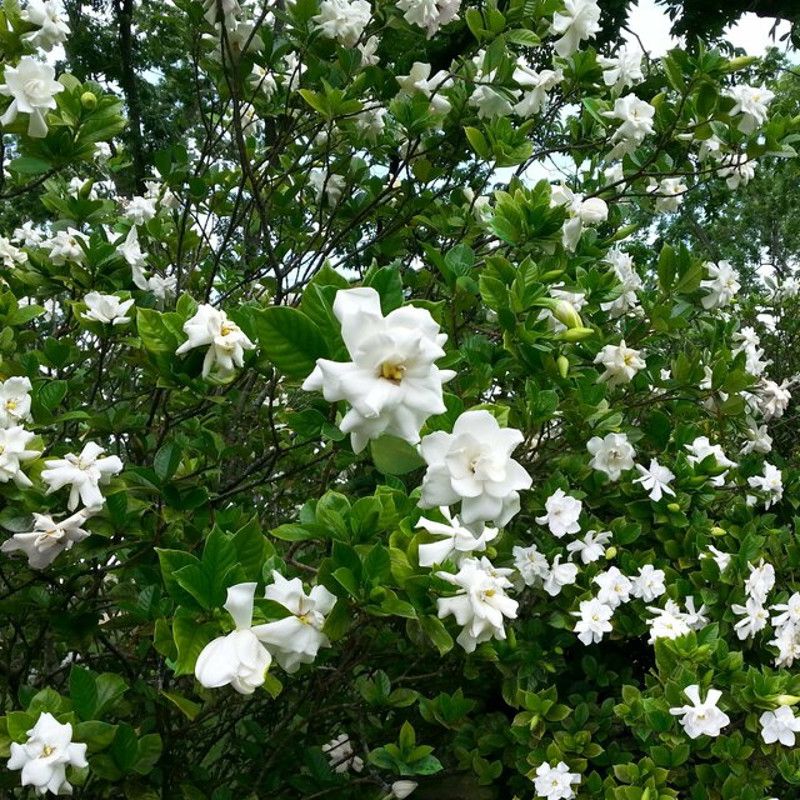
Here is the detail that catches many homeowners off guard: the flowers you will enjoy next spring are being mapped out during late summer and fall. Buds form on older wood, quietly, long before anyone notices them.
Those tiny bumps sit at the tips and along mature stems, hidden under leaves. Take the tips off in October or November and you carry next season’s show to the yard waste bin.
Florida’s mild autumn makes the mistake easy. Shrubs still look green and lively in November, so shearing feels harmless, yet the buds are already tucked in place.
Think of it like a school project with an early due date. The work happens weeks before the presentation, and rearranging things at the last minute rarely helps.
Your Florida Garden Changes Every Week. Your Plan Should Too.
Gardening in Florida changes quickly throughout the season. Every Friday you’ll receive a simple weekly plan showing exactly what to plant, prune, fertilize, harvest, and protect so you never miss the right timing.
So the pruning calendar has a natural finish line. Wrap up shaping by late September and the plant has time to push growth, harden it off, and build buds without interruption.
Anything urgent after that, like a broken branch or a stem rubbing your roofline, can still be handled. Just treat it as a targeted snip rather than a full haircut, and your spring perfume stays safe.
One more tip worth remembering: buds also form on wood that grew earlier in the season, so those long shoots you dislike may be holding flowers.
3. Late Cuts Trade Flowers For Leaves
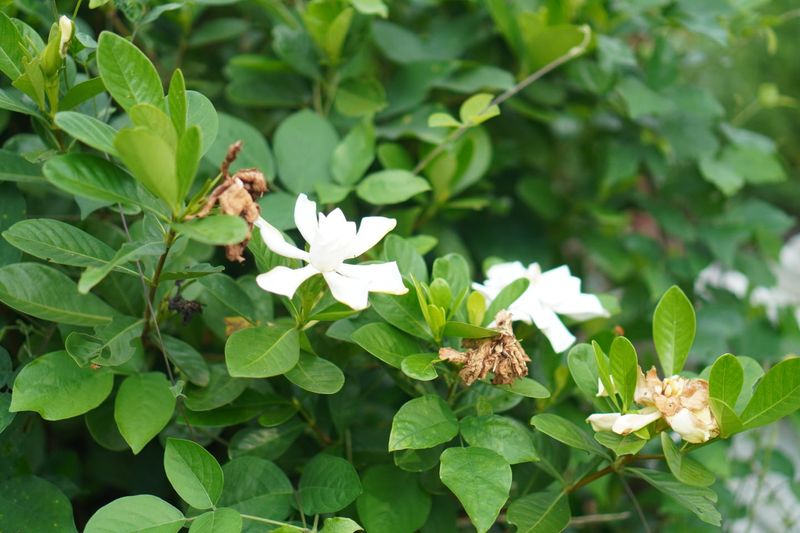
Picture a spring where the bush looks lush, green, and glossy, yet oddly quiet. That is the usual result of a haircut given too far into fall.
Pruning signals the plant to grow, and growth means leaves and stems rather than blossoms. The shrub responds with a burst of soft new shoots, which uses up the reserves it had set aside.
Those tender shoots also arrive at an awkward moment. A cool snap in December or January can nip them, leaving brown tips you will need to clean up later.
Meanwhile the flower buds that were forming got removed with the clippings. Fewer buds means fewer of those creamy white blooms, and the loss shows up months after the mistake.
Gardeners often blame fertilizer or soil when spring turns out flowerless. More often the calendar was the culprit, and a quick look at last year’s pruning date tells the story.
The fix is refreshingly simple and free. Move your main shaping session to the period right after flowering finishes, giving the shrub plenty of time to recover before bud formation.
Patience is the whole trick here. A shrub left slightly shaggy through winter will reward you with far more perfume than a tidy one cut at the wrong hour.
Shape can wait; scent cannot.
4. Sharp, Clean Blades Do Gentler Work
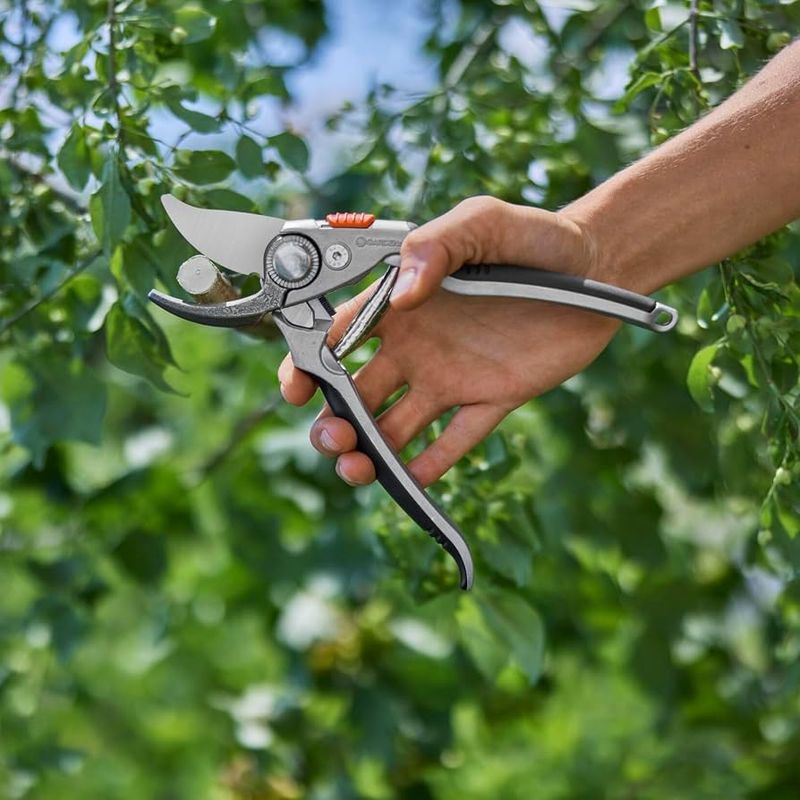
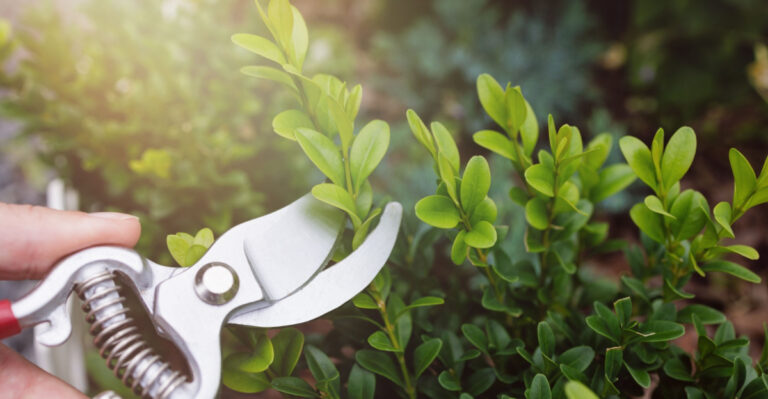
Dull shears chew stems instead of slicing them, and the ragged edges leave a larger damaged area that can be slower for the plant to seal off. Sharp blades leave a smooth cut that the plant can close quickly, which lowers the chance of trouble sneaking in.
Give your tools five minutes of attention before you start. Wipe the blades, run a file or sharpening stone along the cutting edge, and add a drop of oil to the pivot.
Hand pruners handle stems up to about half an inch. Loppers cover thicker wood, and a small handsaw takes care of the rare old branch near the base.
Cleaning matters as much as sharpness in humid Florida yards. Disinfect blades between plants with appropriate sanitizer to reduce the chance of spreading disease.
Aim your cuts just above a leaf node or a side branch, angled slightly so water runs off. Stubs left in mid stem tend to brown and look awkward for months.
Skip the hedge trimmer for anything beyond a light touch up. Power shears shred leaf edges and encourage a dense outer shell that traps moisture inside the canopy.
Slower work with good tools looks better and heals better. Your hands will thank you too, since sharp blades need far less squeezing.
Ten minutes of prep saves an hour of regret.
5. Shape And Size Stay Manageable With Yearly Trims
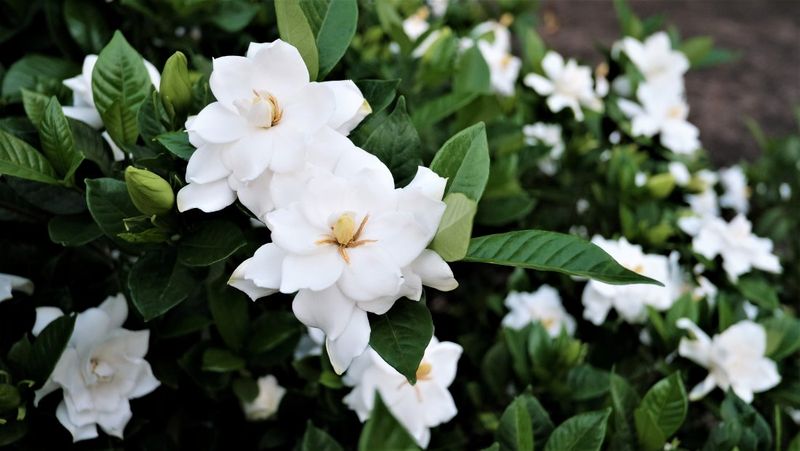
A shrub planted three feet from the porch has opinions about personal space. Yearly trimming keeps that debate friendly, holding the plant at the height and width you actually want.
Most varieties settle between two and eight feet, depending on the type you bought. Knowing the mature size helps you decide how much to remove and whether pruning is even needed.
A light hand works best. Avoid removing excessive growth at once.
Light, selective pruning is usually better than a severe cutback.
Reach inside the canopy rather than shearing the surface. Follow a long stem back to a joint, cut there, and the shrub keeps its natural rounded look instead of a boxy edge.
Hedges get a slight taper, wider at the bottom than the top. That shape lets sunlight reach the lower leaves, which keeps the base full rather than bare and twiggy.
Older plants that have grown leggy can be renewed over two or three summers. Take out a few of the oldest stems each year and let vigorous new shoots fill the gaps.
Step back often while you work. Circling the shrub every few cuts keeps both sides even and stops you from carving a lopsided profile you notice later.
Slow, symmetrical work looks best from the sidewalk.
6. Better Airflow Means Fewer Uninvited Bugs
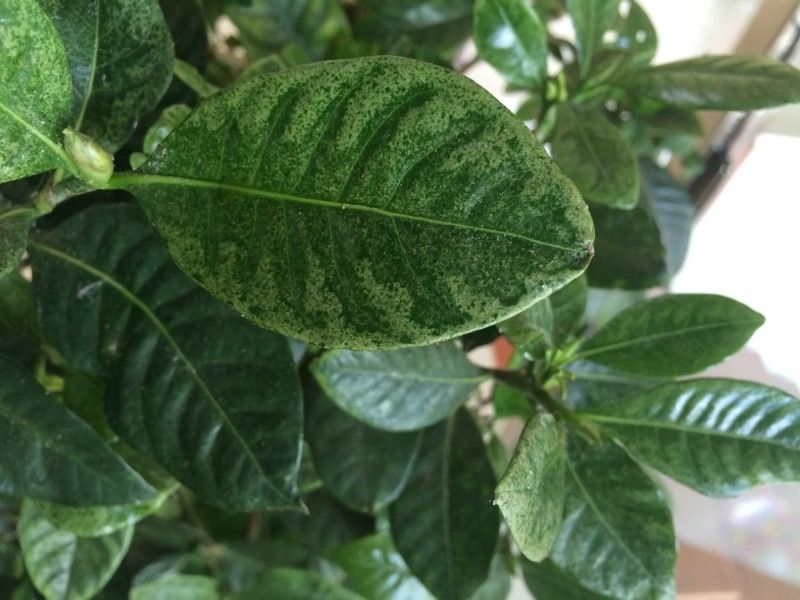
Aphids, mealybugs, scale, whiteflies, and spider mites all share a favorite hangout: still, humid air inside a crowded shrub. Thinning the interior takes that comfort away.
When breezes move through the branches, leaves dry faster after rain and sprinklers. Better airflow helps reduce prolonged moisture and makes it easier to spot honeydew-producing pests that can lead to sooty mold.
Open structure also makes scouting easier. You can flip leaves, spot cottony white clusters or bumpy brown scale, and treat small problems before they spread.
Insecticidal soap or horticultural oil handles most of these visitors when coverage is thorough. Spray the undersides of leaves, since that is where the tiny ones gather and multiply.
Thinning cuts, not shearing, create the airflow you want. Remove whole stems at their base or at a junction, working from the inside outward, and leave the outer leaves in place.
Fallen clippings deserve a quick cleanup too. Rake them out from under the shrub so pests and fungal spores do not settle in and wait for a warm night.
Florida humidity is not going anywhere, so we work around it. A shrub with breathing room, decent light, and a mulch ring stays healthier with far less spraying.
Beneficial insects appreciate the change as well, since ladybugs and lacewings hunt more easily in an open canopy.
7. Light Summer Shaping Is Fine For Fast Growers
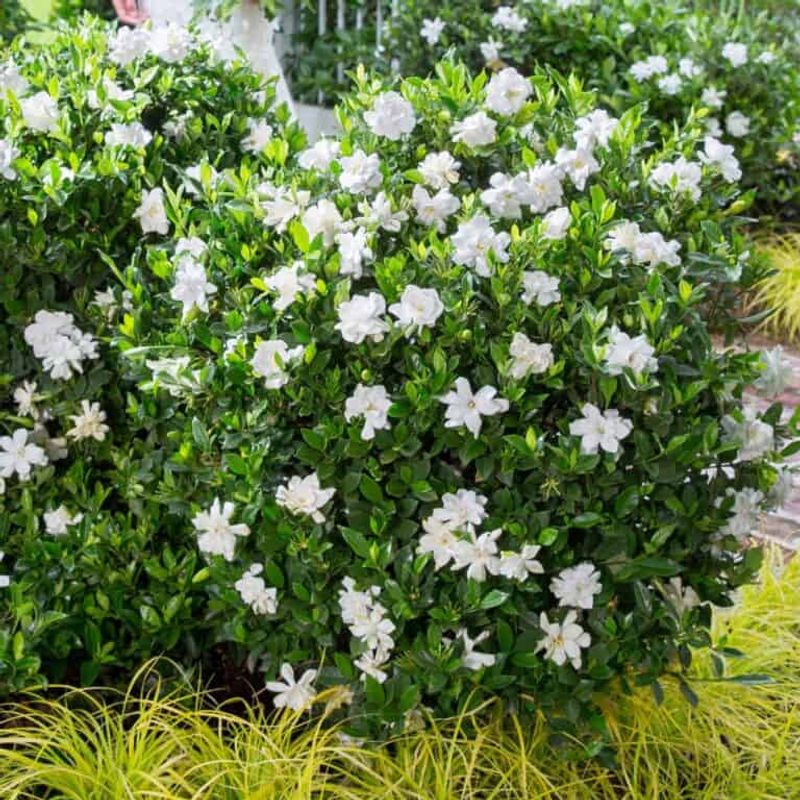
Some plants grow like they have somewhere to be, sending out shoots that stick straight up above the rest. Snipping those strays through summer keeps things tidy without upsetting the plant.
Small trims are different from a full pruning session. Pinching a wayward tip or removing two or three long shoots barely registers, while a heavy cutback triggers a big growth response.
Spent blooms can come off any time. Removing the browned flowers keeps the shrub looking fresh and lets it spend its effort elsewhere.
Heavy work in late summer or fall is the part to skip. Save the serious reshaping for the window right after flowering, when the plant has months of warm weather ahead.
A handy rule: if the clippings fill a bucket, you are shaping. If they fill a tarp, you are pruning.
Buckets are fine in August, tarps are not.
Watch for stems that cross the walkway or brush against the house. Those get a targeted cut whenever they show up, since safety and access matter more than a perfect schedule.
Vigorous young plants may need a touch up two or three times a season. Older, slower shrubs often coast along with a single trim, so let the plant’s growth rate set the pace.
Watching your shrub beats following a fixed schedule.
8. Weak, Crossing, And Leggy Stems Come Out First
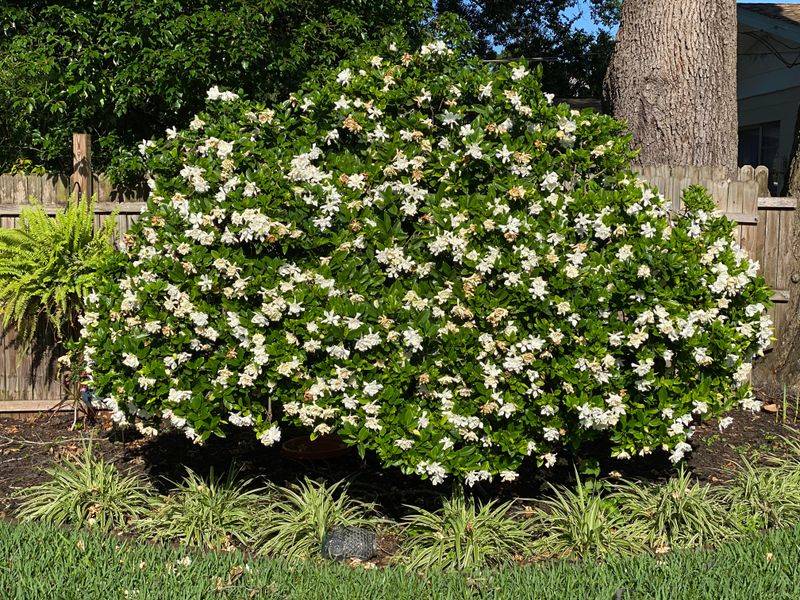
Before you think about shape, do a quick triage pass on the plant. Damaged, spindly, and crossing stems come out first, and often that alone makes the shrub look better.
Branches that rub each other create wounds where bark wears thin. Choose the stronger of the pair, remove the other at its base, and the friction ends.
Twiggy growth deep inside gets little light and produces few flowers. Clearing it opens the middle and directs energy to stems that actually earn their keep.
Suckers popping up from the soil line deserve a look too. On grafted plants those shoots come from the rootstock and will not match the flowers you bought.
Cut them low and close, right where they emerge. Leaving a stub invites a cluster of new sprouts in the same spot within weeks.
Any stem with mushy bark, odd swelling, or heavy scale crust is worth removing. Bag those clippings instead of composting them, and sanitize your blades before moving on.
Once the clutter is gone, step back and look again. Many gardeners find the shrub already has the outline they wanted, which means the shears can rest.
Triage pruning is the least glamorous part of the job and the most useful. Ten minutes of it improves light, airflow, and next season’s bud count.
9. Watering, Mulch, And Feeding After the Cut
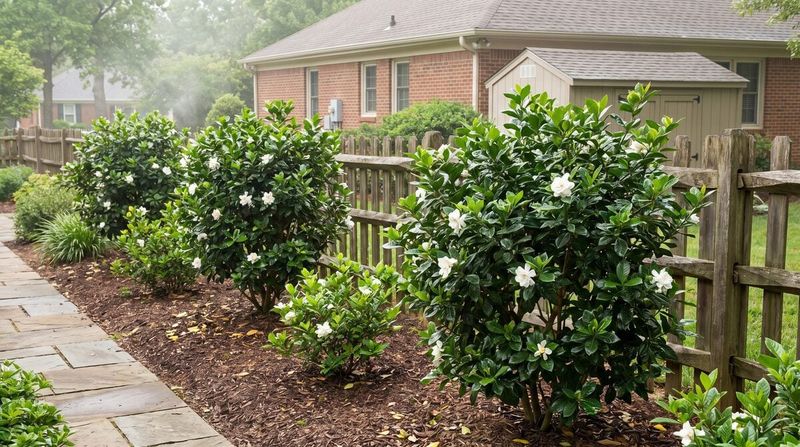
A freshly trimmed shrub is a little thirsty, since it just lost leaves that were shading its own roots. Water deeply after pruning and keep the soil consistently moist while the plant recovers, adjusting based on rainfall and soil conditions.
Skip the daily sprinkle. Long, slow soakings encourage roots to reach down, which pays off during a dry spell in spring.
Two or three inches of pine bark or pine straw mulch keeps the root zone cool and steady. Hold the mulch a few inches back from the main stems so the base stays dry.
Feed during the active growing season when the plant is producing new growth, and avoid late-season fertilizing that encourages tender shoots. An acid-forming fertilizer made for camellias or azaleas in late spring or early summer gives the plant fuel for new growth.
Late season fertilizer, like late season pruning, pushes tender shoots at an awkward time. Hold off after about September and let the plant harden up for cooler nights.
Yellow leaves with green veins often point to iron deficiency or soil conditions that prevent the plant from absorbing iron. A soil test through your county extension office takes the guesswork out and saves money on products you may not need.
Keep the soil slightly acidic, around 5.0 to 6.5, and the roots absorb nutrients more easily. Pair that with your July trim and the plant heads into fall ready to build buds.