The Tender Bulbs Virginia Gardeners Should Dig Up Before Winter
Your dahlias are putting on their final show. The first hard freeze is waiting in the wings.
Elephant ears and other summer stars are fading too. Some shrug off the cold, but others hide fragile tubers underground.
Leave those in the soil, and a freeze could turn them to mush. A little digging now saves money and heartbreak.
Across Virginia, timing depends on where you garden. Some bulbs want a touch of frost first, while others need rescue before nights cool.
The guide below shows which ones to lift and when. Get it right, and your favorites will return next summer.
Dahlias After Frost Blackens The Leaves

Picture a row of dinner-plate dahlias that wowed the neighbors all August. One frosty morning, the leaves turn black and droopy overnight.
Believe it or not, that sad sight is your signal to start. Gardeners in Virginia, especially in Zone 7, wait for that first frost before digging.
Frost tells the plant to rest and pull energy down into its tubers. Still, try not to wait until a hard freeze reaches deep into the ground.
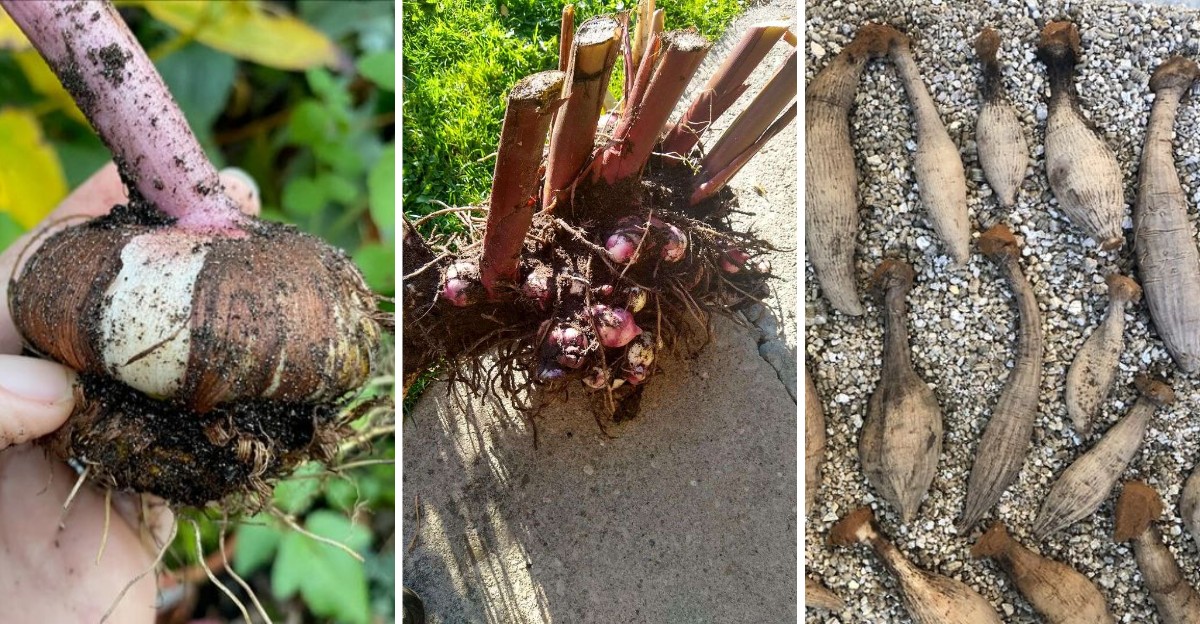
Start by cutting the stems down to about 4 to 6 inches tall. A short stalk gives you a handy grip and marks where the clump sits.
Next, push a garden fork into the soil about a foot from the stem. Work around the plant in a circle, then gently pry the whole clump upward.
Go slowly here, because dahlia tubers have thin necks. A snapped neck means that tuber probably will not sprout next year.
Once the clump is out, rinse away the extra soil with a gentle hose spray. Clean tubers make it easier to spot damage or soft spots.
After washing, set the clumps upside down for a few days to air dry. Flipping them helps water drain out of the hollow stems.
Fun fact: dahlias are the national flower of Mexico, where they grow wild in the mountains. Their warm-weather roots explain why they hate our chilly winters.
Finally, store your dried tubers somewhere cool and dry, around 40 to 50 degrees. An unheated basement or insulated garage often works great for the job.
Cannas With Their Thick Rhizomes
Few plants bring beach-resort vibes to a backyard like cannas. Their giant paddle leaves and fiery blooms look straight out of the tropics.
Sadly, that tropical style comes with a catch. In many parts of the state, canna rhizomes cannot handle a full winter outside.
Patience pays off with these plants. Wait until the first light frost turns the foliage brown or black before you grab your shovel.
Why hold off? Every extra week of growth lets the rhizomes pack away more energy for next summer.
Digging too early leaves you with skinny, tired rhizomes. Those weaker pieces may sprout late or produce fewer flowers next season.
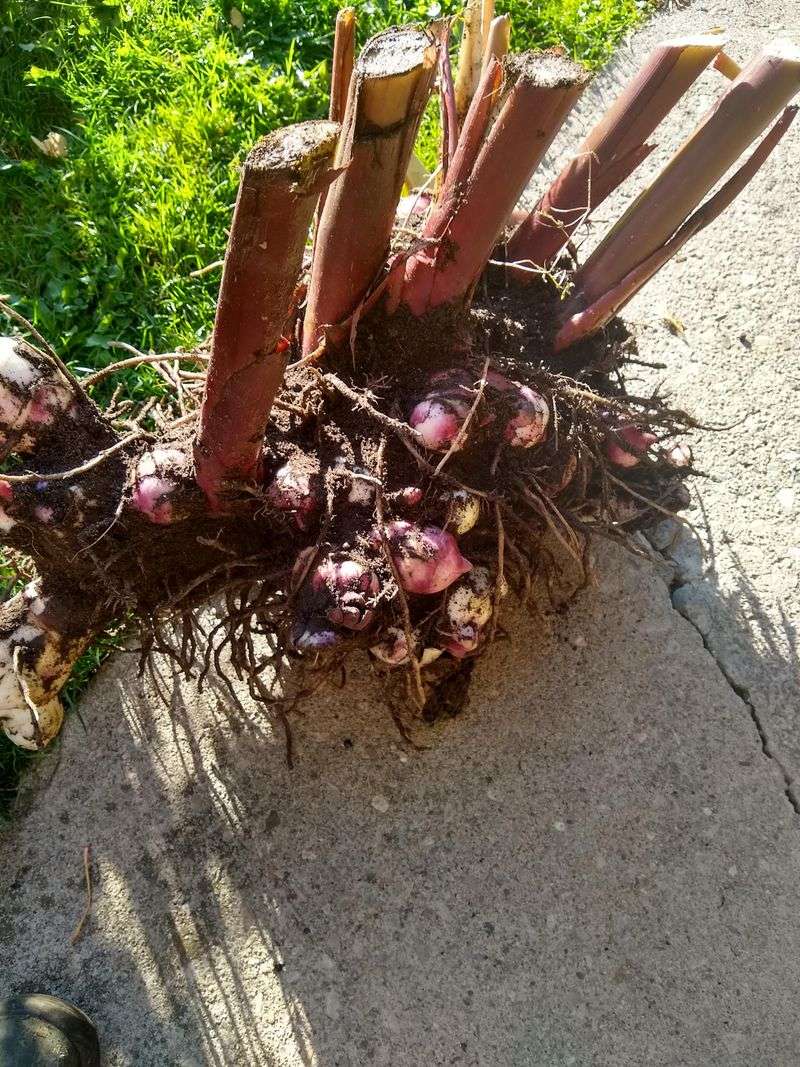
When the time comes, cut the stems back to about 2 to 4 inches. Then dig wide around the clump, since canna roots can spread surprisingly far.
You will likely find a thick, knobby mass that looks a bit like ginger root. Shake off loose dirt, but leave small bits clinging if they will not budge.
Your Virginia Garden Changes Every Week. Your Plan Should Too.
Gardening in Virginia changes quickly throughout the season. Every Friday you’ll receive a simple weekly plan showing exactly what to plant, prune, fertilize, harvest, and protect so you never miss the right timing.
Here is a neat tip for crowded clumps. Split them into chunks with at least two or three growing eyes each, and you get free plants.
Let the rhizomes cure for about a week in a warm, dry spot. A garage shelf or covered porch away from rain does the trick nicely.
Afterward, move them to a cool, airy space between 40 and 50 degrees. Good airflow keeps mold from sneaking in during the long winter months.
Gladiolus Corms Before A Hard Freeze
Grandma’s garden probably had a row of tall gladiolus swaying by the fence. Those sword-shaped spikes have been a summer classic for generations.
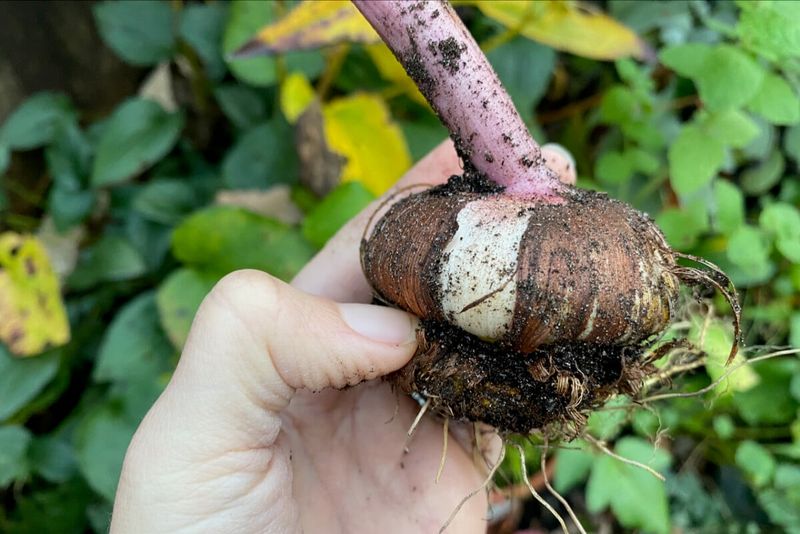
Under the soil, each plant grows from a flat, round corm. Across much of Virginia, those corms are not reliably hardy through winter.
Timing is a bit of a balancing act. Lift them once the leaves turn yellow or after the first light frost passes through.
A gentle frost actually helps, since it nudges the corm to store more food. A hard freeze is a different story and can damage the corms badly.
Loosen the soil with a fork, then pull each plant up by its base. Shake off excess dirt and trim the stem to about 1 inch.
Look closely and you may spot tiny baby corms called cormels. Save them if you like, since they can grow into blooming plants in a couple of years.
Curing is the step people often rush. Glads need two to three weeks in a warm, airy spot between 60 and 70 degrees.
After curing, the old shriveled corm underneath will snap off easily. Toss that old piece and keep the plump new one sitting on top.
Did you know the name comes from the Latin word for sword? Roman gladiators even shared the same root word.
Store the finished corms in a cool, dark place around 35 to 45 degrees. Mesh bags or old pantyhose make cheap, breathable holders.
Caladiums Before Nights Dip Below 60
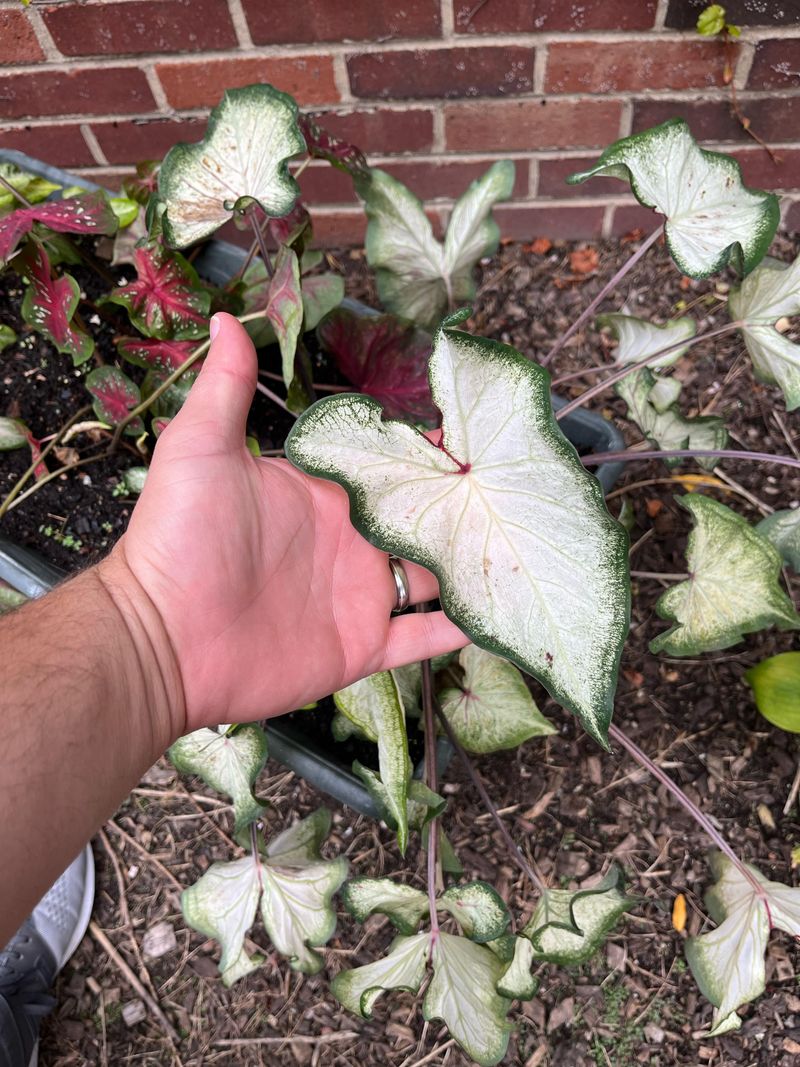
Caladiums are the drama queens of the shade garden. Their painted leaves in pink, red, and white light up dark corners all summer.
Unlike dahlias, these beauties will not wait around for frost. They start sulking once the air turns even mildly cool.
Watch your nightly temperatures closely in September and early October. Plan to dig before nights stay below 60 degrees on a regular basis.
A cheap outdoor thermometer is a smart buy for this job. Weather apps help too, but your own yard can run a few degrees cooler.
As the season winds down, the leaves will begin to droop and fade. Once that happens, cut the stems down to ground level.
Gently lift each tuber with a hand trowel. Caladium tubers are fairly small, so dig carefully to avoid slicing through them.
Brush off loose soil with your fingers or a soft brush. Then spread the tubers out to air dry for a few days.
Here is where caladiums break the usual rules. They prefer warm storage, not chilly basements like most other tender bulbs.
Aim for a dry spot that stays well above 50 degrees. A closet inside your house or a shelf near the furnace room can work well.
Fun fact: most caladium tubers sold in America come from Lake Placid, Florida. That sunny town even calls itself the Caladium Capital of the World.
Elephant Ears In Colder Parts Of The State
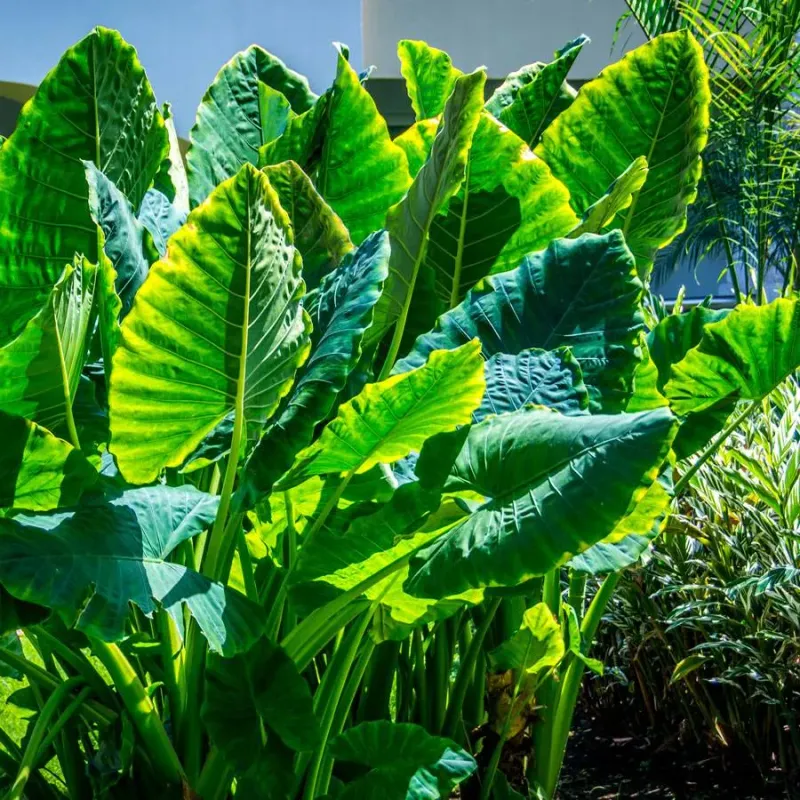
Nothing stops traffic quite like an elephant ear leaf the size of a kid’s sled. Those giant plants make any yard feel like a jungle.
In warm places, they can stay in the ground year after year. Elephant ears are generally hardy in USDA Zones 8 through 11.
Much of Virginia, though, sits in Zone 7 or colder. Gardeners in the mountains and the western valleys should plan on lifting them each fall.
Southeastern coastal gardeners sometimes get lucky with heavy mulch. Even so, a surprise cold snap can wipe out a prized plant.
Wait until the first frost knocks the foliage down. Then cut the stems back to about 6 inches above the soil.
Dig wide and deep, because these tubers can get big and heavy. A sturdy spade works better than a small trowel for this one.
Brush away the dirt by hand instead of rinsing with water. Extra moisture can lead to rot, and elephant ear tubers are prone to it.
Spread the tubers out in a cool, dark spot for 2 to 3 days. A dry garage floor covered with newspaper works fine.
For winter, keep them frost-free somewhere between 40 and 60 degrees. Check them monthly and toss any that turn mushy.
A quick heads-up for families with pets. The sap can irritate skin, so wear gloves and keep curious dogs away while you work.
Tuberous Begonias From Shady Beds
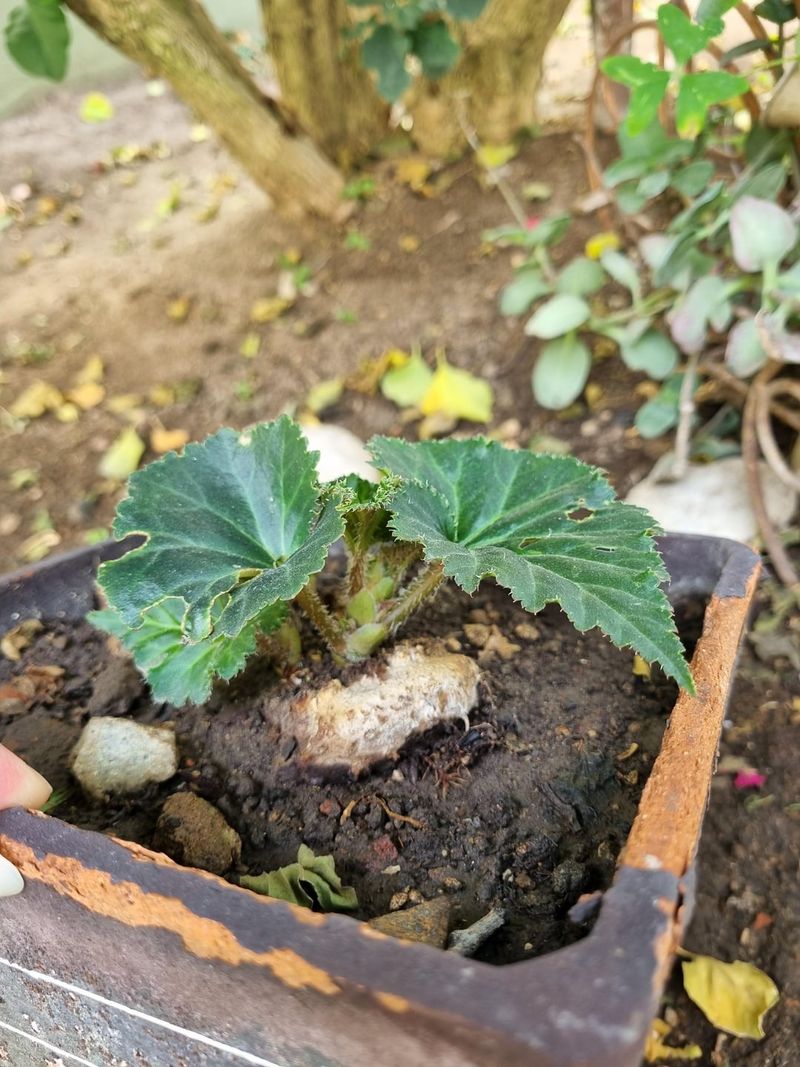
Ever notice how tuberous begonias glow in deep shade like little lanterns? Their rose-like blooms make shady porches feel cheerful and welcoming.
Those flashy flowers grow from flat, brown tubers about the size of a cookie. Unfortunately, the tubers are quite sensitive to cold weather.
Getting ready starts weeks before digging day. In late summer, cut back on watering to coax the plants toward their winter rest.
Slowly the leaves will turn yellow and begin to drop. You can dig at that point or right after the first hard frost.
Trim the stems back, leaving anywhere from 1 to 5 inches. Leftover stem bits will fall off on their own as the tuber dries.
Lift the tubers carefully with a small trowel or your fingers. Begonia tubers bruise easily, so treat them like fresh peaches.
Bring them inside to dry, away from bright sunlight. Strong sun can scorch the tender skin and cause cracks.
Curing takes about 2 to 3 weeks in a cool, dry room. When the stem pieces pop off cleanly, the tubers are ready.
A handy trick involves checking which side is up. The concave side, the one with a dip, is the top where sprouts appear.
Store the tubers in a cool, dark area around 40 to 50 degrees. Shoeboxes or paper bags on a basement shelf are perfect homes.
Colored Calla Lilies That Can’t Handle Frost
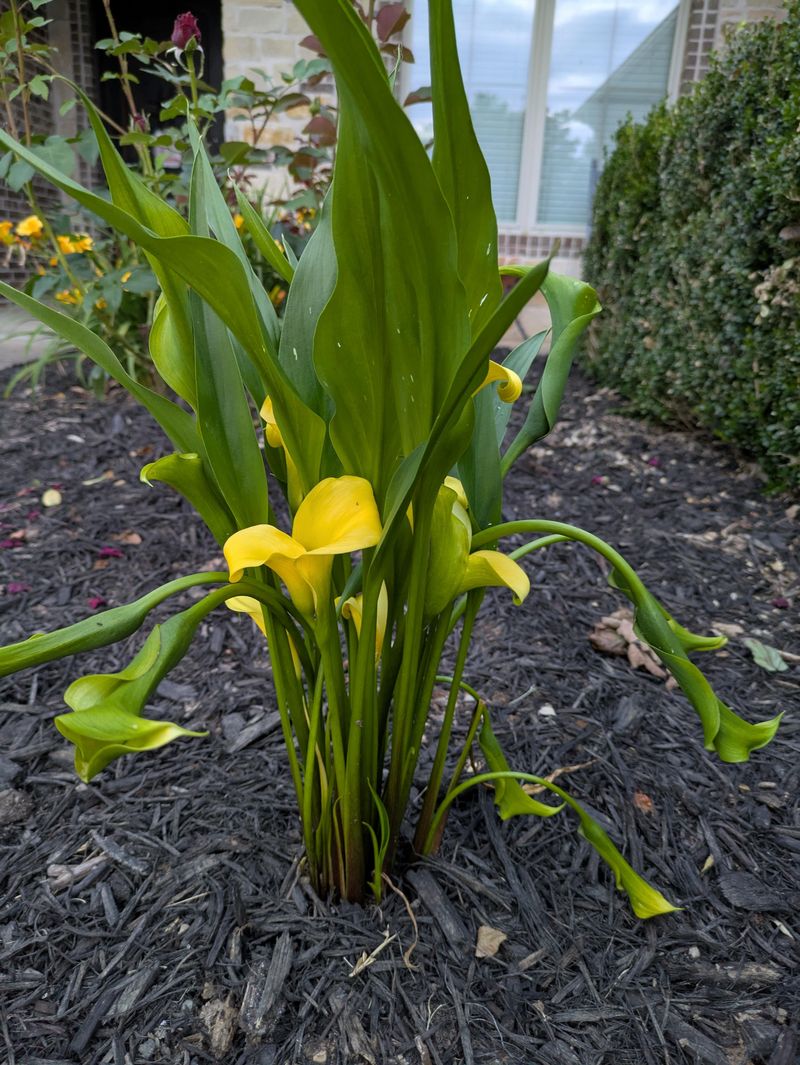
Brides love them, florists adore them, and they look elegant in any flower bed. Colored calla lilies bring sunset shades of orange, pink, and deep purple.
Those fancy colors come with a tender side. Callas are frost-sensitive perennials that struggle through cold winters in many Virginia neighborhoods.
Gardeners in warmer coastal spots sometimes leave them in the ground. Elsewhere, digging them up is the safer bet.
Wait for the first frost to knock back the foliage. Then trim the leaves to about 1 to 2 inches above the rhizome.
Calla rhizomes look a bit like lumpy potatoes. Lift them gently and wipe away extra soil with a dry cloth or your hands.
Curing takes patience, so plan ahead. Leave them for 2 to 3 weeks in a warm, airy spot around 60 to 70 degrees.
A window screen propped on bricks makes a great drying rack. Air can flow all around, which helps prevent soft spots.
Here is a fun twist on the name. Calla lilies are not true lilies at all, since they belong to the arum family.
Once dry, tuck the rhizomes into a frost-free room with low humidity. Keep temperatures between 40 and 50 degrees if possible.
Check on them now and then during winter. Shriveled ones need a light mist, while soft ones should be removed right away.
Cure Bulbs Dry Before Storing
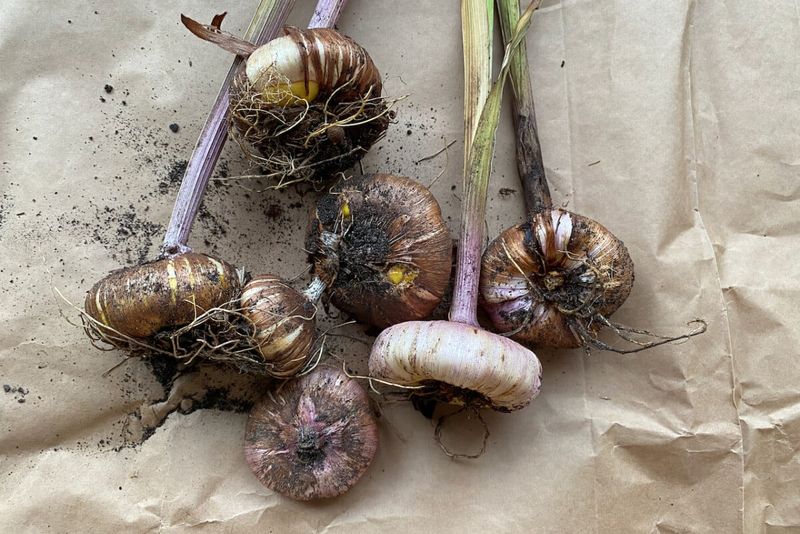
Skipping this step is the most common way stored bulbs go bad. Wet bulbs packed into a box can turn into a moldy mess by January.
Curing simply means letting your bulbs dry out before storage. It sounds boring, but this quiet step makes a huge difference.
During curing, extra moisture escapes from the skin. Small cuts and scrapes also form a tough callus, kind of like a scab.
Every bulb has its own schedule. Dahlias and cannas may need only a few days to a week, depending on your setup.
Gladiolus and calla lilies need more time. Plan on about three weeks before they are fully ready to pack away.
Choose a spot out of direct sunlight with good air movement. A garage, shed, or spare room around 60 to 70 degrees works well.
Spread the bulbs in a single layer so none touch. Newspaper, cardboard, or old window screens all make decent drying surfaces.
Got a small fan? Setting it on low nearby can speed things up, especially during damp autumns.
Before moving on, inspect each bulb one more time. Toss anything mushy, moldy, or hollow so trouble does not spread.
You can also dust bulbs lightly with sulfur powder if rot worries you. Many experienced growers swear by this simple extra layer of protection.
Pack Them In Peat Moss Or Vermiculite
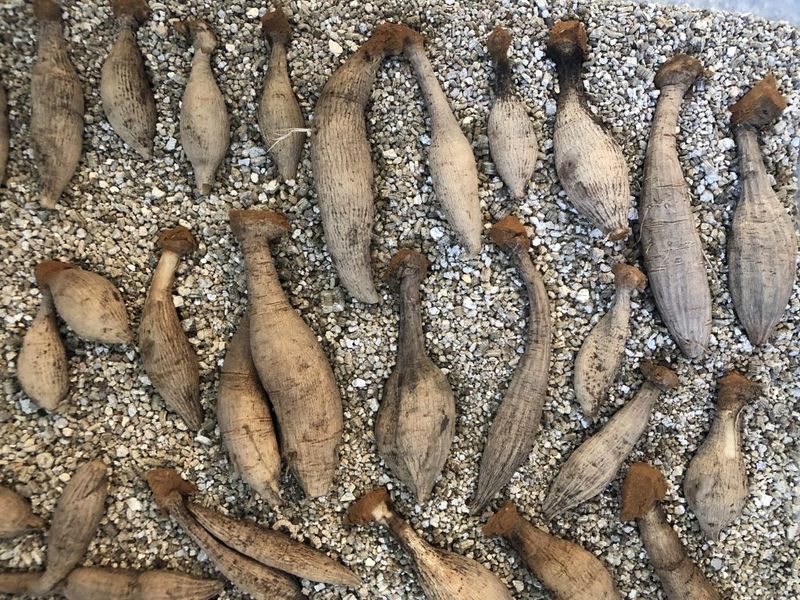
Think of storage material as a cozy winter blanket for your bulbs. The right bedding keeps them plump without letting them get soggy.
Gardeners have plenty of good choices here. Dry peat moss, vermiculite, sand, sawdust, and coconut coir all do the job well.
Each option helps balance moisture during the long cold months. Bulbs stored bare can shrivel up like old raisins by spring.
Vermiculite is light, clean, and easy to find at garden centers. Peat moss works nicely too, while coconut coir offers an earth-friendly swap.
Grab a plastic bin, cardboard box, or even a clean bucket. Pour a few inches of your chosen material into the bottom first.
Next, set the bulbs in a single layer with space between each one. Keeping them apart means one bad bulb will not spoil its neighbors.
Cover them with more material, then add another layer if needed. Stop before the container gets too heavy to move safely.
Leave the lid cracked or poke a few air holes. Bulbs still breathe a little, and trapped humidity invites mold.
Here is a budget hack worth trying. Shredded newspaper can stand in for fancier materials if you are in a pinch.
Mark your calendar to peek inside once a month. Wrinkled bulbs need a light spritz of water, while soft ones should go right away.