The Terra-Cotta Pot Mistake That Cracks Ohio Planters Every Winter
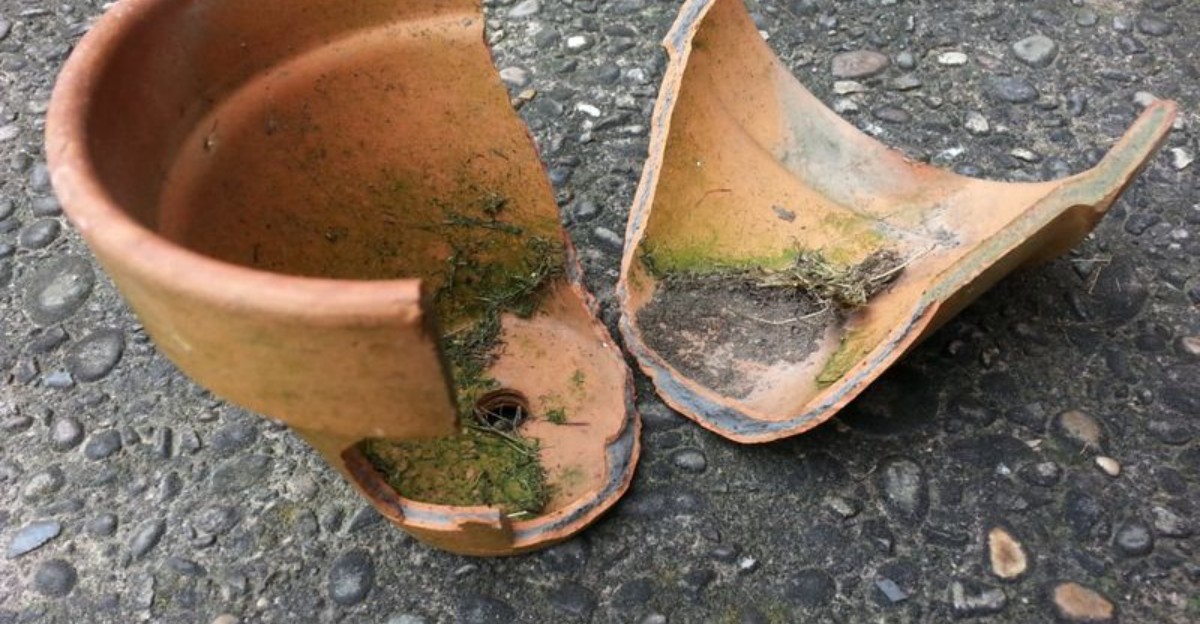
Terra-cotta looks like it was built to last. Ohio winters disagree every single year.
That cracked pot you tossed out last spring wasn’t random bad luck. One specific habit sets terra-cotta up to fail the moment temperatures swing hard enough, and it’s got nothing to do with the material being cheap or poorly made.
Plenty of homeowners repeat the same mistake year after year, replacing pots instead of ever figuring out why they keep splitting.
Moisture’s the real culprit here, soaking into porous clay and expanding the second it freezes, turning a sturdy-looking planter into shards practically overnight.
Change this one habit before the cold really sets in. A pot that survives Ohio winters comes down to timing, not luck, and definitely not the price tag.
1. Leaving Terra-Cotta Outside Is The Big Mistake
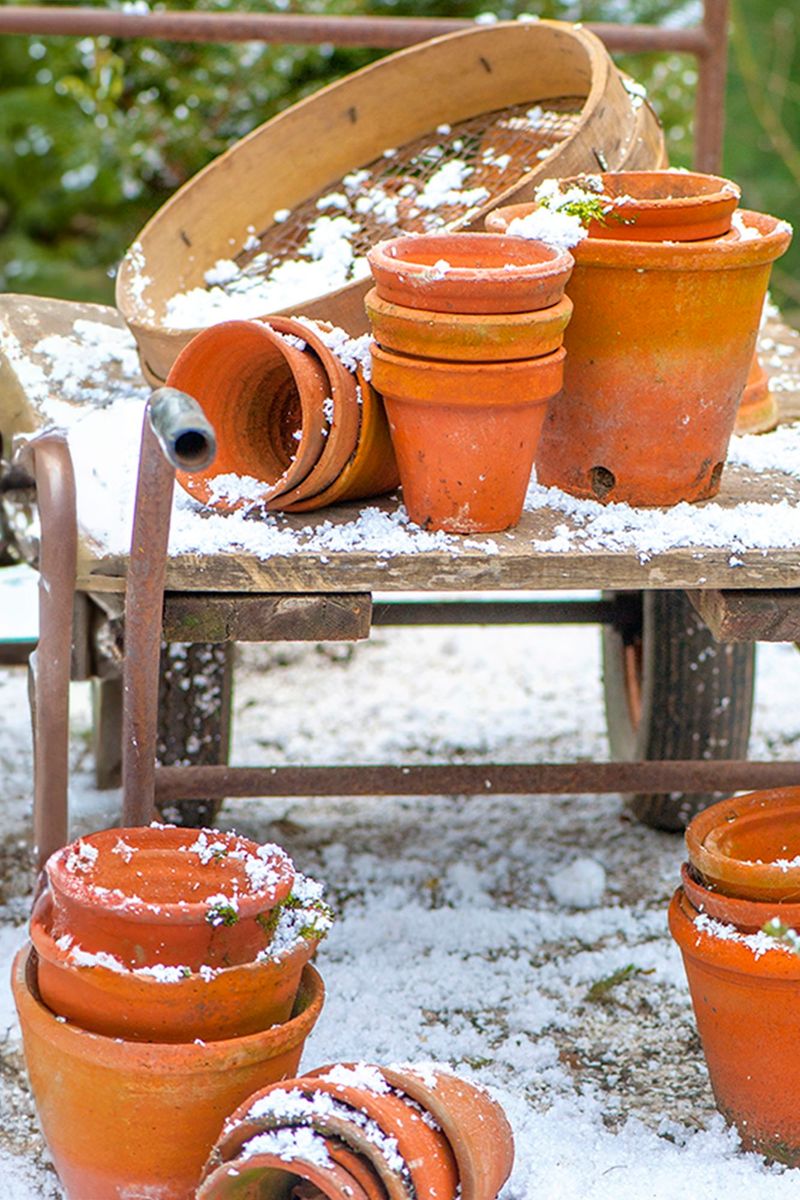
Here is the slip that breaks hearts every spring. Lots of Ohio gardeners pull out their summer flowers in fall and simply leave the clay pots on the porch.
It seems harmless at first glance. After all, the pots are made of baked earth, so they should handle a little weather, right?
Sadly, the cold has other plans. Terra-cotta is full of tiny openings that drink in rain, snow, and even damp air.
When that trapped water freezes, it grows by about 9 percent. The clay has nowhere to stretch, so it cracks, chips, or flakes apart.
Ohio winters make things extra tricky. Our weather loves to swing from freezing nights to sunny, mild afternoons, sometimes in the same week.
An unprotected pot can be ruined in just one rough season. Bigger, older, or thin-walled pots tend to suffer first.
Think of each pot as a little sponge sitting in the yard. You would not leave a wet sponge out in a blizzard and expect it to stay in one piece.
The fix is pleasantly simple. Bring your clay pots inside, or at least shelter them, before the first hard freeze shows up, usually around late October or early November in most of Ohio.
A few minutes of hauling now can save you a pile of cash later. Your future self will be grateful when spring planting rolls around.
2. Porous Clay Soaks Up Water That Freezes And Expands
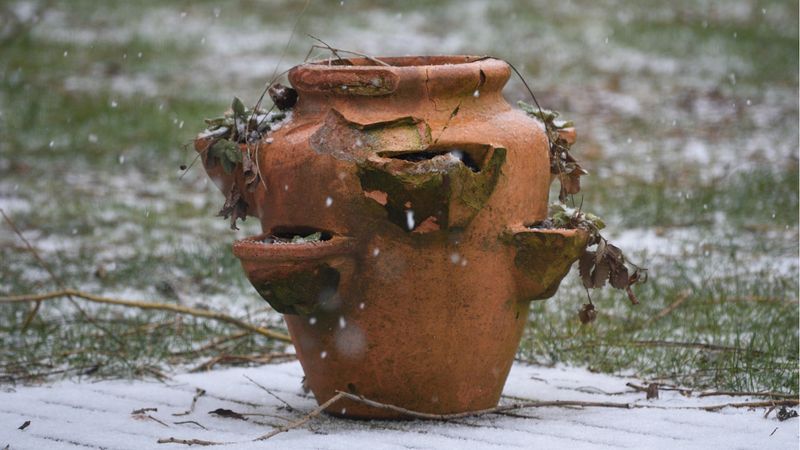
Ever notice how a clay pot turns darker right after you water it? That color change is your first clue to what is happening inside the walls.
Terra-cotta is packed with thousands of microscopic air pockets. They let roots breathe in summer, which is why many plant lovers adore these pots.
The same pockets act like tiny storage tanks for water. Lower-fired terra-cotta can soak up as much as 30 percent of its own weight.
Now picture the thermometer dropping to 32 degrees. Every bit of that hidden water starts turning into ice crystals.
Ice needs roughly 9 percent more room than liquid water. Inside a stiff clay wall, that extra space simply does not exist.
So the ice pushes outward with surprising force. It finds the thinnest or weakest spot and presses until something gives.
Your Ohio Garden Changes Every Week. Your Plan Should Too.
Gardening in Ohio changes quickly throughout the season. Every Friday you’ll receive a simple weekly plan showing exactly what to plant, prune, fertilize, harvest, and protect so you never miss the right timing.
Fun fact: this is the same process that splits rocks on mountainsides and creates potholes on Ohio roads. Nature uses frozen water as a slow, steady wedge.
Here is a quick test you can try. Sprinkle a few drops of water on the outside of an empty pot and watch how fast it disappears.
If the drops vanish quickly, that pot is very thirsty. Treat it as a top priority when you start packing things away for the season.
3. Every Freeze And Thaw Widens The Damage
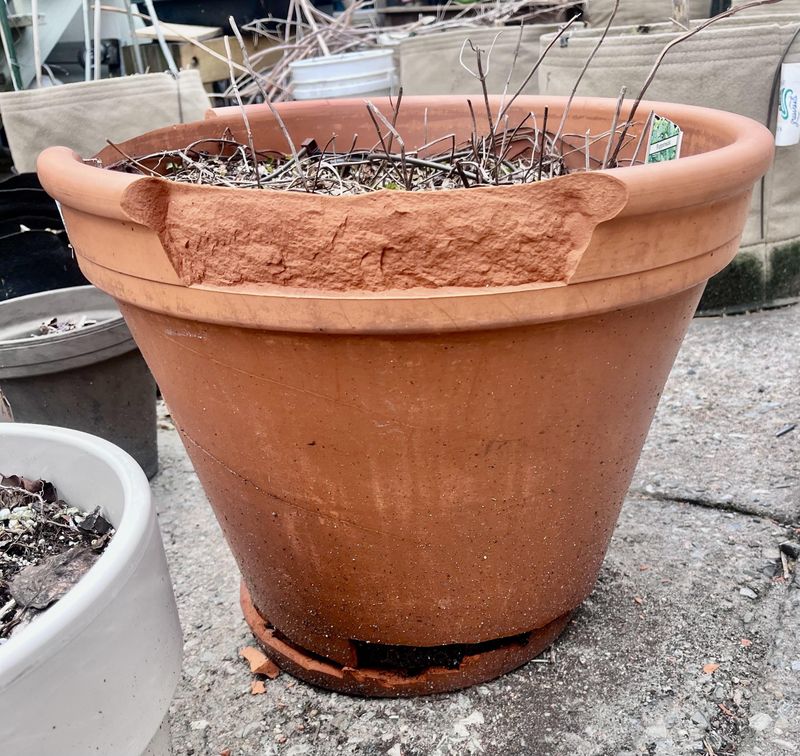
Grab a paperclip and bend it back and forth a few times. At first nothing happens, but eventually it snaps right in half.
Your clay pots go through something very similar each winter. One freeze might leave only a tiny, invisible crack.
Then the sun comes out, the ice melts, and fresh water seeps deeper into that small gap. When the next cold night arrives, the ice grows again and pushes the crack wider.
Surprisingly, mild winters can be rougher on pots than bitter ones. Temperatures bouncing between about 25 and 35 degrees create many more freeze and thaw cycles.
Ohio is famous for exactly this kind of weather. A snowy Monday can turn into a slushy Thursday and freeze solid again by Saturday.
Over time, you might see a few warning signs. Look for hairline cracks, chips along the rim, or the outer layer peeling away in thin flakes.
That peeling has a name, spalling. It often shows up first near the bottom, where moisture likes to collect.
Once a pot starts flaking, the damage tends to speed up. Each new cycle has more openings to sneak into.
Catching problems early matters. Give your pots a quick look each fall, and set aside any with cracks for gentle indoor use.
4. Empty The Soil Before Winter Arrives
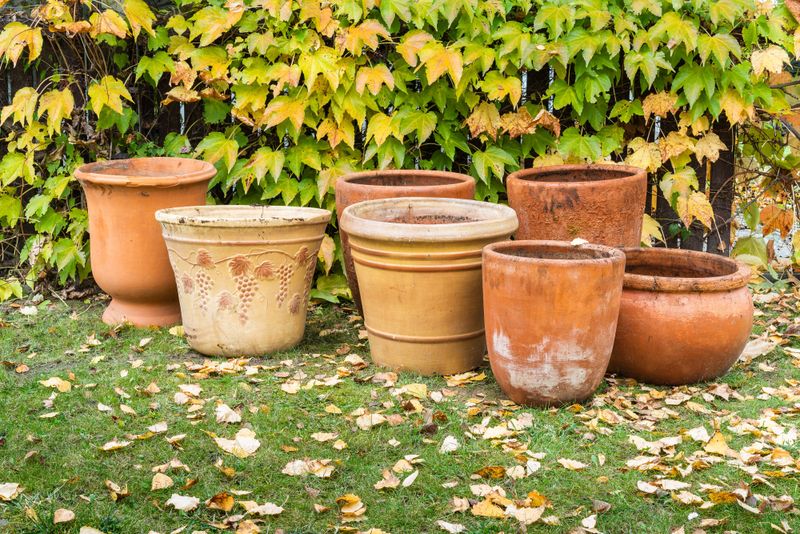
My neighbor once stored her pots full of old soil, figuring she would deal with them in spring. By April, three of them had split clean down the side.
Leftover soil works like a wet blanket wrapped around the inside of the pot. It holds moisture for weeks and presses that water right against the clay.
When the soil freezes, it swells too. The pot gets squeezed from the inside while the walls are already stressed from their own trapped water.
So clear everything out before cold weather settles in. Pull the old plants, then tip the soil into a compost pile or garden bed.
A handy trick is to let the soil dry for a few days first. Dry dirt slides out easily, while wet soil clings stubbornly to rough clay.
Tap the sides gently or use a small trowel for stubborn clumps. Try not to scrape too hard, since you do not want to scratch the surface.
Check the drainage hole while you are at it. Bits of root, pebbles, or packed dirt can plug it and trap water later.
A quick poke with a stick or old pencil usually does the job. Then knock off any loose crumbs, and your pots are ready for the next step.
5. Scrub Pots With A Bleach Solution
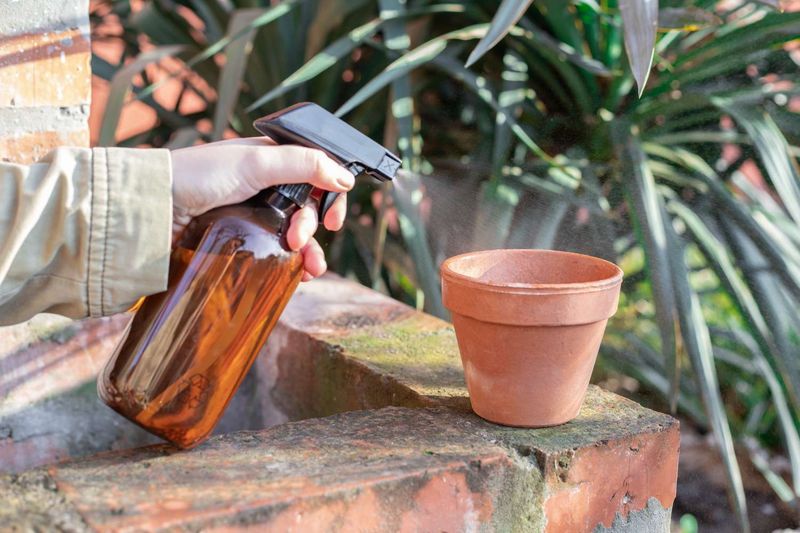
Bath time for flowerpots might sound silly, but it pays off in a big way. A good scrub clears away dirt, crusty mineral stains, and hidden germs.
Plant diseases and tiny pests love to hide in old clay. If you skip cleaning, they may hitch a ride straight into next year’s flowers.
Start by brushing off loose soil with a stiff brush. Then mix a simple cleaning bath of one part household bleach to about nine or ten parts water.
Wear rubber gloves and work somewhere with good airflow. Let the pots soak or wipe them down well, leaving them in the solution for roughly 6 to 30 minutes.
Crusty white rings on the rim often loosen up after soaking. An old toothbrush helps reach into corners and drainage holes.
Next comes the most important part. Rinse each pot thoroughly with clean water, since leftover bleach can harm future plants.
Finally, let them dry all the way before storing. Set them in the sun or a breezy spot for a day or two.
Skipping the drying step defeats the purpose. Damp clay can grow mold in storage and still crack if temperatures dip, so patience truly counts here.
6. Store Clay Pots Where It Stays Above Freezing
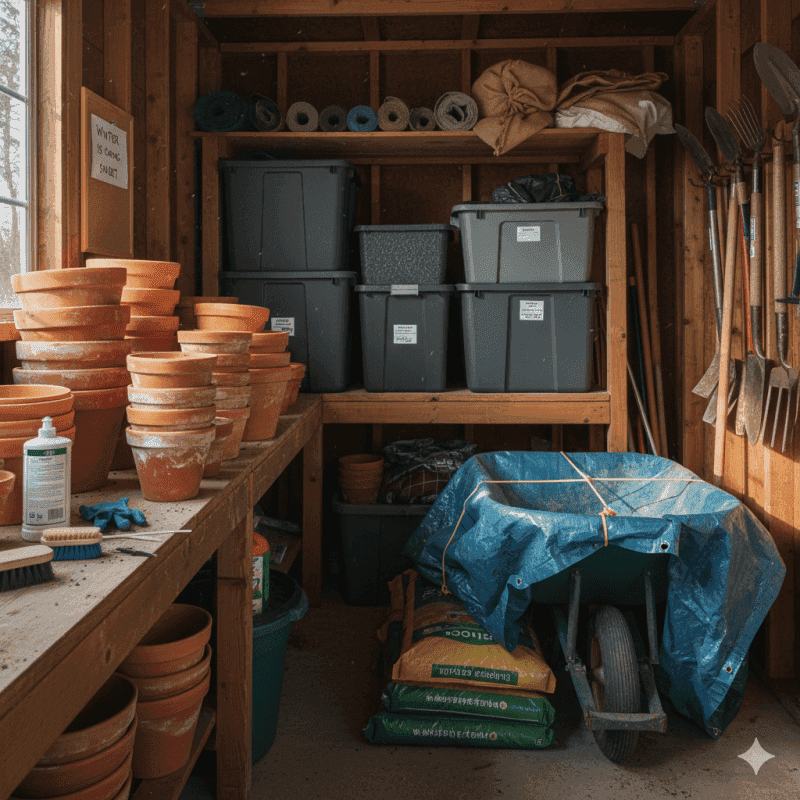
Think of winter storage as a cozy hotel for your pots. They want a dry room, steady temperatures, and nobody bumping into them.
The sweet spot is somewhere between 35 and 50 degrees. An attached garage, a basement, or a well-sealed shed can all work nicely.
Moisture is the sneaky enemy, even indoors. A damp corner can let pots soak up water, and that spells trouble if the space ever slips below freezing.
Keep pots away from leaky windows, sweating pipes, and spots where melting snow drips off the car. A shelf a few feet off the floor is a smart choice.
Stacking saves lots of room. Just tuck a sheet of newspaper or a scrap of cardboard between each pot to stop chips and scrapes.
Try storing them upside down or on their sides. That way, any stray drip will not pool inside.
Group pots by size so you can find what you need in spring. Big ones go on the bottom, and smaller ones nest neatly above.
Unheated sheds deserve a quick check. If yours drops well below freezing, move the most precious pots to a warmer spot, like a closet or basement.
7. Glazed Ceramic Pots Need Protection Too
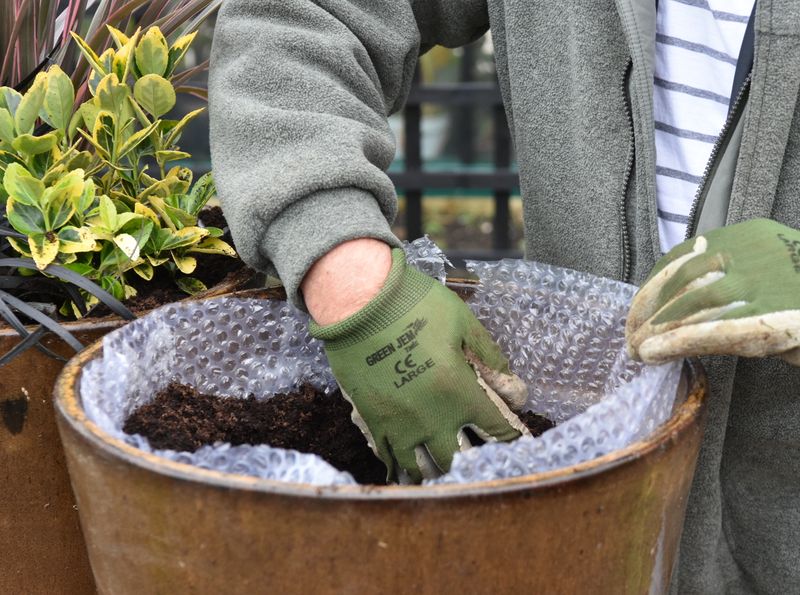
Shiny, colorful glazed pots look tough, almost like they are wearing armor. Many folks assume they can ride out an Ohio winter with no help.
Unfortunately, that glossy coat only does part of the job. Underneath, the pot is often made from the same thirsty clay as plain terra-cotta.
Glaze slows down water at the surface. Yet it can develop tiny crackle lines, called crazing, which let moisture slip right through.
Some areas are frequently left bare, too. Check the rim, the bottom, and the edges of the drainage hole for unglazed clay.
Water sneaks in through those weak points. Once it freezes, the pot faces the same pushing force as any other clay container.
Drainage plays a huge role as well. A glazed pot that holds soggy soil can crack from the inside out when everything freezes into a solid block.
So what should you do? Treat standard glazed pots much like terra-cotta, moving them indoors or wrapping them up.
Pots labeled frost-resistant or high-fired may handle cold better. Still, a little caution is wise, especially with pricey or sentimental pieces.
Store them empty, clean, and dry whenever you can. Your favorite cobalt planter deserves the same care as its humble clay cousins.
8. Wrap Pots You Can’t Move Indoors
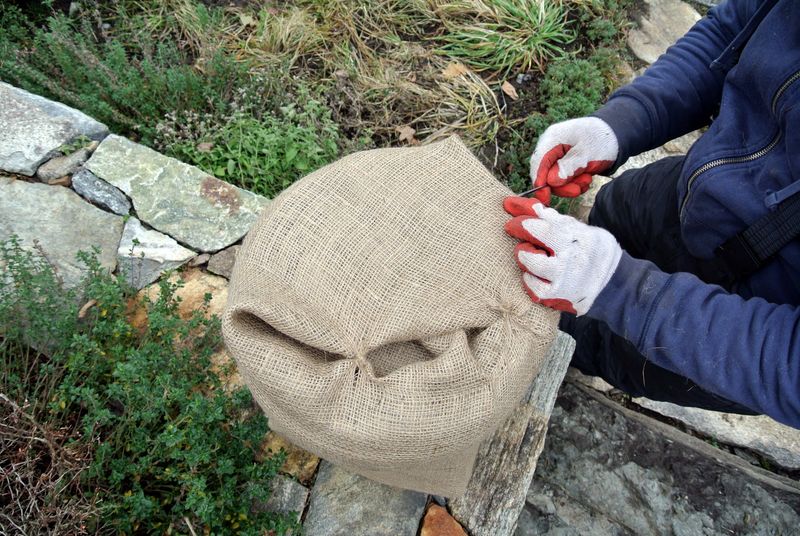
Some planters are just too heavy to budge. Maybe it is a giant urn by the front door or a pot holding a hardy shrub you want to keep outside.
Wrapping gives these big guys a warm winter coat. It cannot work miracles, but it can soften the blow of harsh weather.
Several materials do the trick. Bubble wrap, burlap, old heavy blankets, and frost blankets from the garden center are all popular choices.
Here is a clever tip many people miss. Leave small air gaps between the wrap and the pot, since trapped air acts as extra insulation.
Bubble wrap does this naturally with all those little pockets. For burlap, try a layer of bubble wrap underneath, then tie everything snugly with twine.
Wrapping also helps keep rain and snow off the clay. Less moisture soaking in means less ice forming inside the walls.
If a plant is still growing in the pot, keep the drainage hole clear. Water must be able to escape from the bottom, or soggy soil will freeze solid.
A waterproof cover over the top can help too. Just check on things after big storms and retie anything the wind loosens.
9. Raise Pots Off The Ground With Pot Feet
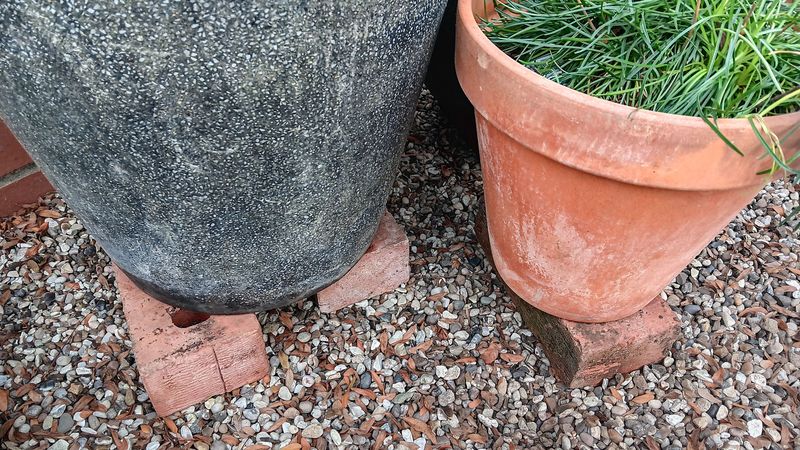
Small but mighty, pot feet might be the cheapest winter helper around. These little risers lift planters just an inch or two off the ground.
That tiny gap makes a real difference. A pot sitting flat on a patio rests in melted snow and puddles, soaking it up like a straw.
Raised pots stay drier from the bottom up. Water drains freely out of the hole instead of pooling underneath.
Better airflow is another bonus. A gentle breeze under the pot helps the base dry faster after rain or thaws.
No pot feet on hand? Wooden blocks, flat stones, or even sturdy bricks work in a pinch.
Use three or four supports so the pot sits level and steady. A wobbly planter can tip over in strong winter winds.
While you are at it, take away the saucers. They catch water, which then freezes into a sheet of ice right against the bottom of the pot.
Pot feet come in fun shapes, from simple squares to little frogs and lion paws. They add charm in summer and protection in winter.
Paired with emptying, cleaning, and storing, this step rounds out your plan. Your planters will be ready to shine next spring.