7 Things To Do For Texas Hostas This Spring For Stunning Growth
Hostas in Texas are a bit of a conversation starter among gardeners, and not always in the way you’d expect.
The conventional wisdom says hostas belong in cooler, shadier climates up north, and if you mention growing them in Texas, someone will inevitably give you a skeptical look.
But Texas gardeners who have cracked the code on hostas will tell you those skeptics are missing out on something genuinely rewarding. The secret isn’t just about finding the right variety, though that matters.
It’s about what you do in spring before the heat arrives that determines whether your hostas put on a stunning show or spend the season looking like they’d rather be somewhere else.
Spring is the window where the right care decisions pay off for months, and skipping those steps is exactly why so many Texas hostas underperform.
Get spring right and these plants will surprise everyone who said they couldn’t be grown here.
1. Plant Them In The Right Light (Morning Sun, Afternoon Shade)

Finding the sweet spot for sunlight can make or break your hostas in Texas. Unlike cooler northern states, Texas delivers intense afternoon heat that can scorch hosta leaves fast. The good news is that a little planning goes a long way.
Morning sun is your hosta’s best friend. It gives the plant the gentle light it needs to grow and produce energy without overheating.
Aim for a spot that gets soft, direct light from sunrise until around 10 or 11 in the morning. After that, your hostas should be tucked safely in the shade.
Afternoon shade is not just helpful here in Texas, it is absolutely necessary. The sun between noon and 5 PM is brutal, especially from late spring through summer.
Planting hostas near a fence, under a large tree, or on the north or east side of your home can naturally provide that protective shade.
Dappled light, meaning sunlight that filters through tree branches, is actually ideal for hostas. It mimics the forest floor conditions where hostas naturally grow.
If you have large oak or pecan trees in your Texas yard, those spots are gold for hosta planting.
Keep in mind that hostas with lighter or yellow-green leaves can handle a bit more sun than dark green or blue varieties.
Still, no matter the type, all hostas in Texas will thank you for keeping them out of that harsh afternoon glare. Smart placement is the first and most important step toward stunning spring growth.
2. Amend The Soil With Organic Matter
Healthy soil is the foundation of healthy hostas. Before you plant or refresh your existing beds this spring, take a good look at what is under your feet.
Texas soil can be tricky, ranging from heavy clay in the Dallas area to sandy loam further south. Most of it needs a boost to support hostas well.
Mixing compost into your garden bed is one of the best things you can do. Compost adds nutrients, improves drainage in clay soils, and helps sandy soils hold onto moisture longer.
Your Texas Garden Changes Every Week. Your Plan Should Too.
Gardening in Texas changes quickly throughout the season. Every Friday you’ll receive a simple weekly plan showing exactly what to plant, prune, fertilize, harvest, and protect so you never miss the right timing.
Both of those benefits are huge in Texas, where summer heat dries out the ground fast. Aim to work in two to four inches of compost before planting or at the start of the growing season.
Well-rotted leaf litter, aged manure, or bagged garden compost from your local nursery all work great. You want your soil to feel loose and crumbly, not sticky or dusty. Hostas love rich, well-draining soil that stays consistently moist but never waterlogged.
Did you know that hostas are originally from Asia, where they grow naturally in moist, wooded areas with rich forest soil?
Recreating those conditions right here in Texas gives your plants the best possible start. Think of it as bringing a little bit of the forest to your backyard.
Improving your soil once a year, ideally each spring, keeps your hostas thriving season after season. A small investment of time and compost now means bigger, more beautiful foliage later in the growing season.
3. Mulch Early To Keep Roots Cool
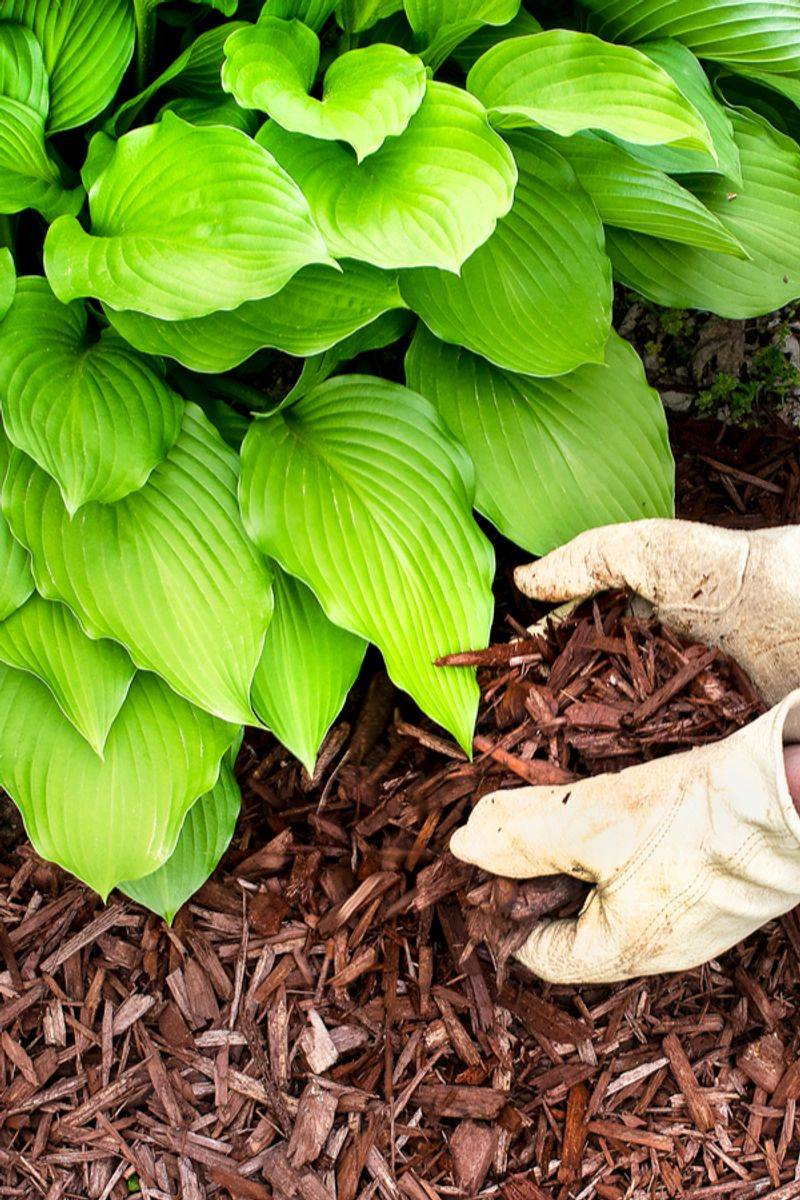
Mulching might sound simple, but it is one of the most powerful things you can do for your hostas in Texas. The state’s rising spring temperatures can stress plant roots quickly, and mulch acts like a protective blanket that keeps the ground cool and moist underneath.
Apply a two to three inch layer of mulch around your hostas as soon as new growth begins to emerge in early spring. Do not wait until summer.
Getting ahead of the heat is the whole point. Wood chips, shredded bark, pine needles, or even shredded leaves all make excellent mulch choices for hosta beds.
One thing to be careful about is keeping the mulch a few inches away from the base of the plant. Piling it directly against the crown can trap too much moisture and invite rot or pests. Think of it like a donut shape around the plant, not a volcano.
Mulch also helps reduce how often you need to water, which is a real bonus during busy Texas spring and summer schedules. It slows evaporation from the soil surface, meaning the moisture you do add sticks around longer.
That steady, even moisture is exactly what hostas crave. Another bonus? Mulch suppresses weeds.
Fewer weeds mean less competition for water and nutrients, giving your hostas more of what they need to push out those gorgeous, oversized leaves. In a Texas garden, mulching early is not just a nice extra step, it is genuinely essential for success.
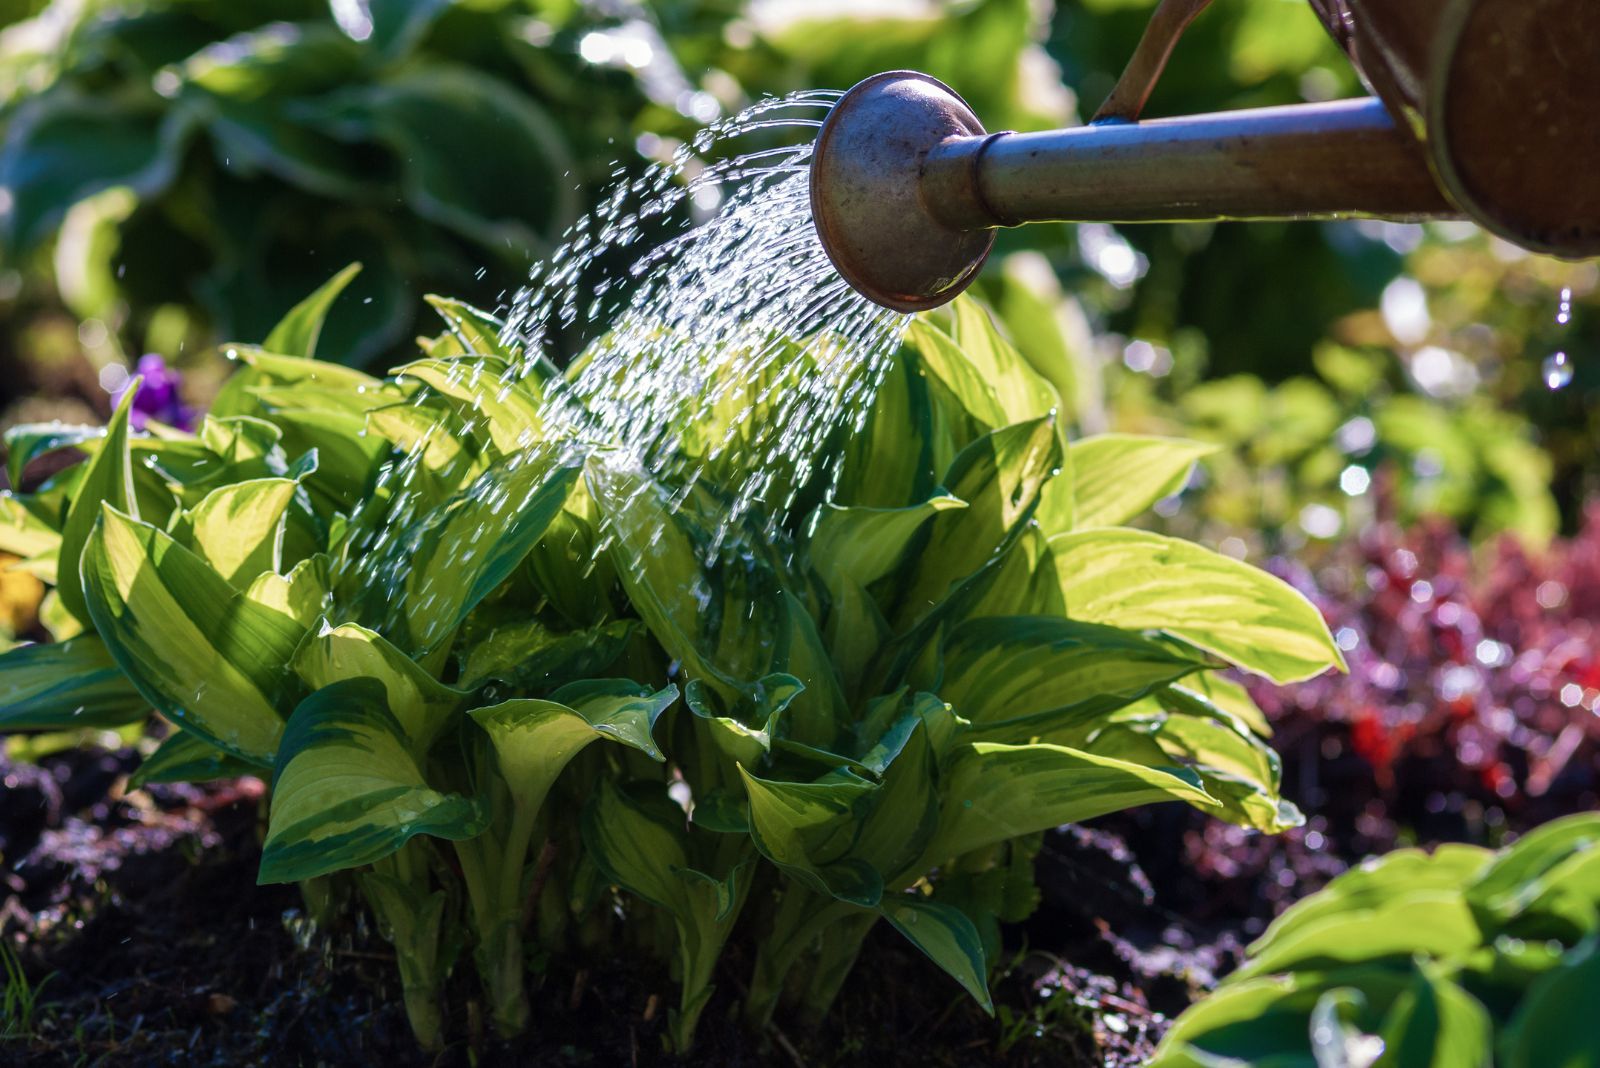
4. Water Deeply And Consistently
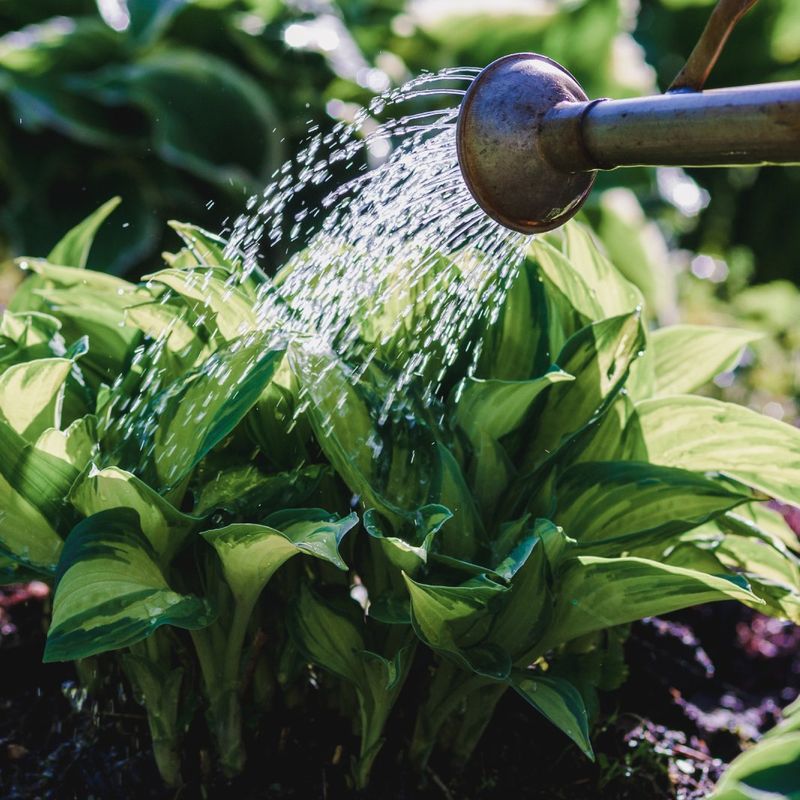
Watering might seem straightforward, but there is a real art to doing it right when it comes to hostas in Texas. Light, frequent watering actually does more harm than good.
It encourages shallow roots that struggle when the heat really kicks in. Deep, consistent watering is what builds a strong, resilient plant.
When you water deeply, moisture reaches far down into the soil. This trains the roots to grow downward in search of water, which makes the plant more stable and better equipped to handle Texas heat.
Aim to water slowly and thoroughly, letting the water soak in rather than run off. A soaker hose or drip system works beautifully for this.
How often you water depends on your soil type and the weather. As a general rule, hostas need about one inch of water per week during the growing season.
During hot Texas springs, you may need to water two or three times a week. Check the soil about two inches down. If it feels dry, it is time to water.
Morning watering is always best. It gives the leaves time to dry before evening, which reduces the chance of fungal issues.
Wet foliage sitting overnight in warm Texas humidity is an open invitation for problems you do not want to deal with.
Consistency matters just as much as depth. Hostas do not love going from soaking wet to bone dry.
Keeping the soil evenly moist throughout spring sets them up for a lush, full growing season ahead.
5. Fertilize In Early Spring
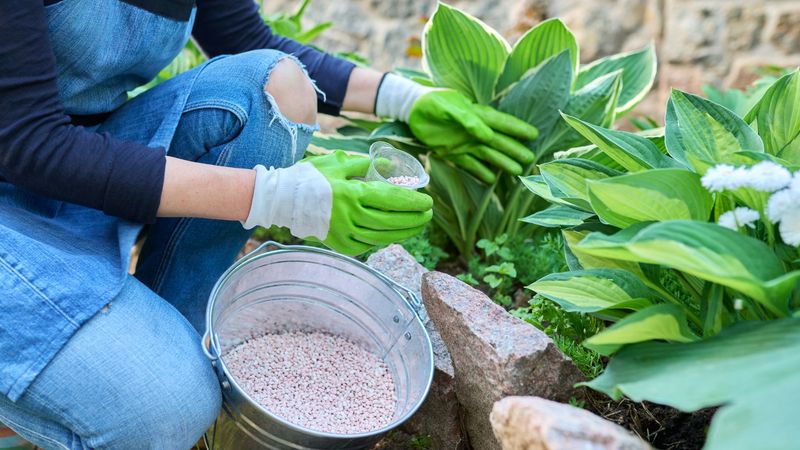
Spring is when hostas wake up hungry. After a winter of rest, new shoots push up from the ground ready to grow fast, and giving them the right nutrients at the right time makes a huge difference in how full and vibrant the foliage becomes.
Early spring fertilizing is one of those steps that really pays off by mid-summer. A balanced, slow-release granular fertilizer works best for hostas. Look for something with roughly equal parts nitrogen, phosphorus, and potassium, often labeled as 10-10-10 or similar.
Slow-release formulas feed the plant gradually over several weeks, which matches the steady growth pattern hostas follow through spring and early summer in Texas.
Apply the fertilizer just as the new shoots start to emerge from the soil. Sprinkle it evenly around the base of the plant and water it in well.
Avoid getting fertilizer directly on the leaves or crowns, as this can cause burning, especially when Texas temperatures start to climb. Do not go overboard. More fertilizer is not always better.
Too much nitrogen can push lots of soft, leafy growth that is actually more vulnerable to heat and pests. Stick to the recommended amount on the package and fertilize once more in early summer if needed. That is usually enough.
Fun fact: hostas are known as foliage plants, not flowering ones, so feeding them well mostly benefits their leaves. In Texas, where big, bold leaves are the whole show, getting your fertilizing timing right is absolutely worth the effort.
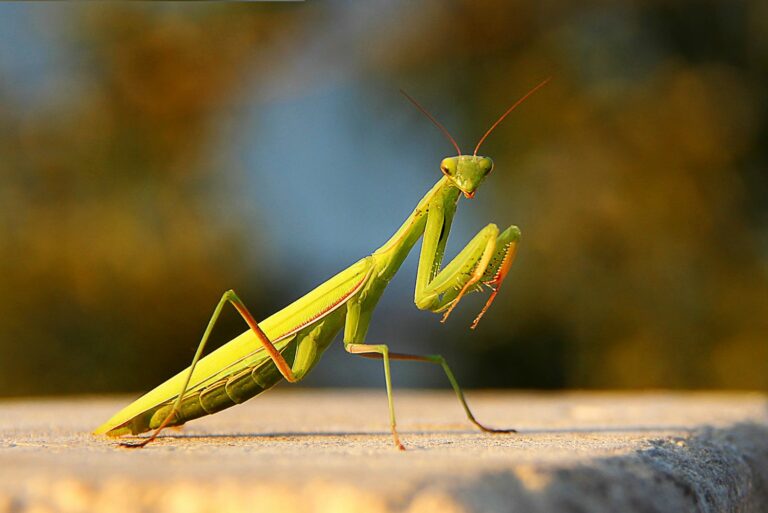
6. Watch For Pests (Especially Slugs And Snails)
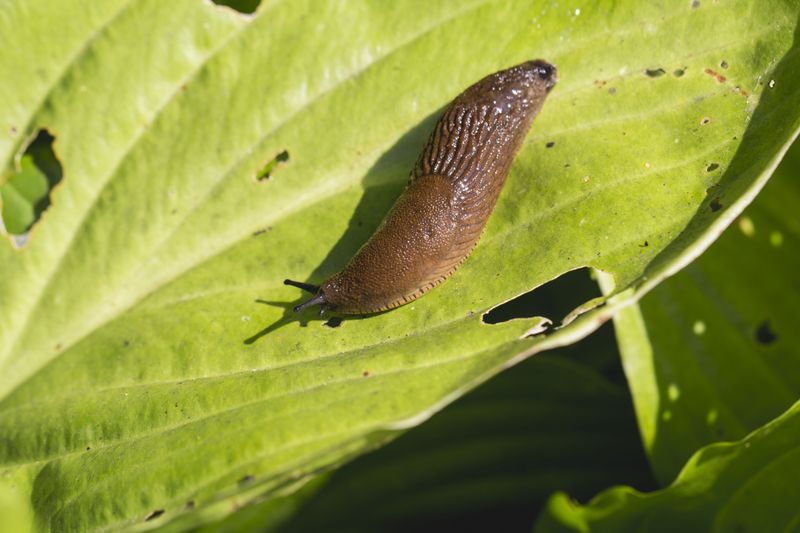
Even in Texas, where the dry heat might make you think slugs and snails are not a big concern, these sneaky little creatures can cause serious damage to your hostas. They tend to show up more in shaded, moist garden beds, which is exactly where hostas like to live.
Spring is when they become most active, so now is the time to stay alert. Slugs and snails feed at night, chewing ragged holes through hosta leaves. By morning, the damage is done and the culprits are hiding under mulch, rocks, or debris nearby.
If you notice irregular holes in your leaves and cannot spot any bugs, check at night with a flashlight. You will likely find the guilty parties.
There are several ways to manage them without harsh chemicals. Diatomaceous earth sprinkled around the base of plants creates a scratchy barrier that slugs hate crossing.
Beer traps, shallow containers filled with beer and set into the soil, attract and trap slugs overnight. Iron phosphate-based slug baits are also safe for pets and wildlife and work well in Texas garden beds.
Keeping your garden tidy also helps. Remove piles of debris, old leaves, and excess mulch near the crowns of your hostas where pests like to hide during the day.
Good air circulation and slightly drier surface conditions make the area less inviting for slugs.
Checking your plants regularly, especially after rain or watering, is the easiest form of pest control. Catching a problem early in spring keeps your Texas hostas looking clean and beautiful all season long.
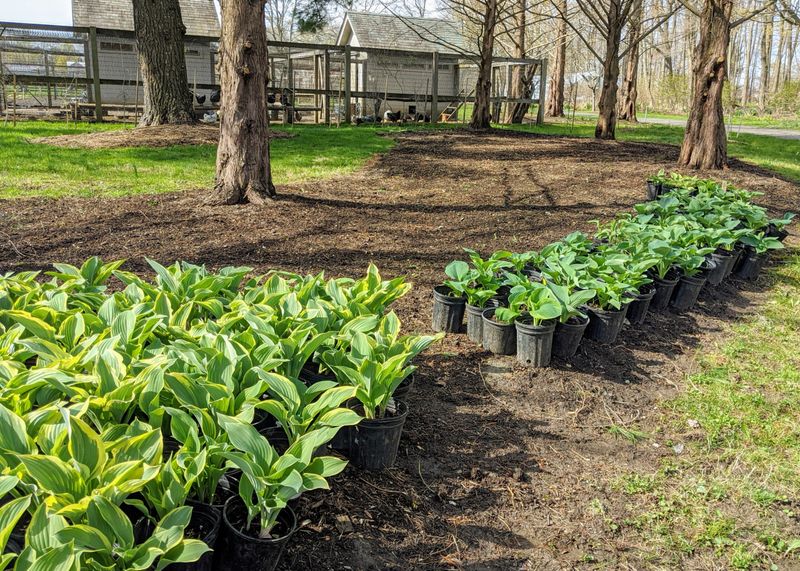
7. Divide Overcrowded Clumps
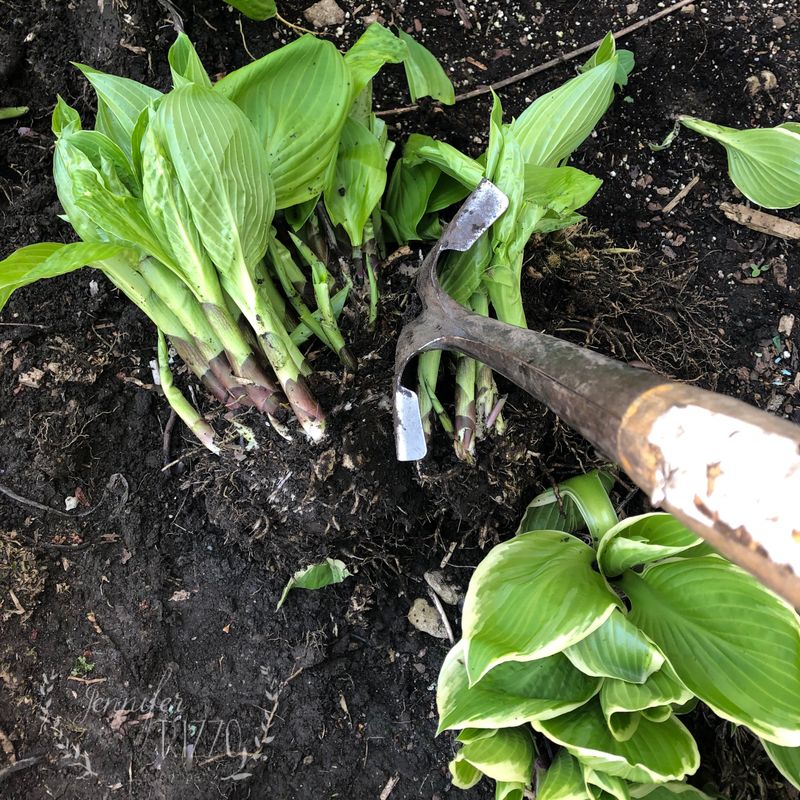
Over time, hostas grow into big, dense clumps. While that looks impressive, overcrowding eventually slows their growth and reduces the size and quality of their leaves.
If your Texas hostas have been in the same spot for three or more years and seem to be getting smaller or less vigorous, it is probably time to divide them.
Early spring is the absolute best time to do this. Right as the new shoots are just beginning to poke up through the soil is your window.
The plant is just waking up and has not yet put a lot of energy into new growth, so it bounces back quickly after being divided. Wait too long into the season and division becomes much harder on the plant.
To divide a clump, use a sharp spade or garden fork to dig around the entire root ball and lift it out of the ground. Then use the spade or a sturdy knife to cut the clump into sections.
Each section should have at least two or three healthy shoots and a good amount of roots attached. Replant the divisions at the same depth they were growing before.
Water your newly divided hostas well and keep the soil consistently moist for the first few weeks while they settle in. Adding a fresh layer of compost and mulch around each division helps them recover faster in the Texas heat.
Dividing also gives you free plants to spread around your yard or share with neighbors. More hostas in more spots means more stunning green beauty throughout your Texas garden all spring and summer.