8 Things To Do The Moment Your Virginia Roses Start Setting Buds
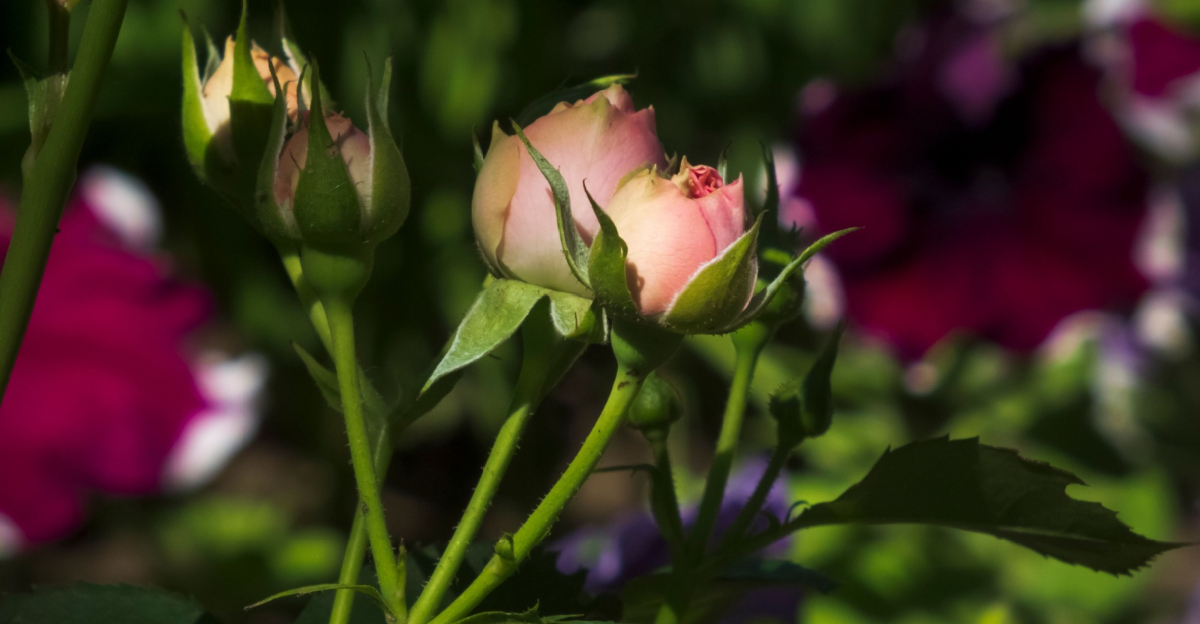
Buds do not knock before they arrive. One raw Virginia morning, I caught my roses mid-sprint, canes already full, color already pushing into the tips.
My stomach tightened. The clock had started without me. Soil still cold enough to sting my knees through my jeans.
Yet there they were, stretching hard, asking nothing and waiting for no one. Have you ever watched a bloom season slip away in a single week? That feeling is not a warning.
It is an invitation. Virginia roses reward the gardener who reads that invitation correctly and acts before the moment evaporates.
Sharp timing now clears away winter damage before it quietly robs your plants of their best energy. It directs every ounce of that energy into blooms worth standing still for.
The garden is already moving. You should be too. Show up or get outrun.
1. Switch To A Phosphorus/Potassium Fertilizer

Your roses just changed their appetite. Nitrogen is great in early spring, but the moment buds appear, your plants are sending a clear message.
They are no longer focused on growing leaves. They are pouring energy into flowers, and they need a completely different kind of fuel to do it well.
Switching to a fertilizer higher in phosphorus and potassium is one of the smartest moves you can make right now.
Phosphorus supports strong root development and helps flowers form with better color and structure. Potassium toughens up the plant overall, making it more resistant to heat stress and disease.
Together, these two nutrients act as a serious power-up for your blooming roses. Look for a product labeled specifically for roses or one with an NPK ratio where the last two numbers are higher than the first.
A ratio like 5-10-10 or 4-8-8 works beautifully at this stage. Avoid anything heavy in nitrogen now. It will push leafy growth instead of flowers.
Apply granular fertilizer around the drip line of the plant, not right up against the stem. Water it in well so the nutrients can reach the roots quickly.
Many growers notice a visible improvement in bloom size and color within two weeks of making this switch. Your roses are already doing the hard work of budding up.
Give them the right support and they will reward you with blooms that stop neighbors mid-stride.
2. Water Deeply At The Base

Shallow watering quietly sabotages bloom season every year. When your Virginia roses start setting buds, their water demand increases significantly.
The plant is working overtime. Every cell in those developing flowers needs steady moisture to expand properly.
If the soil dries out now, buds can stall or drop before they ever open. Deep watering encourages roots to grow downward, which makes the whole plant more stable and drought-tolerant over summer.
Aim for about one to two inches of water per week. Deliver it slowly so it soaks in rather than running off.
A soaker hose or drip system placed at the base is far more effective than overhead sprinklers.
Your Virginia Garden Changes Every Week. Your Plan Should Too.
Gardening in Virginia changes quickly throughout the season. Every Friday you’ll receive a simple weekly plan showing exactly what to plant, prune, fertilize, harvest, and protect so you never miss the right timing.
Overhead watering is something to avoid once buds form. Wet foliage creates the perfect environment for fungal problems like black spot and powdery mildew.
Both are common headaches for rose growers in humid Virginia summers. Keeping the leaves dry while the roots stay moist is a simple habit that pays off big.
Water in the morning if you must use overhead methods. That gives foliage time to dry before evening.
Check soil moisture by pressing your finger about two inches into the ground near the plant.
If it feels dry at that depth, it is time to water. Consistent, deep hydration right now builds the foundation for every bloom your roses will produce this season.
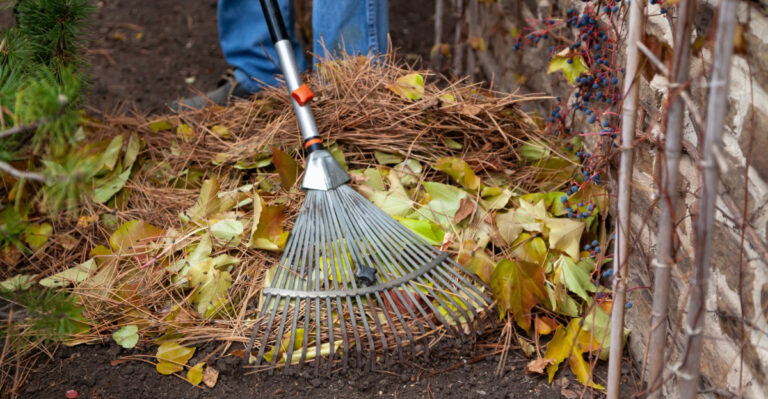
3. Refresh The Mulch

Fresh mulch is one of the most underrated moves in the rose garden. By the time buds start forming, last season’s mulch layer has likely broken down, compacted, or washed thin in spots.
A fresh two-to-three-inch layer around each plant acts like a protective blanket for the soil beneath. It holds in moisture, regulates soil temperature, and suppresses weeds that would otherwise compete for nutrients.
In Virginia, spring weather can swing wildly between warm afternoons and cool nights. That temperature fluctuation stresses rose roots more than most gardeners expect.
A good mulch layer buffers those swings and keeps the root zone more consistent. That translates directly into healthier buds and stronger stems.
Shredded hardwood, pine bark, or wood chips all work well for roses. Avoid dyed mulches if possible, since some may contain additives worth steering clear of around sensitive plants.
Stay away from piling mulch directly against the canes or the crown of the plant. That traps moisture and encourages rot. Pull old mulch back slightly before adding the new layer.
This gives you a chance to check for any fungal growth or pest activity lurking near the soil surface. Spread the fresh material in a wide circle, reaching out to the drip line of the plant for maximum coverage.
A simple afternoon with a bag of mulch now could protect your roses through the hottest weeks of summer.
4. Start Your Fungicide Spray Program

Fungal disease does not wait for an invitation. It arrives quietly, usually after a stretch of warm humid weather.
By the time you notice the telltale dark circles on your leaves, it has already spread. Virginia summers are practically a welcome mat for fungal diseases.
Starting a preventive spray program the moment buds appear is far smarter than waiting for trouble. Preventive fungicide applications coat the leaf surface before spores can take hold.
Once black spot or powdery mildew is established, treatment becomes much harder and results are less reliable. Think of it like sunscreen. You put it on before the sun hits, not after the burn starts.
Choose a fungicide labeled for roses and the specific diseases common in your area. Neem oil is a popular organic option that handles multiple fungal issues at once.
Synthetic options like myclobutanil or propiconazole offer stronger protection for gardeners dealing with persistent problems.
Spray every seven to fourteen days, depending on the product and the weather. After rain, reapply sooner since water washes the protective layer off the foliage.
Always spray in the early morning or evening to avoid leaf scorch during application. Rotate between two different fungicide types throughout the season.
That prevents the fungi from building resistance over time. A consistent spray schedule now means you spend less time troubleshooting yellowing leaves and more time enjoying your blooms.
5. Use Epsom Salt Only After Testing For Magnesium

Magnesium is the nutrient most gardeners forget until the damage shows up. Epsom salt is magnesium sulfate, and it works best when your soil actually needs it.
A simple soil test from your local extension office can confirm whether your garden is low in magnesium before you apply.
When buds start forming, magnesium helps the plant produce chlorophyll more efficiently. That means greener leaves and better energy transfer to those developing flowers.
A magnesium shortage often shows up as yellowing between the leaf veins, a condition called interveinal chlorosis. Applying Epsom salt is easy and inexpensive.
Dissolve one tablespoon per gallon of water and apply it as a soil drench around the base of each plant. Alternatively, sprinkle about half a cup of dry crystals around the drip line and water it in thoroughly.
Some growers also use a foliar spray, mixing one tablespoon per gallon and misting the leaves directly. This method gets magnesium into the plant faster.
It can be helpful when you notice early signs of deficiency. Do not overdo it though. Too much magnesium can interfere with calcium uptake in the soil.
Apply once when you first spot buds, then again about four weeks later for sustained benefit.
Virginia soils in some regions can be naturally low in magnesium, especially after heavy spring rains leach nutrients away.
If your soil is low in magnesium, this addition can visibly improve leaf color and support stronger flower production through the season.
6. Inspect Daily For Pests

Pests move faster than most gardeners expect. Once buds start forming, your roses become one of the most attractive targets in the entire garden.
Aphids, thrips, Japanese beetles, and sawfly larvae all show up right around this time. Each one has a different strategy for ruining your blooms before they even open.
Catching them early is the only way to stay ahead without reaching for heavy pesticides. Make a habit of checking your plants every single morning.
Focus on the undersides of leaves, along the stems, and especially inside the bud cups where pests love to hide. Aphids cluster in groups and are easy to spot once you know what to look for.
Thrips leave behind silvery streaks on petals and foliage. For small infestations, a strong blast of water from the hose knocks aphids off effectively.
Insecticidal soap works well on soft-bodied pests and breaks down quickly. It will not harm beneficial insects if applied carefully.
Japanese beetles are best handled by handpicking in the early morning when they are sluggish. Drop them into soapy water and move on.
Avoid broad-spectrum pesticides whenever possible. They also harm pollinators and the beneficial predators that naturally keep pest populations in check.
A daily two-minute inspection is one of the highest-value habits you can build during bloom season. Catching one small cluster of aphids today could save an entire stem of blooms tomorrow.
7. Remove Spent Blooms Promptly

Every faded bloom left on the plant is wasted energy. The practice of removing spent blooms is one of the simplest ways to keep your roses producing all season long.
When a flower fades, the plant naturally begins forming a rose hip. That is essentially a seed pod. That process diverts energy away from creating the next round of buds.
Cut spent flowers back to just above a leaf cluster with five leaflets. Do this at a 45-degree angle pointing away from the center of the plant.
This encourages the stem to send out a new flowering shoot from that point. Sharp, clean pruners make a cleaner cut and reduce the risk of introducing disease into the fresh wound.
On repeat-blooming varieties, consistent removing can trigger a second or even third major flush of blooms through the season.
Once-blooming varieties do not benefit as much, but removing faded flowers still keeps the plant looking tidy. Collect the trimmings and dispose of them away from the garden.
Do not leave them on the soil surface. Fallen petals and stems can harbor fungal spores and pests that will cause problems later.
A clean garden bed around your roses is always a healthier garden bed. Grab your pruners every few days and your roses will thank you with a season full of fresh color.
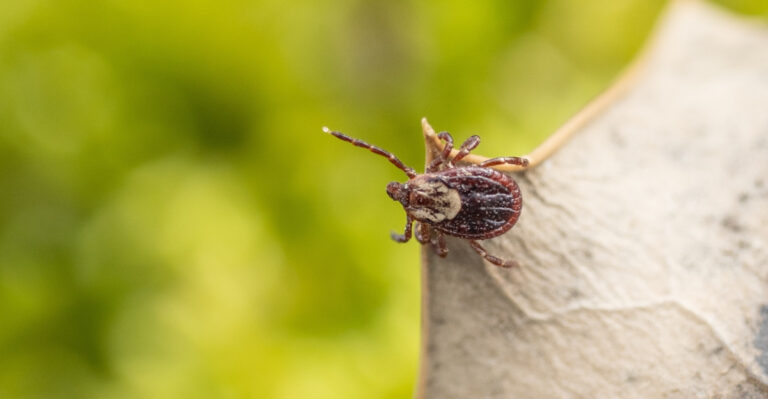
8. Watch For Rose Rosette Disease

This is the one problem that no amount of care can fix once it takes hold. Rose Rosette Disease is spread by a microscopic mite called the eriophyid mite.
This virus has been moving across the Eastern United States for years and Virginia gardens have not been spared. The symptoms are distinctive once you know what to look for.
Watch for bright red or neon-colored new growth. Look for stems with far more thorns than normal. Distorted or bunched leaves, sometimes called witch’s broom, are another warning sign.
Buds that never open properly are also a red flag. The bud-setting stage is actually the best time to spot early signs.
New growth is actively pushing out, making abnormalities easier to catch. If something looks twisted or strangely colored compared to the rest of the plant, pay close attention.
Early detection gives you the best chance of protecting neighboring roses. Remove the affected plant before mites spread the virus further. Sadly, there is no treatment or cure available for Rose Rosette Disease at this time.
An infected plant should be removed carefully, roots and all, sealed inside a thick plastic bag, and disposed of with household waste.
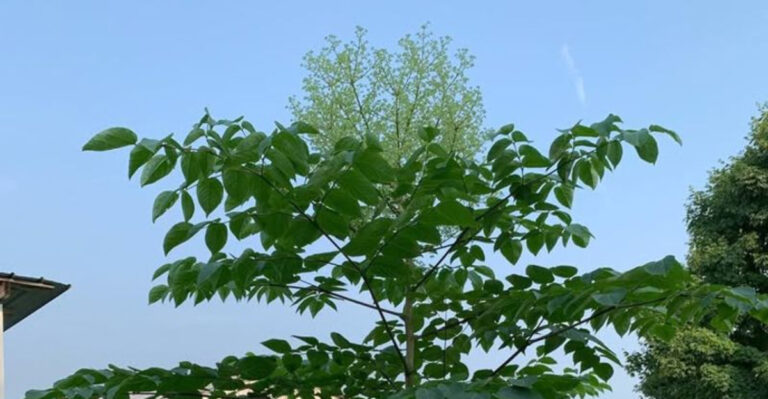
Do not compost it. The mites can survive and continue spreading. Keeping weeds down around your roses helps reduce mite populations.
Wild multiflora roses nearby are a common source of infection. Planting roses with some spacing between them also slows mite movement from plant to plant.
Stay alert during bud season and catching this early could save every other rose in your garden.