8 Ways To Cure Your Fresh-Dug Peanuts Before Storing Them For Winter In Louisiana
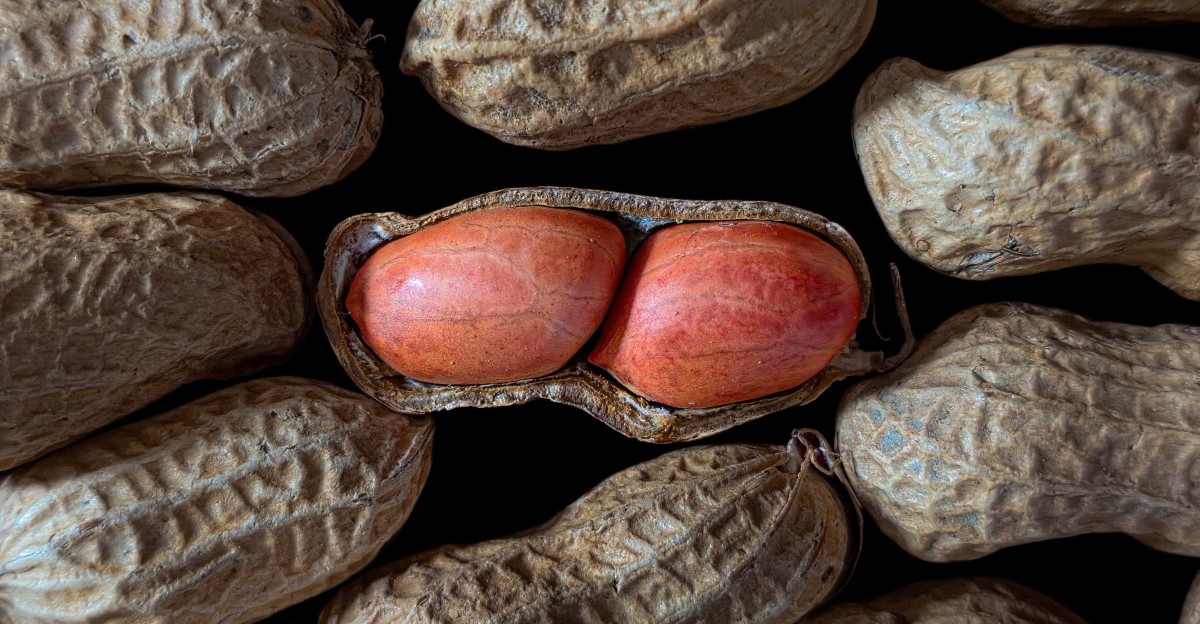
Freshly dug pods can hold up to half their weight in water, which surprised me the first time I learned it. That hidden moisture turns a proud harvest into a moldy mess faster than most backyard growers expect.
Louisiana Octobers still carry sticky air, and damp storage invites the kind of mold that produces harmful aflatoxins. Safe storage needs those kernels dried down to roughly eight or ten percent moisture before any jar gets sealed.
I skipped a proper drying step during my first season, and the musty smell told the whole sad story by December. You build your winter snack supply in the shed and garage, not just out in the garden rows.
A few simple habits make the difference between crunchy treats and a bin of fuzzy disappointment. So which steps actually matter most when Louisiana humidity refuses to take a day off?
1. Dig Peanut Plants When Most Pods Show Mature Dark Shells
Yellowing leaves are your peanut patch quietly waving a flag that harvest time has finally arrived. Most Louisiana growers wait until roughly seventy to eighty percent of the pods have matured before they start digging.
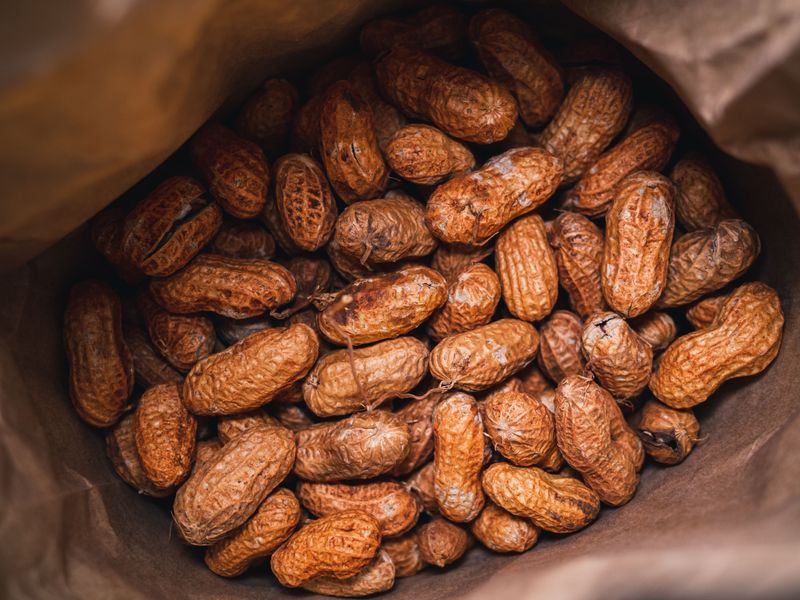
Scrape a few pods with your thumbnail and look inside the shell for a dark, veined interior wall. Pale insides usually mean those kernels need more time, while darker shells signal the plant has finished its work.
I like to sneak out with a garden fork and test one plant before committing to the whole row. That single sample has saved me from digging too early more times than I care to admit.
Loosen the soil all around each plant before pulling, because yanking hard often snaps pods off the roots. Lost pods stay buried in the dirt, and they make a lovely snack for squirrels instead of you.
Give each plant a gentle shake to knock away loose soil clinging to the shells and stems. Rough handling can bruise or crack shells, which opens doors for mold during the curing weeks ahead.
Try to dig after a few dry days instead of right after a soaking rain in Louisiana. Wet soil sticks to pods like glue, and that extra moisture slows down every drying step that follows.
Fun fact for curious Louisiana gardeners, peanuts are legumes related to beans and peas rather than true nuts. Their flowers bloom above ground, then special stalks called pegs push downward to form the pods underground.
2. Flip Peanut Vines Upside Down In Sunny Garden Windrows
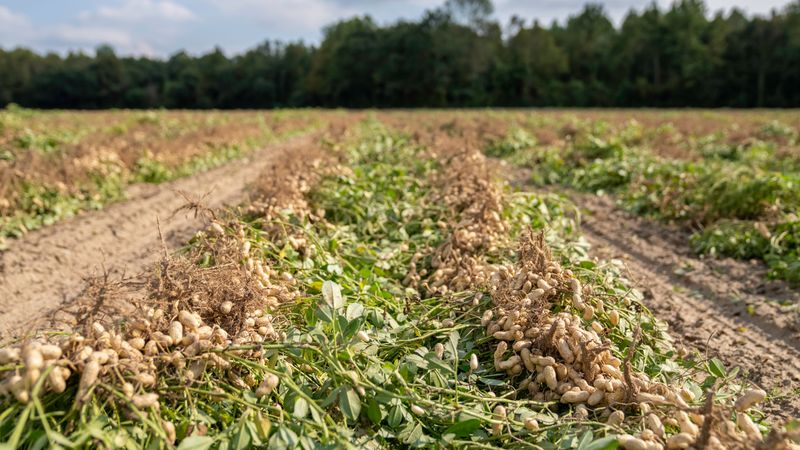
Farmers have flipped peanut plants upside down for generations, and the trick still works wonders in backyard gardens. Turning the vines over lifts the pods into fresh air and sunshine, where moisture escapes much faster.
Lay the plants in neat rows called windrows, with the pods facing up and the leaves underneath. Those leaves act like a little cushion that keeps shells from resting directly on damp ground.
Ground contact slows drying and makes pods more likely to pick up damage or rot during this stage. I check my rows every morning and rearrange any vines that slumped down overnight in the dew.
Your Louisiana Garden Changes Every Week. Your Plan Should Too.
Gardening in Louisiana changes quickly throughout the season. Every Friday you’ll receive a simple weekly plan showing exactly what to plant, prune, fertilize, harvest, and protect so you never miss the right timing.
Field drying usually drops moisture from around fifty percent down to the twenty or thirty percent range. Under friendly weather, this stage often takes two to four days, though cloudy stretches can stretch it longer.
Keep an eye on the forecast, because a surprise shower can undo several days of patient drying work. When storms look likely, I gather the vines and move them under a porch roof until the clouds pass.
Intense afternoon heat can also cause trouble if pods climb above roughly one hundred twenty degrees Fahrenheit. Very hot shells may develop off-flavors, so short sunny stretches work better than baking them for weeks.
October in Louisiana often brings milder days than summer, which suits this stage nicely for home growers. Cooler nights help, but heavy dew means you should wait for mornings to burn off before handling anything.
3. Hang Bundled Peanut Plants In A Dry Garage Or Shed
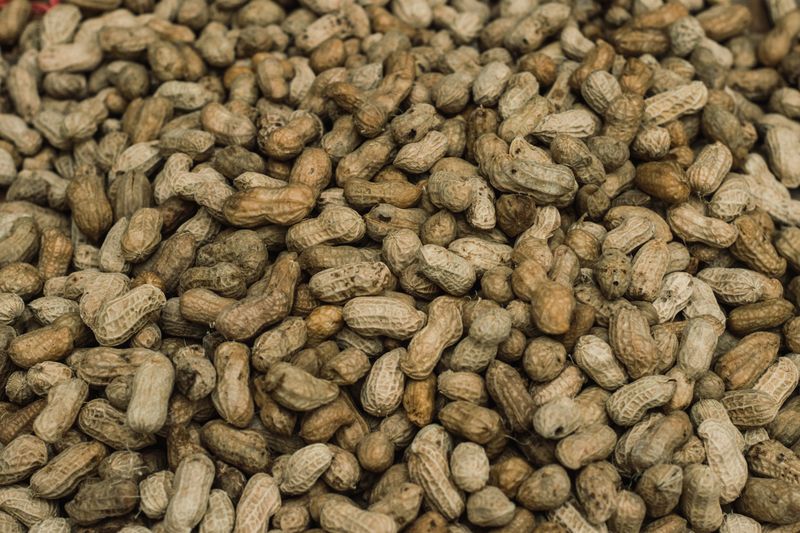
My garage turns into a quirky peanut museum every fall, with bundles dangling from the rafters like strange chandeliers. Visitors laugh, but those hanging plants finish drying beautifully while staying safe from rain and hungry critters.
Once field drying wraps up, gather a handful of plants and tie the stems together with garden twine. Keep the pods attached to the roots, since they continue drying slowly and evenly while hanging that way.
Choose a warm, dry spot with good ventilation, such as a barn, shed, or open garage space. Direct sunlight is not needed indoors, and shade actually helps prevent overheating during the long drying stretch.
Plan on two to three weeks for this stage, and sometimes closer to a month in humid weather. Patience pays off here, because rushing the process often leaves kernels soft and prone to spoiling later.
Space the bundles apart so air can slip between them instead of trapping damp pockets in the middle. Crowded bundles hold moisture against each other, and that is where mold likes to sneak in quietly.
Extension specialists often recommend this hanging method for home gardeners with smaller harvests and limited equipment. It costs almost nothing beyond twine and a few nails, which makes it my favorite budget-friendly approach.
Watch for mice and rats, since peanuts rank high on their list of favorite midnight snacks. Hanging bundles higher off the floor makes raiding harder, though a determined rodent can still surprise you sometimes.
4. Spread Loose Peanut Pods On Mesh Drying Screens
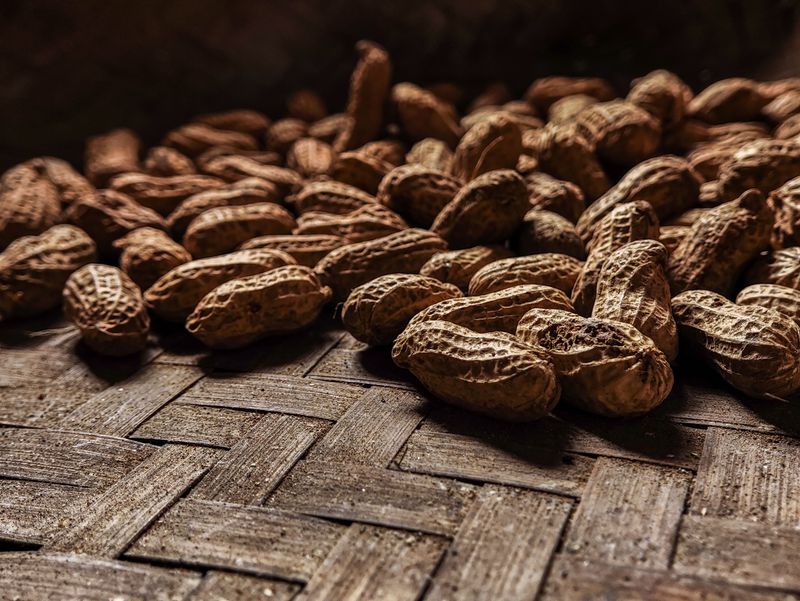
Short on rafter space? Pulling the pods off the vines and spreading them on screens works just as well.
I first tried this method in a cramped apartment patio, and the results honestly impressed me.
Spread the peanuts in a single layer on window screens, hardware cloth, or homemade wooden drying racks. Stacking pods several deep blocks airflow and leaves the bottom layer damp while the top dries out.
Raise the screens off the ground using bricks, sawhorses, or sturdy crates for better airflow underneath. Air needs to move above and below the pods, so a solid tabletop does not work nearly as well.
Stir or shake the peanuts once a day to keep drying even across the whole batch. That quick daily shuffle also lets you spot any suspicious pods early, before trouble spreads to their neighbors.
Expect this method to take around a month, similar to hanging whole plants in a shed. Smaller pods may finish slightly sooner, while plump varieties like Virginia types sometimes need a little extra time.
Keep the screens somewhere sheltered from rain, such as a covered porch or a well-vented garage. Raccoons and squirrels notice uncovered trays quickly, so a lightweight mesh cover keeps those curious visitors out.
I label each screen with the date I started, which saves guessing games a few weeks later. A simple strip of masking tape and a marker works perfectly for keeping your batches organized.
5. Set Up A Box Fan Beside Your Curing Peanuts
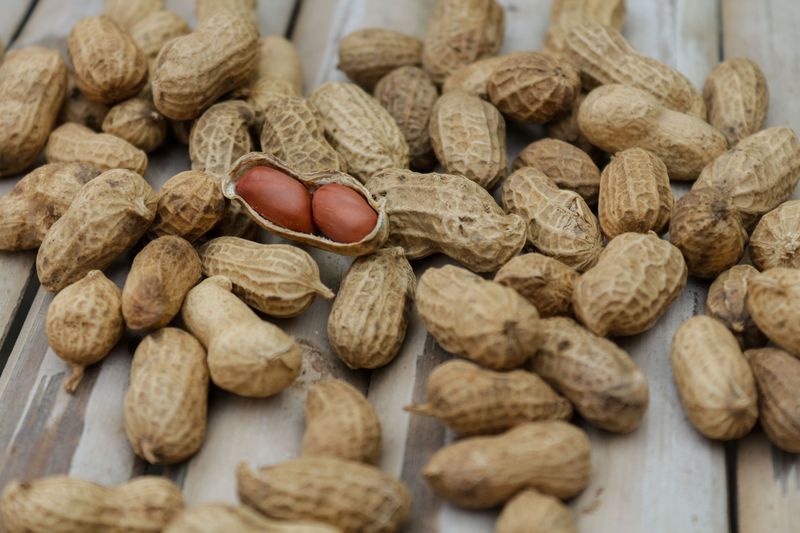
A humble box fan might be the most underrated tool in any peanut grower’s fall toolkit. Moving air carries moisture away from the shells and keeps mold spores from settling into damp corners.
Position the fan so it blows gently across racks or hanging bundles rather than blasting one spot. Steady, soft airflow dries pods more evenly than a hurricane aimed at the front row of your harvest.
I run mine on low for most of the day and switch it off during very damp nights. Pulling humid night air across the peanuts can slow progress, so watch your local weather and adjust.
Check that no pods are touching the floor or piled so thickly that air cannot reach them. Even a great fan struggles when the peanuts are packed tight like sardines in a small tin.
Commercial growers use powerful dryers that push large volumes of air through bulk wagons of peanuts. Home gardeners do not need that equipment, but the same principle of constant airflow still applies on a smaller scale.
Cracking a garage door or shed window helps humid air escape instead of circulating back over your crop. A cross breeze paired with a fan often works better than a sealed room with a fan alone.
Clean the fan blades before using them near food, since dusty blades can spread grime onto drying pods. Wiping them down takes two minutes and keeps your future snacks looking much more appetizing.
6. Keep Curing Peanuts Away From Muggy Heat And Damp Air
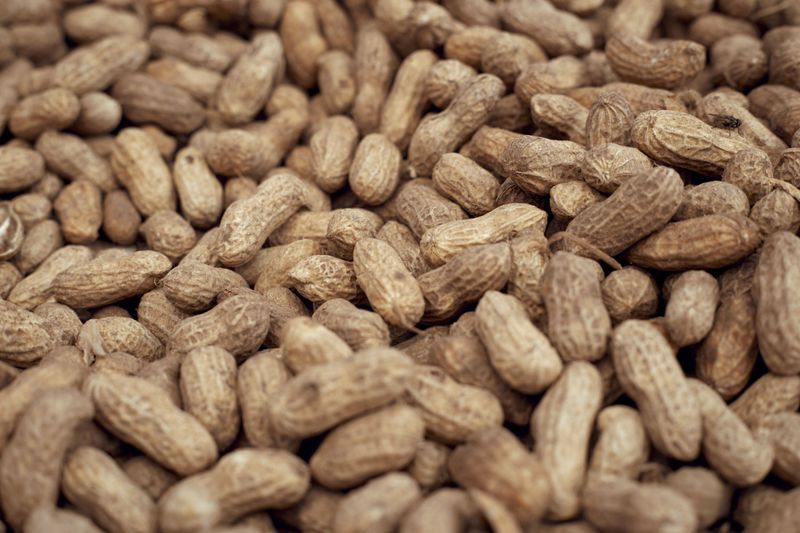
Humidity loves to crash every party in Louisiana, and peanut curing season is no exception to that rule. Damp air slows drying and gives mold a comfortable home right inside the shells you worked hard to grow.
Research on peanut drying suggests air around fifty to sixty-five percent relative humidity works well for controlled curing. A cheap digital hygrometer helps you track conditions, and I keep one clipped right beside my drying racks.
Temperature matters too, so aim for curing spaces that stay below roughly eighty-five to ninety-five degrees. Excessive heat can cause split kernels, loose skins, and bitter off-flavors that ruin the sweet roasted taste later.
A metal shed sitting in full afternoon sun may get much hotter than the air outside. Move peanuts somewhere shaded if your thermometer climbs too high, even if that means rearranging the garage again.
On extra muggy days, a dehumidifier running in a closed room can help pull moisture from the air. Just avoid drying peanuts so aggressively that they become brittle and dusty instead of pleasantly crisp.
Coastal parishes often deal with more humidity than northern parts of the state during early fall. Gardeners near the Gulf may need extra fans or a dehumidifier, while northern growers sometimes get by with ventilation.
I learned this lesson after a muggy week left fuzzy gray spots on several of my favorite pods. Since then, I watch the humidity reading like a hawk and adjust airflow before trouble starts.
7. Crack Open A Peanut And Listen For A Dry Crunch
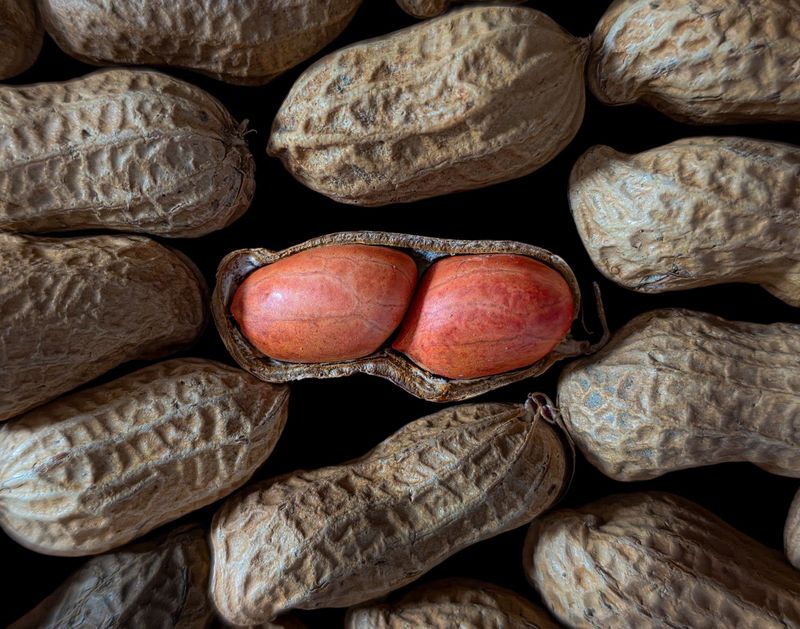
Tasting your homework might be the most delicious part of the whole peanut curing process. Crack a pod, pop the kernel in your mouth, and pay close attention to the texture of that first bite.
A watery crunch similar to a water chestnut means the peanuts still need more drying time. Properly cured kernels taste pleasantly nutty, and the shells feel hard and brittle when pressed between your fingers.
Professional growers aim for kernels holding roughly eight to ten percent moisture before long-term storage. Going much lower than about seven percent can make kernels split more easily when you shell them later.
Sample pods from several spots, including the middle of bundles and bottom layers of your screens. Those slower drying zones tell the real story, since outer pods often finish days ahead of the rest.
A grain moisture meter gives more precise readings if you grow peanuts in larger batches every year. Most backyard growers rely on the taste test, and honestly it works surprisingly well with a little practice.
Shake a few pods near your ear and listen for kernels rattling loosely inside the shell. That faint rattle often hints the peanuts have shrunk slightly as moisture left, though tasting still confirms readiness best.
I keep a small bowl beside the racks for testing, and somehow it empties faster than expected. Consider those snacks a reward for all the digging, flipping, and patient waiting you put into this harvest.
8. Brush Off Dirt And Sort Out Moldy Peanut Pods
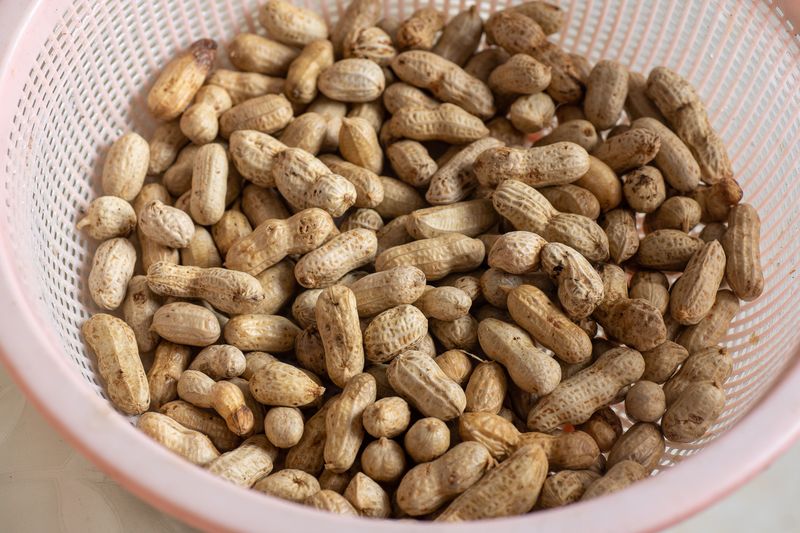
Sorting cured peanuts feels oddly satisfying, like flipping through baseball cards and picking out the best ones. Spread the batch on a table, grab a soft brush, and gently sweep away any dried soil.
Washing peanuts after curing adds moisture back, so most growers rely on dry brushing at this stage instead. If pods are caked with mud, rinse them right after digging and dry them thoroughly before curing begins.
Inspect every pod for fuzzy spots, dark stains, soft shells, or a musty smell that seems off. Toss any suspicious peanuts, because certain molds can produce aflatoxins that cooking or roasting may not remove.
Store the keepers in mesh bags in a cool, ventilated spot for short-term use over several months. For longer storage through winter, airtight jars or vacuum bags help block moisture, odors, and hungry pantry pests.
Refrigerated in-shell peanuts often keep around nine months, while shelled ones last roughly six months. Freezing stretches storage to a year or more, which makes it perfect for saving a big harvest.
Label containers with the harvest date so you can enjoy older batches first through the winter months. I also set aside a few plump pods for planting next spring, stored separately in a cool spot.
Nothing beats roasting homegrown peanuts on a chilly evening once the hard curing work is finished. Every crunchy bite reminds me why those weeks of flipping vines and checking racks feel so worthwhile.