What To Do With Your Florida Crotons In May So They Stay Bright Through Summer
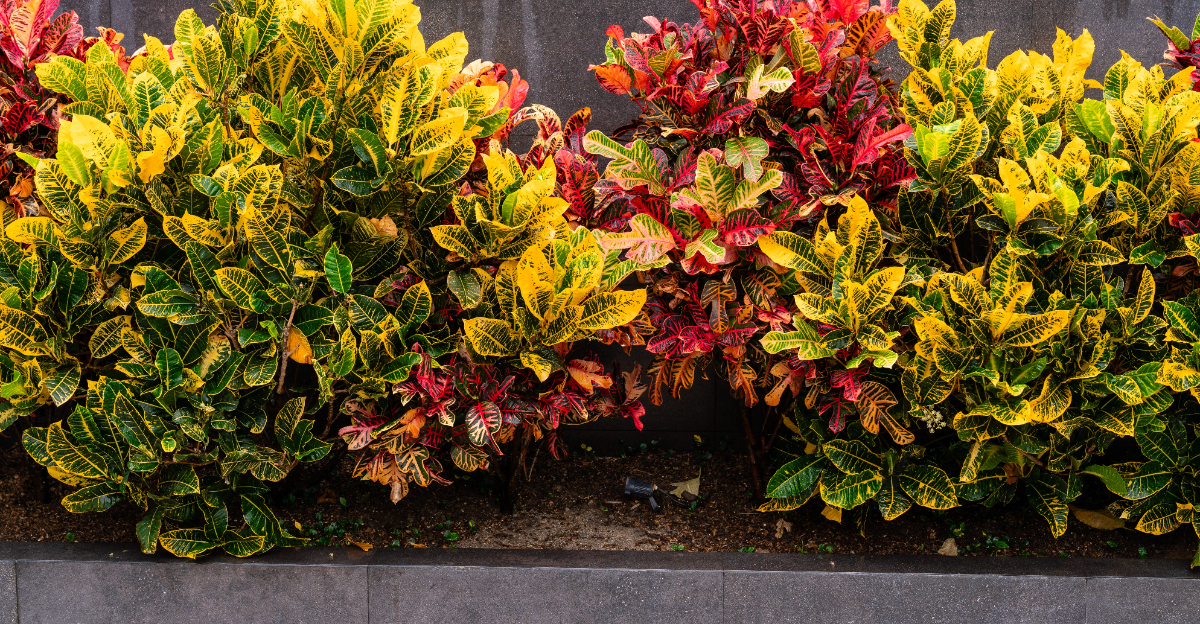
Crotons are one of those plants that either look electric or completely washed out by August, and May is where that story gets written.
Most people walk past them this time of year, assume they are fine, and then spend the rest of summer wondering why the color went flat and the stems got so leggy.
Florida does not ease into summer. It arrives hard, and plants that are not in good shape going into June will tell on you fast.
Crotons can handle the heat. That part is not the issue.
What gets them is neglect during the one month where a little work actually sticks. Skip May and you are playing catch-up until fall.
Stay on top of it now and these plants will hold their color and their shape straight through the brutal stretch. This is what your crotons actually need before summer takes over.
1. Give Crotons Bright Light Without Scorching

Bold leaf color is the whole point of growing crotons, and light is the engine that drives it. A plant tucked too deep in shade will push out soft, faded leaves with little of the fire that makes crotons so eye-catching.
But May sun is already strong enough to scorch foliage, especially on plants that have been sitting in lower light all winter or spring.
Look for warning signs like bleached patches, crispy leaf edges, or new growth that looks pale and stretched. These clues tell you the plant is either getting too much harsh sun or not nearly enough usable light.
Morning sun with afternoon shade or bright filtered light tends to give crotons the color they need without the damage.
South Florida gardeners should pay close attention to intense afternoon exposure, especially on west-facing walls where reflected heat builds up fast.
Moving a container croton from a shady corner straight into blazing midday sun is a recipe for scorched, stressed foliage.
Gradually shift the plant over seven to ten days, increasing light exposure a little each day so the leaves can adjust.
North Florida container growers bringing plants back outside after cool weather should follow the same slow acclimation approach. Morning sun on a screened lanai or under a shade tree is a good starting point before moving toward brighter spots.
2. Water Before Heat Stress Causes Drooping

Watching a croton droop in May heat is a frustrating sight, especially when you realize that a simple adjustment to your watering routine could have prevented it. Crotons like their soil evenly moist but never waterlogged.
Swinging between bone dry and soaking wet causes leaf drop, and once those leaves are gone, they take a while to come back.
Check the soil before you reach for the hose. Push your finger about an inch into the potting mix or garden bed.
If the top layer is starting to dry out, water thoroughly and let the moisture reach all the way through the root zone. Shallow daily sprinkles do not do the job and can actually encourage shallow roots that suffer more during hot, dry stretches.
Your Florida Garden Changes Every Week. Your Plan Should Too.
Gardening in Florida changes quickly throughout the season. Every Friday you’ll receive a simple weekly plan showing exactly what to plant, prune, fertilize, harvest, and protect so you never miss the right timing.
Sandy inland soils common across much of the central peninsula drain fast, so beds may need watering more often than you expect before the rainy season begins.
Low-lying beds farther south can flip to the opposite problem once summer storms start dropping heavy rain every afternoon. Make sure drainage is working well before that happens.
Container crotons on patios in the northern part of the state dry out especially quickly in warm weather. Never let pots sit in saucers full of standing water, which can lead to root problems fast.
Drain saucers after watering and check containers every day or two as temperatures rise through May.
3. Refresh Mulch Before Summer Heat Peaks

Sandy soil has a talent for drying out fast, and summer heat makes that problem even worse.
A fresh layer of organic mulch around your crotons in May acts like a small insurance policy against the moisture swings that cause leaf drop and stress throughout the hottest months ahead.
Mulch slows evaporation, helps keep the root zone cooler, and reduces the force of heavy summer rain hitting bare soil. That last part matters more than most gardeners realize.
Hard rain splashing muddy soil onto lower leaves can spread fungal issues and make plants look rough by midsummer.
Refresh your mulch layer to about two to three inches using pine bark, wood chips, or another organic option. Pull it back a few inches from the croton stems so air can circulate around the base of the plant.
Burying the crown under thick mulch traps moisture against the stem and invites rot, especially in the humid southern summer.
Across the central peninsula, exposed sandy beds benefit most from mulching because the soil can lose moisture quickly between rain events.
Farther south, sites with heavy clay or poor drainage need a thinner layer and enough open space for water to move through freely.
Container crotons benefit from a light top-dressing of mulch too, which slows moisture loss from the pot surface between waterings.
4. Feed Lightly As Warm Growth Speeds Up

Crotons that are actively pushing new leaves in May are ready to use a little extra nutrition, but more fertilizer does not automatically mean more color.
Light, balanced feeding during active growth supports healthy foliage, while heavy applications can push weak, floppy new growth that actually looks less vibrant than what came before.
A slow-release granular fertilizer with a balanced ratio works well for in-ground crotons in most landscapes. Follow the label directions exactly and resist the urge to apply extra.
Nutrients that are not absorbed by the plant can wash into waterways once summer rains begin, which is an environmental concern that homeowners should take seriously.
Container crotons need more consistent feeding than in-ground plants because nutrients leach out of pots faster with each watering. A light liquid feed every few weeks during active growth keeps potted plants healthy without overloading them.
Always water the plant before applying liquid fertilizer to avoid stressing roots.
Check whether your local county or municipality has fertilizer blackout periods before you feed. Some areas restrict nitrogen and phosphorus applications during the rainy season to protect water quality.
Never apply fertilizer to a stressed, drought-stricken, or pest-damaged plant hoping it will fix the problem. Address the root issue first, then feed once the plant is stable and actively growing again.
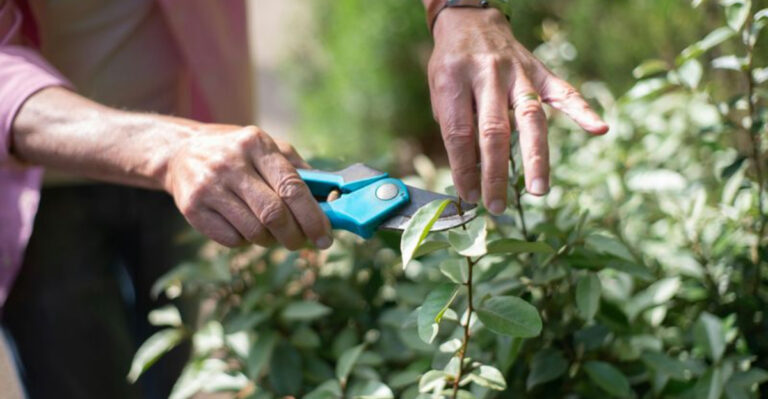
5. Prune Leggy Stems For Fuller Color

A croton that has been stretching toward light all winter can end up looking more like a stick with a few leaves at the top than the lush, bushy tropical plant you want. May is a good time to address that before summer growth really takes off and the plant gets even more unruly.
Selective pruning encourages the plant to branch out from lower on the stem, which fills in the shape and brings bold color closer to eye level where you can actually enjoy it.
Use clean, sharp pruners and make your cut just above a leaf node, which is the point where a leaf meets the stem.
That node is where new branching will begin.
Warm temperatures in Central and South Florida help crotons bounce back quickly from light pruning. Keep cuts modest and targeted, removing only what is necessary to reshape the plant rather than hacking it back severely.
Hard pruning during extreme heat, drought, or pest pressure sets the plant back further than the leggy growth ever did.
North Florida container crotons that are still recovering from cool-season stress should be pruned very lightly or not at all right now. Give those plants a few more weeks of warm weather and strong growth before shaping them.
Avoid pruning any croton just before a storm is forecast, since fresh cuts on stressed foliage are more vulnerable to wind and rain damage.
6. Watch For Scale Before It Spreads

Tiny, stubborn, and easy to overlook until they have already done real damage, scale insects are one of the most common croton problems.
They tend to show up quietly, hiding along stems and tucked along the midrib of leaves where a quick glance might miss them entirely.
By the time you notice yellowing leaves or a sticky film on the foliage, a moderate infestation may already be underway.
The sticky residue scale produces is called honeydew, and it attracts sooty mold, a dark fungal coating that blocks light and makes plants look grimy.
Check the undersides of leaves, new growth tips, and stem joints carefully in May before heat and humidity give pest populations a chance to explode.
A small hand lens makes it much easier to spot early-stage scale.
Confirm what you are dealing with before treating anything. Small infestations can sometimes be pruned out or scrubbed off with a soft brush and soapy water.
Horticultural oil or insecticidal soap, applied according to label directions, are Extension-supported options for more widespread problems. Never apply horticultural oil when temperatures are above 90 degrees Fahrenheit or when the plant is drought-stressed.
Crowded South Florida landscape plantings and humid screened enclosures are especially prone to scale buildup.
Improve air circulation around plants where possible and avoid over-fertilizing with nitrogen, which can encourage the soft new growth that scale insects prefer.
7. Move Potted Crotons Before Storms Hit

June 1 is the official start of hurricane season, but Florida knows well enough that storms do not wait for official calendars.
May is the month to get your container croton plan sorted out before the first tropical system shows up on the radar and you are scrambling in the wind.
Potted crotons, lightweight planters, and hanging baskets can become dangerous projectiles in high winds. Even a modest tropical storm gust can tip a large container off a porch railing or send a hanging pot swinging into a window.
Heavy ceramic or concrete pots are harder to move but also harder for wind to topple, so container choice matters.
Decide now where your containers will go when a storm watch or warning is issued. A garage, interior hallway, or ground-level sheltered corner are all better options than leaving plants out on an exposed upper-deck railing.
Group smaller pots together in a protected corner to make moving them faster when time is short. Light pruning in May can also help reduce wind resistance in large, top-heavy plants.
In the northern and central parts of the state, container growers should choose croton locations with both storm storage and future cold protection in mind. Farther south, crotons can often stay outdoors most of the time, but a clear storm plan is still essential.
Waiting until wind is already picking up to move heavy or awkward containers is how accidents happen.
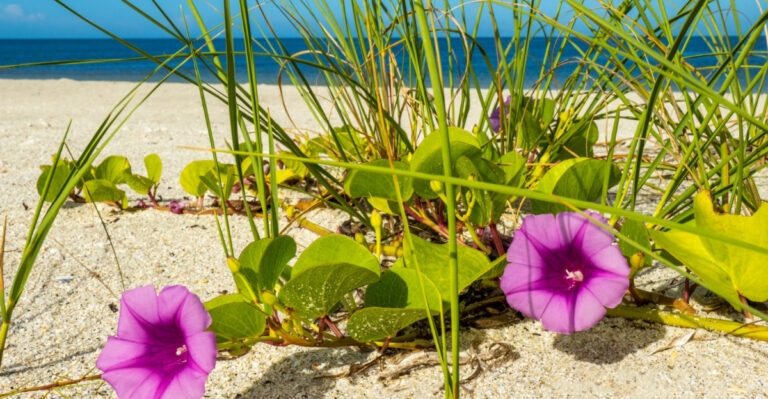
8. Protect South Florida Crotons From Salt Spray

Coastal South Florida is one of the most beautiful places in the world to garden, and also one of the most demanding.
Salt spray carried on ocean breezes can travel surprising distances inland, landing on croton foliage and slowly burning leaf edges, dulling color, and stressing plants that might otherwise thrive in the warm climate.
Leaf tip burn and a washed-out look along the margins of older leaves are early signs of salt stress. The damage can look similar to fertilizer burn or drought stress, so location is your best diagnostic clue.
A croton planted within a few hundred feet of the ocean on a windy lot is almost certainly dealing with some salt exposure.
Placing crotons behind a solid windbreak, a dense hedge, a fence, or a building significantly reduces the amount of salt that reaches the foliage.
Rinsing plants with fresh water after a strong onshore wind event can help remove salt deposits before they cause lasting damage.
Improving soil organic matter also helps roots handle the extra stress that comes with coastal conditions.
Away from the coast, salt spray is usually not the main concern, though reclaimed irrigation water in some communities can carry elevated salt or mineral levels that affect sensitive tropical foliage over time.
In the southern coastal counties, avoid planting crotons in the most exposed oceanfront spots unless local extension guidance specifically supports that placement for your area.
9. Check Drainage Before Rainy Season Begins

Standing water after a heavy rain is one of the quietest threats to croton health. By the time root rot or stem problems show up visually, the damage has usually been building for weeks underground.
May, right before the rainy season officially starts, is the last good opportunity to fix drainage issues before afternoon downpours become a daily routine.
Walk your yard or patio after a heavy watering and look for spots where water pools and sits for more than thirty minutes. Crotons planted in low-lying areas, compacted soil, or spots where clay layers trap moisture are at real risk once summer rains arrive.
Raised beds, amended soil, and slightly elevated planting spots can all help redirect water away from root zones.
Container drainage is just as important. Check that every pot has working drainage holes and that holes are not blocked by roots or debris.
Elevating pots slightly on pot feet or bricks improves drainage and airflow underneath, which also reduces pest hiding spots.
In the southern part of the state, low yards and heavier soils benefit from added organic matter before the rains start, which helps improve both drainage and nutrient retention.
Across the central peninsula, sandy soils generally drain well but may still have compacted areas near driveways or older construction fill.
Fixing drainage now protects your crotons from the kind of root stress that causes leaf drop and fading color throughout the entire summer season.