How To Use Terracotta Pots In California Without Drying Plants Out Too Fast
California gardeners love terracotta until July starts acting personal.
Those warm clay pots look perfect on a patio, balcony, porch step, or herb wall. Then afternoon sun hits, dry wind moves through, and the soil inside feels like it forgot water ever existed.
The pot was charming at breakfast.
By 3 p.m., the basil looks betrayed.
Terracotta dries faster because the clay breathes. That is part of its appeal, but in California heat, that same porous texture can pull moisture away faster than tender roots can handle.
Add reflected patio heat, inland dry air, and a breeze off the coast, and even tough plants can start to struggle.
So how can California gardeners keep the classic clay look without turning every pot into a daily rescue mission?
Start by changing the setup, not the style. Bigger containers, better potting mix, smart mulch, wind protection, and deeper watering can help terracotta work with your plants instead of against them.
The clay stays beautiful. The roots stay happier. Everybody wins.
1. Choose Bigger Terracotta Pots
Small terracotta pots look adorable right up to the first serious heat wave.
Then they become tiny clay ovens with drainage holes.
A six-inch pot holds very little soil, which means there is not much moisture available once sun, wind, and porous clay all start pulling at it.
The roots heat up faster, the mix dries sooner, and the plant spends the afternoon looking like it regrets every life choice.
Bigger pots make a huge difference.
A container that is at least twelve inches wide holds more potting mix, and that extra volume acts like a moisture reserve.
The outer clay wall still breathes, but the center of the pot stays cooler and damp longer than it would in a tiny container.
That matters for California patios.
Herbs, flowering annuals, perennials, and vegetables all handle heat better with more root room. Basil, parsley, peppers, geraniums, lavender, and small shrubs generally perform better in larger terracotta than in cute little pots that dry out before lunch.
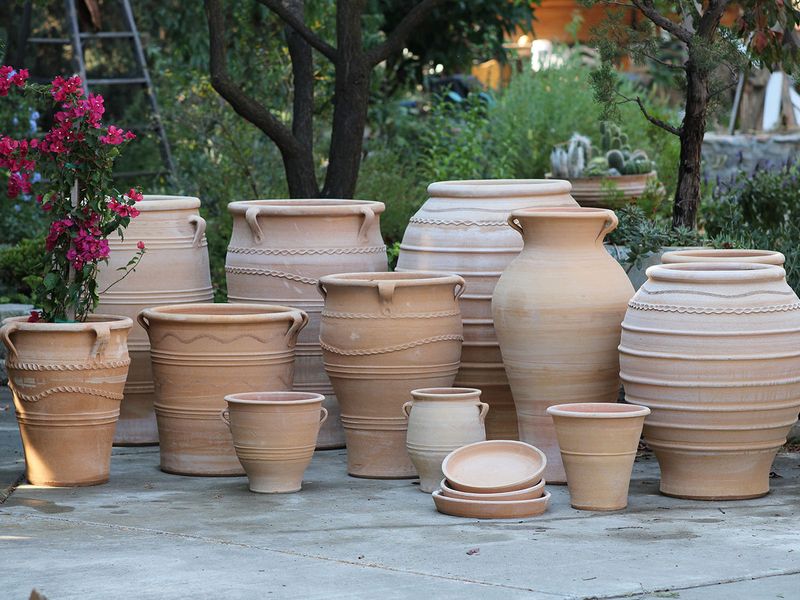
Aim for fourteen to sixteen inches wide for many herbs and flowers.
Large shrubs, dwarf citrus, roses, and patio fruit trees need even more space, often twenty inches or wider. Big terracotta can be heavy, so use pot feet, sturdy saucers, or wheeled caddies from the start.
This is not just about size.
It is about giving roots a buffer before the afternoon sun starts acting like a blowtorch with excellent aim.
2. Soak The Pot Before Planting
A dry terracotta pot is thirsty before your plant ever moves in.
Fresh from a shelf or storage area, the clay walls can pull moisture from the potting mix right after planting. That means the first watering partly goes into the container instead of the roots, which is not the welcome gift your new plant deserves.
Pre-soaking fixes that.
Before adding soil, place the empty terracotta pot in a bucket, tub, or large basin of water. Let it sit for at least an hour. Thick pots may need longer. Bubbles may rise from the clay as trapped air escapes and water fills the pores.
Your California Garden Changes Every Week. Your Plan Should Too.
Gardening in California changes quickly throughout the season. Every Friday you’ll receive a simple weekly plan showing exactly what to plant, prune, fertilize, harvest, and protect so you never miss the right timing.
Once the bubbling slows, the pot is ready.
Now the clay starts the planting process already hydrated. It will still breathe later, but it will not immediately steal moisture from fresh mix and tender roots during that first stressful day.
This step is especially useful in hot inland areas.
Sacramento patios, Central Valley courtyards, Inland Empire balconies, and sun-heavy Southern California yards can dry small containers fast. A pre-soaked pot gives plants a calmer start before heat, wind, and dry air begin their usual routine.
Soaking also helps when repotting root-bound nursery plants.
Those plants already went through stress. Moving them into a bone-dry clay container only adds drama. A hydrated pot makes the transition smoother.
Think of it as letting the pot drink first, so the plant does not have to argue with it later.
Terracotta manners begin before the soil goes in.
3. Use Quality Potting Mix
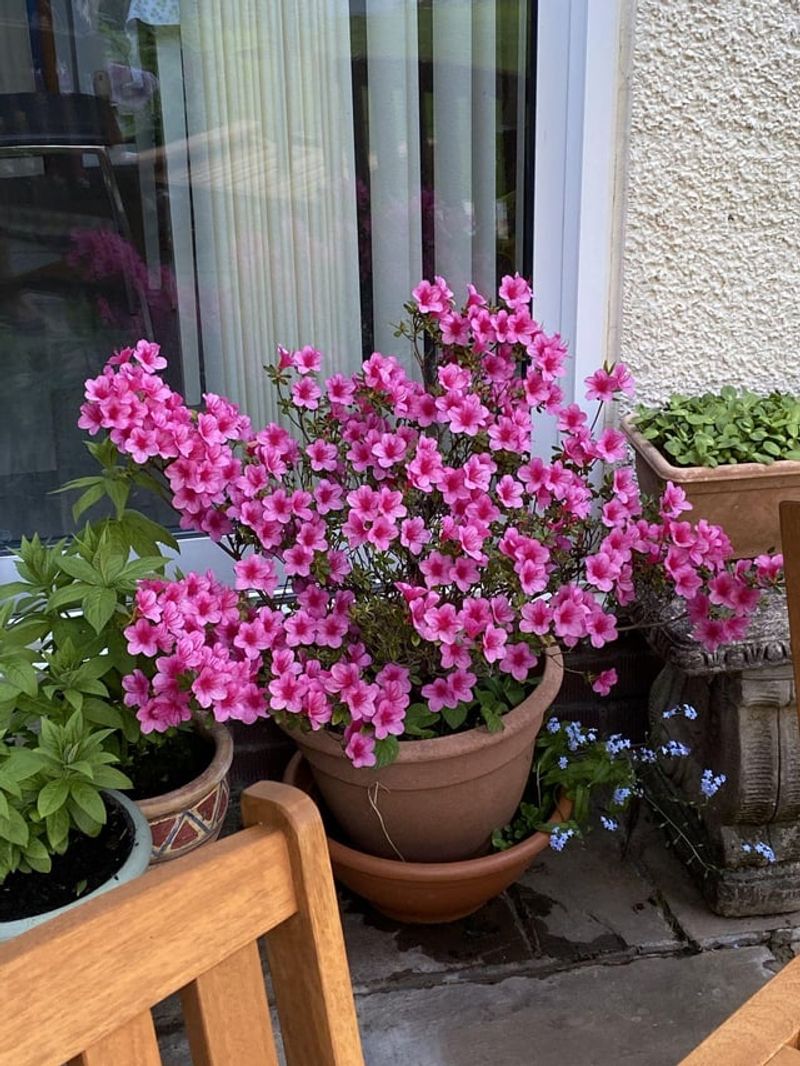
Garden soil does not belong in a terracotta pot.
That shortcut can turn ugly fast.
Soil from the ground often compacts inside containers, especially after repeated watering. Once compacted, it drains poorly in some areas and dries into hard pockets in others.
Roots then struggle to find both air and moisture, which is a terrible combination during a California heat spell.
Use a real container mix instead.
A good potting mix feels light, loose, and springy in your hand. It usually contains materials such as composted bark, coir, peat, perlite, pumice, or other ingredients that hold moisture while still letting extra water drain away.
That balance matters in terracotta.
The pot already releases moisture through its walls, so the mix needs enough water-holding power to keep roots steady between irrigation. At the same time, it cannot stay soggy around the crown or lower roots.
For hot areas, add a little extra help.
Perlite or pumice can improve airflow and drainage. Coir or fine bark can help retain moisture without turning the pot heavy and stale. The goal is a mix that stays evenly damp after watering, then dries at a reasonable pace.
Old potting mix loses structure over time.
Refresh containers every year or two, especially for plants that stay in the same pot. Dusty, collapsed mix dries too fast and feeds poorly.
The pot may be clay, but the root zone should never feel like cracked desert brick.
Good mix is the moisture manager inside the pretty shell.
4. Mulch The Soil Surface
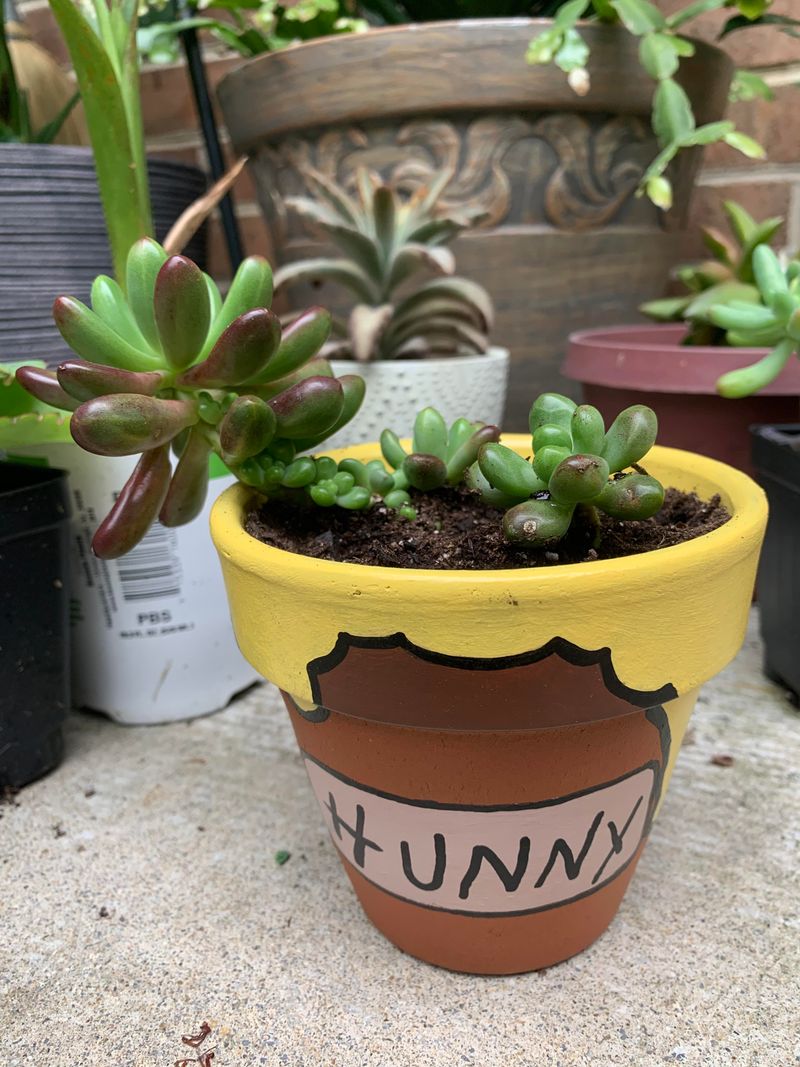
Bare potting mix dries fast under California sun.
Mulch slows that down.
A thin layer across the soil surface helps block direct sun, reduce evaporation, and keep the top of the container from turning crusty by afternoon. It is one of the easiest fixes for terracotta pots, and it also makes containers look more finished.
Use a light, tidy layer.
One to two inches is usually enough for most pots. Keep mulch slightly away from the plant stem so air can move and the crown stays healthy. The goal is protection, not a tiny mulch volcano.
Several materials work well.
Small bark chips, straw, pine needles, composted wood mulch, gravel, decomposed granite, or pebbles can all help.
For Mediterranean herbs and succulents, gravel or decomposed granite often looks natural and keeps the surface cleaner. For vegetables and annual flowers, straw or bark may feel softer and more practical.
Light-colored gravel can reflect some heat.
That is useful on exposed patios where dark soil absorbs afternoon sun. A pale top layer keeps the surface a little cooler and reduces rapid moisture loss from the upper root zone.
Mulch does need upkeep.
Wind can shift it. Water can move it. Organic materials break down over time. Refresh the layer when the soil starts showing through or the surface begins drying too quickly again.
This is a small move with a big payoff.
A mulched terracotta pot holds moisture longer, looks tidier, and gives roots a better chance to avoid the daily afternoon crisp-up.
Tiny blanket. Big difference.
5. Group Pots Out Of Wind
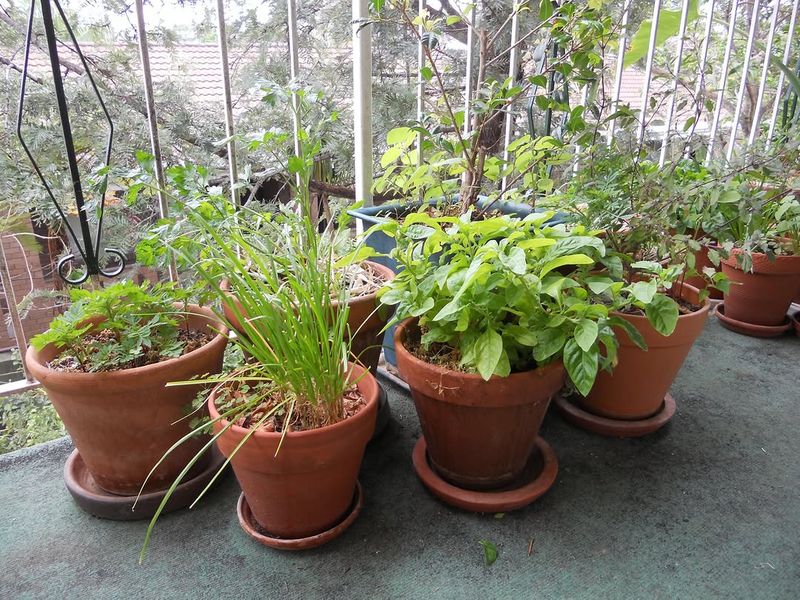
Wind dries pots faster than many gardeners expect.
A sunny California balcony, rooftop, or patio can feel pleasant to people and brutal to containers. Moving air pulls moisture from leaves and soil, and terracotta walls lose water even faster when dry wind keeps sweeping past them.
Grouping pots helps.
A cluster of containers creates a small shared microclimate. Leaves block some airflow. Pots shade one another.
Moisture from nearby plants raises the humidity just a little around the group. That tiny shift can matter during dry afternoons.
The layout can still look beautiful.
Place taller pots at the back, trailing plants near the edge, and smaller containers tucked between larger ones. The display looks intentional while the plants quietly protect each other from wind and heat.
Use walls and railings wisely.
A fence, stucco wall, balcony screen, hedge, or lattice panel can reduce wind exposure. Just watch reflected heat.
A south or west wall may protect from wind but add punishing afternoon warmth. A bright spot with some side protection often works better than a fully exposed ledge.
Balcony gardeners should pay extra attention.
Upper floors can dry pots shockingly fast, even near the coast. A basil pot in San Diego, Oakland, or San Francisco may struggle less from sun than from constant air movement.
Move the thirstiest pots into the protected center of the group.
Hardier plants can take the outside edge.
This is container teamwork. Terracotta may be porous, but a grouped display gives every pot a little backup.
6. Shade The Pot Not The Plant
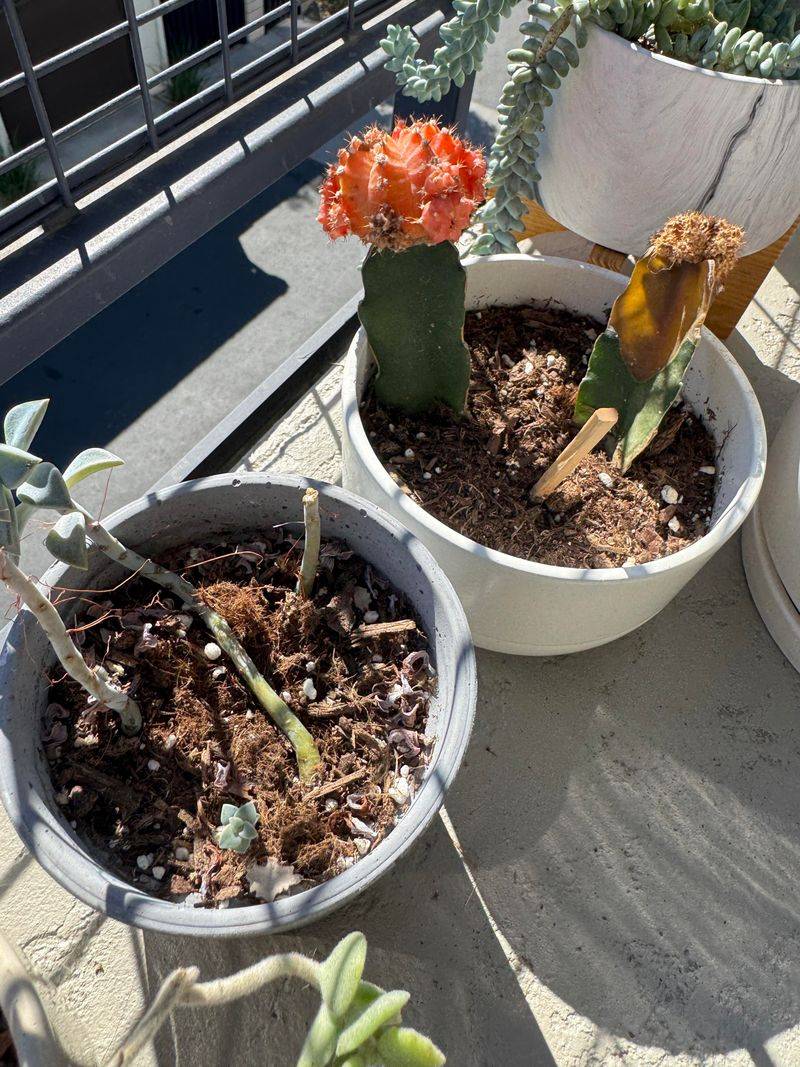
Sometimes the plant needs sun, but the pot needs mercy.
That is the terracotta trick many California gardeners miss.
The clay wall can heat up fast in direct afternoon sun, especially on patios, balconies, stone steps, and concrete pads. That heat moves inward, warming the potting mix and pushing moisture loss even faster.
The solution is not always moving the plant into shade.
Many herbs, vegetables, and flowers still need full sun to bloom, fruit, or keep compact growth. Instead, shade the container itself while the plant canopy still receives good light.
There are several easy ways to do it.
Place a smaller terracotta pot behind a larger container so the big pot shades the little one. Tuck pots near low walls, raised beds, or sturdy furniture that blocks afternoon sun from hitting the clay.
Use a light-colored pot wrap, burlap sleeve, or decorative basket around the outside.
Double-potting also works well. Set the terracotta pot inside a slightly larger decorative container with a small air gap between them. That gap acts like insulation and keeps the inner pot cooler during the hottest hours.
Pot placement matters most from midafternoon onward.
A container that gets morning sun and some protection after 2 p.m. often stays much steadier than one blasted all day. This is especially helpful in the Central Valley and inland Southern California.
The plant can keep its sunshine. The roots get a cooler apartment. That is patio diplomacy at its finest.
7. Water Until It Drains
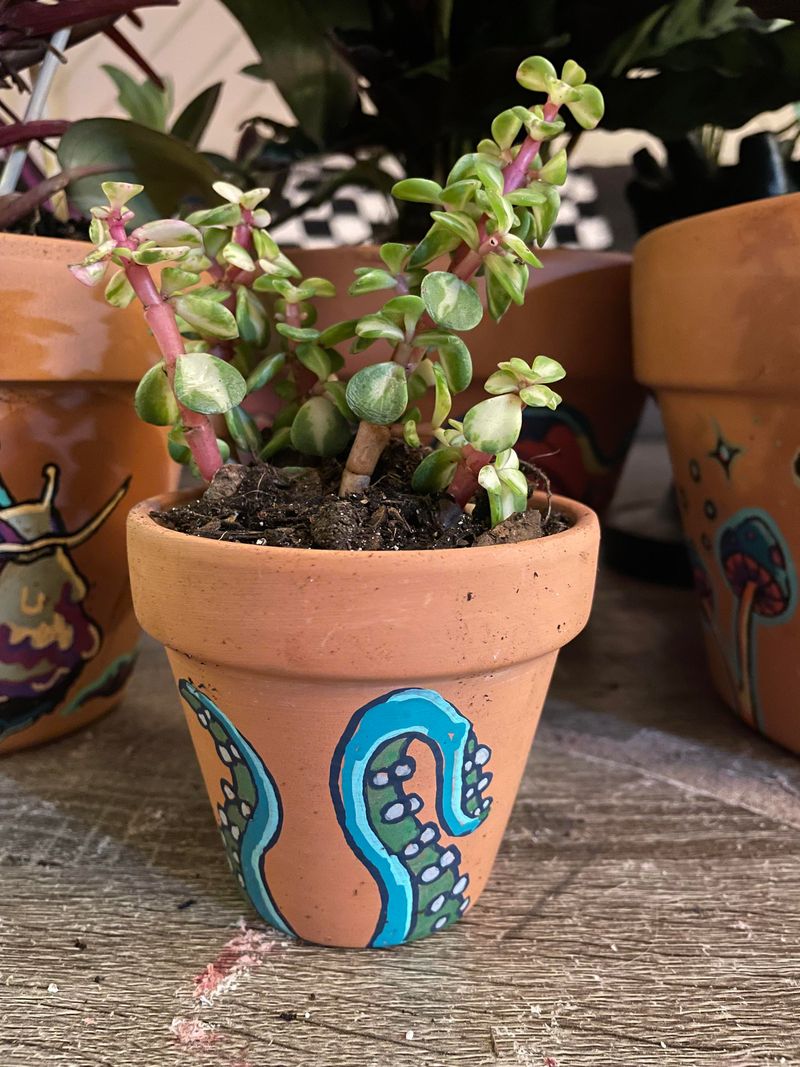
A quick splash is not watering. It is wishful thinking with a hose.
Terracotta pots need deep watering because the potting mix can dry unevenly, especially near the outer clay walls.
A little surface water may make the top look damp while the lower root zone stays dry. The plant then grows shallow roots near the surface, exactly where heat dries the pot fastest.
Water slowly until moisture runs from the drainage hole.
That confirms the entire soil column has been reached. Let the water soak in, pause, then water again when the mix is very dry. This helps rehydrate the potting mix instead of letting water rush down one dry channel and escape.
Drainage still matters.
The pot should never sit in a full saucer for hours. Pot feet or risers help water leave freely and keep air moving beneath the container. Terracotta likes to breathe from all sides, including the bottom.
Check moisture by feel.
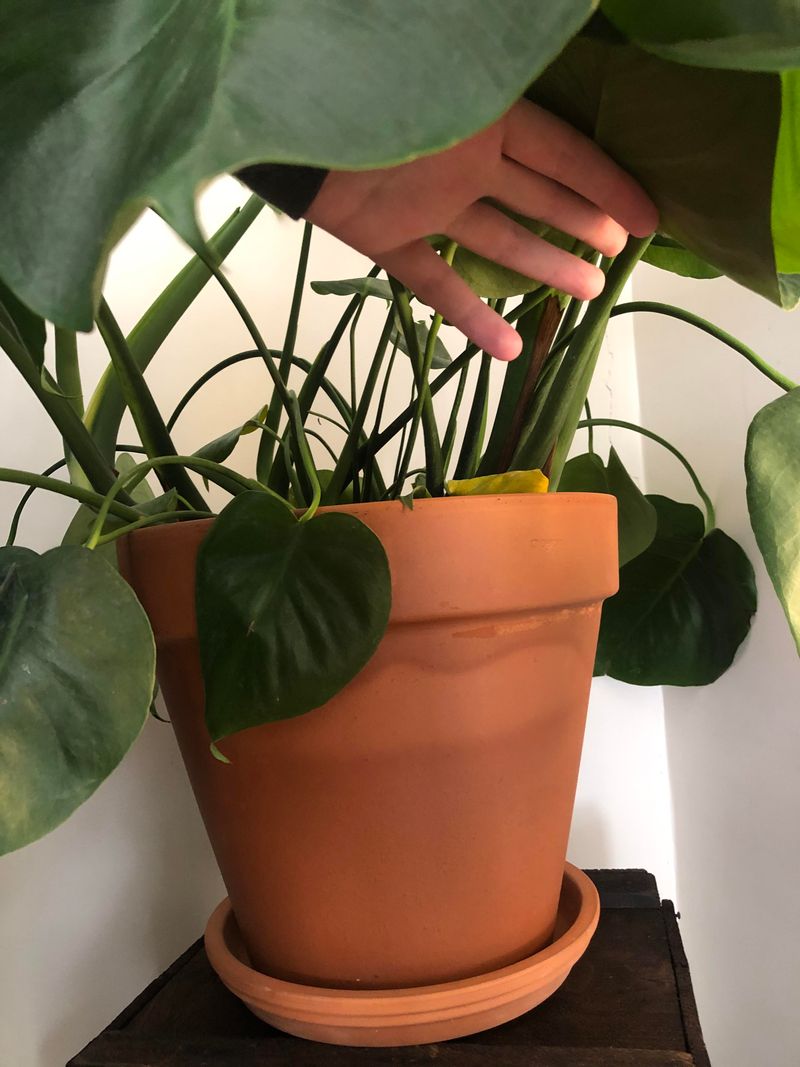
Push a finger one or two inches into the mix. Dry at that depth means the pot likely needs water. Moist soil means wait. Container size, plant type, wind, sun, and coastal fog all change the schedule.
Summer may require daily watering in exposed spots.
Small pots during heat waves may need more attention, which is another reason larger containers work better.
Drip emitters or slow watering cans can help busy gardeners water evenly. Deep watering builds deeper roots. Deeper roots handle heat with more confidence.
That is how a clay pot stops feeling like a daily emergency and starts acting like a real growing space.
8. Move Tender Pots During Heat
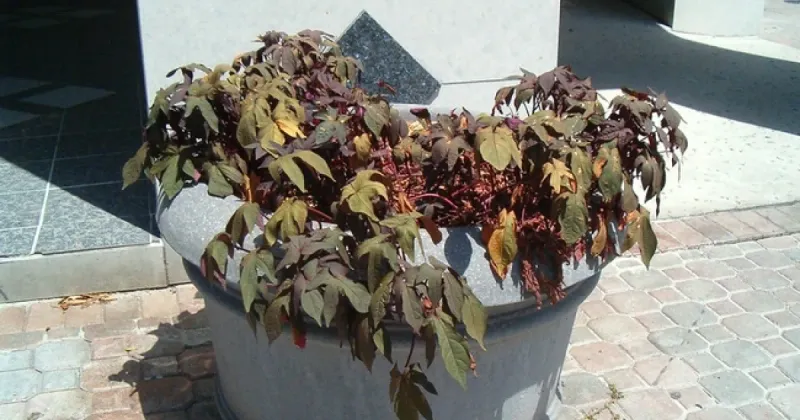
Containers have one major advantage over garden beds. They can move.
That matters during California heat waves, when terracotta pots can dry so quickly that normal watering habits stop being enough.
A plant that looked fine all spring may struggle when temperatures jump, hot wind arrives, or patio surfaces radiate heat for days.
Move vulnerable pots before stress shows.
Tender herbs, annual flowers, leafy greens, young transplants, and newly potted plants should get protection during extreme heat.
A shaded porch, covered patio, bright garage doorway, pergola, or east-facing wall can offer temporary relief.
This does not mean hiding sun-loving plants forever.
A few days of reduced afternoon exposure is usually better than leaving roots to cook in full sun. Once the heat wave passes, move pots back gradually so foliage does not scorch from a sudden return to intense light.
Wheeled caddies make this much easier.
Large terracotta pots can be heavy enough to turn a quick move into a full-body regret session. Put the heaviest containers on rolling stands before summer peaks, not after the forecast turns rude.
Group moved pots together for extra humidity and shade.
Water deeply before the hottest day arrives, and check soil moisture again by evening. Some plants may still need a second drink in extreme inland heat.
Moving pots is not cheating. It is one of the best reasons to grow in containers. Terracotta brings beauty, but mobility brings survival.
During a heat wave, the smartest pot is the one with an exit plan.