The Orchid Pruning Tricks That Lead To A Second Round Of Flowers In Virginia
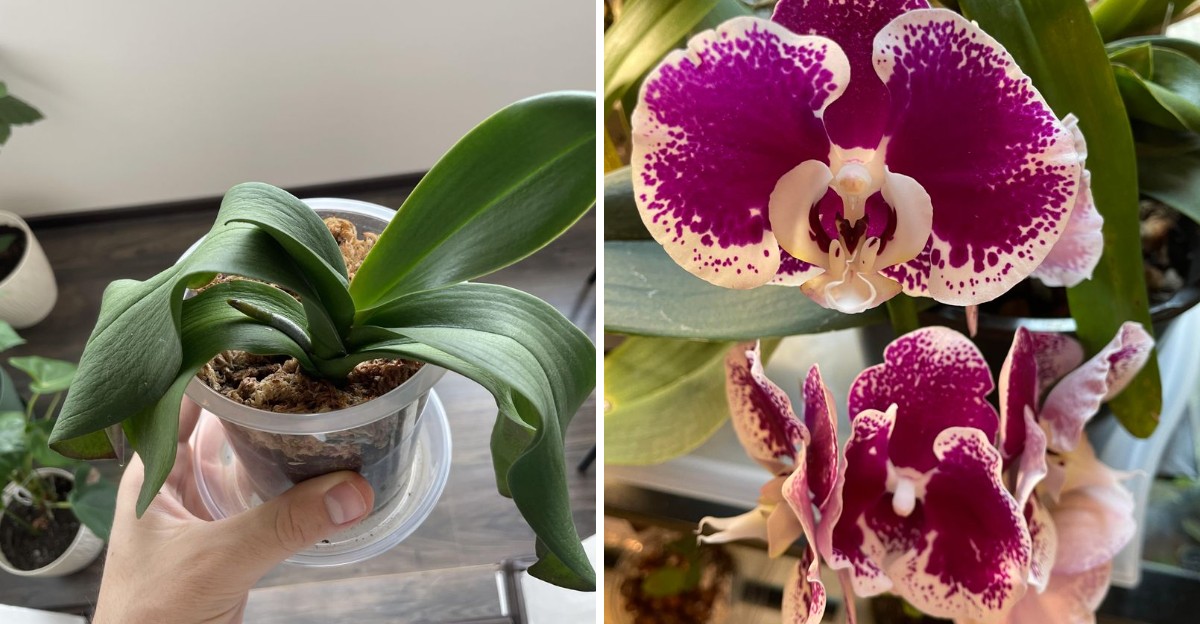
Your orchid just dropped its last petal, and now it looks like a sad green stick in a pot. Don’t toss it yet, because that plant still has plenty of show left in it.
With a few smart snips, clean tools, and a little patience, many orchids bloom again. Virginia homes offer surprising help too, from cool autumn nights to bright winter windowsills.
The trick is knowing where to cut, what to leave alone, and when to step back. Some moves feel backward at first, like leaving ugly canes in place or waiting longer than you want to.
Other steps are quick and oddly satisfying, like trimming a crispy brown spike down to the base. Here are the pruning tricks that turn one flower show into two.
1. Sterilize Your Tools Before Every Cut
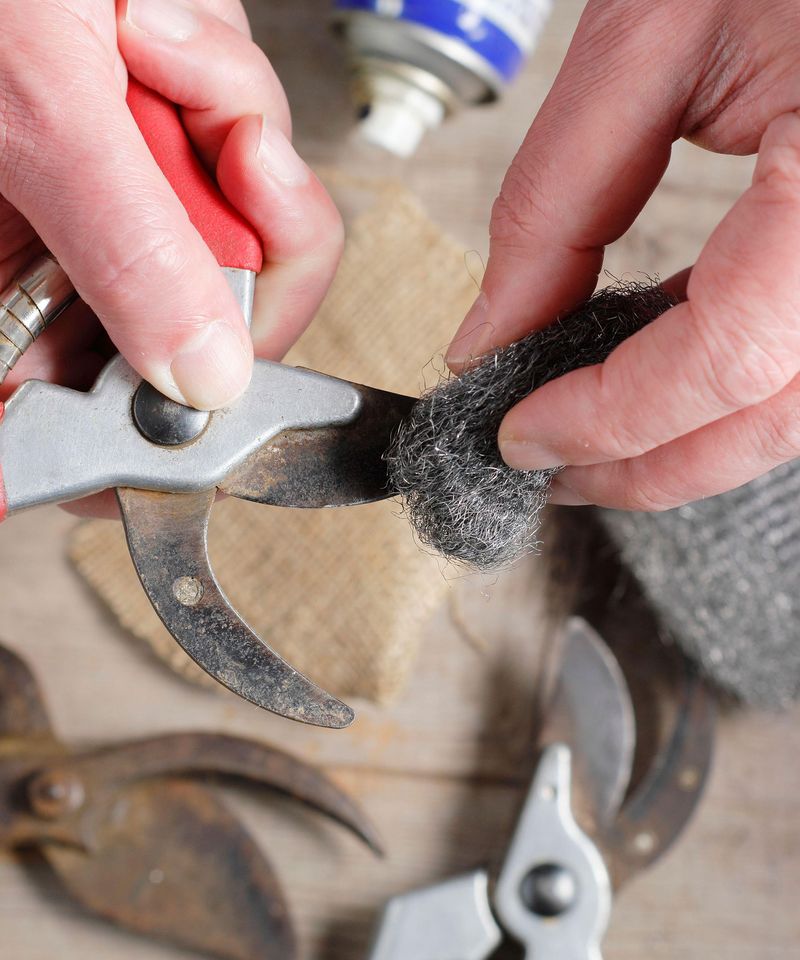
Picture a tiny germ riding your scissors from one plant to the next. Dirty blades can carry fungi, bacteria, and viruses straight into a fresh orchid wound.
Orchid viruses spread easily on tools, and most cannot be cured once they settle in. Cleaning blades takes only a minute and can save a plant you love.
Rubbing alcohol works well for most home growers. Use 70 to 100 percent isopropyl alcohol and wipe each blade thoroughly before cutting.
A bleach mix is another solid choice for soaking tools. Combine 1 part bleach with 9 parts water, then rinse and dry the blades afterward.
Metal tools can also be flamed for a quick sterilizing trick. Hold the blade over a lighter or gas flame for several seconds, then let it cool.
Single-edge razor blades are popular with serious growers for a good reason. You can use a fresh one for each plant and toss it afterward.
Keep a small cleaning kit near your orchid shelf for easy habits. A jar of alcohol, paper towels, and sharp shears make the job simple.
Many Virginia growers keep several orchids together on one sunny sill. Clean between every single plant, even when they all look perfectly healthy.
Sharp blades matter just as much as clean ones for healing. Dull scissors crush plant tissue, which leaves ragged wounds that invite rot and slow recovery.
Fun fact: some collectors label their razors by plant name. It sounds fussy, yet it keeps hidden problems from moving across a whole collection.
2. Wait Until The Last Flower Fades
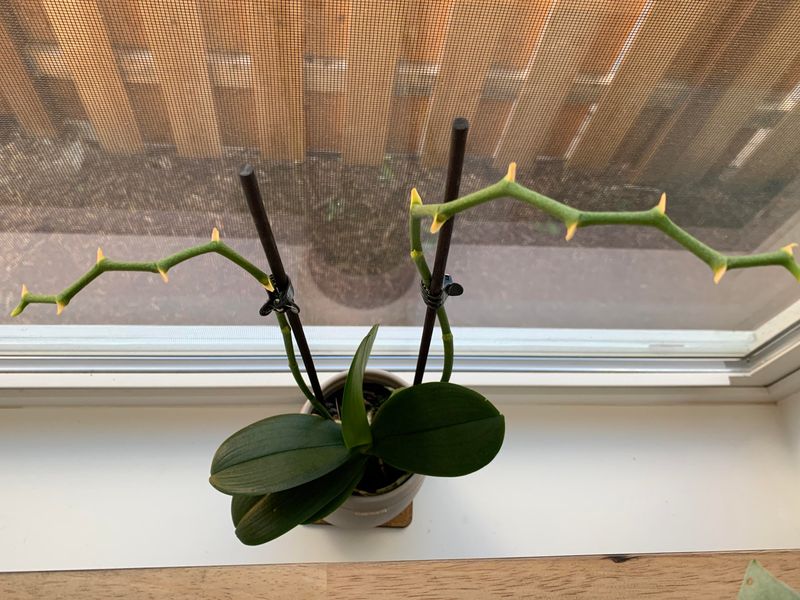
Patience feels hard when one droopy flower clings to an empty spike. Still, that lonely bloom is a signal the plant is not finished yet.
Flowers on a moth orchid often last two or three months. Cutting during that time robs you of beauty and adds stress to the plant.
Look for natural clues before reaching for your shears. Blooms will wilt, wrinkle, and drop on their own when the season wraps up.
After the last petal falls, study the spike itself closely. A healthy one stays firm and green, while a spent one turns dull or limp.
Early cuts can backfire in sneaky ways. Some plants respond by holding back new spikes, which delays the second show you were hoping for.
Your Virginia Garden Changes Every Week. Your Plan Should Too.
Gardening in Virginia changes quickly throughout the season. Every Friday you’ll receive a simple weekly plan showing exactly what to plant, prune, fertilize, harvest, and protect so you never miss the right timing.
Wilting petals can also be removed gently by hand. Pinching off faded flowers keeps things tidy without harming the spike or the buds nearby.
Keep watering and feeding normally while you wait. A steady routine helps the orchid store energy for whatever comes next.
Waiting gives you time to plan your next step too. You can decide whether to aim for a second bloom or let the plant rest.
Gardeners often say orchids reward the patient, and the saying holds true. A few extra weeks of waiting can mean months of future color.
Snap a photo of the spike once flowers drop. Comparing pictures later helps you spot changes in color and firmness over time.
3. Cut Moth Orchid Spikes Above A Node For A Second Bloom
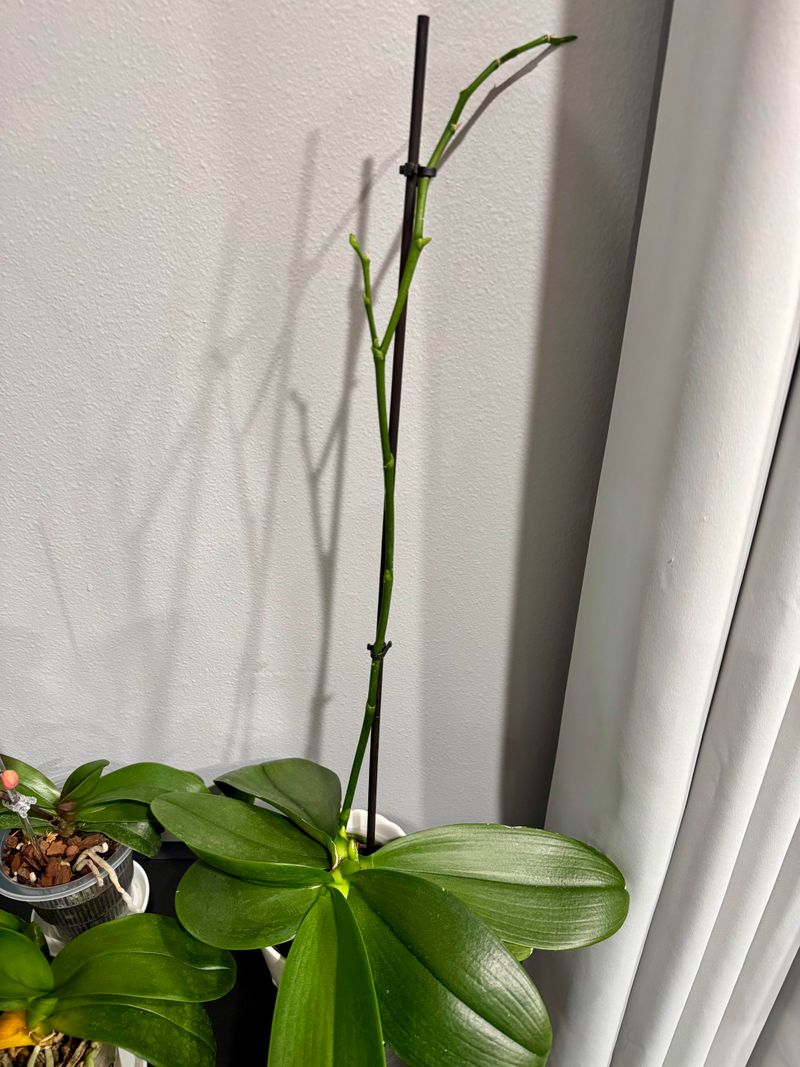
Here is the trick most people came for, and it is surprisingly simple. A green moth orchid spike can often branch and bloom again.
Run your finger down the spike from the top. You will feel small bumps wrapped in thin, papery sheaths, which are called nodes.
Count up from the base until you reach the second node. Then make a clean cut about half an inch to an inch above it.
Hidden buds sleep inside those nodes, waiting for a signal. Trimming above one can wake it up and push out a fresh side branch.
Expect a smaller show the second time around. Side branches usually carry fewer or smaller flowers than the original spike did.
Plant strength matters a lot here. Choose this method only if your orchid has firm, glossy leaves and plenty of healthy roots.
Weak plants may struggle to feed both leaves and new flowers. Cutting the spike lower lets a tired orchid rest and rebuild instead.
Results usually show up within eight to twelve weeks. A small green nub near the node is the first exciting sign of success.
Many Virginia orchid fans try this trick in late winter or spring. Mild indoor temperatures help the new branch grow steadily.
Sometimes the node produces a baby plant called a keiki instead. Enjoy the surprise, because you now have a free orchid growing.
4. Trim Brown Spikes All The Way Down
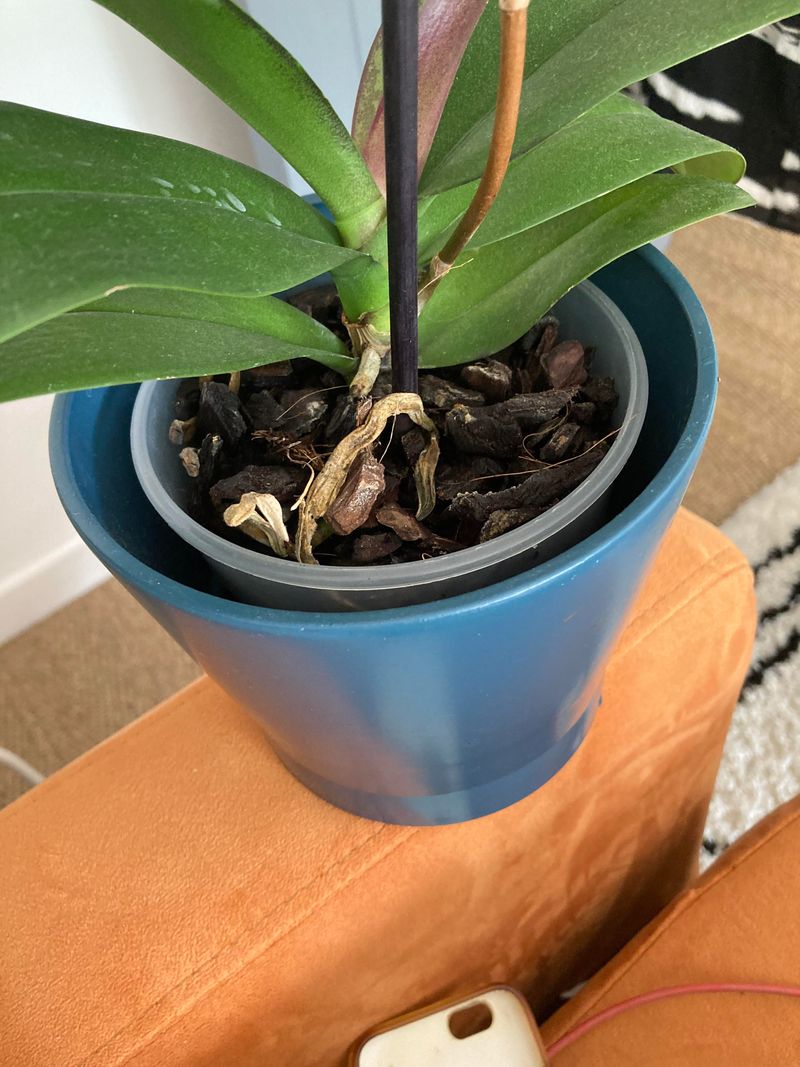
Crispy, tan, and brittle, a spent spike looks like an old drinking straw. Once it reaches that stage, no amount of hope will bring it back.
Brown spikes have stopped working for the plant. They cannot carry water or food, so new flowers will not grow from them.
Cut the whole spike as close to the base as you safely can. Leave a small stub of about an inch to avoid nicking leaves.
Removing that old stem frees up energy for healthier growth. Your orchid can focus on roots, leaves, and fresh spikes instead.
Partly brown spikes need a closer look first. If the bottom stays green, trim just below the brown section and above a node.
Watch the leftover stub for a few days after cutting. It should dry neatly and seal itself without turning soft or dark.
Some growers dab a bit of cinnamon on the cut end. Cinnamon has mild antifungal qualities and can help protect the fresh wound.
Neat plants are easier to inspect for pests too. Without clutter, you can spot mealybugs or scale before they become a bigger issue.
Brown spikes can appear even on healthy orchids. Natural aging is the usual cause, so try not to panic when it happens.
Think of this cut as a reset button for your plant. A clean base often leads to a stronger spike next season.
5. Leave Dendrobium Canes Alone
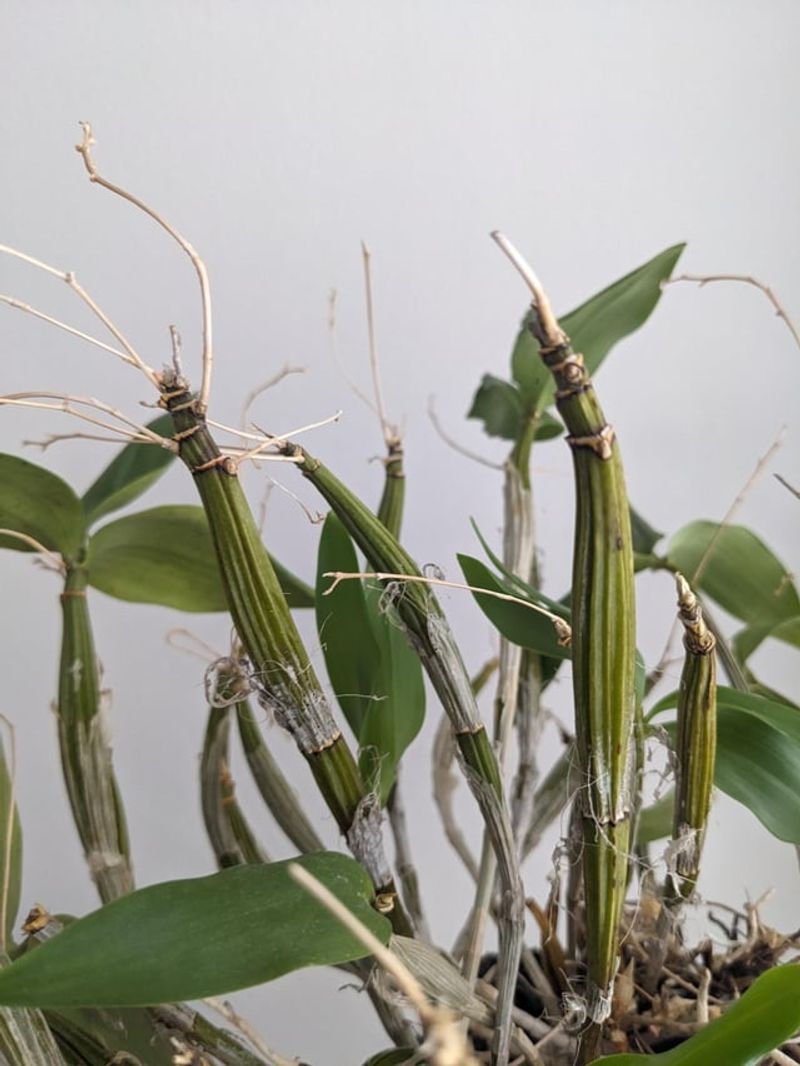
Bare, leafless canes might tempt you to grab the scissors fast. Hold that thought, because Dendrobiums play by very different rules.
Old canes on these orchids act like batteries. They store water and nutrients that feed the whole plant for years.
Many Dendrobiums bloom from older canes again and again. A cane with no leaves can still surprise you with flowers next season.
Baby plants called keikis often sprout from these canes as well. Cutting them away removes a chance for free new orchids.
Only trim a cane once it has fully dried out. Look for one that is shriveled, yellow or brown, and papery to the touch.
Green or slightly wrinkled canes still hold value. Wrinkles often mean the plant needs more water rather than less stem.
Flower stems on Dendrobiums are a different story. After blooms fade, you can snip those thin stems close to the cane.
Some types, like Dendrobium nobile, need a cool, dry winter rest to bloom. Old canes help carry the plant through that quiet stretch.
Many Virginia sunrooms stay cool in winter, which suits these orchids well. Keep the canes in place and let nature handle the timing.
Fun fact: Dendrobium is one of the largest orchid groups on Earth. It includes well over a thousand species from Asia and Australia.
6. Snip Spent Cattleya Stems At The Base
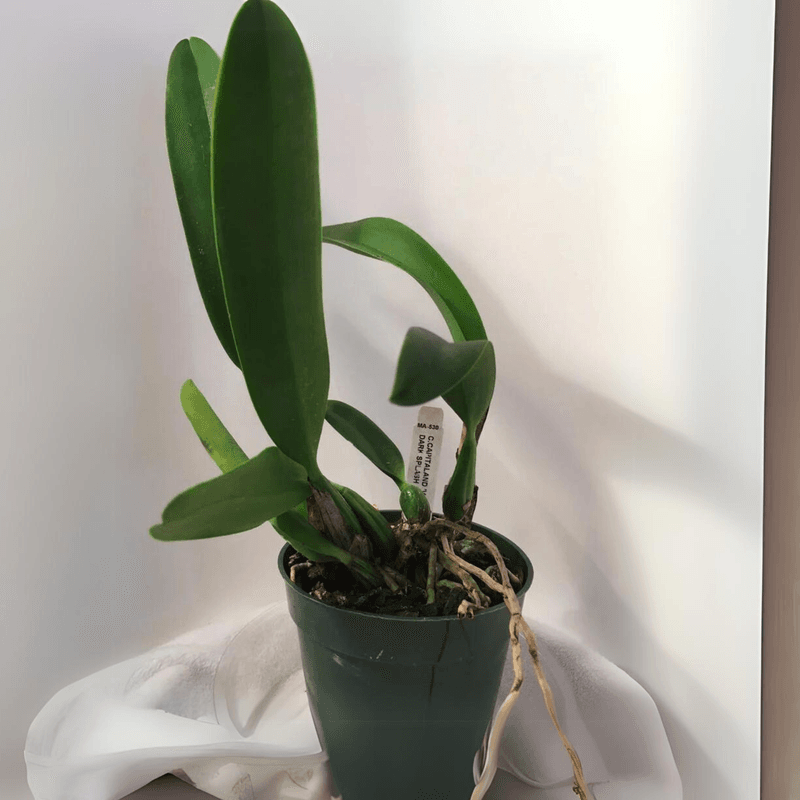
Cattleyas are the big, ruffled corsage orchids your grandmother may remember. Their care looks different from moth orchids, especially after blooming.
Each mature growth usually flowers only once. That means an old Cattleya stem will not branch out for a second show.
Cut the spent flower stem right where it meets the pseudobulb. A clean snip there keeps the plant tidy and healthy.
Pseudobulbs are the thick, swollen stems at the base. They hold water and food that power future growth and blooms.
Leave green pseudobulbs alone, even old ones without flowers. They still feed newer shoots that will carry next year’s blossoms.
Your second round of color comes from fresh growths instead. Watch for new shoots forming at the base of the plant.
A dry flower sheath sometimes sits on top of the pseudobulb. Remove it carefully once it turns brown, since trapped moisture can cause rot.
Bright light makes a huge difference for these sun-loving orchids. Healthy Cattleya leaves are usually light green instead of dark green.
Many Cattleyas bloom once or twice a year, depending on the type. Steady care between blooms builds the strength they need.
Cattleyas became wildly popular in the 1800s after one was found in packing material. That happy accident sparked an orchid craze across Europe.
7. Remove Mushy Or Hollow Roots When Repotting
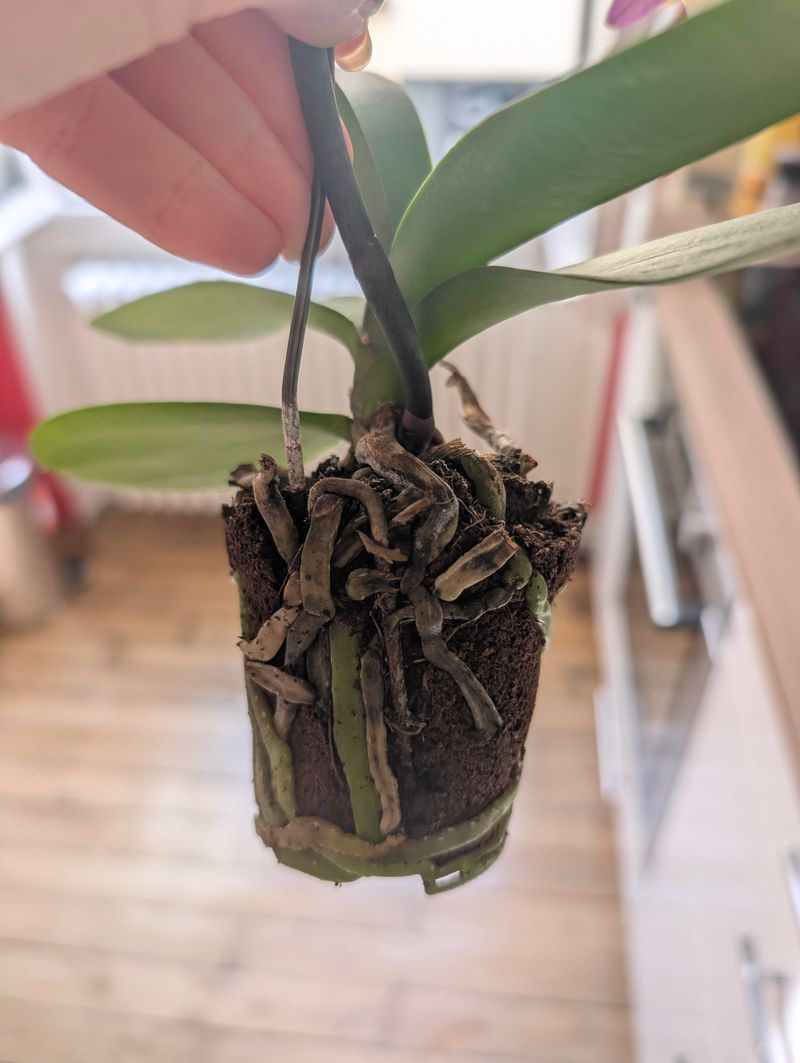
Squish test time, and yes, it is as fun as it sounds. Repotting gives you a rare look at what lurks beneath the bark.
Gently slide the orchid out and shake away old potting mix. Then pinch each root lightly between your fingers.
Firm roots are alive, no matter their color. Some healthy roots look green, silver, or even tan, so trust your touch.
Mushy, hollow, or papery roots have stopped working. Trim them off with sterilized scissors to stop rot from spreading.
Hollow roots often feel like an empty straw when squeezed. The outer skin may slide off, leaving a thin, stringy core behind.
Rotted roots can cause the whole plant to decline quickly. Removing them helps the orchid focus on growing fresh, strong roots.
Fresh orchid bark or sphagnum moss gives new roots a clean start. Pick a pot just large enough to hold the root system snugly.
Spring is a great time to repot in most Virginia homes. Warming days help orchids bounce back faster from the disturbance.
Hold off on watering for a few days afterward. Waiting lets small root cuts dry and heal before moisture returns.
Healthy roots lead to healthy flowers down the road. An orchid with strong roots has the energy reserves for repeat blooming.
8. Pull Away Yellowing Lower Leaves Gently
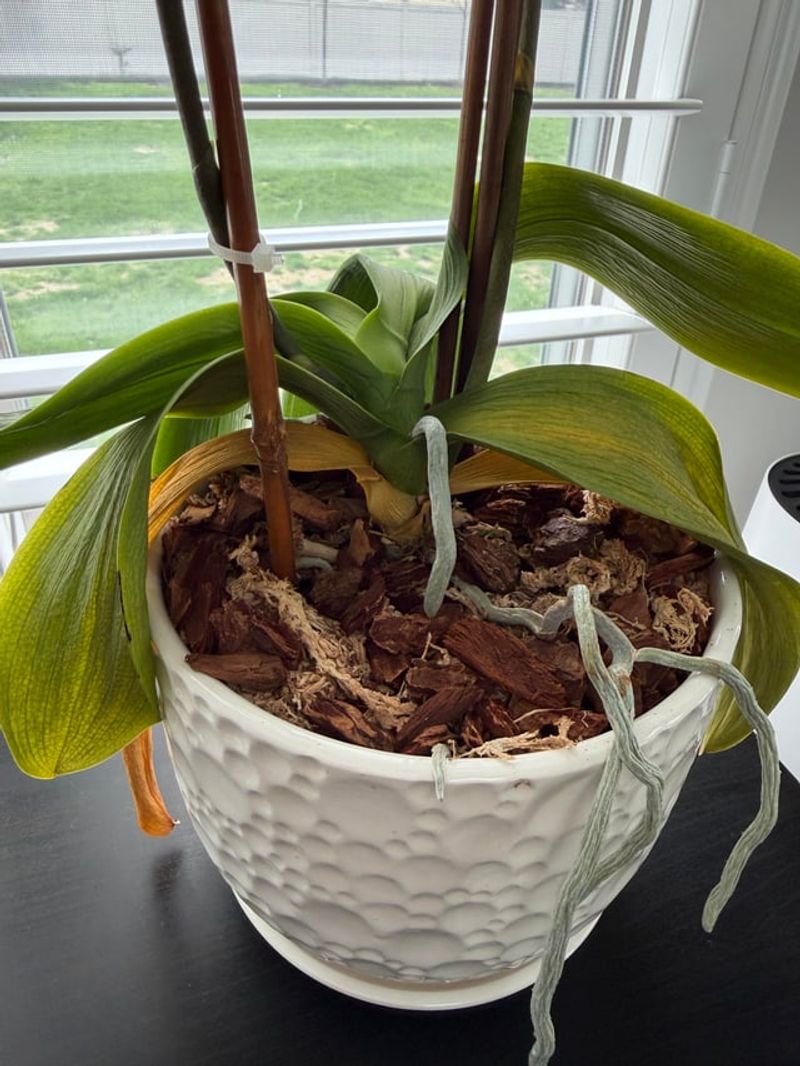
Spotting a yellow leaf can make your heart sink a little. Relax, because a single fading bottom leaf is often normal aging.
Orchids shed older leaves as they grow new ones up top. The plant pulls nutrients from the old leaf before letting it go.
Wait until the leaf turns mostly yellow and soft. At that point, it often comes away with only a light tug.
Resistance means the leaf is not quite ready. Leave it for a few more days rather than tearing healthy tissue.
Sterilized scissors work for stubborn leaves that will not release. Cut close to the stem, but avoid slicing into the base.
Removing spent leaves keeps the plant clean and tidy. It also reduces hiding spots for pests and spots where fungus can grow.
Several yellow leaves at once tell a different story, though. Overwatering, root trouble, or harsh sun could be the real problem.
Check the roots and growing conditions if yellowing spreads quickly. Catching issues early protects your chances of a second bloom.
Healthy foliage acts like a solar panel for flowers. Strong green leaves make the food that fuels every new spike.
Keep at least a few good leaves on each plant. A moth orchid with healthy foliage is far more likely to rebloom.
9. Let Cool Fall Nights Trigger New Spikes
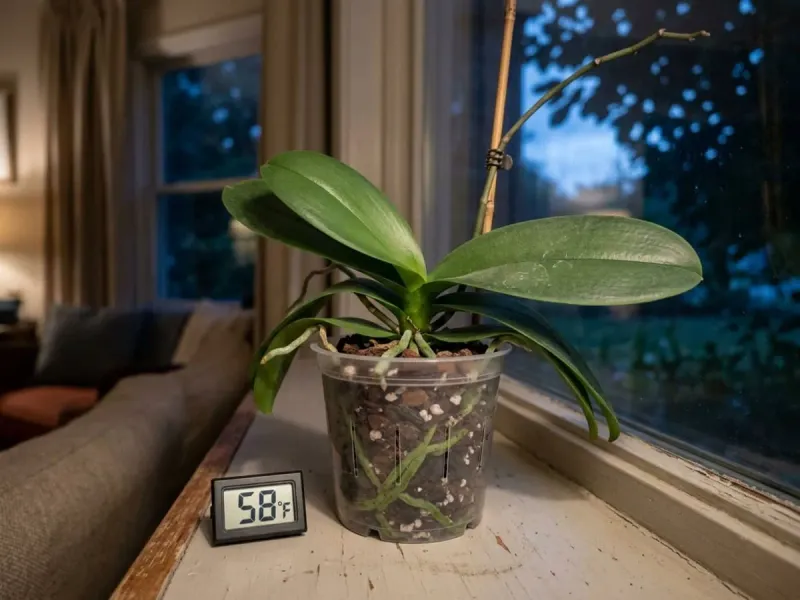
Crisp autumn air in Virginia does more than signal pumpkin season. Those cooler nights can nudge your orchid into making new spikes.
Moth orchids often need a clear temperature drop to start blooming. Warm, steady rooms can keep them stuck in leaf mode.
Aim for nighttime temperatures between 55 and 65 degrees Fahrenheit. Keep that cooler pattern going for several weeks.
Daytime and nighttime temperatures should differ by about 10 to 15 degrees. That swing tells the plant a new season has arrived.
Fall in Virginia often creates this pattern naturally. Placing orchids near a cool window can do much of the work.
Watch out for cold drafts and frosty glass, though. Temperatures below 50 degrees may harm leaves and slow growth.
Outdoor summers on a shaded porch can help too. Bring plants inside before nights dip too low in early fall.
New spikes look different from roots at first glance. A spike has a pointed, mitten-shaped tip, while roots look rounded.
Keep the spike in steady light once it appears. Turning the pot often can make the stem twist in odd directions.
Patience pays off from here, since spikes grow slowly. Many orchids start spiking in fall and open blooms by late winter.
10. Give Bright, Indirect Light To Fuel Future Blooms
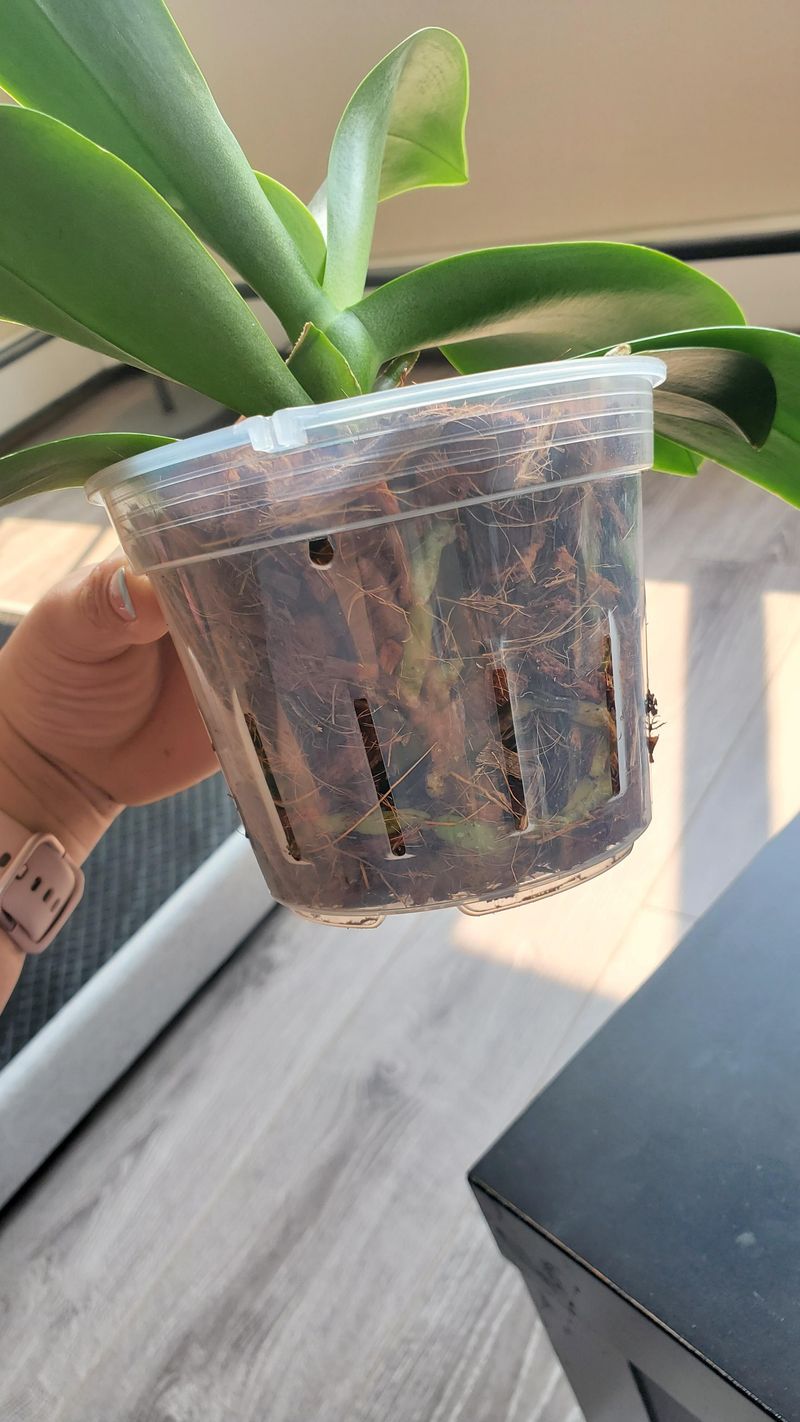
Low light is one of the biggest reasons orchids refuse to rebloom. Perfect pruning cannot make up for a dim, shadowy corner.
Orchids use light to make food for flowers. Without enough of it, they simply grow leaves and wait.
Bright, indirect light for 6 to 16 hours a day works well. Think of a spot that feels sunny without harsh, direct rays.
East-facing windows offer gentle morning sun that many orchids love. South windows work too with a sheer curtain for shade.
Leaf color gives helpful hints about light levels. Dark green leaves often mean too little light, while reddish tints suggest too much.
Hot afternoon sun can scorch leaves fast. Watch for pale patches or crispy spots after moving a plant somewhere brighter.
Winter days in Virginia grow short and gray. A simple LED grow light can fill gaps during those darker months.
Keep grow lights about a foot above the leaves. A timer makes it easy to keep a steady daily schedule.
Clean windows can boost light more than you might expect. Wiping dusty glass and leaves lets more brightness reach your plant.
Pair good light with your pruning work for the best results. Together, they give orchids everything they need for another stunning show.