How To Cut Back Raspberries This Fall For A Bigger Harvest
Your backyard patch looked glorious all summer, but now the stems are tangled, scratchy, and leaning everywhere. Walking past it each morning feels a bit like brushing against a grumpy cat with sharp claws.
Many gardeners shrug, close the gate, and hope the mess somehow sorts itself out before the snow arrives. That hopeful plan rarely works, and next year the sweet, sun-warm berries often show up in smaller numbers.
A few smart snips in early fall can turn that prickly jungle into a tidy, productive row again. You only need sturdy gloves, a sharp tool, and about one crisp afternoon with a warm mug nearby.
The trick is telling apart the stems that have finished their job from the ones quietly saving energy. Guess wrong, and you might toss out next summer’s juicy treats along with the scratchy old leftovers.
1. Figure Out Which Kind Of Patch You Have
Picture two neighbors with identical berry rows, yet one prunes in fall and the other waits until late winter. Both can be right, because raspberries come in two main types that fruit on very different schedules.
Summer-bearing raspberries grow green canes one year, then produce berries on those same canes the following summer. After that single crop, the old canes turn brown and woody, and they stop producing.
Everbearing types, sometimes called fall-bearing, are a little sneakier and often produce berries on brand new canes. Many of them ripen fruit in late summer and early fall, right when your patch looks tired.
If you still spotted fresh berries in September, there is a strong chance you are growing an everbearing variety. Check your old plant tags or garden receipts, since names like Heritage and Caroline usually point to everbearers.
Popular summer-bearing choices include Latham, Boyne, and Nova, which give one big burst of fruit each year. Knowing your type matters, because each one needs its own pruning plan to give you the biggest harvest.
Still feeling unsure after checking labels, you can study where berries formed on the canes this past season. Fruit near the very tips of tall green canes usually means everbearing, while side shoots on brown canes suggest summer-bearing.
A quick sketch of your patch with notes on each row can save you confusion every single fall. Tape it inside your shed door, and next year you will know your plan before picking up the shears.
2. Spot The Canes That Already Gave Their Best
Think of yourself as a garden detective, because spotting worn-out canes is mostly about reading a few simple clues. Once you learn the signs, you will notice them from across the yard without even bending down.
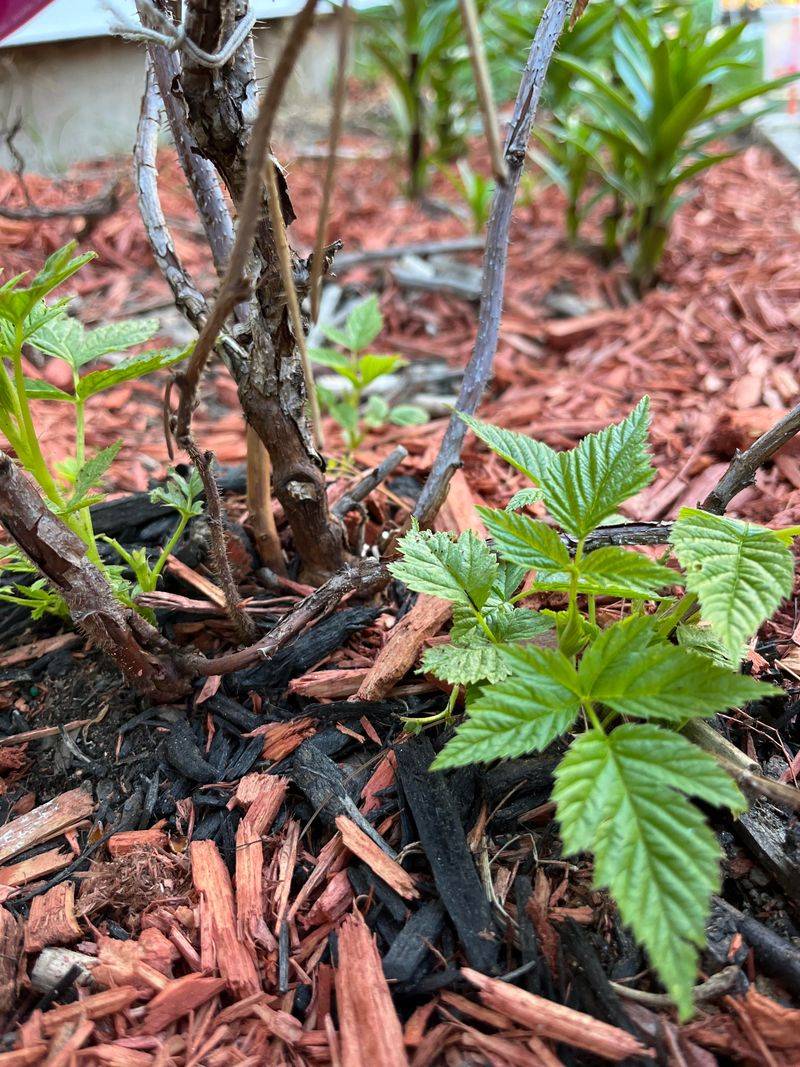
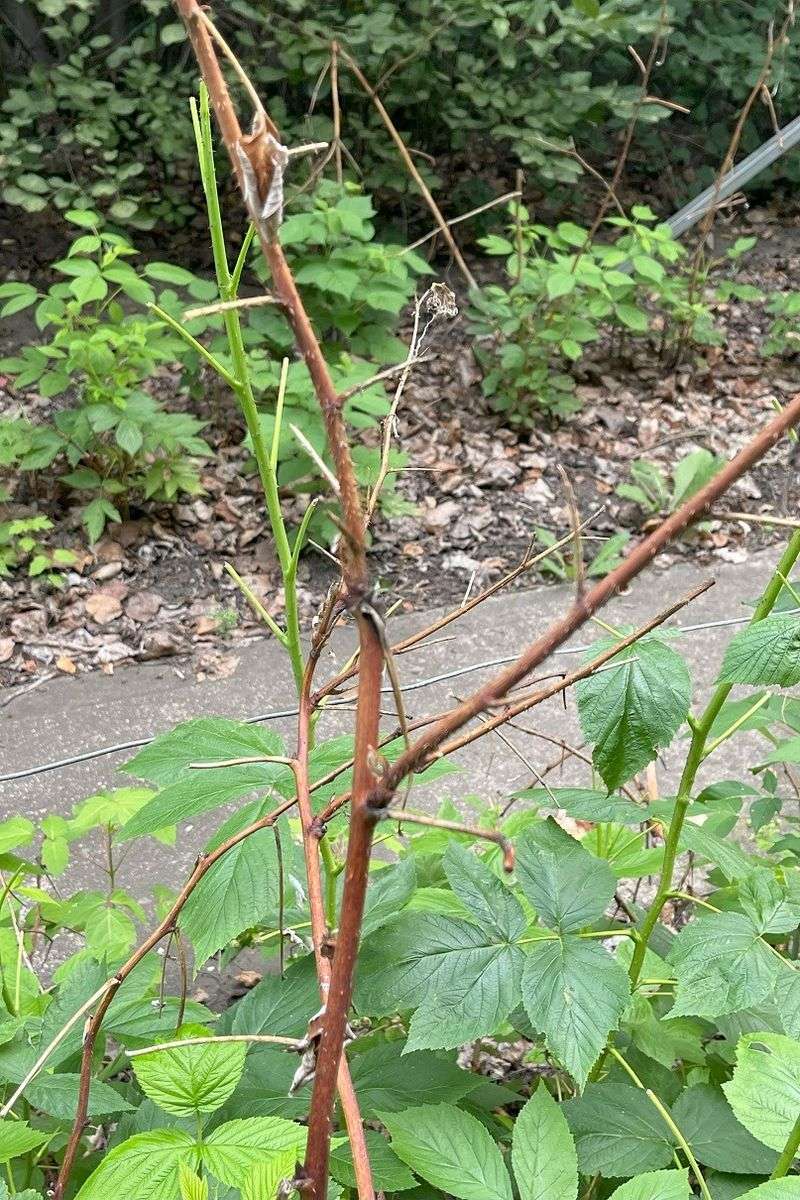
Clue number one is color, since canes that already fruited usually turn gray or brown with peeling bark. New canes, called primocanes, stay green or reddish and feel smooth and bendy in your gloved hand.
Clue number two is texture, and older floricanes often feel stiff, dry, and brittle when you bend them. Try bending one gently, and you may hear a tiny crack instead of feeling a springy push back.
Clue number three is leftover fruit stems, those little dried clusters where berries once hung in summer sunshine. Canes still holding these tiny brown stalks have finished their work and are ready to come out.
Fun fact, the word floricane simply means flowering cane, while primocane means first cane in plain Latin roots. Remembering those meanings makes it much easier to keep track of which stems belong on the keep list.
Some gardeners tie a strip of bright ribbon around each new cane before cutting anything in the patch. That small step keeps you from accidentally removing next year’s fruit-bearing stems during a rushed afternoon.
Case closed, detective, once every old cane is spotted, the actual cutting goes smoothly. A small home patch often takes just an hour or two when the clues are already sorted out ahead of time.
3. Pick The Right Moment To Start Snipping
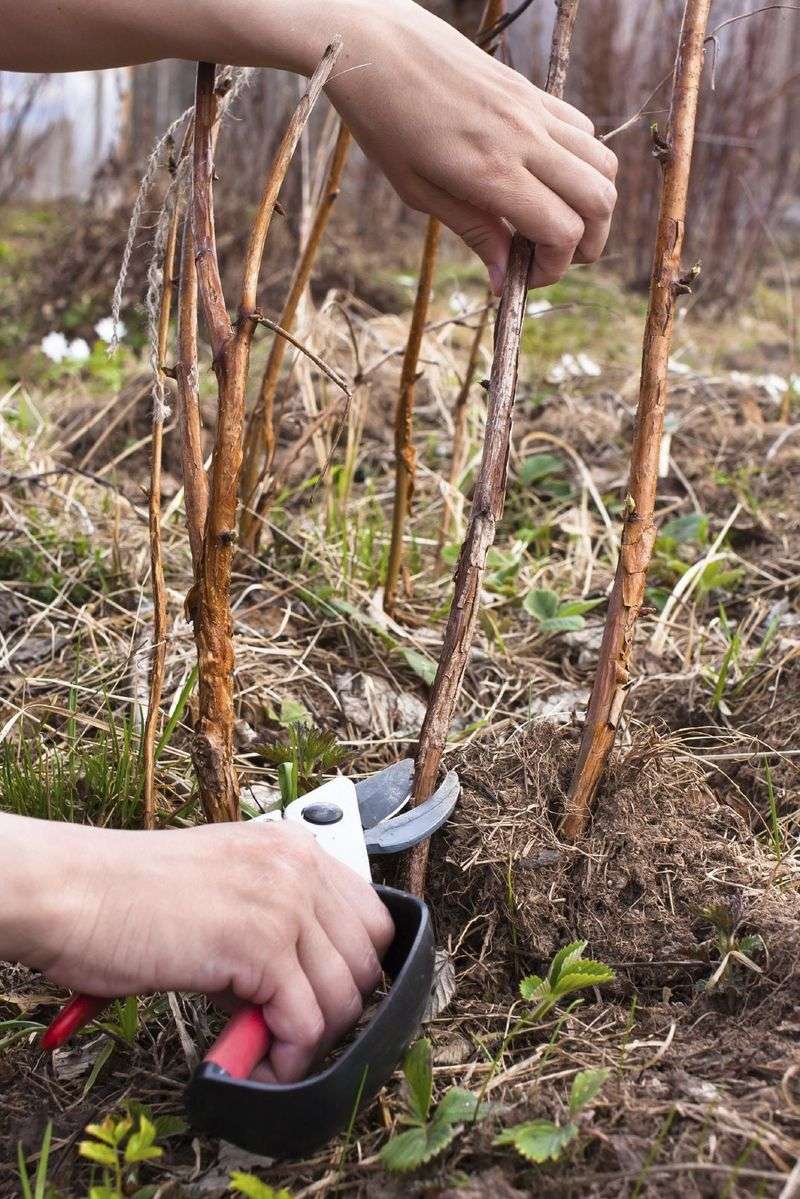
Timing in the garden works a lot like baking cookies, since pulling them out too early or late changes the result. For summer-bearing patches, the best window opens right after the final berries are picked and eaten.
In many regions, that means late summer through early October, while the weather still feels mild and pleasant. Cutting old canes now lets sunlight and fresh air reach the young canes before winter settles in.
Everbearing patches follow a slightly different rhythm, depending on how many crops you want each year. For a single large fall crop, many growers mow every cane to the ground after leaves drop.
Others prefer a double harvest, so they only snip off the top portion of canes that already fruited. The lower part of each cane then produces an early summer crop the following year, which feels like a bonus.
Weather matters too, so pick a dry afternoon when canes are not soaked from rain or morning dew. Wet stems spread fungal spores more easily, and slippery thorns make the whole job less fun.
Try to finish heavy pruning before the ground freezes, because frozen soil makes cleanup and mulching much harder. A cool, sunny October weekend usually offers comfortable, dry working conditions outdoors.
Jot the date on a calendar each year, and you will slowly learn the best timing for your patch. Small notes like that turn guesswork into a reliable habit that pays off in heavier berry baskets.
4. Grab Tools That Make The Job Painless
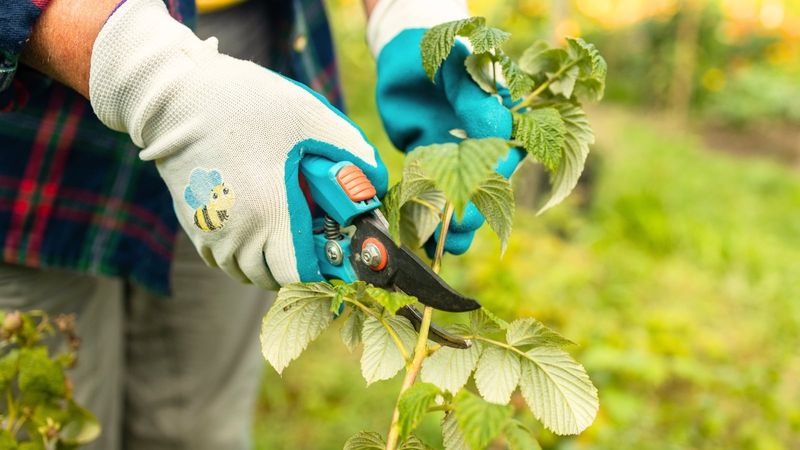
Raspberry thorns have a funny way of finding the one spot your sleeve does not quite cover. Showing up with the right gear turns a scratchy chore into a fairly comfortable afternoon in the yard.
Start with a pair of thick leather gloves that reach past your wrists, often sold as rose gloves. Long gauntlet cuffs block those sneaky prickles and let you grab bundles of canes without wincing.
Next, pick up sharp bypass pruners, which slice cleanly like scissors instead of crushing stems like a nutcracker. Clean cuts heal faster and give fewer openings for pests and fungus to sneak inside the cane.
For thicker canes near the base, a pair of long-handled loppers gives extra reach and cutting power. Your back will thank you, since you can stand taller instead of crouching low in the brambles.
Before starting, wipe your blades with a disinfectant cloth to avoid spreading plant diseases between rows. Repeat the wipe after cutting any cane that looks spotted, swollen, or strangely discolored near the bottom.
A sturdy tarp or wheelbarrow nearby makes cleanup simple, because thorny canes love grabbing your pant legs. Toss each cut cane straight onto the tarp, then drag the whole pile away in one easy trip.
Safety glasses might seem fancy for berry work, yet springy canes can snap back toward your face quickly. Add a sharpening stone to your kit, and your pruners will stay crisp and useful for many seasons.
5. Cut Spent Canes Right Down To The Ground
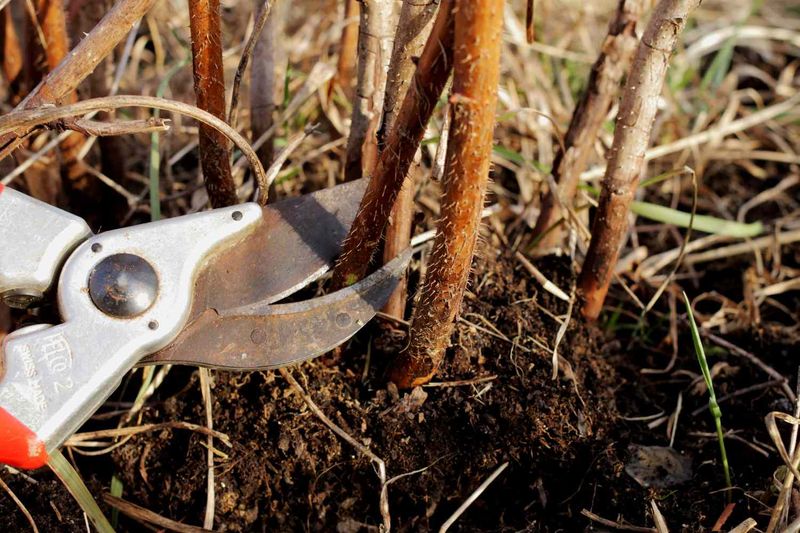
Ready, set, snip, because this is the moment your patch has been quietly waiting for all season long. Removing spent canes is one of the most helpful steps for a bigger, healthier harvest next year.
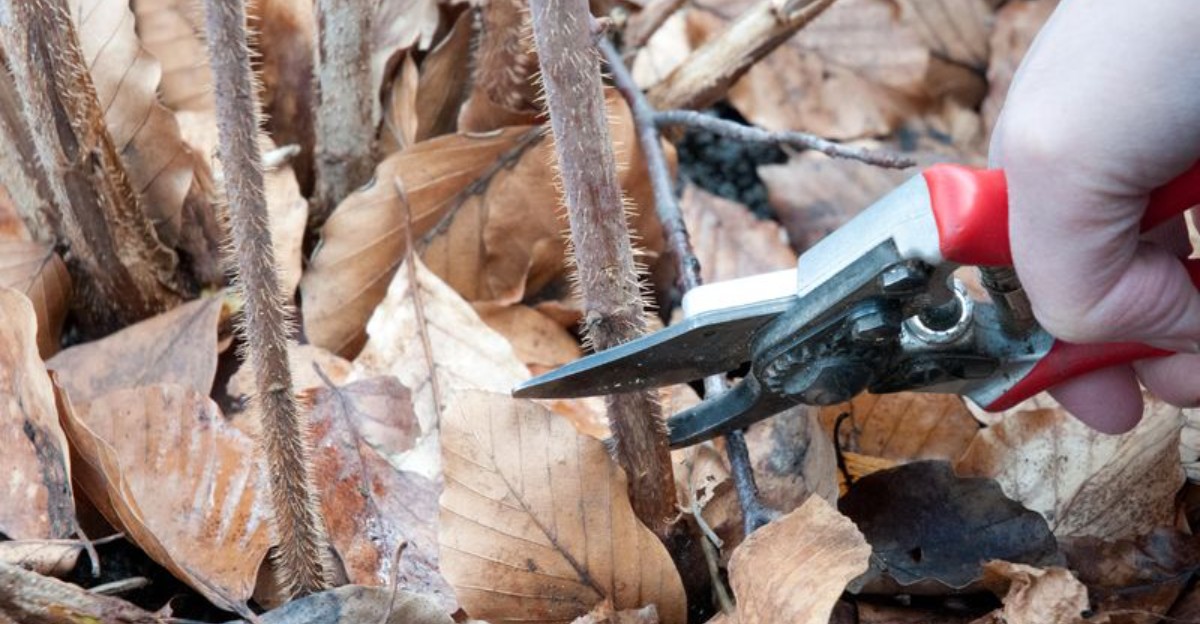
Grab one old cane near the base, then cut it as close to the soil line as you can. Leaving tall stubs behind invites insects and fungus, and those leftover nubs often snag your gloves later.
Work slowly down the row, cutting one cane at a time instead of working through big tangled clumps. Pull each cut cane upward and out gently, since thorns tend to hook onto the healthy green neighbors.
If you grow everbearing types for one fall crop, you can cut every cane down after leaves drop. Some gardeners even use a string trimmer or mower on large rows, which saves a surprising amount of time.
Why does this help so much, you might wonder while tugging a stubborn cane loose from the wire? Old canes compete for water, nutrients, and sunlight with young canes that will carry next summer’s berries.
With the clutter gone, air moves freely through the row, and leaves dry faster after chilly autumn showers. Better airflow means fewer problems with mold, cane blight, and other troubles that often show up in crowded patches.
Step back when you finish, and the row should look lighter, brighter, and much easier to walk through. That fresh, open look is a strong sign that your plants can focus their energy on next season.
6. Thin The Crowd For Stronger Survivors
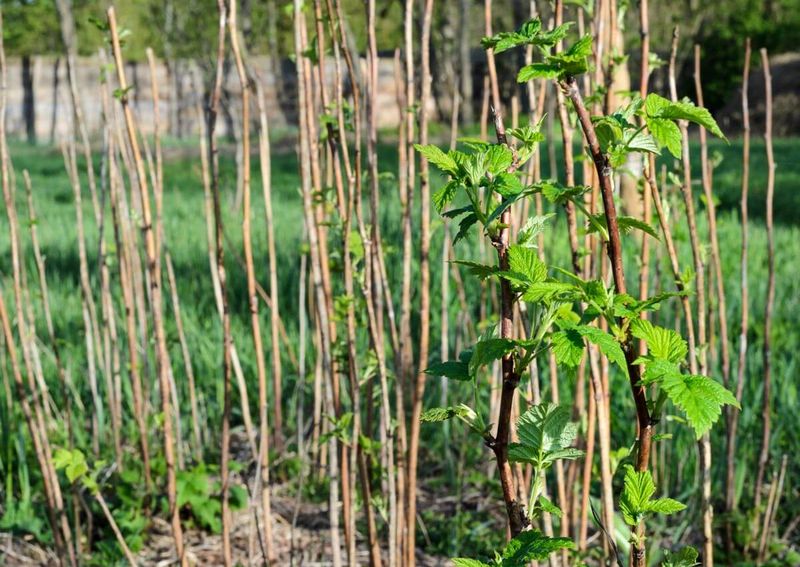
Letting go of healthy green canes feels strange, almost like donating a favorite sweater that still fits nicely. Crowded rows, though, produce smaller berries, so thinning is a kind gift to the canes that remain.
Many growers suggest keeping about three to five strong canes per foot of row for summer-bearing types. Pick the thickest, tallest, and straightest canes, since they usually carry the heaviest loads of fruit.
Remove skinny canes thinner than a pencil, along with any that look bent, scarred, or weak near the base. Those weaker stems rarely produce much, yet they still compete for water and nutrients all winter long.
Pay attention to canes popping up in the walkway too, because raspberries love to wander far from home. Keep rows about twelve to eighteen inches wide, and dig out runaway suckers that stray beyond that line.
Those extra suckers can become free plants, so pot them up or share them with a curious neighbor. Dig with a small chunk of roots attached, and they will often settle into new soil before frost.
Spacing matters because sunlight needs to reach the middle of the row, not just the outer edges. Berries that bask in sunshine often grow sweeter, plumper, and brighter in color than shaded fruit.
Thinning might shrink your row a little this fall, but the payoff shows up in heavier summer bowls. Fewer canes with more room tend to outperform a packed thicket, which surprises many first-time growers each year.
7. Tidy Up And Tuck The Canes In
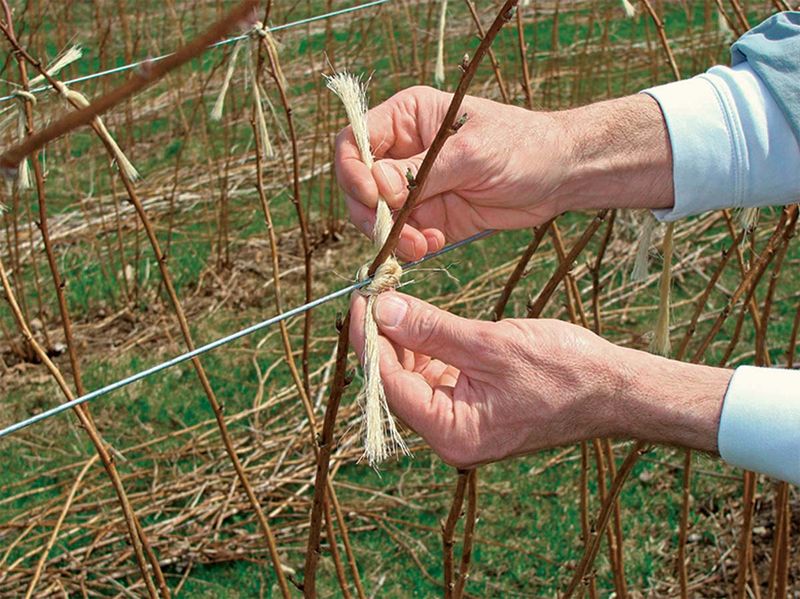
Gardeners often call fall cleanup putting the garden to bed, and the phrase fits a berry patch perfectly. After the cutting is done, a little tidying helps your remaining canes rest safely through the cold months.
Start by raking up fallen leaves, old fruit, and clipped bits that gathered under the plants this season. Pests and fungal spores love hiding in that debris, waiting quietly for warm weather to return next year.
Bag diseased material for the trash instead of the compost pile, since home piles rarely get hot enough. Healthy canes can be chopped into short pieces and added to compost, where they slowly break down.
Next, look at the canes you kept and loosely tie them to your trellis wire or support posts. Soft garden twine or stretchy plant tape works well, because it holds firmly without cutting into the bark.
Tied canes are less likely to snap under heavy snow or whip around during gusty winter storms. Very tall canes can be trimmed to about five feet, which keeps them sturdy and easier to reach.
Walk the trellis itself and check for loose wires, wobbly posts, or rusty hardware that needs replacing soon. Fixing problems now beats wrestling with tangled canes and broken supports when the spring rush begins.
There is something peaceful about a neat row standing tall against a crisp October sky at sunset. Your patch looks cared for, and those tidy canes will reward you with plenty of berries next summer.
8. Mulch And Feed For A Sweet Comeback
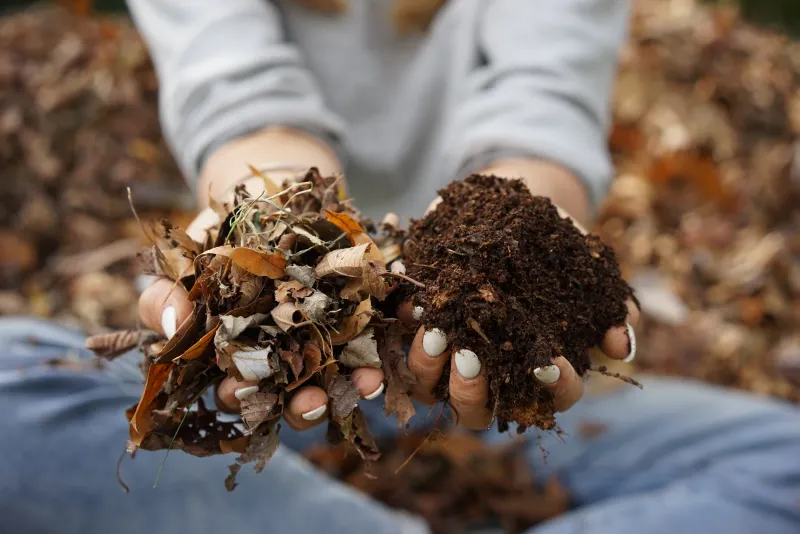
Raspberry roots sit fairly shallow, often within the top ten inches of soil, so they appreciate a cozy blanket. A fresh layer of mulch in October protects those roots from wild temperature swings during the colder months.
Spread about two to four inches of shredded leaves, straw, or wood chips along each row. Keep the mulch an inch or two away from the canes so moisture does not rot the bark.
Shredded fall leaves are a wonderful free option, and your own yard probably has piles of them right now. Run them over with a mower first, since whole leaves can mat down and block water from soaking in.
Feeding works a little differently in fall, because heavy nitrogen now can push tender growth that frost damages. Instead, spread an inch of well-aged compost over the soil surface to feed roots slowly over winter.
Compost also improves soil texture, helping it hold moisture while still draining well after soaking autumn rains. Raspberries dislike soggy feet, so good drainage often makes a bigger difference than extra fertilizer.
If you have not tested your soil lately, fall is a smart time to send a sample off. Raspberries prefer slightly acidic soil, around 5.5 to 6.5 on the pH scale, for the best berry production.
Give the row a deep drink before the ground freezes, especially if your autumn has been unusually dry. Well-watered roots handle winter better and wake up ready to fill your bowls with sweet summer berries.