Turn Your Leftover Halloween Hay Bales Into A Winter Garden Bed In New Jersey
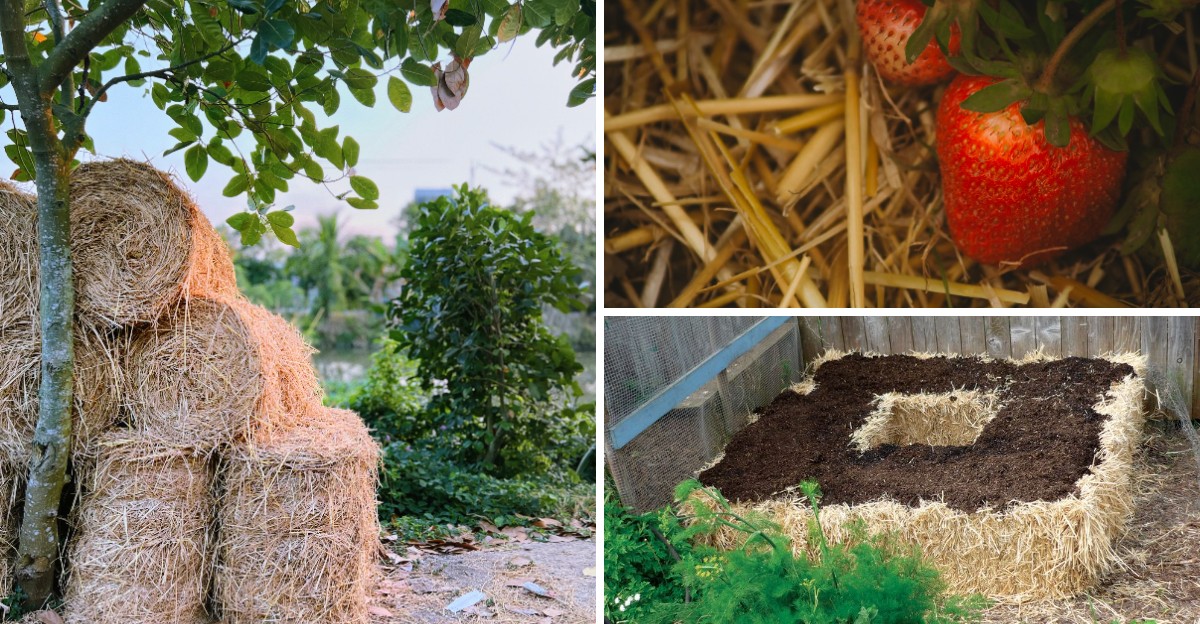
That scarecrow seat on your porch can heat up past 120 degrees inside once water and nitrogen reach it. Farmers learned long ago to respect that hidden warmth, since tightly packed damp hay can even smolder in barns.
Garden bales stay far cooler than a stuffed barn loft, yet they still release gentle heat for weeks. That slow warmth matters in New Jersey, where winter zones stretch from chilly 6a up to milder 7b.
I skipped hauling my faded bales to the curb last November, and my spinach thanked me by March. You build a surprising little growing space from décor, and your neighbors start asking what you are doing.
Those bales hold more potential than one New Jersey season of pumpkins, and the payoff starts sooner than expected. So why toss free garden material when a few small tricks could keep fresh greens coming all winter?
1. Soak And Feed Your Hay Bales Before Planting
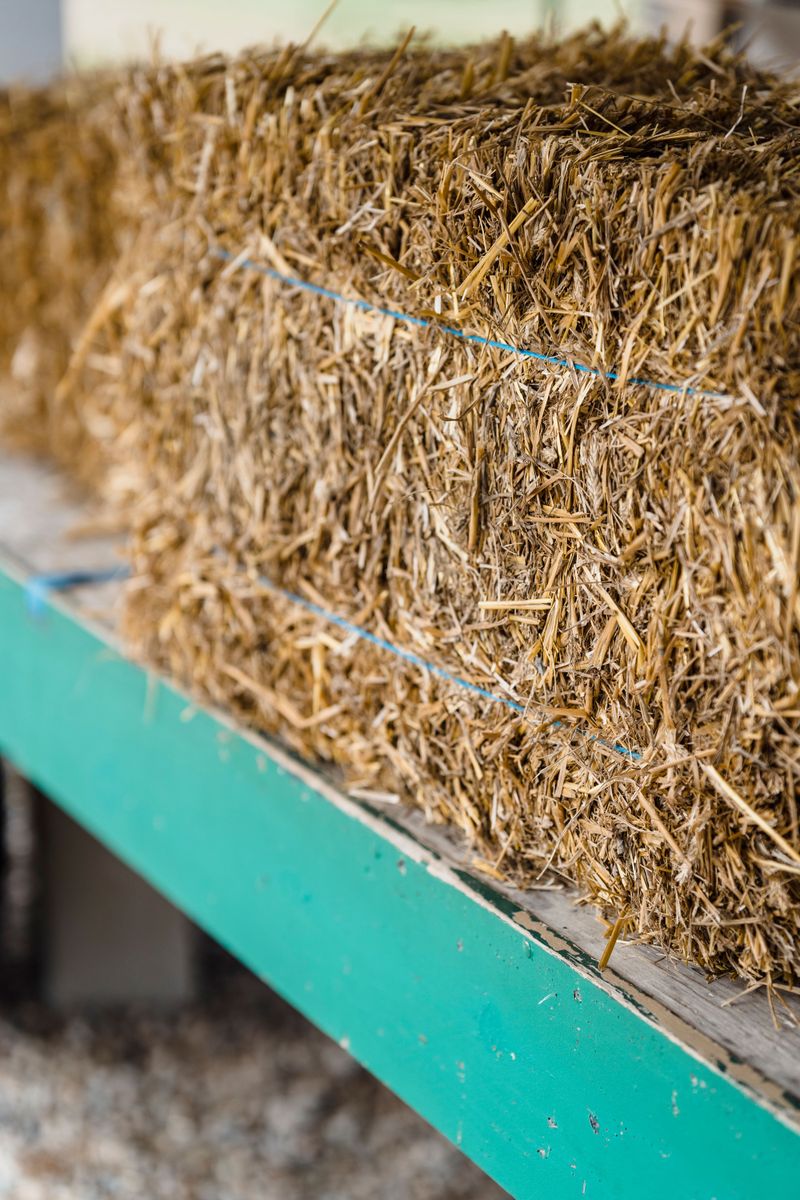
Fresh hay acts like a dry sponge at first, so roots struggle to find food inside those tight flakes. A short soaking and feeding routine wakes up the microbes that turn crunchy stems into soft, rich rooting material.
Start by turning each bale so the cut ends face up, letting water slide down between the stalks. Keep the twine running along the sides, because those strings hold everything together as the middle breaks down.
For roughly ten to fourteen days, water each bale deeply and sprinkle on a high nitrogen fertilizer. Blood meal works well for organic gardeners, while urea is a common budget choice at farm stores across New Jersey.
Skip any weed and feed product, since those herbicides can harm the very vegetables you hope to grow. I learned to read every bag label twice after nearly grabbing the wrong one in a hurry.
Around day four or five, push your hand into the bale and you will often feel surprising warmth. The heat means microbes are busy, and planting is safest once the inside cools to about body temperature.
Little green weed sprouts may pop up during this stage, because hay often carries plenty of seeds. Pull them while they are tiny, since loose hay lets roots slip out with barely a tug, even in New Jersey gardens.
October weather in New Jersey, the Garden State, helps here, with cool days that keep bales from drying too fast. Begin early in the month, and your bales should be ready for planting before the first hard freeze in New Jersey.
2. Tuck Spinach And Kale Transplants Into Warm Bales
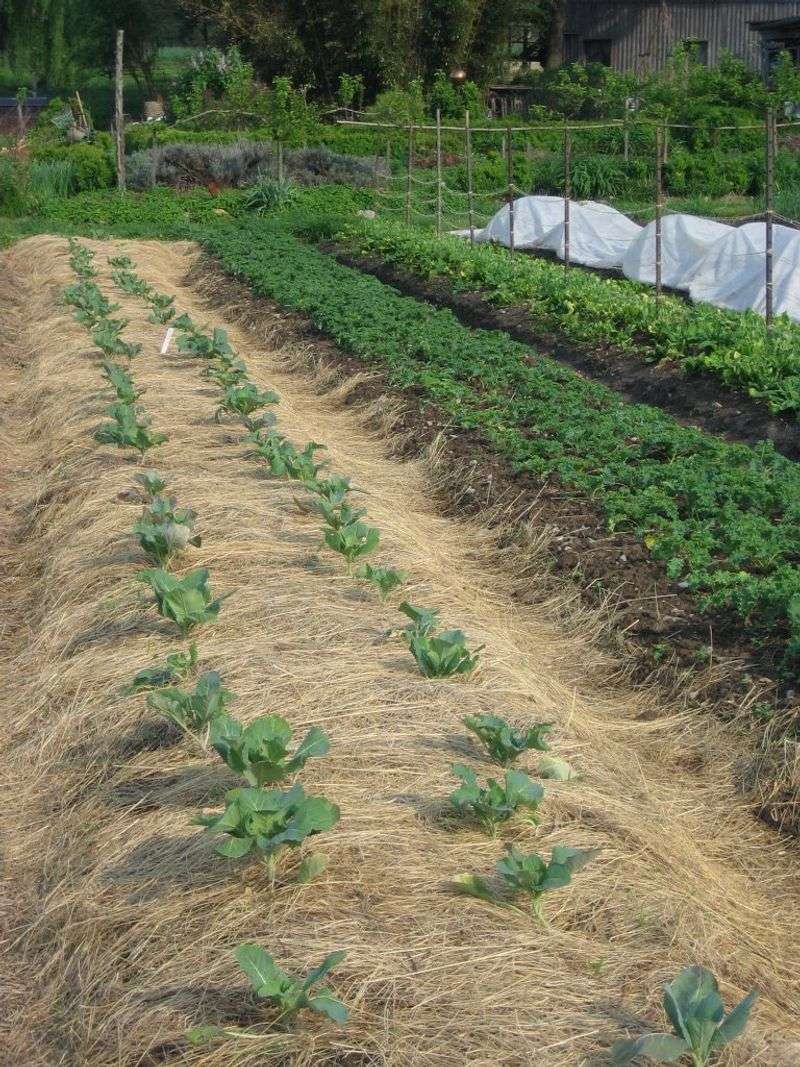
Spinach leaves can handle temperatures in the low twenties, and some varieties bounce back after snow melts away. That toughness makes spinach a smart first pick when your warm bales finally cool down and invite planting.
Late in the season, transplants give you a big head start over seeds that need weeks to sprout. Look for kale and Swiss chard seedlings at local nurseries, since many still stock cool season starts now.
Your New Jersey Garden Changes Every Week. Your Plan Should Too.
Gardening in New Jersey changes quickly throughout the season. Every Friday you’ll receive a simple weekly plan showing exactly what to plant, prune, fertilize, harvest, and protect so you never miss the right timing.
Pull open a small pocket in the bale with your fingers, then add a handful of potting mix. Settle each seedling into the pocket, then water slowly so the mix stays tucked around its roots.
Asian greens like mizuna and tatsoi grow quickly and handle chilly fall nights with surprising grace. Their mild, peppery leaves taste wonderful in soups, and you can snip a few leaves at a time.
Raised bales lift your plants above many ground crawling pests, and your knees will appreciate the height too. I find harvesting from a bale feels like picking from a countertop instead of a muddy patch.
Cover the plants with frost cloth or a plastic tunnel once nights drop well below freezing in December. Spinach and kale planted now often slow down during the darkest weeks, then surge again in late winter.
Expect smaller harvests in midwinter, because short days limit growth even when temperatures stay fairly manageable. By March, though, those same plants can reward you with sweet leaves long before spring seedlings appear.
3. Blanket Carrots And Beets With Loose Hay
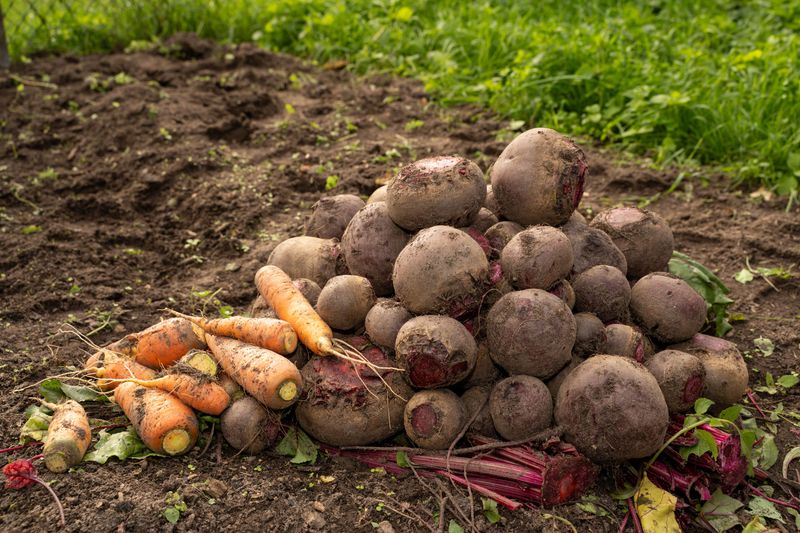
Carrots turn noticeably sweeter after a few frosty nights, as the roots convert stored starches into sugars. Your leftover hay can protect that sweetness, letting you dig fresh carrots well after most gardens go quiet.
Fall is too late to sow most root crops from seed, so focus on carrots and beets already growing. Pull apart a bale and pile loose hay about a foot deep over the rows once the ground starts freezing.
That fluffy layer keeps the soil underneath from locking up solid, so you can still dig on mild days. I mark each row with a tall stake, because snow-covered hay piles look surprisingly alike in January.
Turnips handle this treatment nicely, although their tops may brown under the hay during long cold snaps. Beets prefer a bit less exposure to hard freezes, so harvest them first and save carrots for later.
Fast radishes can still work in a cold frame or under plastic if you sow them in early October. They mature in about a month, which makes them a fun experiment for impatient gardeners and curious kids.
Watch for voles, since a deep hay blanket can also give these small rodents a cozy winter hideout. Setting a few hardware cloth strips around the rows helps reduce nibbling without harming garden visitors.
When you dig, pull back only the hay you need, then tuck it back over the remaining roots. Each crisp carrot pulled from snowy ground feels like a small prize you hid from yourself months earlier.
4. Stack Hay Bales Into A Cozy Cold Frame
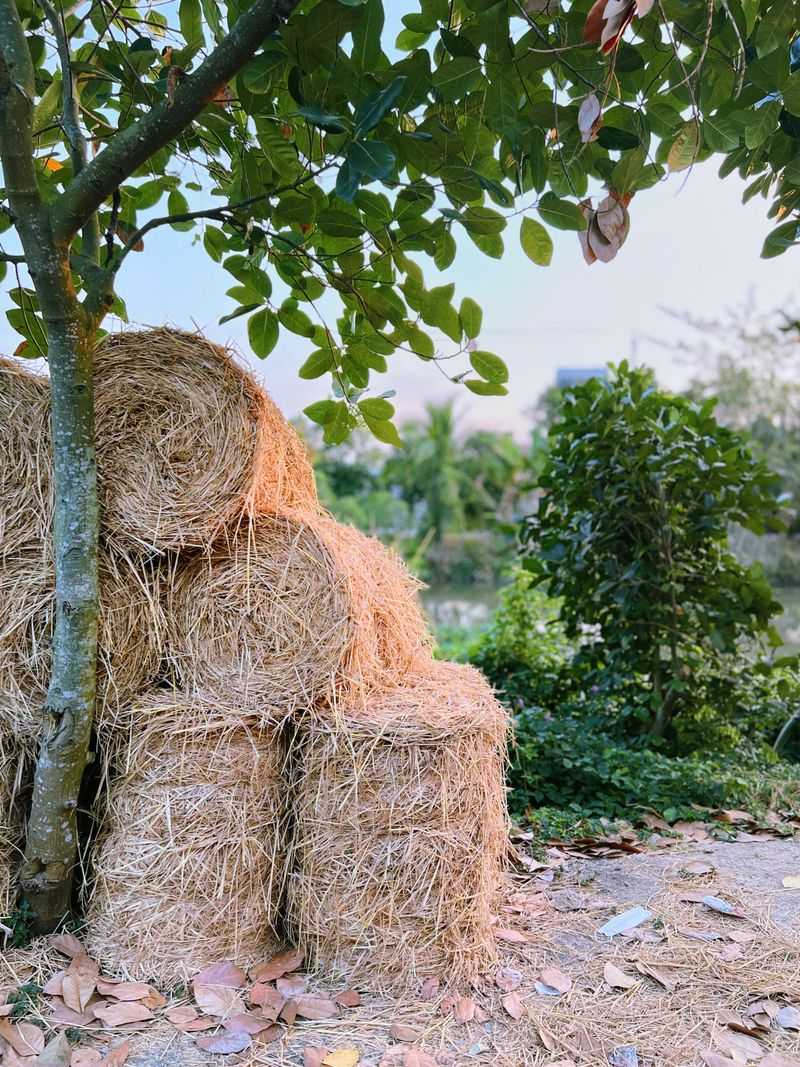
A single hay bale offers insulation far thicker than most store-bought cold frames, and it cost you nothing. Arrange a few into a rectangle, and suddenly your porch decorations become a sheltered winter room for plants.
Set the bales in a sunny, south-facing spot, ideally where buildings or fences block harsh northwest winds. Stack them one high for low greens, or two high in back if you want a sloped roof.
An old storm window makes a classic lid, and clear greenhouse plastic works nicely when windows are scarce. Weigh the plastic down with boards or bricks, because winter gusts love to grab loose coverings.
Inside, sunshine warms the soil and the dense bale walls hold that heat after the sun sets. Some gentle bottom heat may also rise from decomposing hay, though the effect is usually modest.
Ventilation matters more than most beginners expect, especially on sunny days when temperatures inside can climb fast. Prop the lid open a few inches whenever the air outside rises above forty degrees or so.
I once forgot to vent mine on a bright December afternoon, and my lettuce wilted badly by evening. Now I keep a cheap thermometer inside, which takes the guesswork out of opening and closing the lid.
Spinach and hardy lettuce thrive in these frames through much of the winter in most New Jersey yards. Come spring, the walls can go straight into your compost pile, closing the loop on your Halloween display.
5. Build A Hay Bale Compost Bin For Fall Leaves
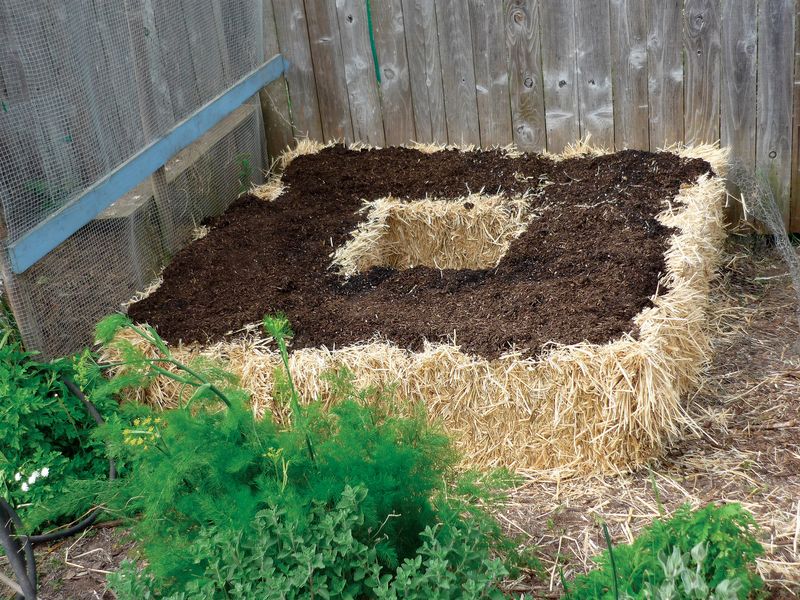
Every October, my yard fills with crunchy maple leaves, and hay bale walls give them a perfect home. A compost bin built from bales goes together in minutes, and nobody needs a single nail or screw.
Arrange three or four bales in a U shape, leaving one side open so you can add materials easily. A square with a removable front bale also works if raccoons or neighborhood dogs tend to visit.
Hay counts as a carbon-rich brown, so it balances wet kitchen scraps and fresh grass clippings nicely. Aim for roughly two or three parts browns to one part greens, and mix the pile occasionally.
Spent tomato vines and frosted pepper plants can go in too, unless they showed signs of disease this year. Those sick plants belong in the trash, since home piles rarely stay hot enough to clear every pathogen.
The thick bale walls insulate the pile, helping it hold heat longer as the weather turns frosty. A hot pile that reaches about 130 degrees can reduce many of the weed seeds hiding in hay.
Keep the pile about as damp as a wrung-out sponge, adding water during dry autumn stretches. I toss an old tarp over the top before winter storms, which keeps nutrients from washing away.
Over the coming months, the bale walls slowly soften and become compost themselves, so nothing goes to waste. By next fall, you can break the whole structure apart and spread dark, crumbly goodness across your beds.
6. Spread Hay Mulch Around Sleeping Perennials
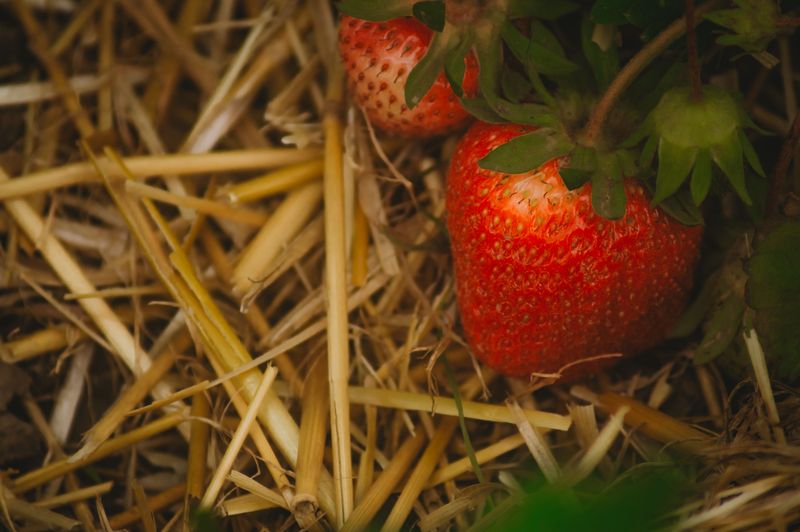
Freeze and thaw cycles can push shallow-rooted perennials right out of the ground, a problem called frost heaving. A fluffy hay blanket keeps soil temperatures steadier, so plants like heuchera and young strawberries stay snug.
Wait until the ground freezes lightly, usually late November or December across much of New Jersey, before mulching. Mulching too early can invite mice to nest near crowns, which is a problem nobody wants in spring.
Spread the hay about three to four inches deep, keeping it a couple of inches away from stems. That gap lets air move around plant crowns and reduces the chance of rot during soggy winter weeks.
Weed seeds are the main downside of hay compared with straw, so plan ahead to manage them. Wetting the hay and covering it with clear plastic in a sunny spot for several weeks can help.
Ask where your bales came from, because some hay fields get sprayed with persistent herbicides like clopyralid. Those chemicals can linger through digestion and composting, then curl the leaves of tomatoes and beans next year.
A simple bean test helps, so sow a few seeds in a pot of moistened hay and watch. Twisted or cupped leaves suggest herbicide residue, and that batch of hay belongs far away from vegetable beds.
I like how the mulch slowly melts into the soil by spring, feeding hungry earthworms all winter long. Pull it back gently in early spring so the warming sun can reach those waking perennial crowns.
7. Line Up Bales Now For Spring Pea Trellises
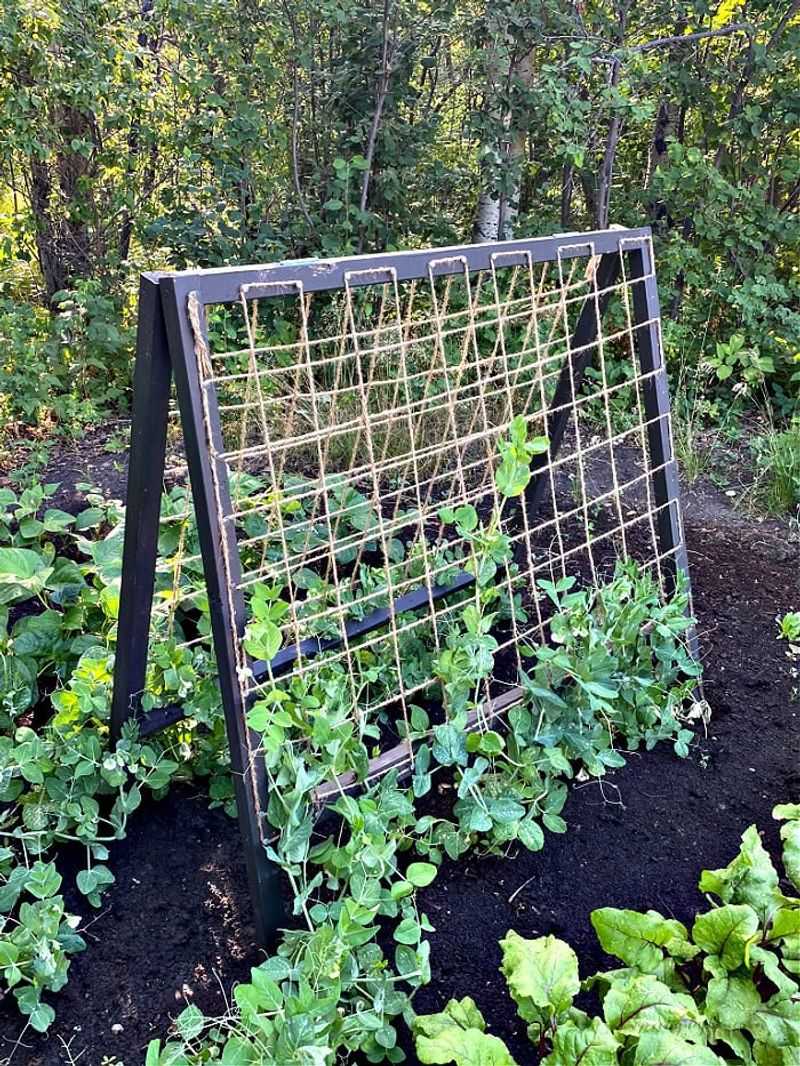
Sugar snap peas can go into the ground as early as mid-March, which sneaks up faster than you think. Placing your bales now means that early planting day will feel relaxed instead of rushed and muddy.
Choose a sunny spot that gets at least six hours of light, and line the bales up in a row. Set them along the north side of your garden so tall vines will not shade shorter crops later.
Drive sturdy T-posts at each end of the row before the ground freezes hard in December. Stretch wire between the posts, then attach netting or cattle panel for peas and pole beans to climb.
Leaving the bales outside all winter lets rain and snow begin softening them on their own schedule. Come March, a quick round of conditioning finishes the job, and your bales will be ready for seeds.
Cucumbers love climbing up a panel from a bale, and their fruits hang clean and easy to spot. Small vining squash like delicata can work too, though heavier fruits may need slings for extra support.
I sketch my spring plan on a scrap of paper while the bales settle in, and it helps. Seeing the layout in October makes it easier to order seeds early, before popular varieties sell out.
One caution matters here, because bales that sit too long can slump and lean against the trellis. Check the twine in late winter and tighten or replace it if the strings look frayed or loose.
8. Sow Winter Rye Over Your Softening Bales
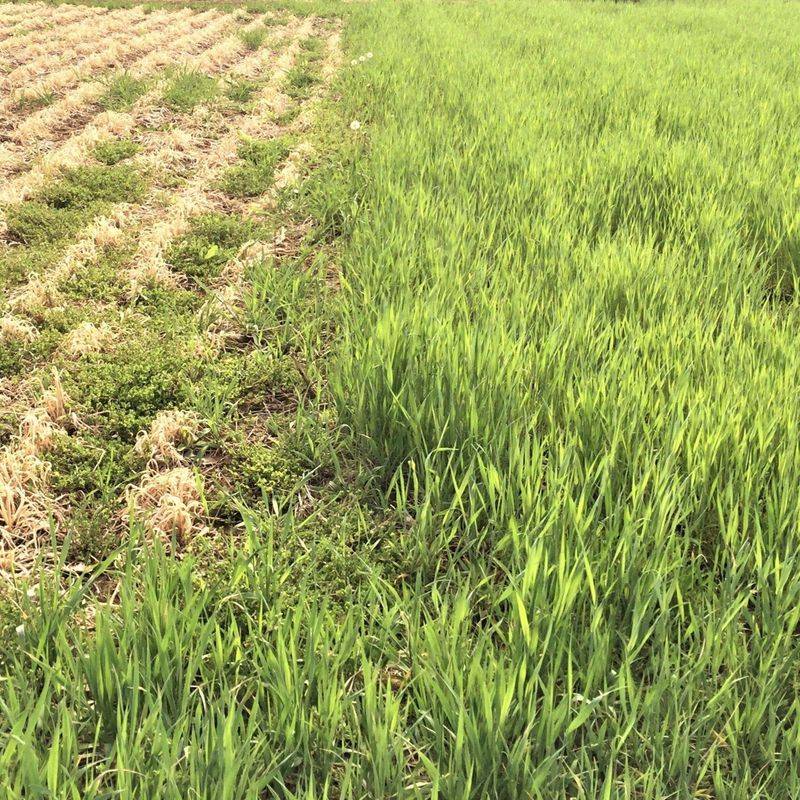
Cereal rye roots can tunnel several feet into soil, making this humble grass a quiet champion of winter gardens. It sprouts in surprisingly cool weather, so October and early November sowings still have time to establish.
Extension specialists across the Northeast often suggest cereal rye for late plantings, since it handles cold impressively well. Crimson clover and hairy vetch prefer earlier sowing dates, so they work best if you start in September.
Spread an inch or two of potting mix or compost across a conditioned bale, then scatter rye seed thickly. Rake the seed in lightly and water it, and green spikes usually appear within about a week.
Cracked or slumping bales work well for this method, since you are building soil rather than chasing big harvests. You can also sow rye on the bare ground around your bales, which helps keep winter rain from washing soil.
The roots hold loose bale material in place and capture leftover nitrogen that might otherwise leach away. Legumes like vetch go one step further, adding nitrogen with help from friendly bacteria living on their roots.
Plan to cut the rye in spring before it forms seed heads, usually around late April or early May. Chop the stems and leave them as mulch, or mix them into the softened bale for extra organic matter.
I enjoy seeing a bright green carpet on gray January days, and it reminds me spring is coming. Your Halloween bales end their journey as rich, crumbly soil, ready to feed next year’s tomatoes and peppers.