Why Your Peace Lily Keeps Drooping After Watering In A California Home
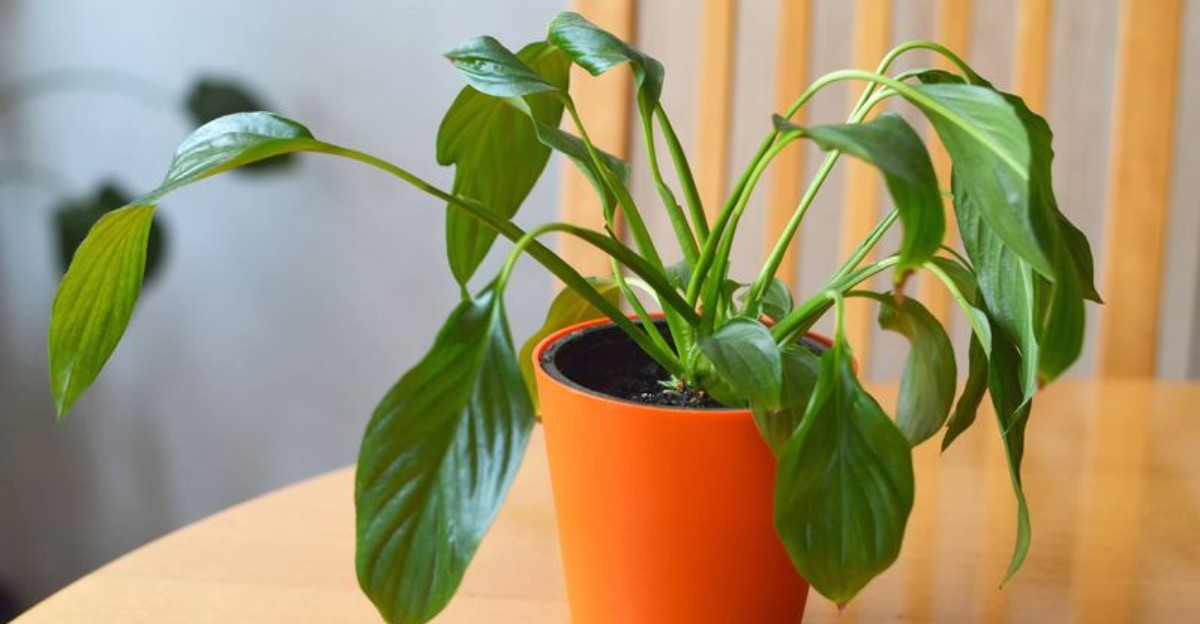
That white flower on your favorite houseplant is not a petal at all, but a modified leaf called a spathe. The real blooms are tiny bumps crowded onto the pale spike in the middle, and most people miss them.
This tropical charmer grows wild on shady forest floors in Central and South America, where rain soaks the ground often. Bringing it into a California living room asks the plant to adjust to very different air and water.
I have to admit, mine once slumped right after a big drink, and I felt pretty betrayed. You might notice the same thing, especially when the leaves flop over like wet noodles across the pot rim.
Water alone rarely fixes that kind of slump, and sometimes it quietly makes the trouble worse. So what is really going on inside that pot, and why do California homes seem to play a part?
1. Soggy Peace Lily Roots Are Starving For Air
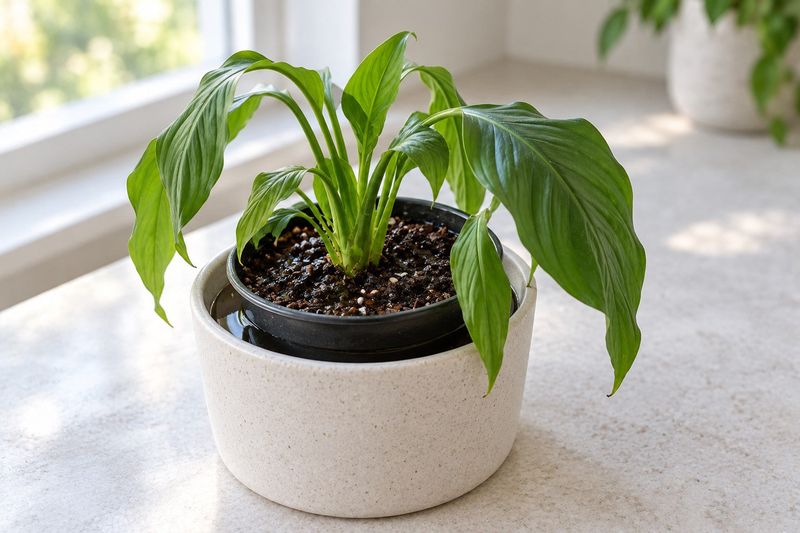
Soaking a wilted plant feels like kindness, yet waterlogged soil can leave roots gasping for oxygen like swimmers stuck underwater. Roots need tiny air pockets in the soil, and constant wetness fills those pockets with water instead.
Once roots sit in soggy mix for days, fungi and water molds move in and start root rot. Rotted roots turn brown or black, feel mushy, and stop moving water up into the drooping leaves.
That explains the strange slump after watering, since the plant cannot drink even though the pot feels heavy. Yellow lower leaves and a sour, swampy smell from the soil are two more clues worth noticing.
Personally, I slide the plant out of its pot whenever I suspect rot, because roots tell the truth. Healthy ones look firm and pale, while damaged ones slip apart between your fingers like cooked spaghetti.
Trim away the mushy sections with clean scissors, then repot into fresh, airy mix in a container with holes. Skip watering for a few days afterward so the remaining roots can settle in without extra stress.
Going forward, let the top inch or so of soil dry before you reach for the watering can. Your finger makes a great moisture meter, and it costs nothing at all to use every week.
Empty the saucer about thirty minutes after watering, since standing water creeps right back into the soil. Pots without drainage holes look pretty on a shelf, but they turn a simple mistake into a big problem.
2. Bone Dry Potting Mix Lets Water Rush Straight Through
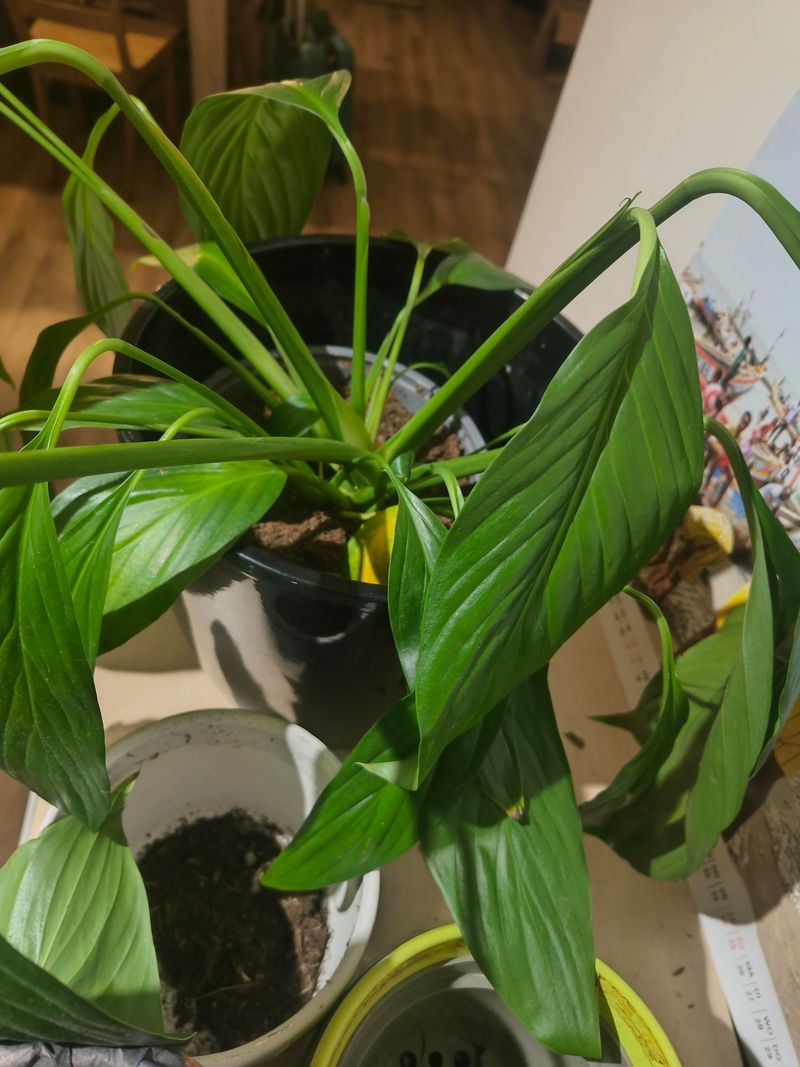
Ever poured water into a pot and watched it race out the bottom in about three seconds flat? That speedy exit often means the potting mix dried so hard that it now pushes water away.
Peat moss, a common ingredient in bagged mixes, can turn water repellent once it dries out past a point. Gardeners call this hydrophobic soil, and it shrinks away from the pot edges like a dry sponge.
Water then slips down the gaps along the sides, leaving the center of the root ball thirsty. Your plant droops after watering simply because very little of that water ever reached its roots.
I love bottom watering for this problem, because it lets the soil drink slowly without any rushing. Set the pot in a basin with a few inches of room temperature water for about thirty minutes.
Lift the pot afterward and feel the difference, since a properly soaked root ball feels noticeably heavier. Let the extra water drain well before returning the plant to its usual spot near the window.
Gently poking the crusty top layer with a chopstick also helps water sink in instead of sliding away. Some gardeners add a tiny drop of mild dish soap to the water, though plain soaking usually works.
Prevention beats rescue here, so check the soil more often during warm, breezy stretches of weather. Old, broken down mix that keeps repelling water is a sign your plant would enjoy fresh soil soon.
3. Crowded Roots Circling The Pot Need A Bigger Home
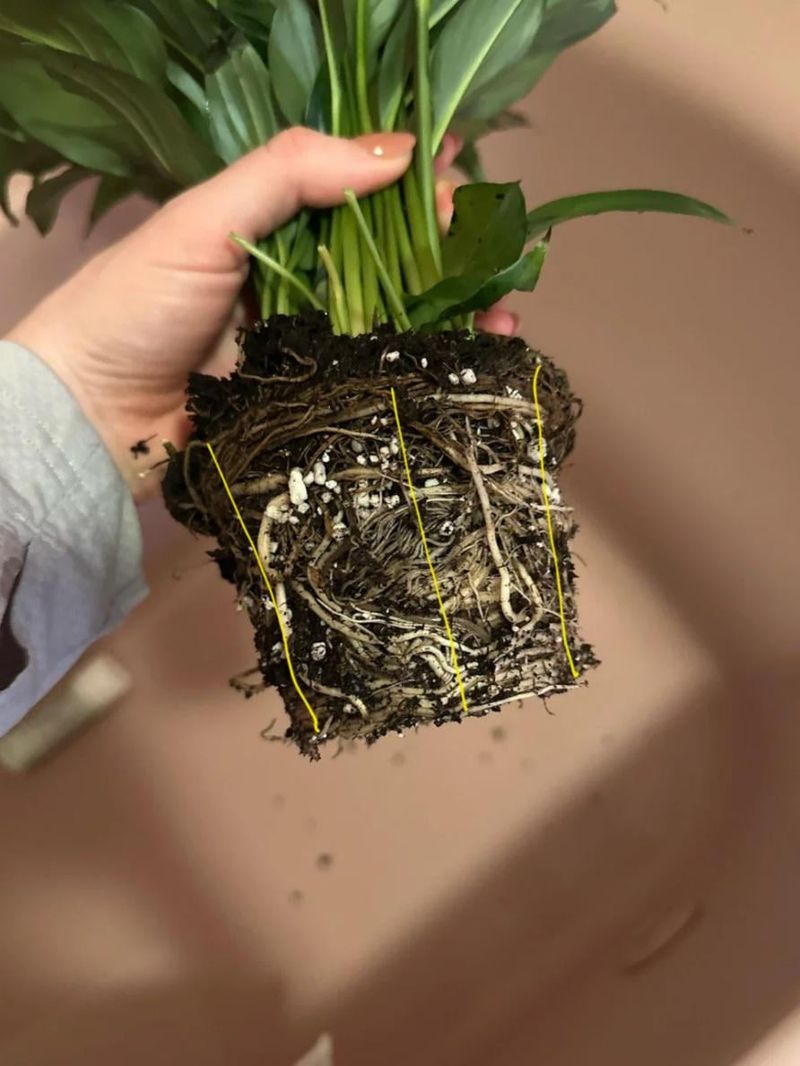
Roots poking out of drainage holes like curious little worms are a sure sign your plant has outgrown home. A pot packed with roots holds very little soil, and soil is what stores water between drinks.
When roots crowd out the mix, water runs through quickly and the plant runs low again within days. That cycle can look like drooping right after watering, even when you follow a careful schedule.
You might notice roots circling the inside wall of the pot in thick, tangled loops when you peek. New leaves may also come in smaller, and the whole plant can look tired despite steady care.
Spring through early summer is a comfortable time to repot, since the plant is actively growing then. Choose a container only one or two inches wider, because a giant pot holds too much soggy soil.
Loosen the outer roots gently with your fingers so they can reach into the fresh mix around them. Use a quality indoor potting mix that drains well, and make sure the new pot has holes.
I believe a little droop after repotting is normal, so try not to panic during the first week. Transplant shock often fades within several days once the roots settle comfortably into their roomier new home.
Large clumps can also be divided into smaller plants, which gives you bonus greenery to share with friends. Each section needs healthy roots and a few leaves of its own to grow well after splitting.
4. Dry Indoor Air Pulls Moisture From Wide Green Leaves
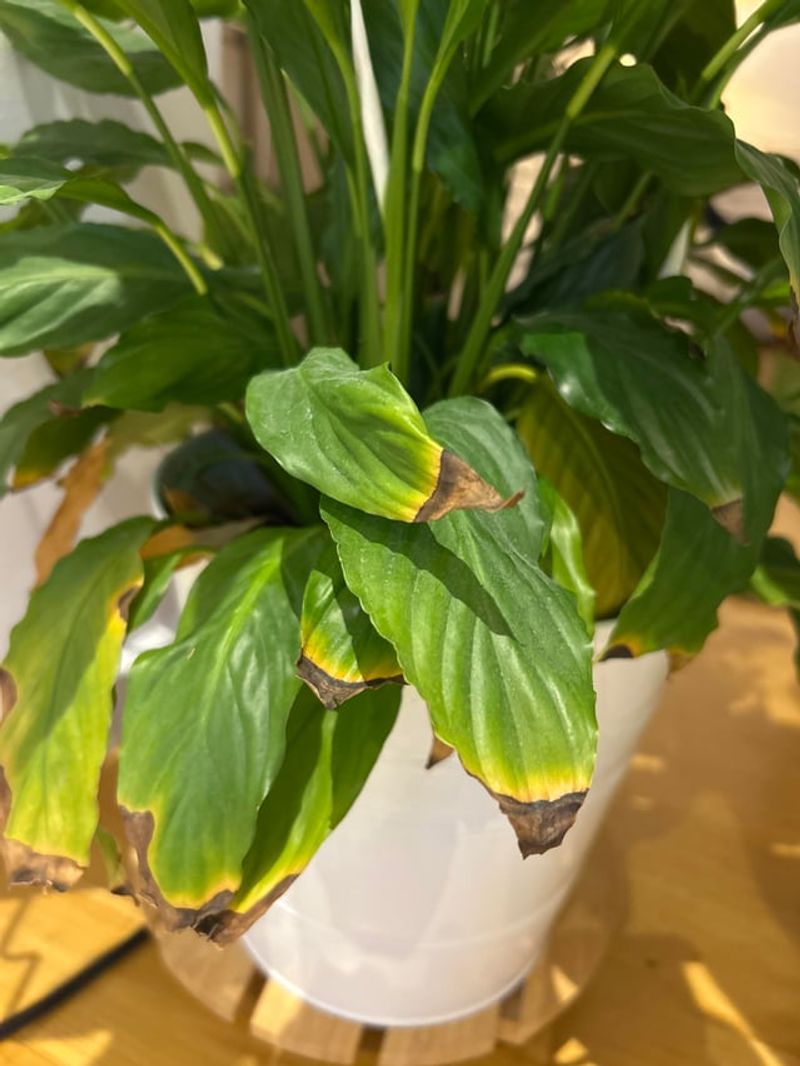
Those broad, glossy leaves evolved under a steamy rainforest canopy, where the air feels thick and damp. Many homes in inland California sit far below that comfort zone, especially with air conditioning running all afternoon.
Dry air pulls water out of leaves faster than the roots can replace it through the stems. So even freshly watered soil may not keep up, and the foliage can stay limp for hours.
Crispy brown leaf tips are a classic hint that the air around your plant feels too parched. Many growers suggest aiming for moderate to high humidity, roughly fifty percent or more, for happier leaves.
I like grouping houseplants together, because their leaves release moisture and create a cozier little pocket of air. A pebble tray works nicely too, as long as the pot rests on stones above the waterline.
A small cool mist humidifier nearby gives the biggest boost during hot spells or chilly heater months. Misting feels nice, but the effect fades quickly, so treat it as a bonus rather than a fix.
Bright bathrooms with a window can make wonderful homes, since showers add steam to the air daily. Keep the plant away from heater vents too, because blowing warm air dries leaves even faster.
Santa Ana winds in Southern California can drop indoor humidity sharply, so watch your plant during those events. A quick check of the leaf tips during windy weeks helps you catch trouble before it spreads.
5. Hot Afternoon Sun Through A Window Scorches Peace Lily Leaves
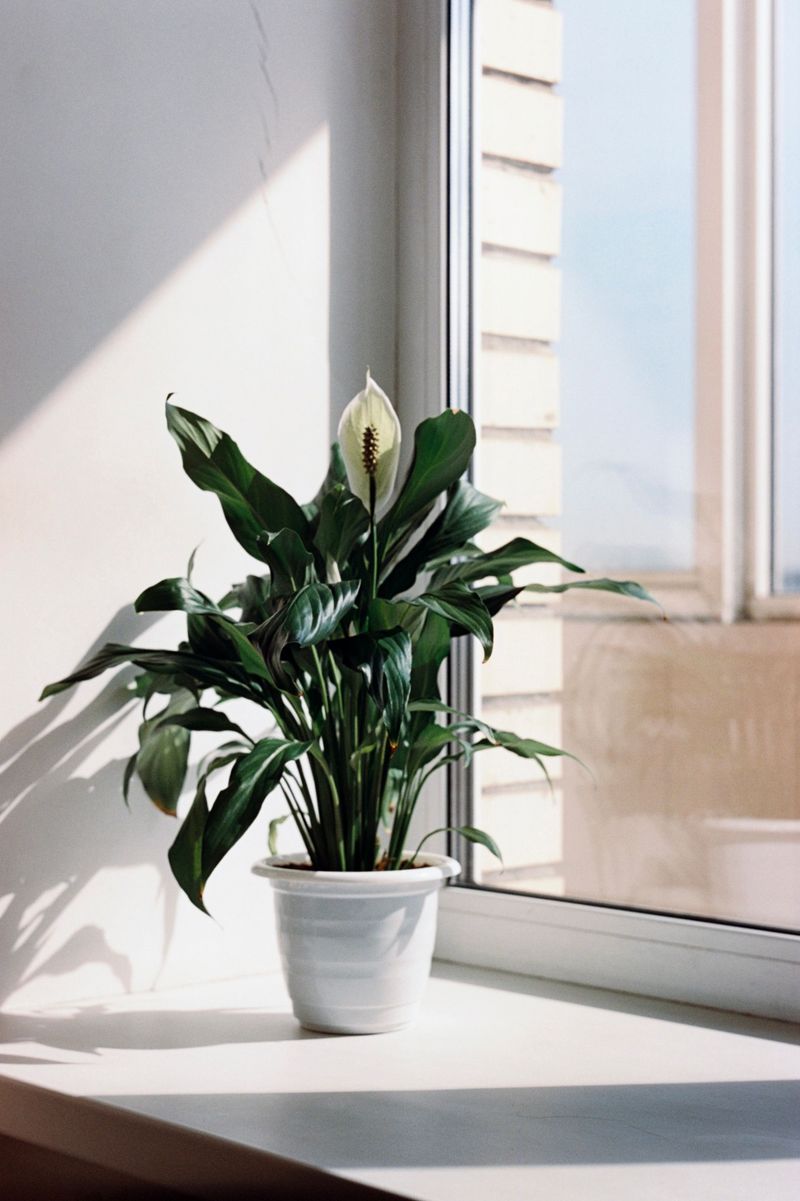
Leaves that feel warm to the touch, like a sun baked car seat, are waving a bright red flag. Peace lilies grow naturally in filtered shade, so direct afternoon rays through glass can overwhelm them fast.
Strong sun heats the leaves and speeds up water loss, which leaves the plant limp despite moist soil. You may also spot pale, bleached patches or brown scorched spots on the side facing the window.
Sunny summer afternoons in California pack plenty of intensity, especially through west facing windows in warm valleys. A spot that seemed perfect in winter can turn harsh once the sun climbs higher and stronger.
Bright, indirect light suits these plants best, and an east window with gentle morning sun works beautifully. Setting the pot several feet back from a south or west window also softens the light nicely.
Personally, I adore sheer curtains for this job, since they filter harsh beams without darkening the room. Your plant still gets plenty of light for growing leaves while skipping the painful midday glare.
Scorched leaves will not turn green again, so trim them at the base once new growth appears. Fresh leaves usually come in healthy once the plant settles into a kinder spot with steady light.
Very dim corners cause a different issue, often fewer white blooms, though they rarely trigger sudden drooping. Finding that middle ground keeps the foliage perky and gives you a better chance at those famous spathes.
6. Hard Tap Water Leaves A White Crust On The Soil
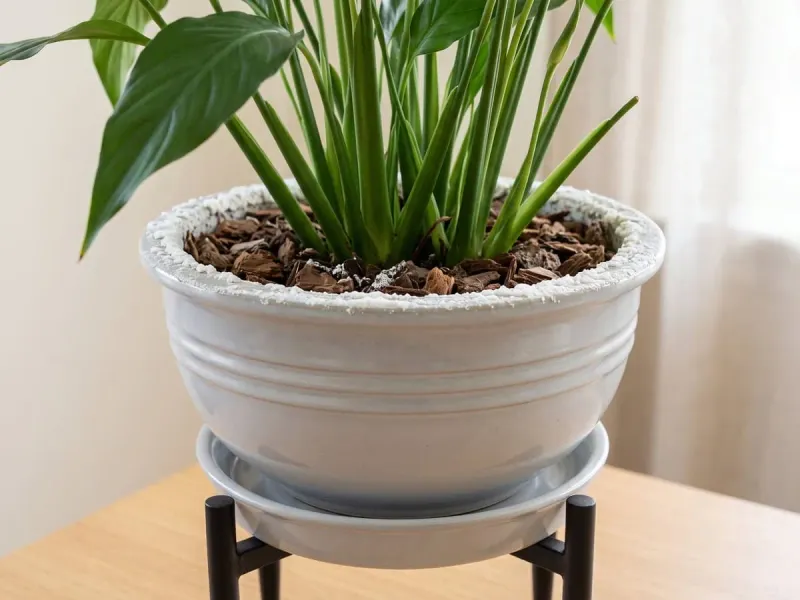
A chalky white ring on the soil surface might look harmless, yet it can spell trouble below. Much of Southern California receives hard water rich in dissolved minerals, and those minerals add up in pots.
Over time, salts collect in the potting mix and make it harder for roots to pull in water. The plant can act thirsty right after a drink, simply because the salty soil holds moisture back.
Peace lilies are also known to show brown leaf tips when fluoride or salts build up over months. You might notice that browning appears first on older leaves, creeping inward from the edges and points.
Flushing the soil is my favorite fix, and it takes just a few minutes at the kitchen sink. Slowly run plenty of room temperature water through the pot, letting it pour out the drainage holes freely.
Repeat the soak a couple of times, then let the pot drain fully before setting it back down. Doing this every few months keeps mineral buildup in check, especially if your tap water runs hard.
Rainwater or distilled water makes a gentle alternative for sensitive plants if you can collect or buy some. Letting tap water sit out overnight may release some chlorine, though it does not remove fluoride or salts.
Swapping in fresh potting mix every year or two also gives roots a clean, less salty place to grow. Scrape off any crusty layer on top first, since that white residue is concentrated minerals waiting to soak back in.
7. Cold Air Conditioner Drafts Shock A Tropical Houseplant
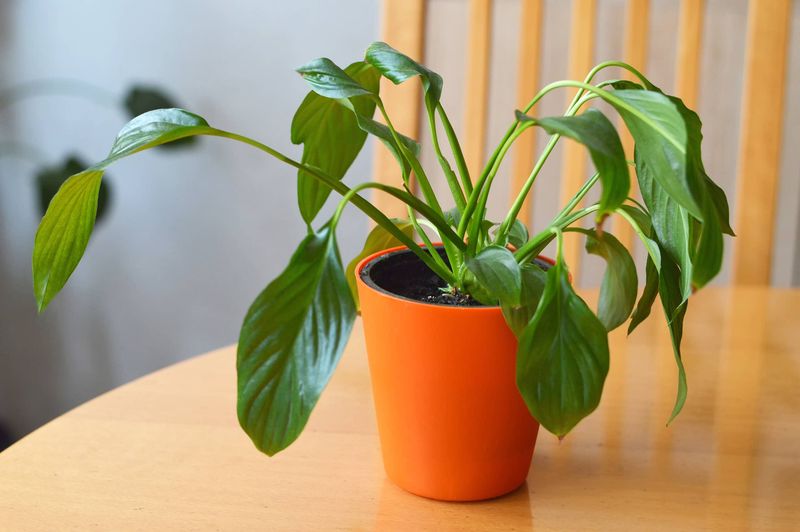
Tropical plants hold grudges against chilly air, and a blast from a nearby vent can trigger a dramatic sulk. Peace lilies prefer daytime temperatures in the upper sixties to the eighties, with nights that stay reasonably mild.
Cold drafts below roughly fifty five degrees can stress the leaves, causing them to droop even in damp soil. Watering a chilled plant may make things worse, since cold, wet roots struggle to take up water properly.
Coastal homes can feel cool and foggy on summer evenings, so a plant near an open window feels it. Desert and valley areas swing the other way, with powerful air conditioning blowing hard during heat waves.
I can’t imagine sitting under an icy vent all day, and your plant probably feels the same way. Move it a few feet away from air vents and drafty doors so the air around it stays steady.
Cold window glass in winter can chill leaves that press against it, even when the room feels cozy. Leaving a small gap between foliage and the pane makes a surprisingly big difference on frosty nights.
Use room temperature water rather than icy water from the fridge door dispenser, which can shock the roots. Lukewarm water feels gentle to tropical roots and soaks into the mix more evenly as well.
Recovery often takes a few days once the plant lands in a stable spot away from blowing air. Be patient and resist the urge to water extra, because damp soil and cool roots make an unhappy pair.
8. Too Much Fertilizer Burns Tender Peace Lily Roots
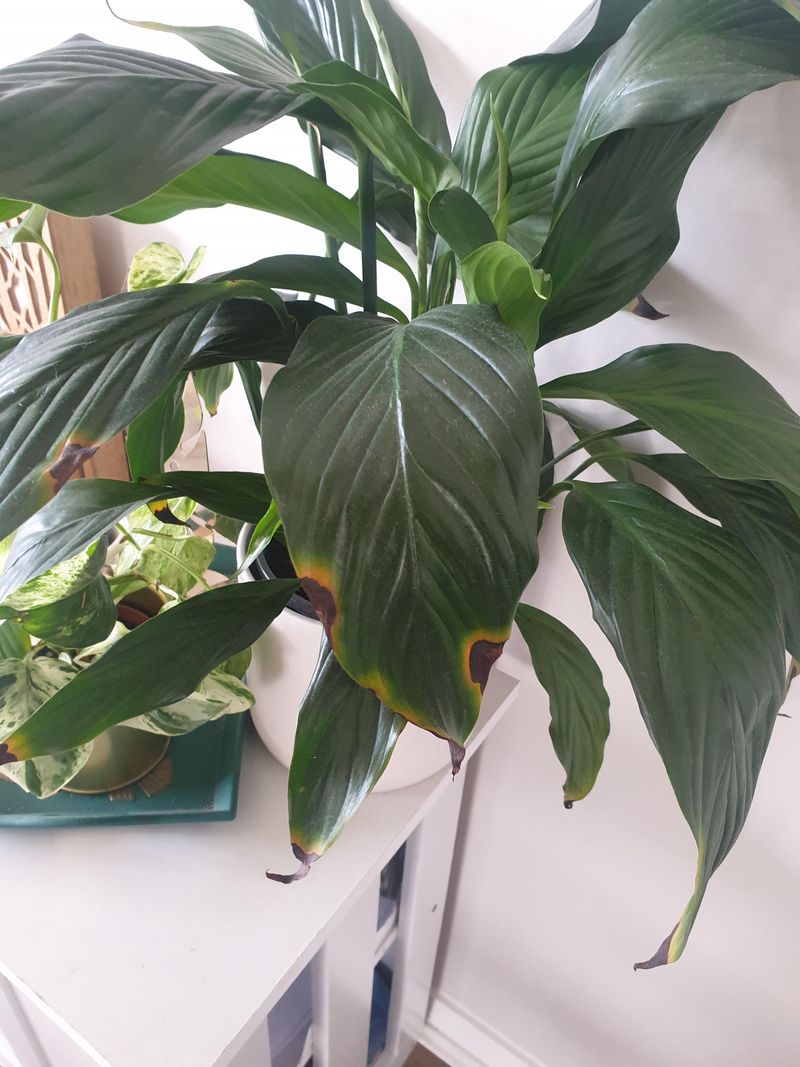
Feeding a droopy plant seems like a loving move, but extra fertilizer often adds stress instead of strength. Peace lilies are light eaters, and they get by nicely with only modest meals during their growing season.
Fertilizers are made of salts, so too much leaves a concentrated mix that can burn tender root tips. Burned roots cannot absorb water well, which leads to that confusing wilt shortly after you water.
You might notice yellowing leaves, brown edges, or a crusty film on the soil and along the pot rim. Those signs can overlap with hard water trouble, so think about both whenever the crust starts appearing.
A balanced liquid houseplant fertilizer, diluted to about half strength, works well every six to eight weeks in spring and summer. Ease off during fall and winter, because growth slows indoors and the plant needs far less food then.
Water the plant first and feed afterward, since fertilizer on dry soil can scorch roots more easily. I have to admit, I learned that lesson the hard way with a sulking plant years ago.
If you suspect overfeeding, flush the pot thoroughly with plain water to wash out the extra salts. Then skip fertilizer for a couple of months so the roots have time to heal and regrow.
Fresh green leaves standing upright again are the best sign that your feeding routine has found its balance. Less really is more with this plant, and a gentle hand usually brings back that glossy, upright look.