California Gardeners Keep Making This Tree Trunk Paint Mistake
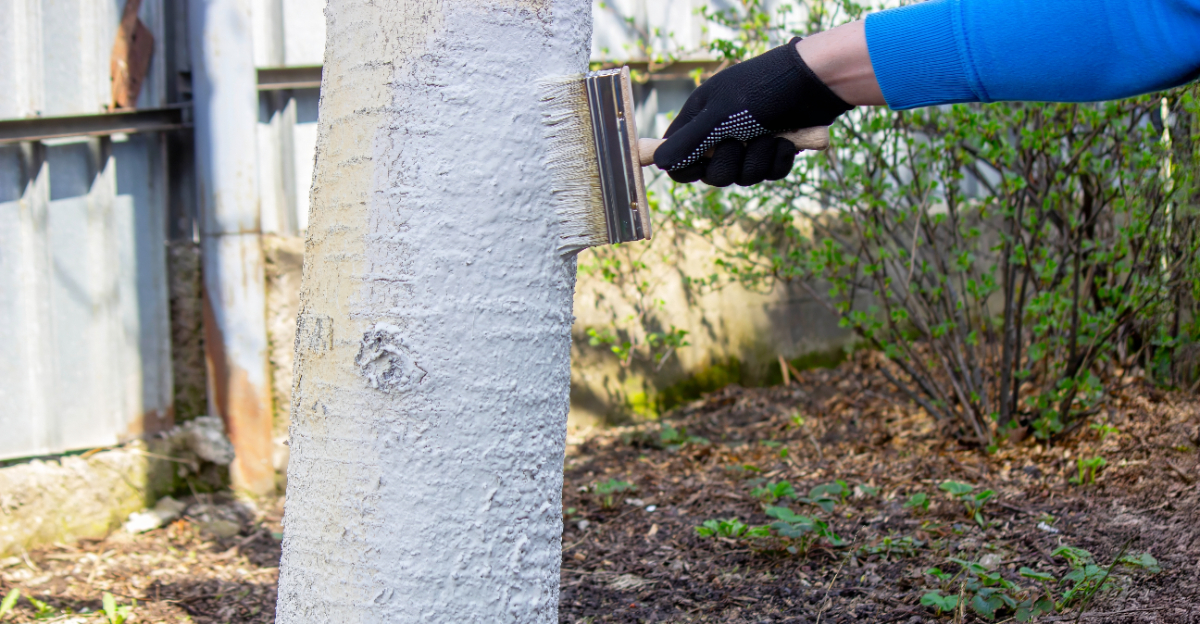
Somewhere between the citrus groves of Ventura and the new developments of Riverside, a strange trend keeps repeating: tree trunks painted a chalky, almost ghostly white. Neighbors ask about it. Nobody quite explains it right.
The reasoning usually sounds convincing at first. Someone read it protects against something, so they grabbed a bucket and got to work, one trunk at a time.
Except the method rarely gets applied the way it should. Coverage ends up uneven, timing is off, and the “protection” starts working against the tree instead of for it, something backyard citrus owners and municipal arborists alike keep running into.
What’s actually happening beneath that coating has little to do with what most people think they’re doing.
A Simple Fix Most Gardeners Overlook
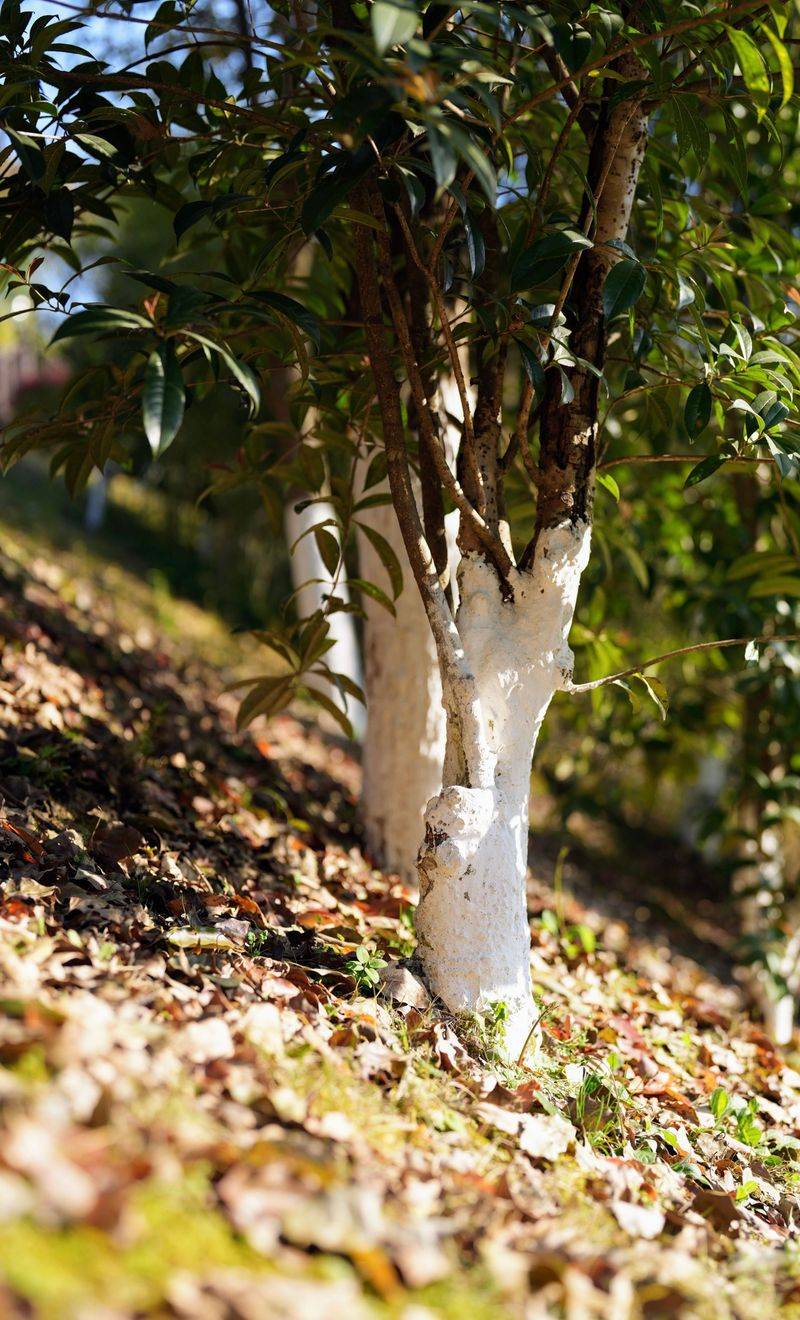
Your tree trunk is basically sunburned right now. That cracked, flaking bark you keep ignoring is a major red flag most people miss.
The fix sounds almost too simple: diluted white interior latex paint applied in one thin coat. Many California gardeners skip this step entirely because it feels unnecessary or cosmetic.
But tree trunk paint protection is one of the most practical things you can do for young or newly planted trees. Without it, sudden temperature swings cause bark to crack from the inside out.
The mistake is not the painting itself. The mistake is skipping the dilution step or using the wrong product altogether.
Full-strength paint seals bark pores and traps heat instead of reflecting it. That trapped heat creates a slow-burn injury called southwest injury, which weakens the whole tree over time.
Timing matters just as much as the mixture. Late fall through early winter is the window most arborists recommend, well before the harsh afternoon sun of spring and summer sets in.
Diluting latex paint with equal parts water creates a breathable, reflective coating that actually lets the tree function normally. Gardeners who learn this step once rarely forget it.
This one small correction can add years to a tree’s productive life. You already do harder things in your California garden every single weekend.
The Reason Tree Trunks Get Painted In The First Place
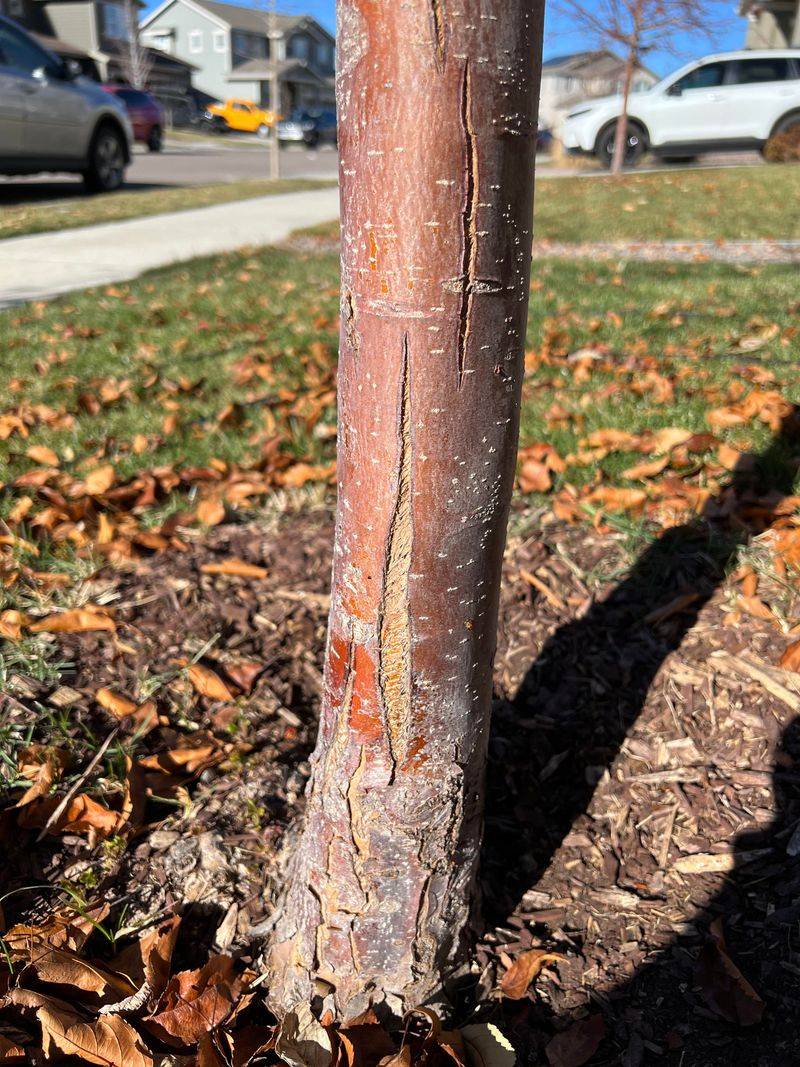
Sunscald is sneaky. It does not show up the day you plant a tree; it creeps in over weeks of intense afternoon exposure.
Young trees have thin, smooth bark that has not yet built up the protective layers mature trees develop naturally. That bare bark absorbs heat fast, especially on south- and west-facing sides.
When temperatures spike during the day and then drop sharply at night, the bark expands and contracts rapidly. That repeated stress causes cracks, lesions, and entry points for pests and disease.
Painting tree trunks became a standard practice in warm, sunny regions like Southern California decades ago. Orchardists used it to protect newly grafted citrus from the brutal summer sun.
The white color reflects solar radiation instead of absorbing it, keeping bark temperatures significantly cooler. Painted trunks can stay noticeably cooler than unpainted ones during peak afternoon heat.
Your California Garden Changes Every Week. Your Plan Should Too.
Gardening in California changes quickly throughout the season. Every Friday you’ll receive a simple weekly plan showing exactly what to plant, prune, fertilize, harvest, and protect so you never miss the right timing.
Home gardeners eventually adopted the practice from commercial farming, which is where things started going sideways. Without the original context, people began guessing at products and ratios.
Understanding the “why” behind trunk painting helps you make smarter choices at the hardware store. When you know what you are solving for, picking the right product becomes obvious.
What Happens When The Wrong Product Is Used
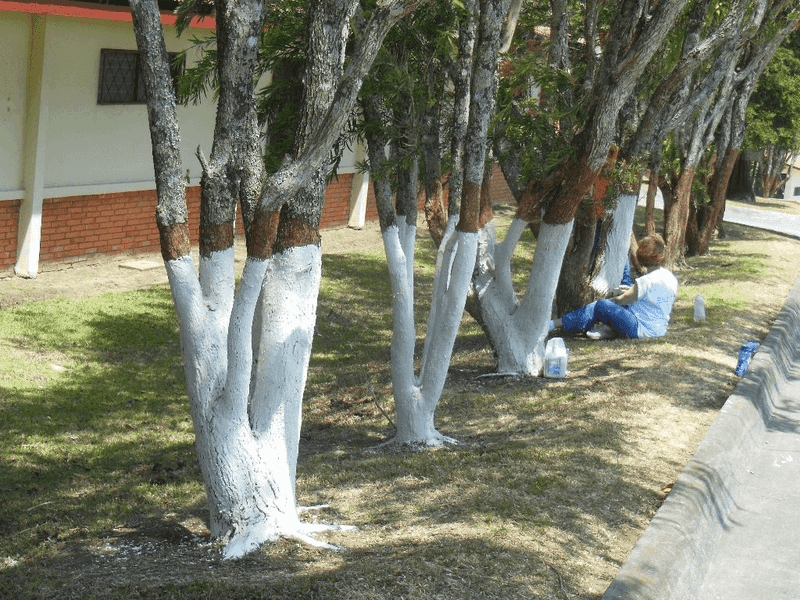
Grab the wrong can and you can make things significantly worse. Exterior house paint, oil-based paint, and undiluted interior paint all create the same core problem: they seal off bark tissue and block it from breathing.
Bark is not just a hard shell. It contains living cells that need to exchange gases, shed moisture, and respond to seasonal changes.
Thick, film-forming paints block most of those processes. The bark underneath starts to weaken, and within a season or two, you may see yellowing leaves, branches thinning out on one side, or stunted growth.
Some California gardeners reach for exterior latex because it seems more durable. Exterior formulas often contain additives like fungicides and UV-stabilizers that aren’t designed for direct contact with living plant tissue.
Those additives can cause chemical burns on young, thin-barked trees like citrus, avocado, and stone fruits. The damage often looks like the very sunscald you were trying to prevent.
Oil-based products are even riskier. They seal tightly, offer little breathability, and often crack as the tree grows.
The tree trunk paint mistake that keeps spreading through California neighborhoods often starts with a well-meaning trip to a home improvement store. One wrong label, one skipped dilution step, and the damage is already underway.
Choosing the correct product takes about 60 seconds of label reading. That tiny investment of time protects years of tree growth.
Signs Your Trees May Already Be Affected
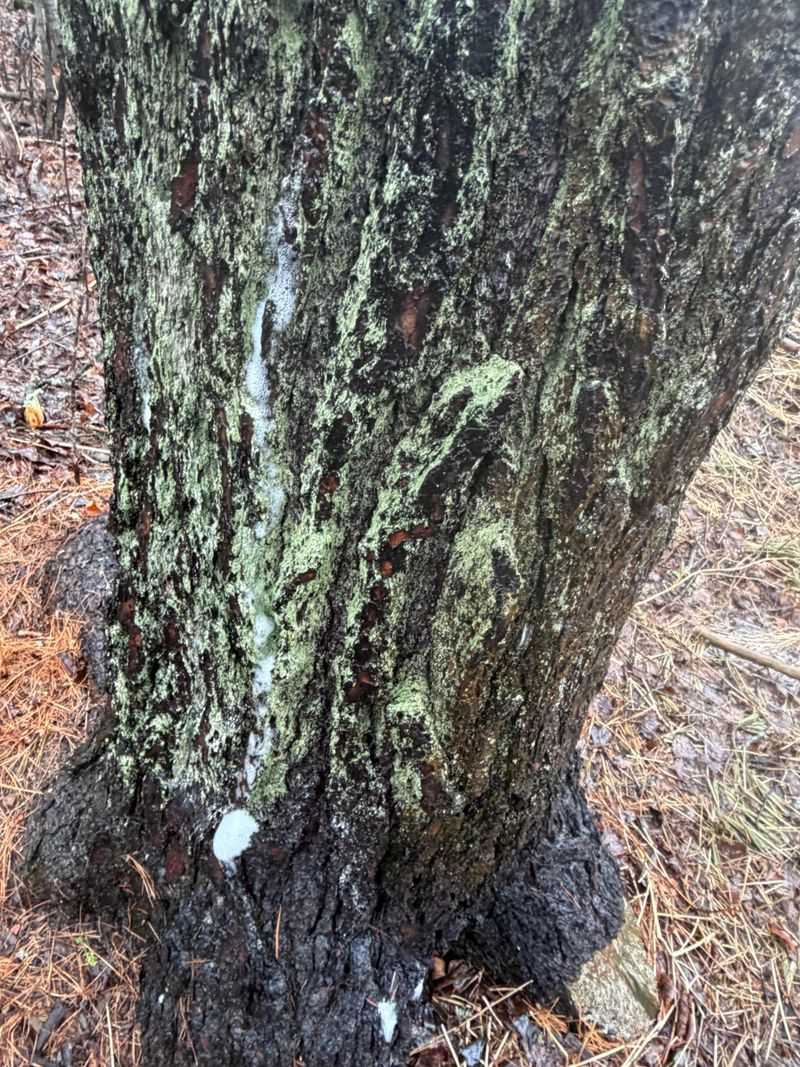
Something is off with that tree, and California gardeners can often feel it before they can name it. The bark looks dull, the paint is bubbling, and one side of the canopy seems thinner than it should.
Peeling or flaking paint on a trunk is the first visible sign that moisture is trapped underneath. When paint cannot breathe, condensation builds up and separates the coating from the bark surface.
Look for sunken or discolored patches directly beneath old paint. Those areas often indicate bark tissue that has stopped functioning, no longer conducting water or nutrients up through the tree.
A healthy trunk feels firm and slightly textured under your fingertips. Soft, spongy, or unusually smooth sections suggest cell breakdown has already begun in that area.
Watch the canopy too. One-sided leaf drop, yellowing on the south or west side, or sparse new growth near the top can all trace back to trunk damage below.
Oozing sap or gummy residue along the trunk is another warning sign. Some trees respond to bark injury by producing excess resin as a defense mechanism.
The tree trunk paint mistake does not always announce itself loudly. Sometimes it whispers through small symptoms over an entire growing season before the damage becomes obvious.
Catching these signs early gives you real options. A tree showing early symptoms can often recover fully with corrective treatment and proper reapplication.
The Right Way To Protect Trunks From Sun Damage
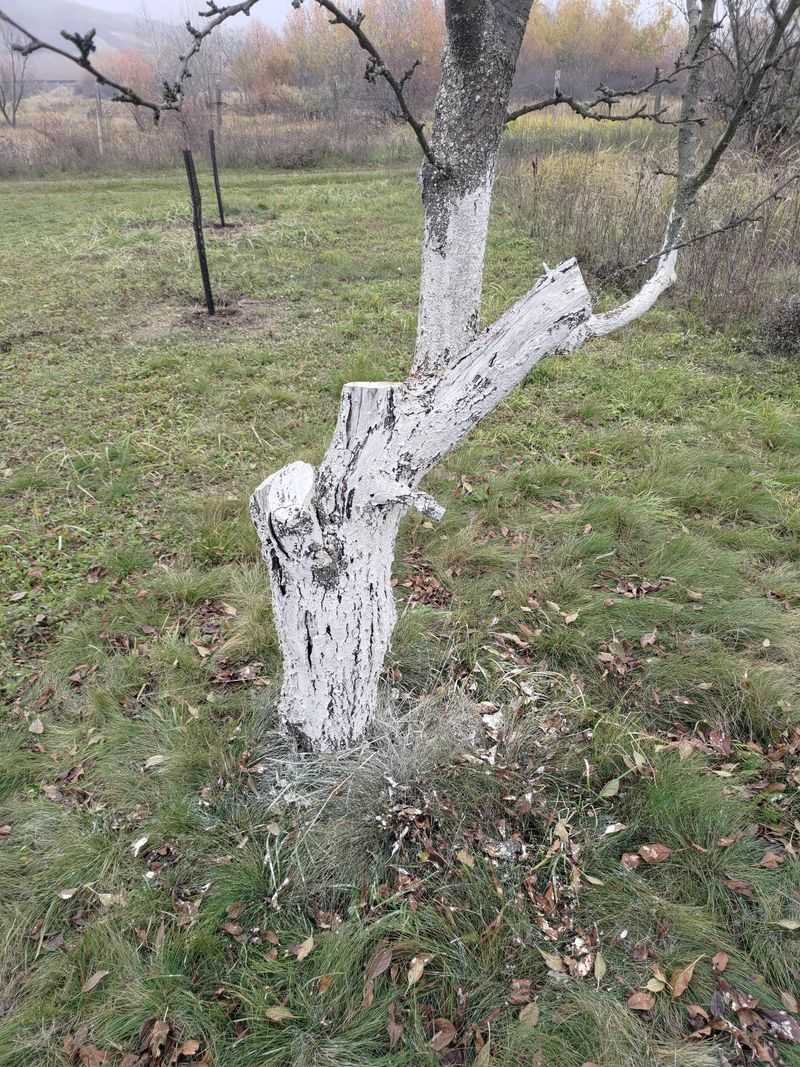
Mix it right and the whole process takes under ten minutes per tree. Start with white interior latex paint, not exterior, not primer, not specialty coatings.
Combine one part paint with one part water and stir until fully blended. The mixture should look like thin milk, not thick cream.
Apply it with a wide, soft-bristle brush in a single upward stroke from the soil line to the first major branch. One thin coat is enough; two coats trap moisture and defeat the purpose.
Paint on a dry morning when temperatures are mild, which in most California regions means late fall or winter. Applying in peak afternoon heat causes the mixture to dry too fast and leaves uneven coverage.
Focus on the south and west-facing sides of the trunk, since those receive the most direct afternoon sun. You do not need to coat the entire circumference on established trees.
For young trees under three years old, coat the full trunk. Their bark has not yet thickened enough to handle intense reflected heat from surrounding pavement or dry soil.
Reapply every one to two years as the coating weathers and fades. A faded coat offers almost no protection, so staying consistent matters more than applying it perfectly the first time.
This method has protected commercial orchards across warm-weather states for generations. Simple tools, a correct ratio, and fifteen minutes is all it takes to do this right.
Steps To Correct Or Reapply Properly
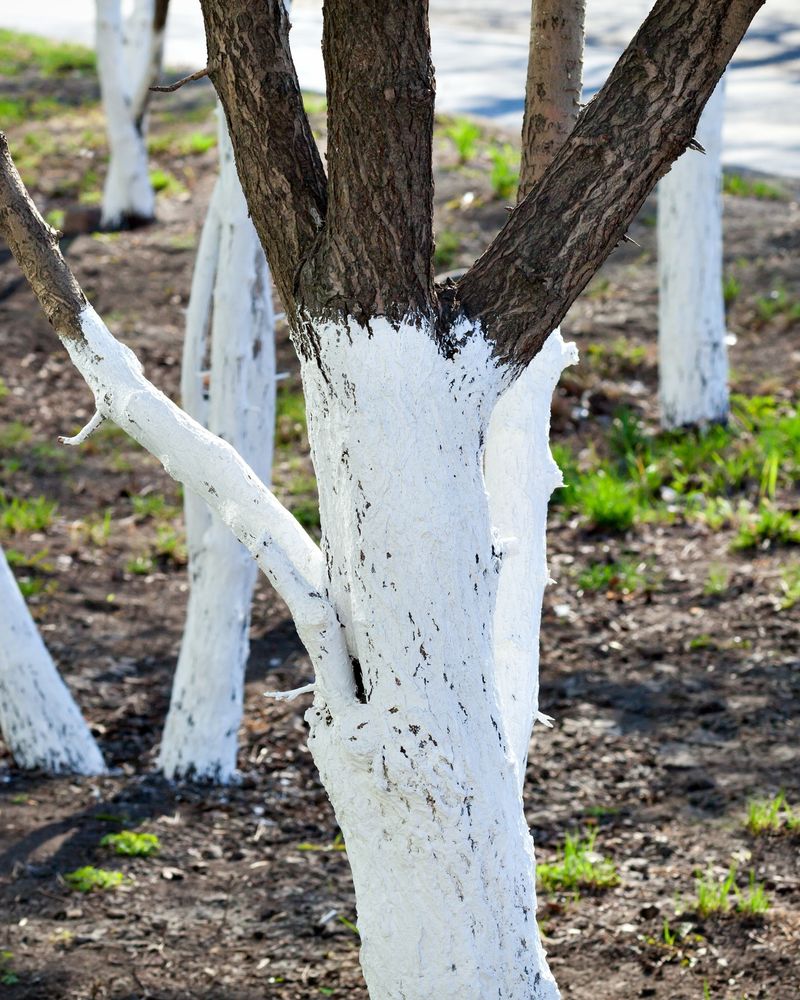
Old paint does not just fade; it becomes a problem on its own over time. Flaking layers hold moisture, harbor insects, and make accurate reapplication nearly impossible.
Start by gently removing loose or peeling paint with a soft-bristle brush. Avoid metal scrapers or wire brushes, since those tools tear living bark tissue underneath.
Once the trunk is clean, inspect the bare bark carefully. Look for cracks, sunken spots, or any areas with unusual discoloration before you apply anything new.
If you spot damaged sections, allow them to dry out fully in open air for a day or two. Sealing over wet or compromised bark just locks in the existing problem.
When the trunk looks stable and dry, mix your diluted white interior latex paint as described earlier. Apply one thin, even coat from the base up to the lowest branch.
Work in gentle, overlapping strokes and avoid pooling at the base. Pooled paint near the soil line can encourage fungal growth and collar rot over time.
Let the coat dry fully before watering near the trunk or applying any mulch. A fully dried coat bonds better and lasts through more weather cycles without peeling.
Fixing the tree trunk paint mistake properly takes one afternoon and a little patience. Done right, your corrected trees will show healthier bark and stronger growth within a single season.