Don’t Let Lily Of The Valley Take Over Your Wisconsin Garden, Here’s How To Remove It
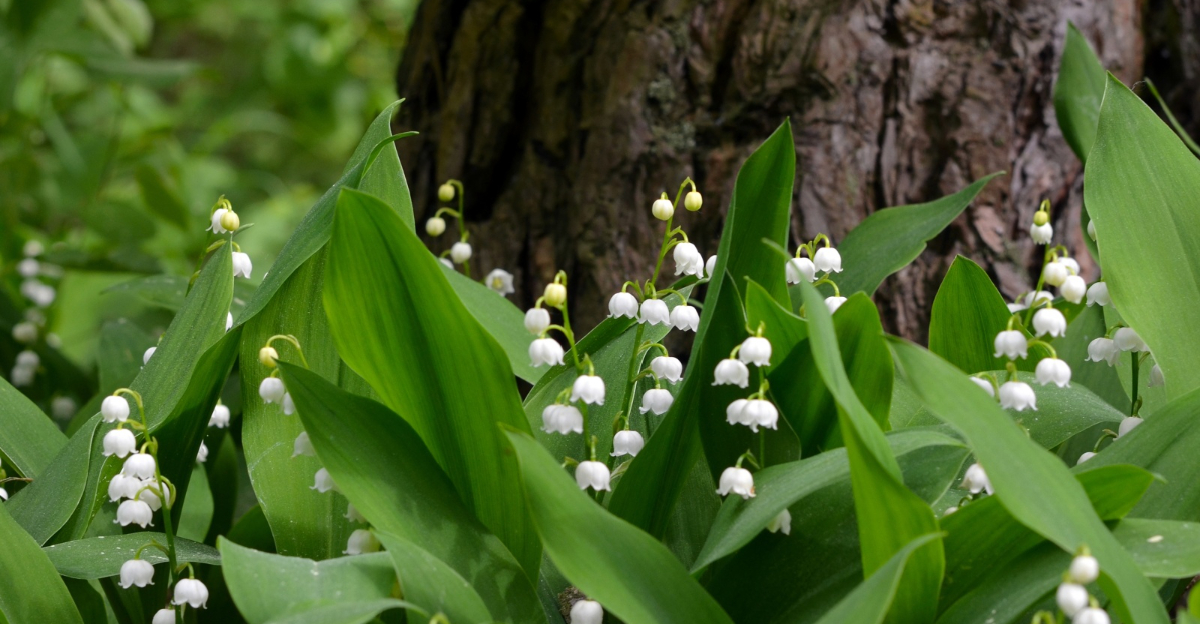
Charming white flowers can mask an aggressive growth habit lurking in your soil. Wisconsin gardeners like you already know this plant ignores boundaries.
Rhizomes creep silently beneath your lawn, quickly claiming new open ground. Nothing about your flower bed ever warns you before it spreads. Patience helps, but you still need real strategy behind it.
Effort alone cannot stop this plant from spreading further. Every gardener who underestimates this plant, including you, learns fast. Underground networks make your surface efforts feel completely useless.
Sensitivity means you cannot just pull and toss it without proper care. Hasty digging only spreads exactly what you’re trying to remove. Timing decides whether your entire removal effort succeeds or falls short.
Removal takes far more sustained effort than you’d expect at first. Success means understanding exactly what you’re up against, even during cold Wisconsin winters. You’re about to learn the only method that actually works.
1. Dig Up Rhizomes As Deep As Possible

Getting to the root of the problem is the only way to make real progress. Lily of the valley spreads through a dense web of underground rhizomes that can stretch surprisingly deep into the soil.
Grab a sturdy garden fork or spade before you start. A hand trowel simply won’t cut it when you’re dealing with thick, tangled root mats.
Start at the outer edge of the patch and work inward. Loosen the soil in a wide circle around the plant before you try to lift anything out.
Aim for at least six inches deep, going deeper if your soil type or compaction demands it. Rhizomes love to hide just below where most people stop digging.
Shake excess soil off each clump as you remove it. You want to keep as much garden soil as possible while tossing the roots.
Place all the pulled material into a trash bag immediately. Don’t compost lily of the valley because the rhizomes can survive and sprout again.
Work in sections so the job feels manageable. Trying to tackle the entire patch in one go often leads to missed roots and fast regrowth.
Do this in early spring when the soil is soft and moist. Wet soil releases roots much more easily than dry, compacted ground.
After digging, water the area lightly and watch for new growth within a few weeks. Even one tiny fragment left behind can restart the whole cycle.
2. Pull New Shoots Consistently Throughout The Season
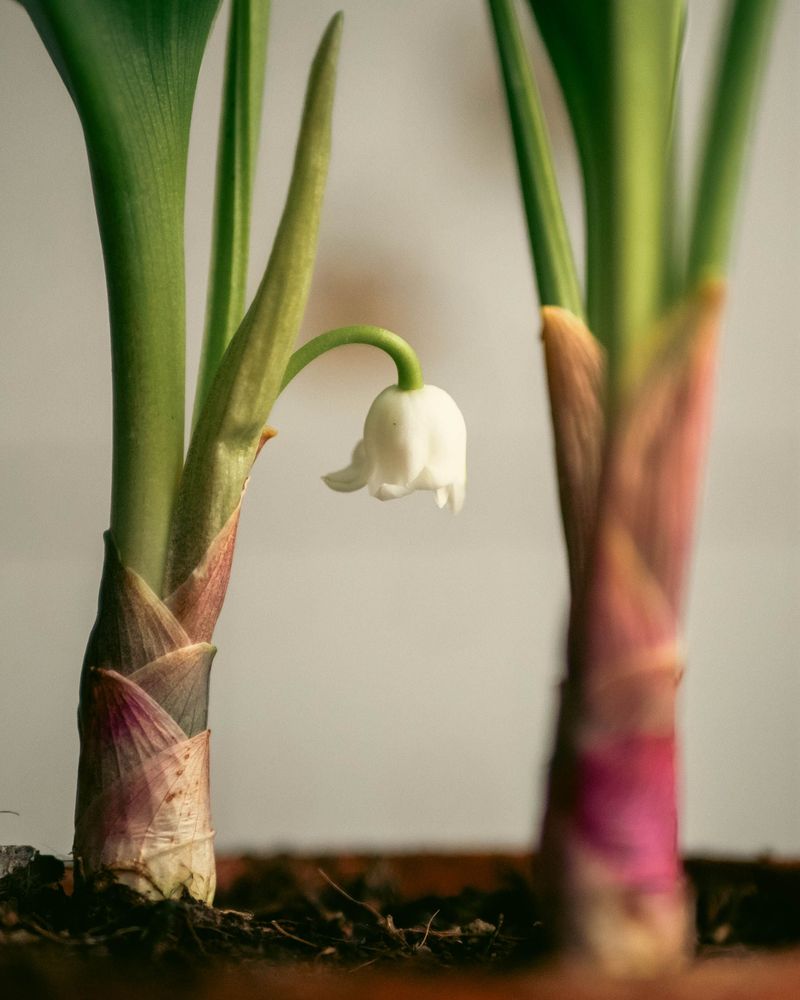
Consistency is your secret weapon against this persistent plant. Lily of the valley removal isn’t a one-time event, it’s a season-long commitment that actually works when you stick to it.
Every time a new shoot pops up, pull it immediately. The longer you wait, the stronger the root system beneath it grows.
Make it a habit to check your garden at least once a week during spring and summer. A quick ten-minute walk-through can save you hours of hard work later.
Your Wisconsin Garden Changes Every Week. Your Plan Should Too.
Gardening in Wisconsin changes quickly throughout the season. Every Friday you’ll receive a simple weekly plan showing exactly what to plant, prune, fertilize, harvest, and protect so you never miss the right timing.
Young shoots are much easier to remove than established ones. Catch them when they’re just a few inches tall for the cleanest pull.
Wear gloves every time you handle this plant. Lily of the valley is toxic if ingested, including the leaves, flowers, and berries, so keep pets and children away from cleared debris and wear gloves during handling.
After each pulling session, inspect the area around the original patch. Runners can travel a foot or more underground before sending up new growth.
Keep a small hand weeder or narrow trowel nearby when you do your Wisconsin garden rounds. That tool makes it easy to get just beneath the soil surface for a cleaner removal.
Record where you find new shoots each week. Tracking the pattern helps you predict where runners are heading next.
Don’t get discouraged if shoots keep appearing through July. Steady, repeated pulling weakens the plant’s energy reserves over time and the regrowth will slow down noticeably by late season.
3. Smother Patches With Thick Cardboard Or Mulch
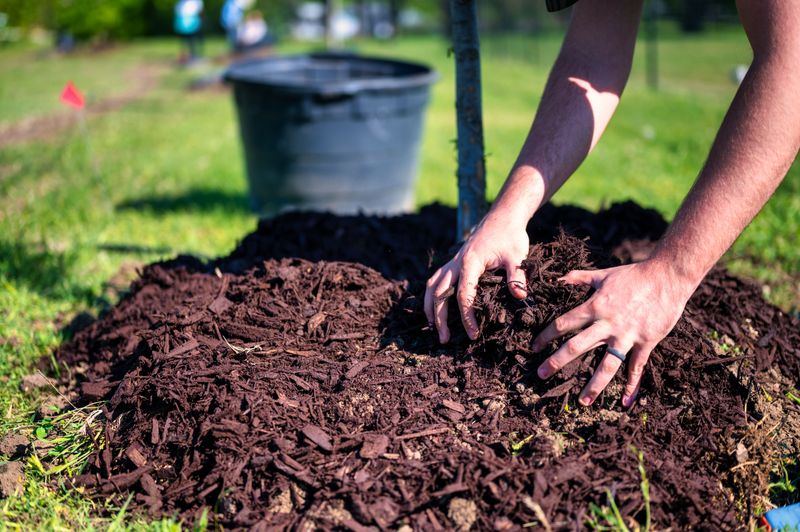
Blocking sunlight is one of the most effective ways to stop a fast-spreading plant. Smothering works by cutting off the energy source that lily of the valley needs to keep spreading.
Start by mowing or cutting the foliage as close to the ground as possible. Then lay down thick, overlapping sheets of cardboard directly on top of the cleared area.
Overlap each cardboard sheet by at least six inches to prevent sneaky shoots from finding gaps. Even a small opening can let determined growth poke through.
Wet the cardboard thoroughly after laying it down. Moisture helps it conform to the soil and speeds up the decomposition process over the season.
Next, pile on a generous layer of wood chip mulch on top of the cardboard. Aim for at least four to six inches of mulch to add serious weight and darkness.
Heavier mulch layers are more effective than thin ones. Skimp on the depth and you’ll find green shoots pushing right through within a few weeks.
This method works best when combined with digging and pulling first. Smothering alone may not stop deep rhizomes but it slows new growth dramatically.
Check the edges of your smothered area monthly. Rhizomes often try to escape around the perimeter rather than pushing straight up through thick layers.
Leave the smothering layer in place for a full growing season. Patience here pays off with a much cleaner, more manageable garden bed by fall.
4. Cut Back Foliage Before It Seeds
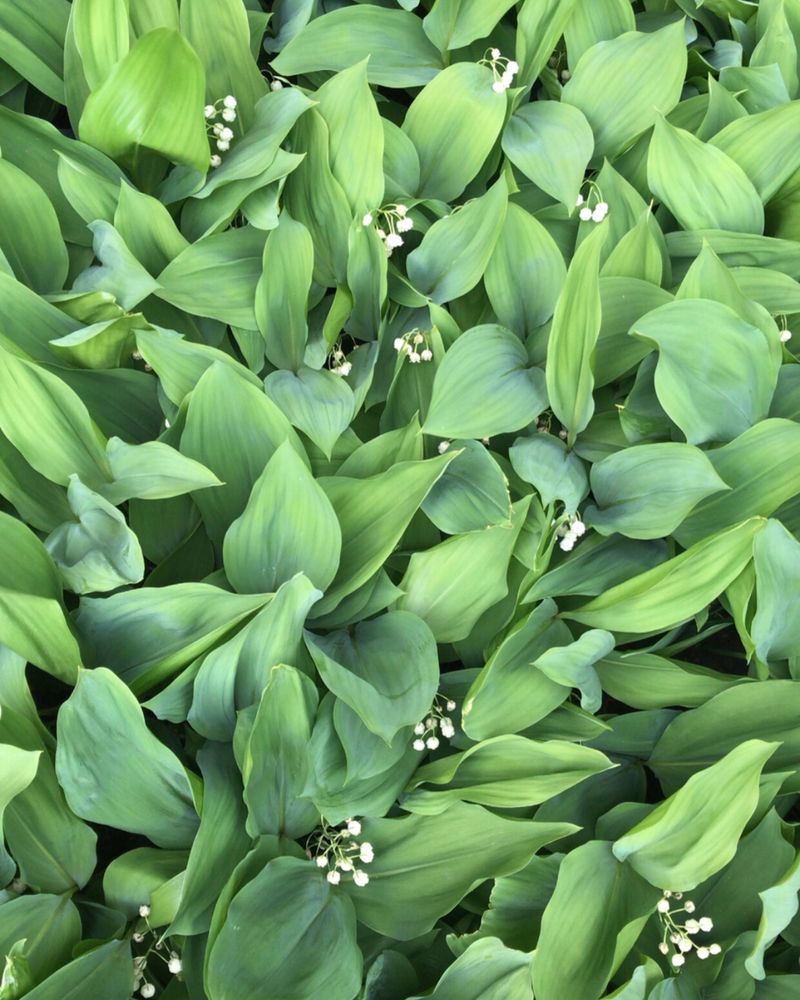
Timing your cuts right can make a real difference in controlling spread. Lily of the valley doesn’t rely only on its roots to multiply, it also produces small orange-red berries that carry seeds.
Cut foliage back before those berries fully ripen. If you wait too long, seeds can drop into the soil and create new problem areas far from the original patch.
Use sharp garden shears or pruners for this job. Clean cuts are faster and cause less damage to surrounding plants you actually want to keep.
Cut the stems down to just above ground level after the flowers fade. That’s your window to act before berries develop and ripen fully.
Bag all cut material and toss it in the trash. Don’t leave trimmed foliage lying on the soil surface because it can still root in moist conditions.
This step is especially important in shaded areas where lily of the valley thrives most aggressively. Dense canopy keeps the soil cool and moist, which seeds love.
Cutting also weakens the plant by reducing its ability to photosynthesize. Less leaf surface means less energy stored in those underground rhizomes below.
Repeat the cutback if new foliage regrows before the end of the season. Some plants push out a second flush of leaves when conditions are favorable.
Think of each cut as a small withdrawal from the plant’s energy bank account. Enough withdrawals and the balance eventually drops too low to sustain aggressive spreading.
5. Apply Herbicide Directly To Persistent Regrowth
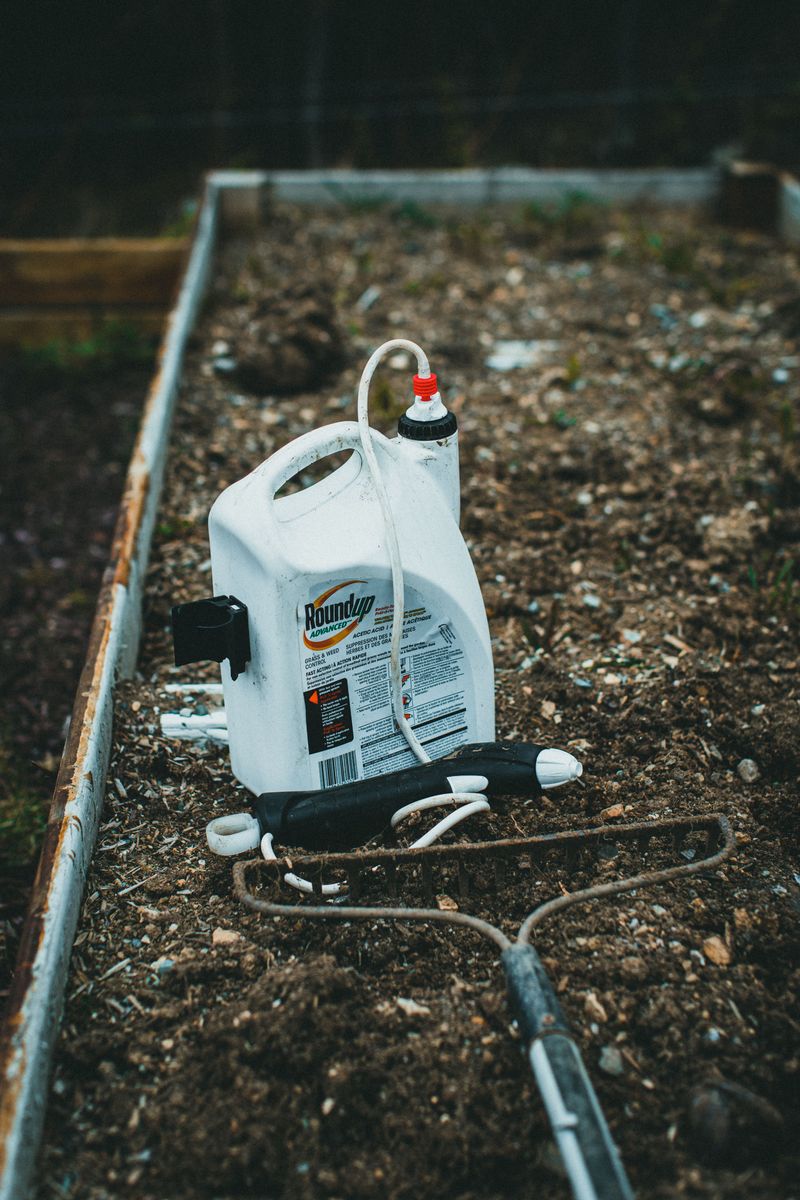
Sometimes physical removal just isn’t enough to stop the most stubborn patches. When lily of the valley keeps bouncing back despite your best digging and pulling efforts, targeted herbicide can help break the cycle.
Glyphosate-based or triclopyr herbicides are commonly used on this plant, though results can vary and may require repeated applications. Always read the full label before mixing or applying any chemical product.
Apply herbicide directly to the leaves on a calm, dry day. Wind increases the chance of spray drifting onto plants you want to protect nearby.
A small paintbrush or sponge applicator gives you the most precise control. Dabbing the product onto individual leaves is far safer than broad spraying in a mixed garden bed.
Apply in late spring or early summer when the plant is actively growing. That’s when it’s most likely to absorb the product and carry it down to the root system.
Don’t mow or cut foliage for at least two weeks after applying. The plant needs time to move the herbicide down through its leaves into the roots below.
Expect to see yellowing within a week or two after treatment. Full browning of the foliage is a sign the product reached the rhizomes.
A single application rarely handles a heavy infestation completely. Plan for two or three rounds of treatment spaced a few weeks apart for stubborn patches.
Always keep children and pets away from treated areas until the product dries fully. Following label directions protects your Wisconsin garden, your family, and your soil health.
6. Sift Soil To Remove Leftover Root Fragments
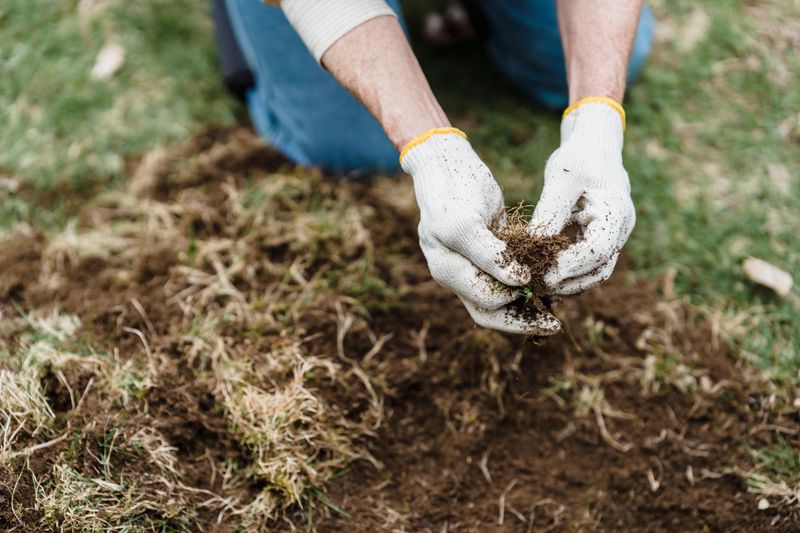
One tiny root fragment left behind is all it takes to restart the whole problem. Sifting your soil after digging is a game-changer that most gardeners skip, and then wonder why the plant regrows so quickly.
Use a garden soil sifter or a simple hardware cloth frame for this step. A fine mesh sifter works well for catching even small rhizome fragments.
Work in small sections so the job stays manageable. Trying to sift an entire bed at once quickly becomes exhausting and sloppy.
Scoop soil from the cleared area into your sifter and shake it gently. Root fragments will stay behind while loose soil falls through back into the bed.
Collect every piece of root material you find and bag it for the trash. Even a pale, dried-looking fragment can still sprout under the right conditions.
This step works best when the soil is slightly damp but not waterlogged. Overly wet soil clumps together and clogs the mesh, making sifting slow and frustrating.
Sifting also improves your soil structure as a bonus. Breaking up compacted clumps and removing debris creates a lighter, more breathable growing environment for future plants.
Go over each section at least twice before moving on. A second pass almost always turns up fragments you missed on the first run-through.
Pair this step with the deep digging phase for maximum impact. Together, they give you the cleanest possible starting point for replanting or reseeding your cleared garden space.
7. Monitor Edges To Catch Spreading Runners
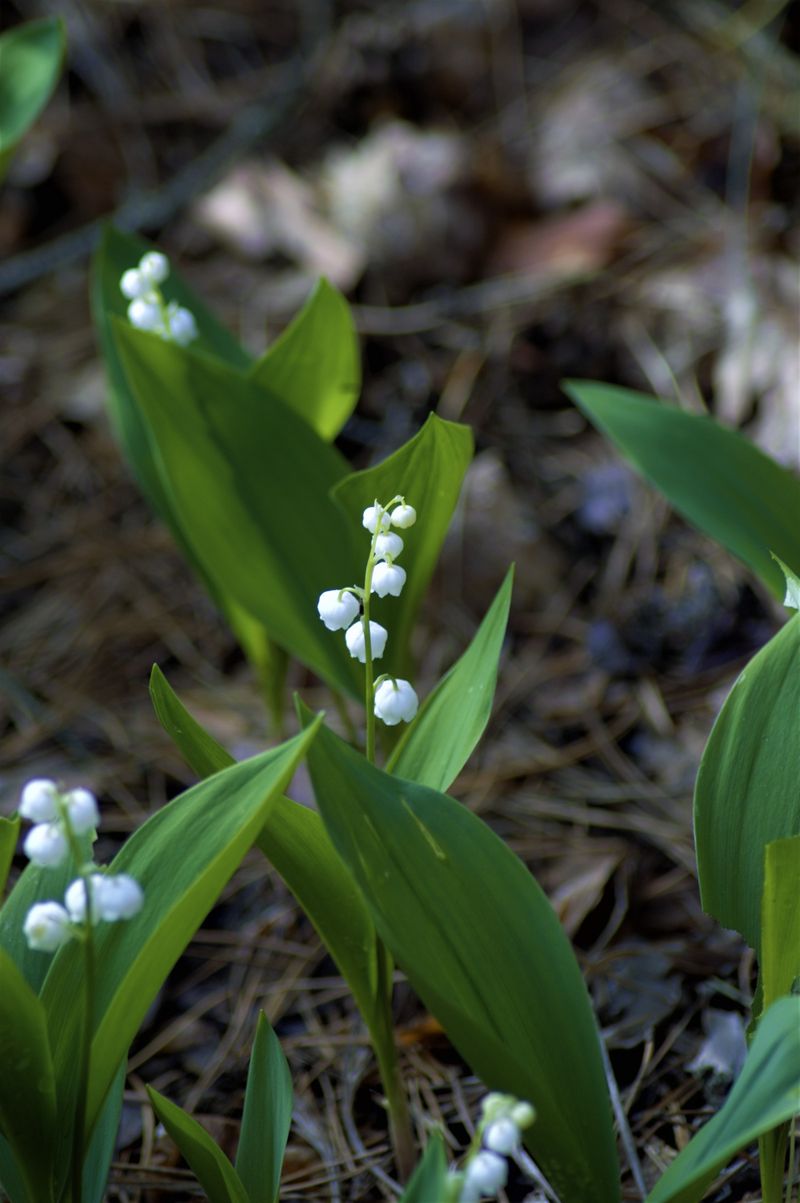
The sneakiest thing about lily of the valley is how quietly it expands. By the time you notice new growth a foot away from the main patch, the runner has been traveling underground for weeks.
Set a reminder to inspect the perimeter of any cleared area every two weeks. Edge monitoring is one of the highest-impact habits you can build during the removal process.
Pay special attention to areas beneath shrubs and along fence lines. Runners love to travel under cover where they’re harder to spot until they surface.
Use a hand trowel to gently probe the soil just outside the cleared zone. Feeling for firm, cord-like rhizomes just below the surface is easier than you’d think once you know what to look for.
Mark the boundary of your cleared area with a small flag or garden stake. That visual reference makes it much easier to notice when new growth appears beyond the line.
When you find a runner, follow it back as far as possible before pulling. Snapping it off at the surface just encourages branching from the broken end underground.
Edging tools with a sharp, flat blade work great for slicing through shallow runners. A quick slice and pull is often all you need for young, thin rhizomes.
Document where you find runners each season with a simple sketch or photo. Patterns often repeat year after year, so knowing where to look saves serious time.
Staying ahead of the edges means the process stays manageable instead of becoming overwhelming again.
8. Repeat Treatment For Several Growing Seasons
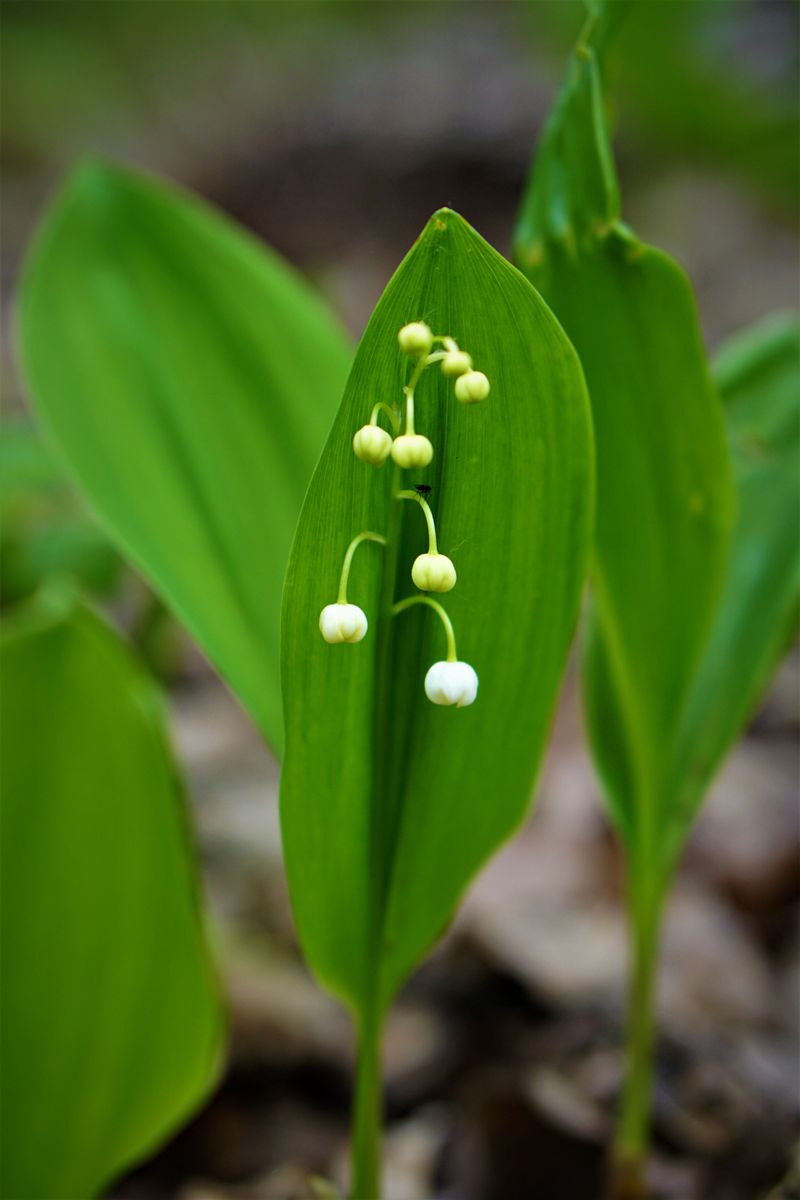
Removing lily of the valley is a marathon, not a sprint. A one-season fix is unlikely, because this plant is capable of persisting through multiple seasons.
Plan for multiple growing seasons of active management, since the exact timeline depends on the size and age of the patch. That timeline sounds long but each season gets noticeably easier than the last.
Keep a simple garden journal to track your progress each year. Notes on where regrowth appeared, what methods worked, and what you skipped are incredibly useful when spring rolls back around.
Don’t declare victory after one clean season. Dormant rhizomes can stay alive in the soil for years before conditions trigger them to sprout again.
Return to your cleared areas every spring with fresh eyes and a hand trowel. Early-season soil checks catch regrowth before it gains any momentum for the year ahead.
Combine methods each season rather than relying on just one approach. Rotating between digging, smothering, and targeted herbicide keeps the plant from adapting to any single strategy.
Celebrate the small wins along the way. A patch that once covered ten square feet shrinking down to scattered sprouts is genuine, measurable progress worth acknowledging.
Invite a neighbor or gardening friend to help during peak removal seasons. Fresh energy and an extra pair of eyes make the process faster and honestly more fun.
Removing lily of the valley completely is absolutely possible with sustained effort. Stay consistent across several seasons and your Wisconsin garden will finally belong to you again.