8 Effective Geranium Propagation Methods For Texas Gardeners
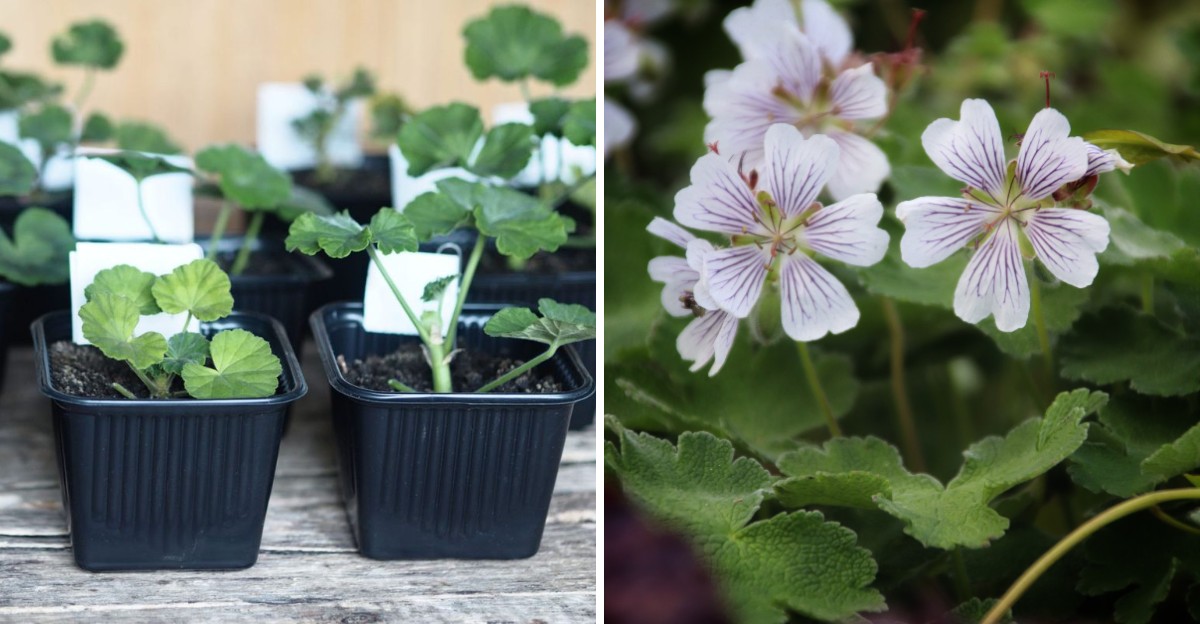
Skip garden center prices for plants you already own. Several of these methods let you duplicate that red bloomer on your porch at very low cost.
Texas autumn hands you a good window, with cool nights and gentle sun. Sharp shears matter more than fertilizer, and you probably own a pair.
Snip a stem tip, strip the lower leaves, and you hold a future plant. Dip the end in rooting hormone, then press it into damp mix.
Frost can arrive in Texas on short notice, so it helps to act promptly. Bright south windowsills protect your cuttings while temperatures vary widely outside.
Roots can appear in just a few weeks if you keep the mix damp. Each cutting you take multiplies your color without touching your budget.
Neighbors will start asking where you found so many. Choose the right stem and you can have rooted cuttings lined up by Thanksgiving.
1. Rooting Stem Cuttings In Plain Water
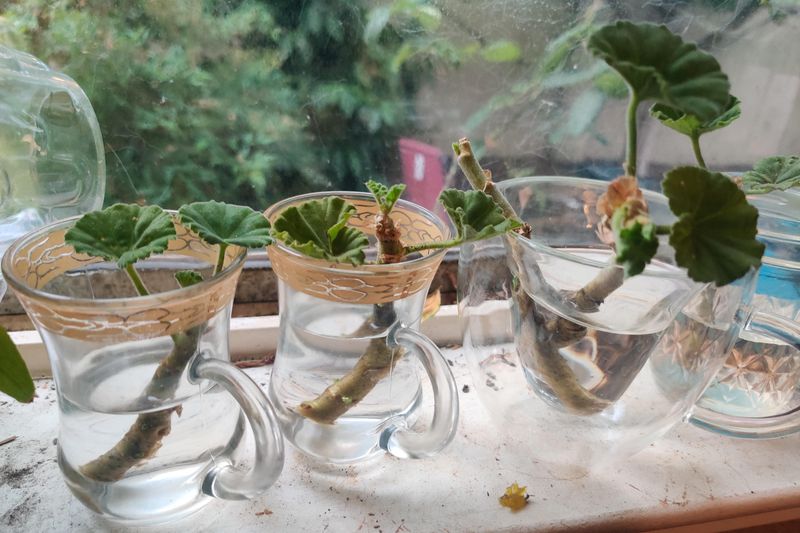
Grandma probably did it with a jelly jar, and she was onto something smart. Water rooting lets you watch new roots develop, though geranium stems can turn soft in water, so check them often.
Start by snipping a healthy stem about four to six inches long. Cut just below a leaf node, which is the little bump where leaves grow.
Next, pull off the lower leaves so only bare stem sits underwater. Soaking leaves turn mushy and can cause problems that spoil the whole jar.
Set the cutting in a clear glass filled with room temperature water. A bright windowsill works well, but keep it away from strong afternoon sun.
Label each jar with the date so you can track which cutting roots first, and compare results later. Several cuttings can share one wide glass, which saves room on a busy sill and makes watering simple.
October is a good time for many Texas gardeners because indoor temperatures tend to stay mild. Cuttings root faster when the air sits between 70 and 75 degrees.
Change the water every two or three days to keep it fresh and clear. Cloudy water means bacteria are growing, so rinse the glass when you see it.
Tiny white roots usually show up within two to four weeks. Wait until they reach about one inch before moving the cutting into soil.
Water roots are softer than soil roots, so the move can feel like a jolt. Keep the new pot slightly moist for the first week while the plant adjusts to its home.
2. Sticking Cuttings Directly Into Potting Mix
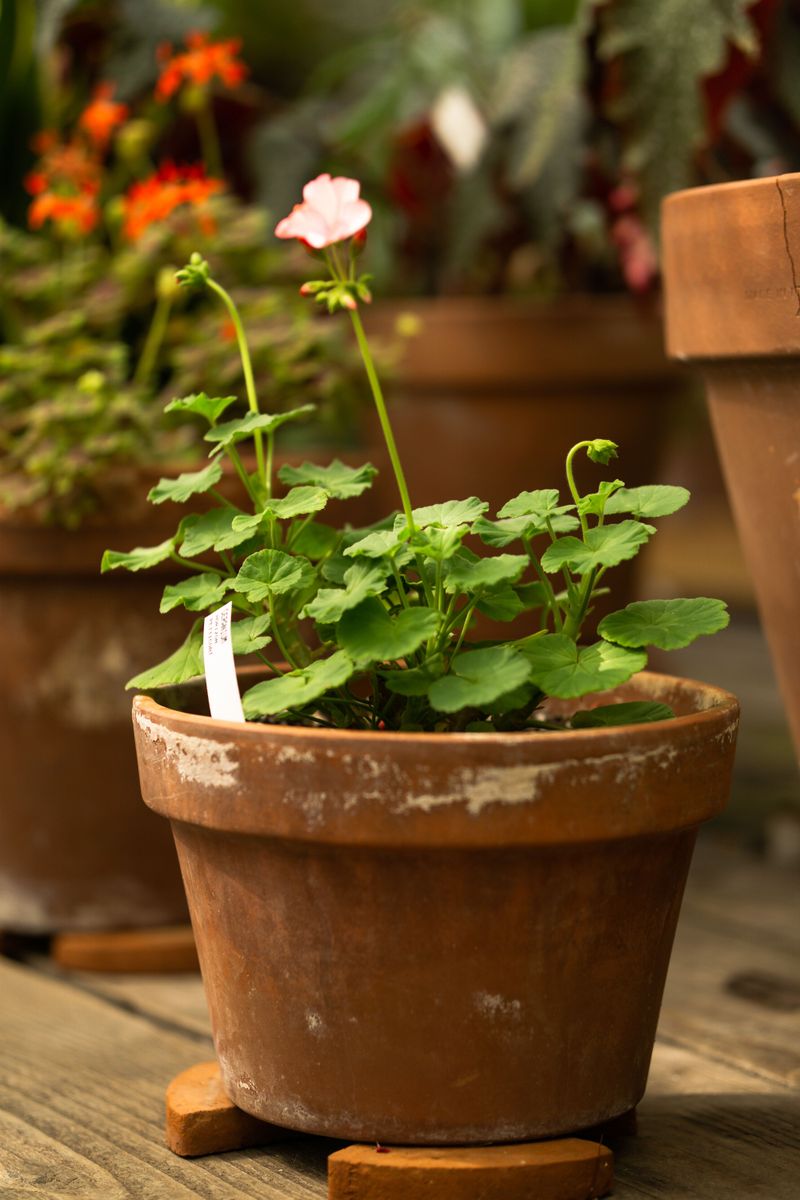
Skip the middleman and plant straight into soil if you like doing things in one step. Some growers report that this method makes sturdier roots from the start.
First, grab a small pot with drainage holes in the bottom. Fill it with a light mix made of potting soil and perlite or coarse sand.
Geraniums dislike soggy feet, so drainage matters a great deal here. Heavy Texas clay soil from the yard holds too much water and can cause root problems.
Your Texas Garden Changes Every Week. Your Plan Should Too.
Gardening in Texas changes quickly throughout the season. Every Friday you’ll receive a simple weekly plan showing exactly what to plant, prune, fertilize, harvest, and protect so you never miss the right timing.
Take a cutting about five inches long and remove the bottom leaves. Let it sit out for a few hours so the cut end dries slightly.
That dry, sealed end acts like a little bandage against fungus. Pros call this callusing, and it helps cuttings resist decay in damp soil.
Poke a hole with a pencil and slide the stem in about two inches deep. Firm the soil gently around it so the cutting stands up straight.
Water once, then let the top inch of soil dry before watering again. Too much love from the watering can is a top reason soil cuttings struggle.
Group several pots on a tray so you can move them together as the weather shifts. Label each pot with the variety name, because young cuttings of different colors look surprisingly alike for several weeks.
Place the pot in bright, indirect light on a covered porch or inside. Give a soft tug after three to six weeks, and resistance means roots have taken hold.
3. Dipping Cuttings In Rooting Hormone
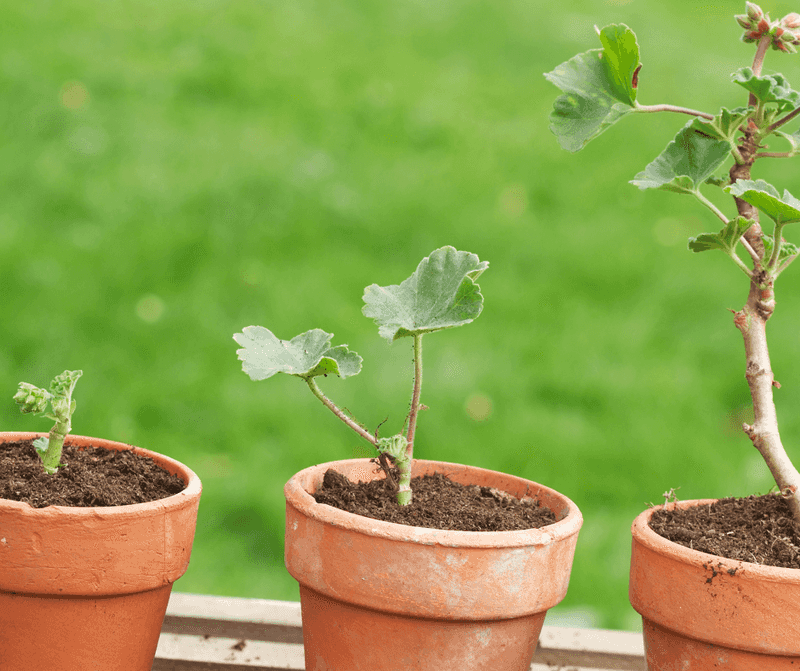
Think of rooting hormone as a helpful signal that nudges your cuttings to form roots. A quick dip can modestly speed up root growth and improve your success rate.
You can often find rooting powder or gel at Texas garden centers at a modest price. One small jar can last a home gardener a year or two if you store it well.
Check the expiration date on the jar before buying, since old powder loses its strength over time. Gel versions cling well to stems, while powders suit quick work on a busy afternoon with many cuttings.
Pour a little powder into a separate dish before you start. Dipping straight into the jar can spread contamination to the whole supply.
Moisten the cut end of your stem with a touch of water. Then dip about half an inch of the stem into the powder and tap off the extra.
A thin, even coat works better than a thick crust. Too much hormone can actually slow things down instead of helping.
Plant the dipped cutting into moist, well-draining mix right away. Use a pencil to make the hole so the powder does not rub off.
Some growers find geraniums root fine without any help at all. Hormone can help with rare varieties. Check the plant tag first, since some patented types prohibit propagation.
Some older heirloom kinds can be slow to root. A dose of hormone gives them a better shot before the cooler months arrive.
4. Growing Seeds Indoors For Spring Color
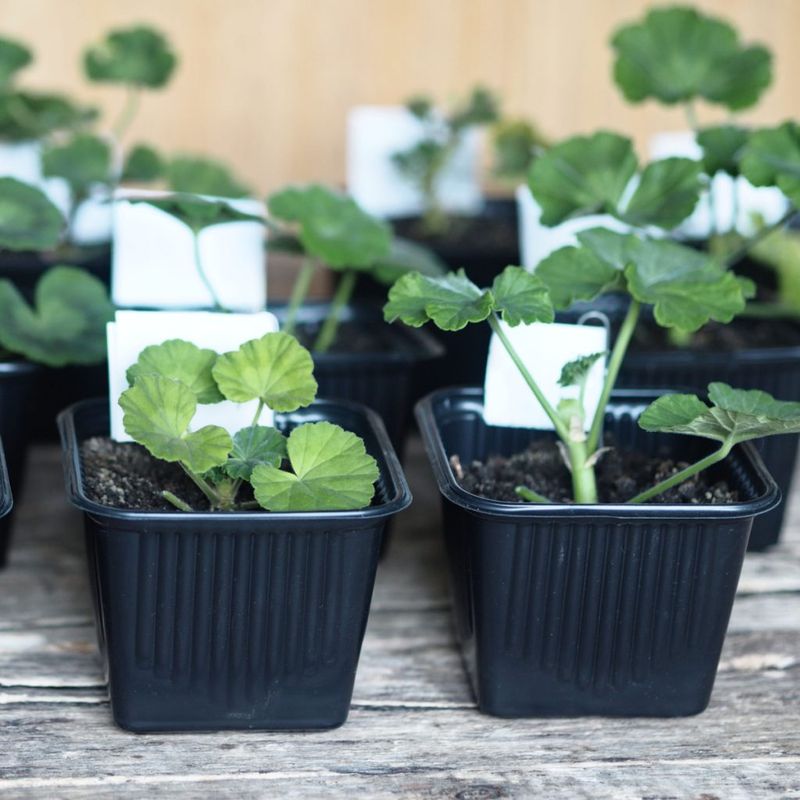
Here is a project for the patient planner who loves a long game. Starting from seed takes time, but it rewards you with many plants at a low cost each.
Fresh seed sprouts more reliably, so buy packets stamped with the current year. Seeds do not make exact copies, so use cuttings when you want a match, and enjoy the surprise colors from each tray.
Seed-grown geraniums need about 13 to 15 weeks before they bloom. For Texas gardeners, that means sowing indoors in late fall or early winter.
Fill a seed tray with fine, damp seed starting mix. Press each seed lightly into the surface and cover with a thin dusting of soil.
Warmth helps these seeds wake up faster. Try placing the tray on a heat mat set to around 72 degrees.
Cover the tray with a clear dome to hold moisture in. Little sprouts often pop up within one to three weeks.
Once green shows, remove the dome and give them strong light. A grow light hung a few inches above works better than a dim window.
Seedlings stretch and flop when light is too weak. Run the light about 14 hours a day for short, stocky little plants.
Move them into bigger pots when they have two or three true leaves. By March, you will have a whole crew ready for porches and flower beds across your yard.
5. Dividing Mature Clumps Of Hardy Types
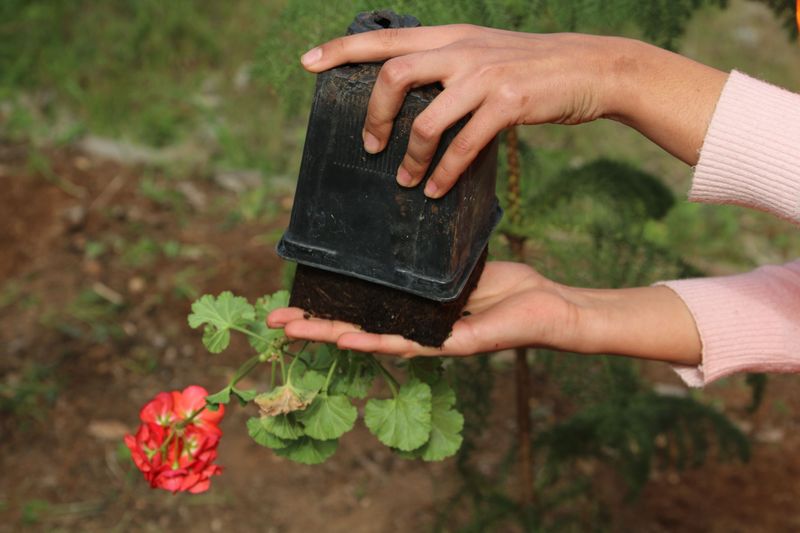
Potted porch geraniums are a different genus from hardy ones, and only the hardy kind divides well. True hardy geraniums, often called cranesbills, spread in leafy clumps that love to be split.
Fall is prime time for dividing in much of Texas. Cooler air and softer sun let new divisions settle in without summer stress.
Divide clumps once they crowd their space, usually after three to five seasons, which keeps the center from thinning out. Share extra divisions with neighbors, and wrap bare-root pieces in damp newspaper for short trips.
Water the plant well a day before you dig. Moist soil holds together better and protects the roots during the move.
Use a sharp spade to dig around the whole clump. Lift it out gently and shake off some soil so you can see the root ball.
Now slice the clump into sections with a knife or spade. Each piece should have healthy roots and at least a few leafy shoots.
Replant the divisions right away at the same depth they grew before. Space them about a foot apart so they have room to fill in.
Many hardy types appreciate afternoon shade in Texas, so ask your local extension office which varieties suit your region. Gulf Coast heat can be challenging for them, so pick a cooler spot.
Water the new divisions deeply and add a light layer of mulch. By spring, one older clump can become several healthy ones.
6. Layering Low Stems Into The Soil
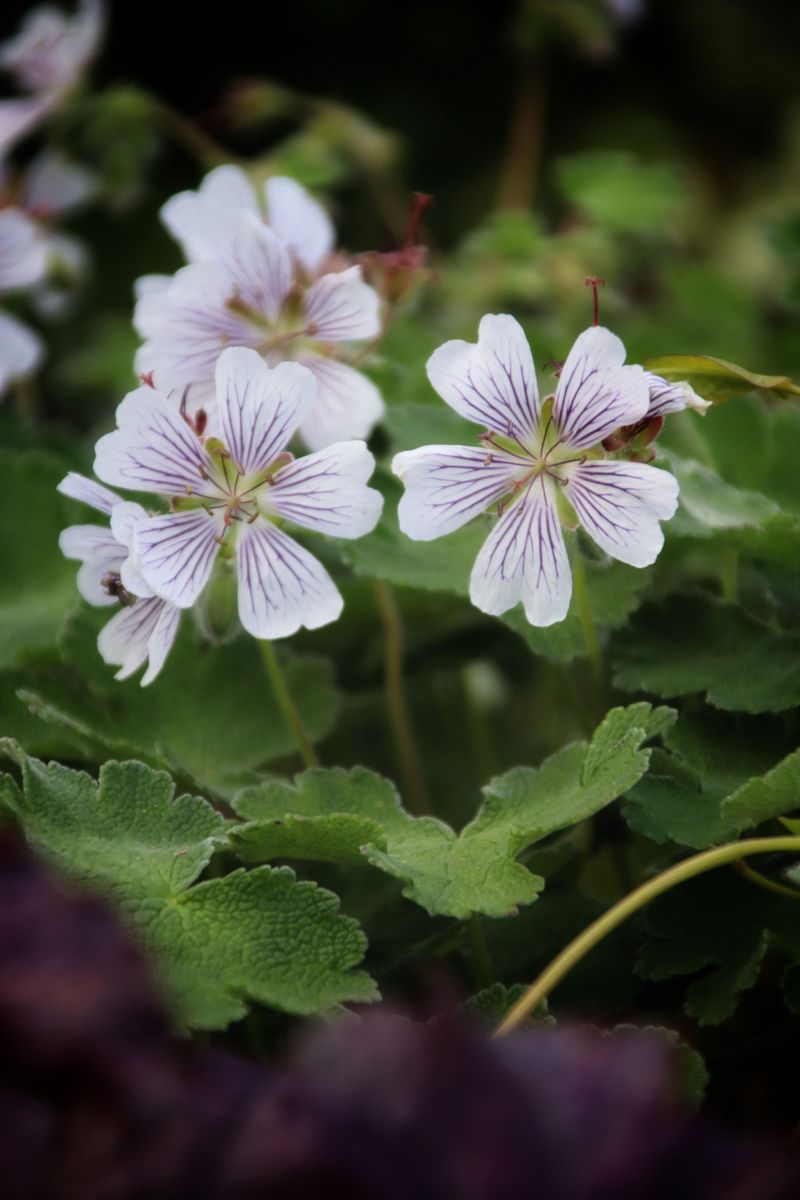
Sometimes the plant does the hard work while you just give it a nudge. Layering lets a stem grow roots while it is still attached to mom.
Look for a long, flexible stem growing close to the ground. Ivy geraniums and other trailing types may respond to this trick, though cuttings remain the more common method.
Gently bend the stem down until a section touches the soil. Scrape a tiny bit of the outer skin where it meets the dirt.
That small scratch encourages roots to form at that spot. A sprinkle of rooting hormone can help, though it is optional.
Choose a spot where the stem rests naturally, so it does not spring back up, or use a pot of soil nearby. A small rock placed on top of the pinned stem adds extra steadiness on windy days.
Pin the stem down with a bent wire or landscape staple. Cover the pinned area with an inch of loose soil and pat it down.
Keep the soil lightly moist while roots develop over a few weeks. The parent plant keeps feeding the stem, so it stays healthy and strong.
Layering feels low-risk because you cut the stem only after roots form. Beginners often like it for exactly that reason.
After four to six weeks, check for roots by brushing soil aside. Snip the stem from the parent, then move your new plant to its own pot. This method is simple, and fancy supplies are not needed.
7. Overwintering Mother Plants For Spring Cuttings
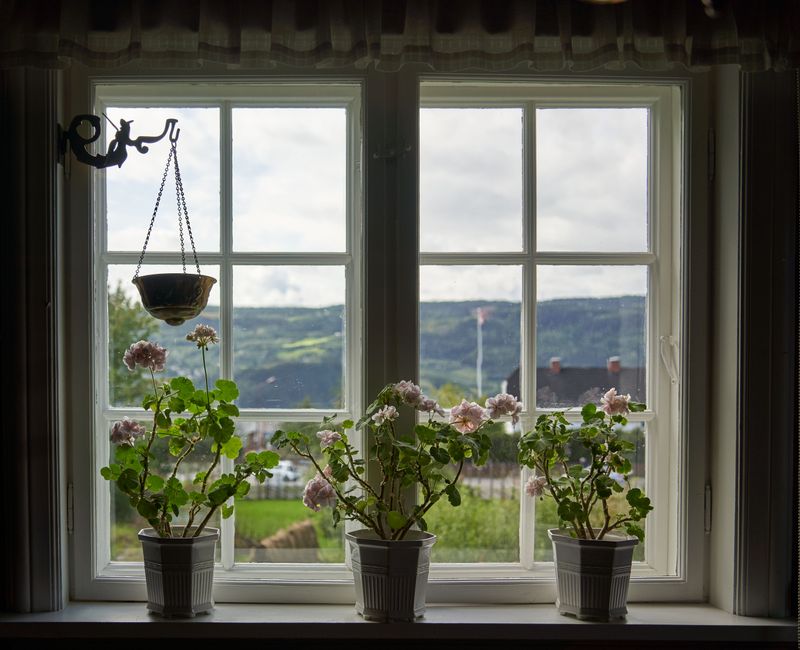
Texas winters can surprise you with a hard freeze right after a warm week. Saving a few strong plants now gives you a cutting factory come spring.
Pick your healthiest, bushiest geraniums before the first frost hits. In North Texas that can happen in November, while the Gulf Coast sees frost later, so check your local forecast.
Trim each plant back by about one third before bringing it inside. Check under leaves for bugs so you do not invite pests into the house.
Wash each pot with soapy water before moving plants indoors to keep hitchhiking pests out of your home. Rotate the pots a quarter turn weekly so the stems grow upright and balanced toward the bright window.
Set the pots near your sunniest window, ideally facing south. These plants want at least six hours of light to stay compact.
Cut back on water during the winter months. Let the soil dry out a bit between drinks since growth slows down indoors.
Skip fertilizer until late winter when days grow longer. Feeding too early pushes weak, stretchy growth that flops over.
Around February, your mother plants will start pushing fresh green shoots. Those new tips make strong, healthy cuttings.
Take cuttings from the soft new growth and root them using any method you like. One overwintered plant can often give you many new plants for spring beds. Gardeners have used this trick for generations, and it remains effective.
8. Building A Humidity Tent For Tricky Varieties
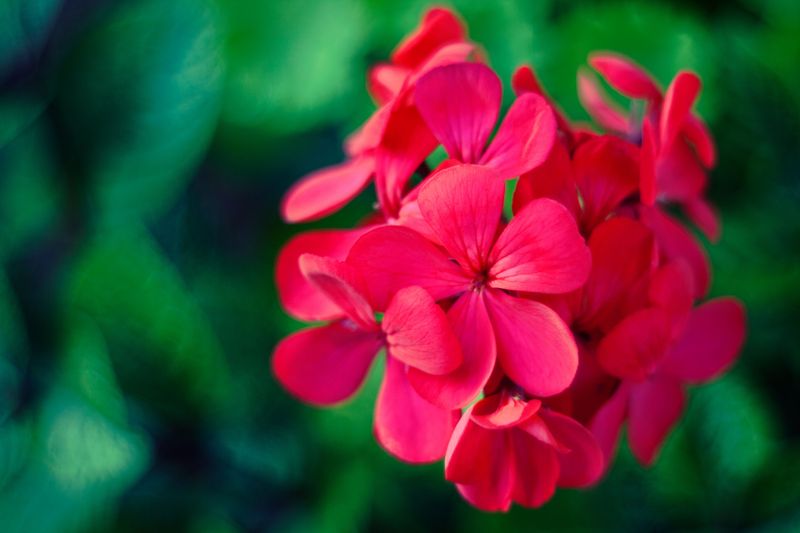
Some fancy geraniums can be more demanding when it comes to rooting. A loosely vented humidity tent may help them root, though fresh airflow matters.
Regal geraniums, also called Martha Washington types, are known for being more demanding. Their cuttings tend to wilt fast in dry indoor air.
To build a tent, plant your cuttings in moist, well-draining mix. Push a few chopsticks or wooden skewers into the pot around the edges.
Slide a clear plastic bag over the top so it rests on the sticks. The bag should not touch the leaves, since that can trap too much moisture.
This little greenhouse holds humidity close to the cuttings. Leaves stay perky while the stems focus their energy on making roots.
Skip extra misting inside the bag, since a damp tent can encourage mold and rot. Take a quick photo each week to document progress, and share it with fellow gardeners for tips.
Keep an eye out for heavy droplets or fuzzy mold inside. Open the bag for an hour each day to let fresh air circulate.
Place the setup in bright, indirect light and away from heaters. Direct sun can overheat the tent very quickly.
After about three weeks, start leaving the bag open longer each day. This slow change helps your new plants toughen up for normal room air. With some care, even a demanding variety can root and be ready to share.