7 November Basil Jobs To Do In Texas Before The First Freeze
A single chilly night in the low forties can turn a lush herb patch into limp black leaves by breakfast. Nobody warned me that frost itself is not required for this sad little transformation to happen.
Across Texas, the first freeze usually lands sometime in November, though dates swing widely from Amarillo to Brownsville. That timing means many gardeners still have fragrant green plants standing tall while the calendar quietly runs out.
I have to admit, I once ignored the forecast and lost a whole summer of flavor overnight. You need a plan before cold fronts come barreling down across Texas, and luckily the plan is simple and fun.
The most interesting part is how much of that summer scent you can save for winter cooking. Which of these easy jobs will keep your kitchen smelling like July when the garden finally goes quiet?
1. Harvest Every Last Basil Leaf Before Cold Nights
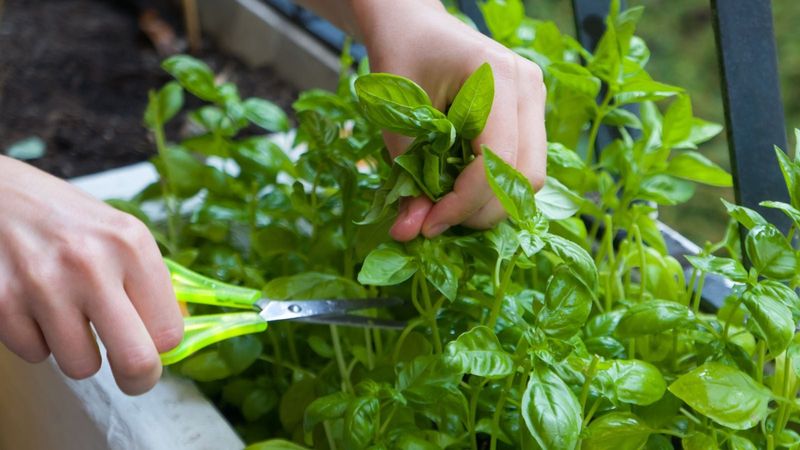
Basil starts sulking long before frost arrives, and leaves can blacken once nights slide into the forties. I treat the first cool forecast like a dinner bell, grabbing scissors and a basket before the weather changes its mind.
Morning is my favorite time to pick, right after the dew dries but before strong afternoon sun arrives.
Aromatic oils run high at that hour, so your harvest smells brighter and tastes noticeably sweeter in the kitchen later.
Clean, sharp scissors or garden snips make tidy cuts that bruise fewer stems as you work along each plant. Snip just above a pair of leaves, since that habit has been encouraging bushy regrowth since early summer.
Once a frost or steady forties shows up in the forecast, it makes sense to harvest the entire plant. You can cut stems near the base or pull the whole plant, then strip leaves at the kitchen counter.
Watch the local forecast closely, because the Panhandle often chills weeks earlier than the Rio Grande Valley does.
A free weather app with low temperature alerts saved my crop last year when a sneaky norther blew through.
Spread your haul loosely in a shallow basket instead of cramming it into a plastic bag right away. Packed leaves trap heat and moisture, which leads to dark spots and soggy patches surprisingly fast on a warm counter.
Personally, I love how the whole kitchen smells sweet and peppery for hours after a big harvest. That fragrance makes the next few preserving jobs feel like a treat rather than another chore on the list.
2. Carry Potted Basil Indoors To A Sunny Window
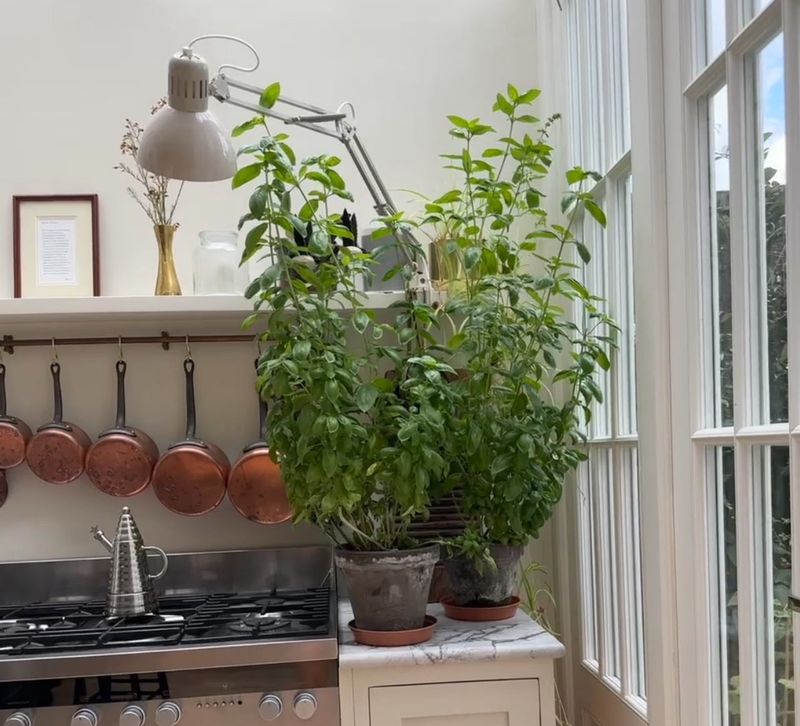
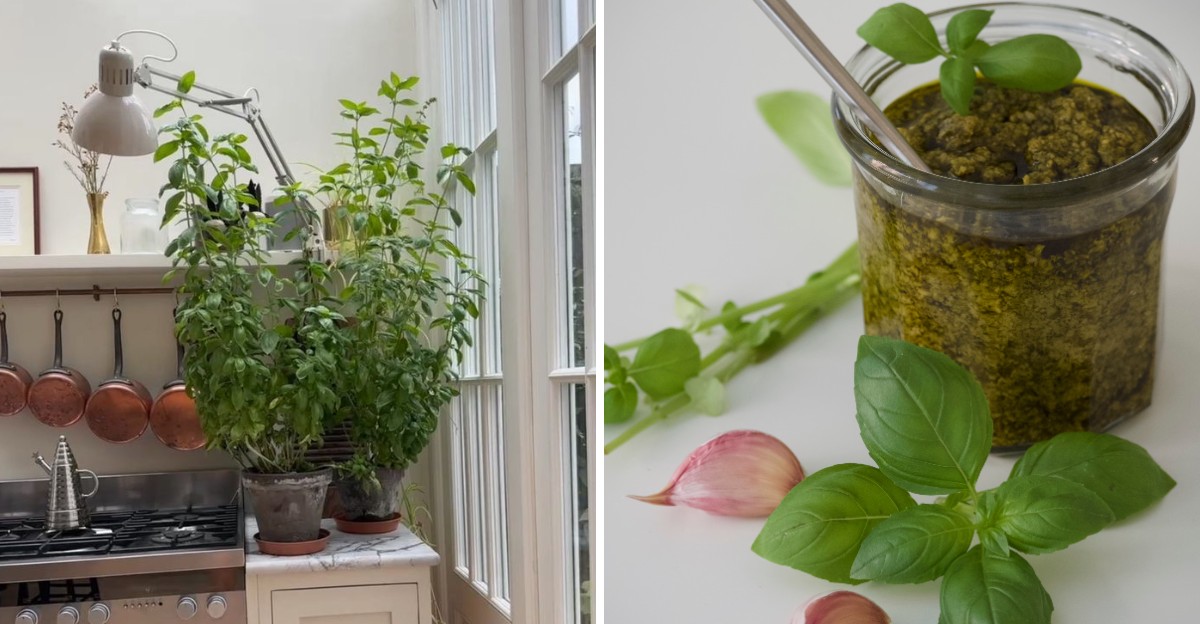
Container basil has a huge advantage over its garden cousins because it can simply walk inside with you. I like how a single trip through the back door can stretch the season for weeks or even months.
Move pots indoors before nights settle into the forties, since cold damage often starts well above freezing.
Check leaves and stems for aphids or whiteflies first, because tiny hitchhikers multiply quickly in warm indoor rooms.
Light is the biggest challenge once basil comes inside, and a bright south-facing window works best for most homes. Short winter days can leave plants stretched and pale, so a simple LED grow light helps a great deal.
Water less often than you did during summer, letting the top inch of soil dry before soaking again. Soggy roots in cool rooms invite rot, and that problem shows up faster than most gardeners expect indoors.
Keep the pot away from heater vents and cold drafty doors, since basil dislikes sudden temperature swings.
Room temperatures in the upper sixties to seventies keep leaves glossy and growing at a slow, steady pace through winter.
Pinch flower buds as soon as they appear, because blooming signals the plant to slow leaf production noticeably. You might notice indoor basil grows more slowly, yet a few fresh leaves for winter pasta still feel like magic.
Believe it or not, some Texas gardeners keep the same pot going until spring planting time arrives again. Even if yours fades by January, those extra weeks of fresh snipping make the effort feel completely worthwhile and fun.
3. Blend Fresh Basil Into Freezer Pesto Batches
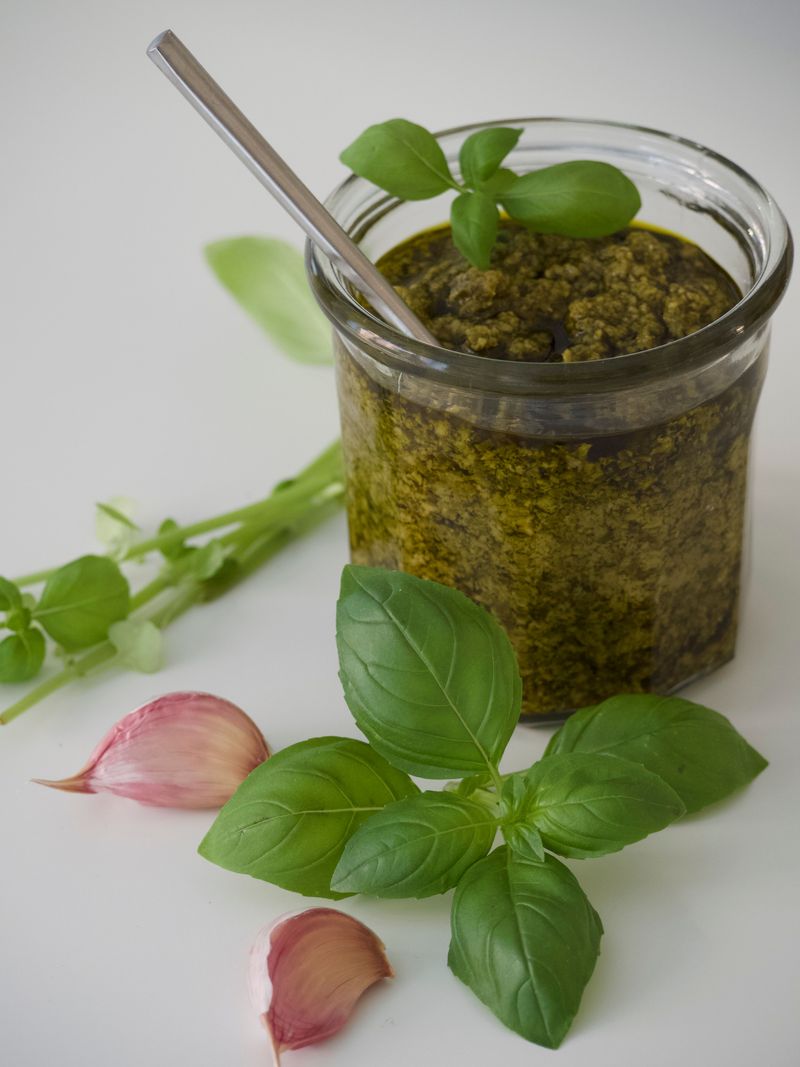
Pesto might be the tastiest insurance policy a basil grower can buy before cold weather arrives in force. I believe nothing beats opening the freezer in February and finding little green cubes waiting for a quick supper.
Classic pesto blends fresh basil with olive oil, garlic, nuts, and grated cheese until it turns smooth and bright.
Pine nuts are traditional, though walnuts, pecans, or even sunflower seeds work nicely and often cost much less.
Many cooks leave out the cheese before freezing, then stir it in after thawing for better texture.
That small trick keeps the sauce from turning grainy, though plenty of people freeze the finished version with tasty results.
Spoon pesto into ice cube trays or small containers, then smooth the tops so air pockets stay small. A thin layer of olive oil across the surface helps keep that lovely green color from darkening in storage.
Once cubes freeze solid, pop them into labeled freezer bags and squeeze out as much air as possible. Most sources suggest using frozen pesto within several months for the best flavor, so write the date on each bag.
Toss a cube or two straight into hot pasta, soup, or scrambled eggs without thawing first at all. You’ll wonder why you didn’t try this sooner, because weeknight dinners suddenly taste like a sunny summer afternoon.
Here’s a fun twist worth trying this year with a little extra basil and some leftover garden produce. Swap half the basil for parsley or spinach, which stretches your harvest while keeping that cheerful green color intact.
4. Flash Freeze Whole Basil Leaves On A Baking Sheet
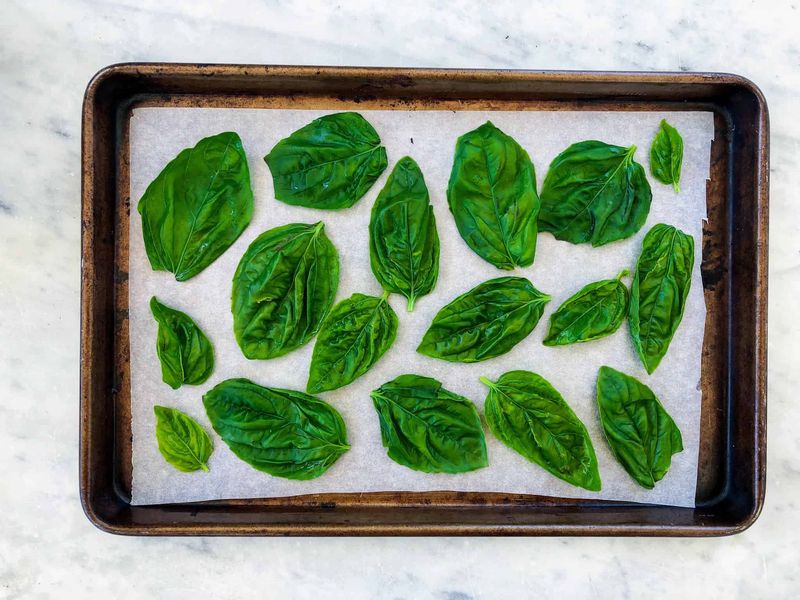
Some days I just want the leaves frozen without any blender cleanup afterward, and flash freezing fits that mood. It takes about ten minutes of hands-on work, plus a little patience while the freezer does its quiet job.
Start by washing leaves gently in cool water to remove dust, soil specks, and any tiny insects.
Drying them thoroughly matters most here, since extra moisture forms ice crystals that clump leaves together in the bag.
A salad spinner works wonders, followed by a gentle pat with clean kitchen towels until leaves feel dry. I lay mine out on towels for a few minutes longer, especially after a muggy morning harvest outside.
Spread the dry leaves in a single layer across a baking sheet lined with parchment paper or wax paper. Slide the tray into the freezer until each leaf feels stiff, which usually takes an hour or so.
Transfer the frozen leaves quickly into airtight freezer bags or containers, pressing out extra air before sealing them. Work fast during this step, because thin basil leaves soften within moments once they leave the cold freezer air.
Thawed leaves turn dark and floppy, so they shine brightest in cooked dishes rather than fresh salads. Drop a handful into simmering tomato sauce, vegetable soup, or a pot of beans for a quick flavor lift.
To my surprise, the aroma holds up better this way than many dried herbs from the store shelf. Some cooks blanch leaves for a few seconds first, which helps keep the color greener during longer freezer storage.
5. Freeze Chopped Basil In Olive Oil Cubes
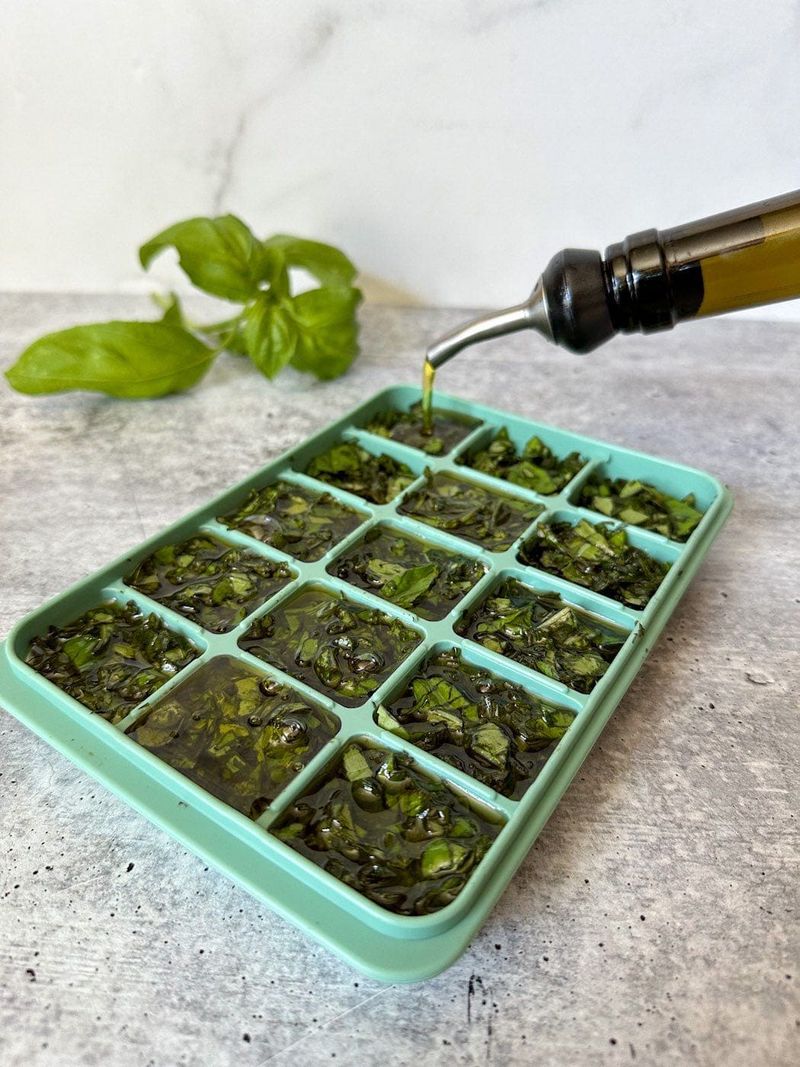
Chopped basil tucked into olive oil cubes feels like a secret weapon for busy weeknight cooks everywhere. Every cube arrives pre-measured, so you can skip the chopping board and toss flavor straight into the skillet.
Wash and dry your leaves well, then chop them by hand or pulse them briefly in a food processor. Aim for small pieces rather than a paste, since chunkier bits keep more texture after thawing in hot dishes.
A handy ratio is about two teaspoons of olive or vegetable oil for each quarter cup of chopped basil. The oil coats every piece, which helps slow browning and keeps those cubes tasting fresh for several months.
Spoon the mixture into ice cube trays, pressing gently so each compartment fills evenly without big gaps. Freeze until solid, then pop the cubes out and store them in an airtight container or freezer bag.
Food safety experts warn against storing garlic or herbs in oil at room temperature or in the fridge long term.
Keeping these cubes frozen solid avoids that concern, so use them straight from the freezer into your cooking pan.
I love how one cube melts into sizzling onions and instantly makes the whole kitchen smell like summer. They also work beautifully in roasted vegetables, homemade soups, and quick garlic bread on a chilly evening.
Silicone trays make removal easier than stiff plastic ones, so they are worth grabbing if you freeze herbs often.
Label everything clearly, because green oil cubes look surprisingly similar to frozen pesto after a few weeks.
6. Hang Basil Bundles To Dry Indoors
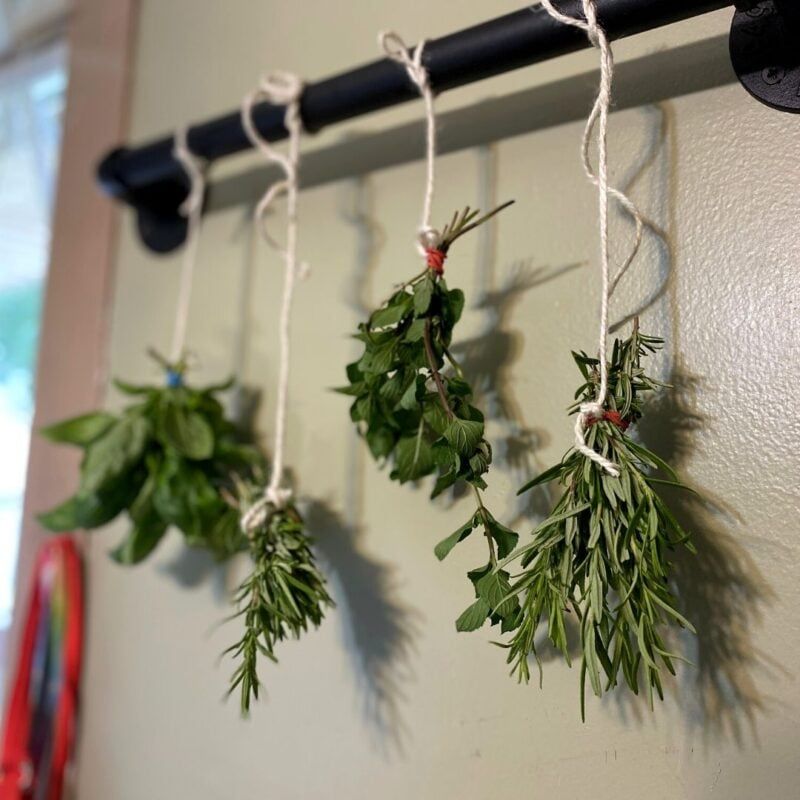
Grandma’s kitchen rafters probably had herb bundles dangling overhead, and there is a good reason that habit lasted.
Drying basil takes almost zero equipment, though it does lose some flavor compared with the freezer methods above.
Gather stems into small bunches of five or six, tying the ends together with twine or a rubber band. Small bundles matter, because thick clumps hold moisture in the center and can develop mold before drying finishes.
Hang the bunches upside down in a dark, dry, well-ventilated spot away from direct sunlight and steamy stoves. A pantry, spare closet, or laundry room corner often works nicely, as long as the air moves freely.
Humid regions like the Gulf Coast can make air drying slow and tricky, even during cooler fall weather. A food dehydrator on a low herb setting offers a reliable backup when the air simply refuses to cooperate.
Most bundles need around two weeks before leaves feel brittle and crumble easily between your fingers.
Strip the leaves from stems over a clean bowl, keeping pieces fairly large to protect the remaining aromatic oils inside.
Store dried basil in airtight glass jars tucked away from heat and light, such as inside a cool cabinet. Crush leaves only right before cooking, since whole pieces hold their scent noticeably longer than finely ground ones.
Honestly, dried basil will not taste quite like fresh, yet it still adds warm, earthy notes to long-simmered dishes.
Sprinkle it into chili, stews, or homemade pizza sauce when winter cravings call for something cozy and familiar.
7. Root Basil Cuttings In A Glass Of Water
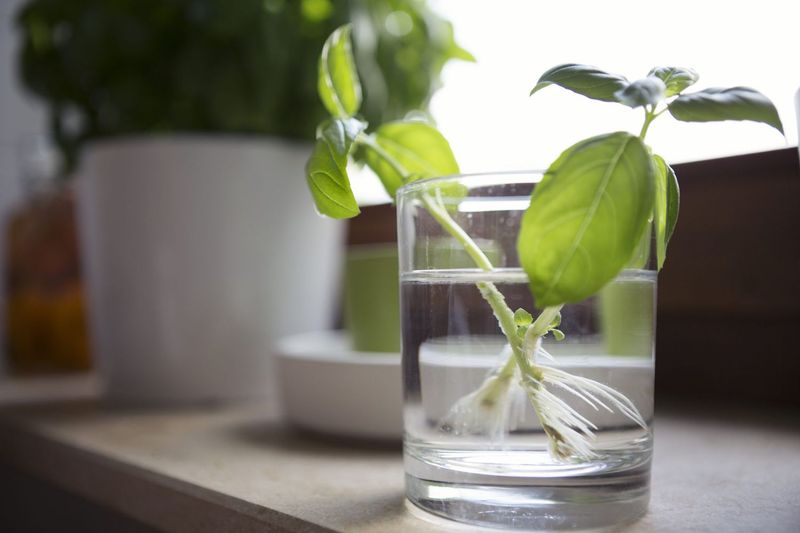
Watching basil sprout roots in a plain drinking glass never gets old, and kids find it fascinating too. I used to walk right past this trick, until a single cutting gave me fresh leaves through most of winter.
Choose healthy, non-flowering stems about four to six inches long, snipping just below a leaf node. Those little bumps where leaves attach hold the cells most likely to produce new roots within a short time.
Remove the lower leaves so only a few sets remain near the tip of each stem cutting. Leaves sitting underwater turn slimy and cloudy quickly, so keep every leaf above the surface at all times.
Set the glass in bright, indirect light and change the water every couple of days to keep it fresh. Roots often appear within one to two weeks, looking like thin white threads curling around the bottom.
Once roots reach an inch or two long, plant each cutting in a small pot with quality potting mix. Water gently and keep the soil lightly moist while the young plant settles into its new home indoors.
Take these cuttings before cold snaps arrive, since stressed or chilled stems root less reliably than healthy ones.
Even gardeners in warmer parts of Texas benefit, because a sudden freeze can still sneak in during late fall.
Come spring, rooted cuttings can return outdoors after frost danger passes and soil warms back up again. I truly believe this is the most rewarding job on the list, since one stem can restart an entire Texas garden.