The October Lavender Task Most Texas Gardeners Forget
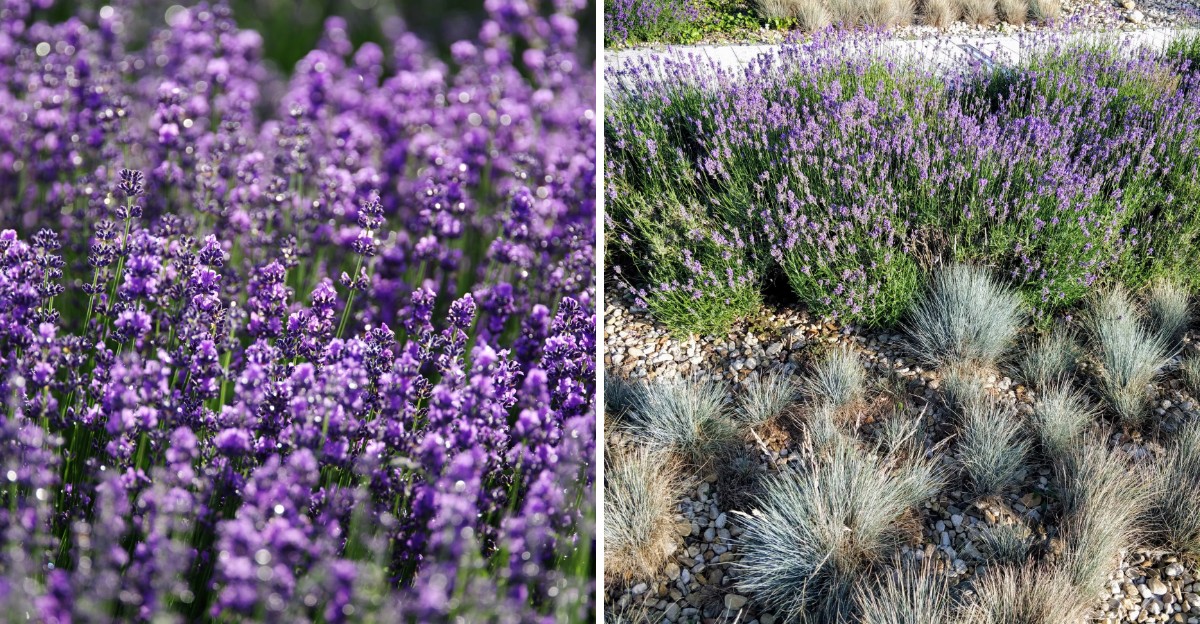
Lavender grows wild on sunny, rocky hillsides around the Mediterranean, where summers are dry and the soil drains in a flash.
Texas offers plenty of sunshine, but our humidity, heavy soils, and soggy winter spells are a different matter. That’s why lavender can be so frustrating here.
Many Texas gardeners manage to get their plants through the brutal summer, only to watch them turn gray, floppy, and sad over the winter. The heat isn’t what does them in.
More often, it’s moisture lingering around the base of the plant during cool, damp months. Once that happens, rot can set in quickly and spread through the whole plant.
One simple change in October can help solve the problem. It’s quick, inexpensive, and it gives lavender something much closer to the conditions it loves.
A healthier, fuller plant next spring could be your reward.
Swap Organic Mulch For Gravel
Most gardening advice tells you to pile on mulch. For tomatoes and roses, that works great. For lavender, it can quietly cause big trouble.
Wood chips, shredded bark, pine straw, and leaf mulch all do one main job. They hold moisture in the soil.
That sounds helpful, but lavender does not want damp feet. When wet mulch sits against its woody stems and roots, it creates a soggy zone that stays wet for days after a rain.
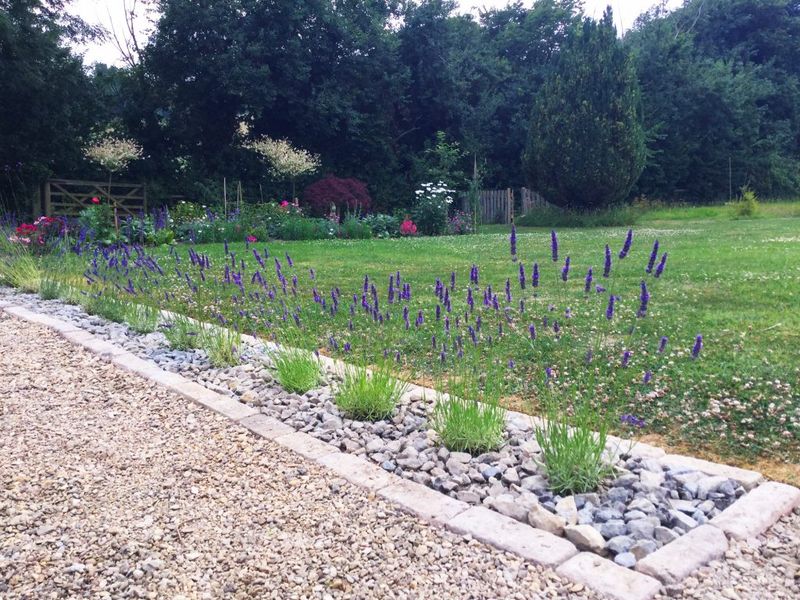
The simple fix is to swap that organic mulch for gravel. Gravel does not soak up water like wood does.
Rain runs through it fast, and the surface dries out quickly in the sun. Your lavender gets the dry, airy base it has always wanted.
October is a smart time to make the change. Summer heat is fading, and fall rains are on the way. If you swap now, your plant will be ready before the wettest and coolest months arrive.
Gravel has other perks too. It keeps weeds down, just like regular mulch. It does not break down, so you will not need to replace it every year. It also gives your garden a clean, tidy look that fits right in with Texas native plants.
Fun fact: in southern France, where lavender fields are famous, many plants grow in rocky, chalky ground. Some fields look almost like gravel driveways with purple rows on top. Your backyard can copy that same idea on a smaller scale.
So take a look at your lavender this week. If you see a thick blanket of bark or chips, it is time to make a switch your plant will thank you for.
Why Moisture Is Lavender’s Biggest Enemy In Texas
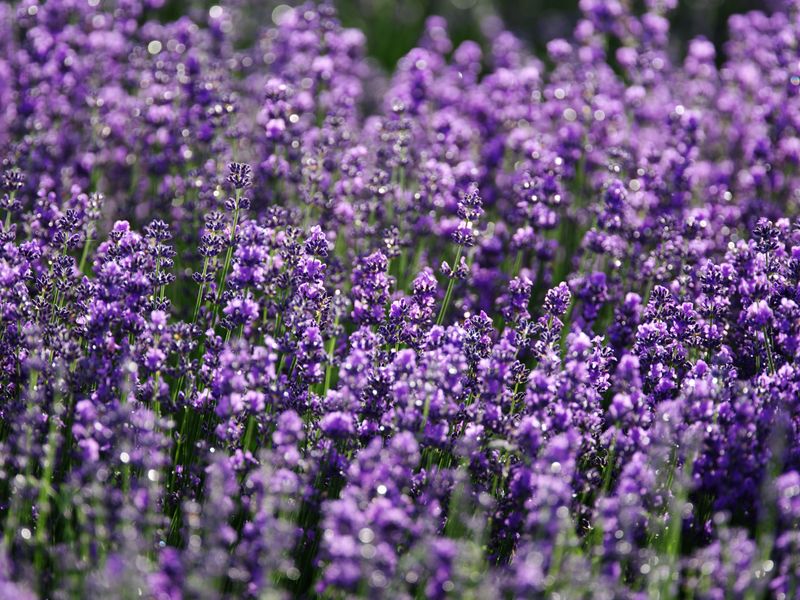
Here is a surprising truth. Lavender can handle a blazing Texas July better than a rainy Texas December.
That is because lavender comes from the Mediterranean region. Summers there are hot and dry, and the soil is thin and rocky.
Water drains away almost as soon as it falls. The plant built its whole life around that kind of dry ground.
Your Texas Garden Changes Every Week. Your Plan Should Too.
Gardening in Texas changes quickly throughout the season. Every Friday you’ll receive a simple weekly plan showing exactly what to plant, prune, fertilize, harvest, and protect so you never miss the right timing.
Texas is a different story. Many parts of the state have heavy clay soil, often called gumbo or blackland clay. Clay is made of tiny, tightly packed bits. Water moves through it very slowly, so roots can sit wet for a long time.
Now add humidity. East Texas and the Gulf Coast stay muggy much of the year. Even Central Texas gets damp spells in fall and winter. Cool air means water evaporates slowly, so the ground stays soggy longer.
All that wetness invites trouble. Root rot and crown rot are fungal problems that love damp, airless soil.
The crown is the spot where the stems meet the roots. Once rot sets in there, the plant often turns gray or brown and never bounces back.
Many gardeners blame a cold snap when they lose lavender. In truth, wet roots are a far more common cause in Texas. Cold air alone rarely does the damage. Cold plus soggy soil is the real problem.
Knowing this changes how you care for your plant. Instead of asking how to keep lavender warm, ask how to keep it dry. Every tip in this list points back to that one simple goal.
How To Apply Gravel The Right Way
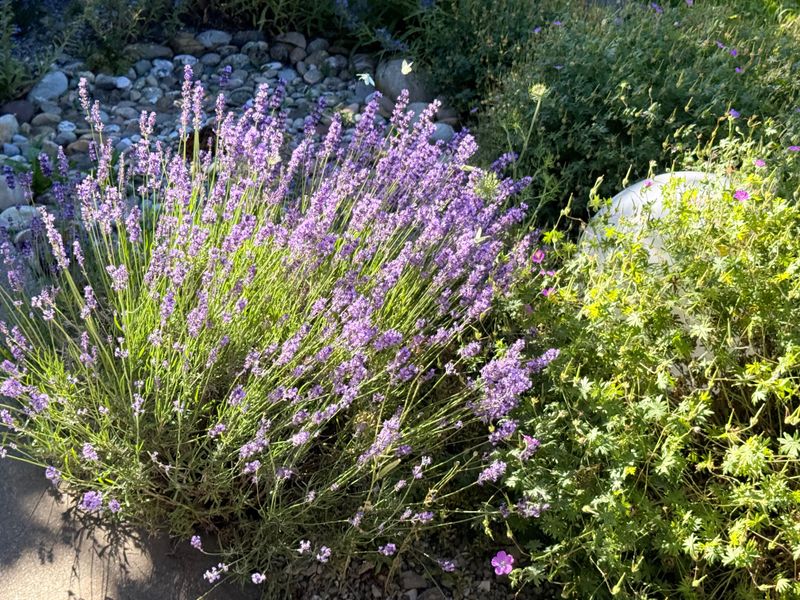
Good news first. Spreading gravel is one of the easiest garden jobs you will ever do. You only need a rake, some gloves, and a bag or two of rock.
Start by pulling the old mulch away from your lavender. Use your hands or a small rake. Clear a circle about one to two feet wide around the base. Toss the old chips into a flower bed that likes moisture, so nothing goes to waste.
Next, choose your gravel. Pea gravel is smooth and round, with a soft look. Decomposed granite, often called DG, is popular in Texas and comes in warm tan and pink colors.
Crushed limestone is another great pick, and lavender happens to enjoy the slightly alkaline touch it adds.
Spread the gravel about one to two inches deep. Do not go thicker than that. A thin layer drains fast and dries quickly. Gently tuck it close to the stems, but do not bury the crown.
There is a bonus you might not expect. Light-colored gravel reflects sunlight and warmth back up onto the plant.
On a chilly winter morning, that little boost of heat helps. It also mimics the bright, rocky hillsides where lavender feels most at home.
A quick tip: rinse dusty gravel before you spread it. Fine dust can pack down and slow drainage. A bucket and a hose take care of it in minutes.
Most bags cost just a few dollars at any garden center. For one or two plants, a single bag is often enough. That is a small price for a happier, healthier lavender.
Check Your Drainage While You’re At It
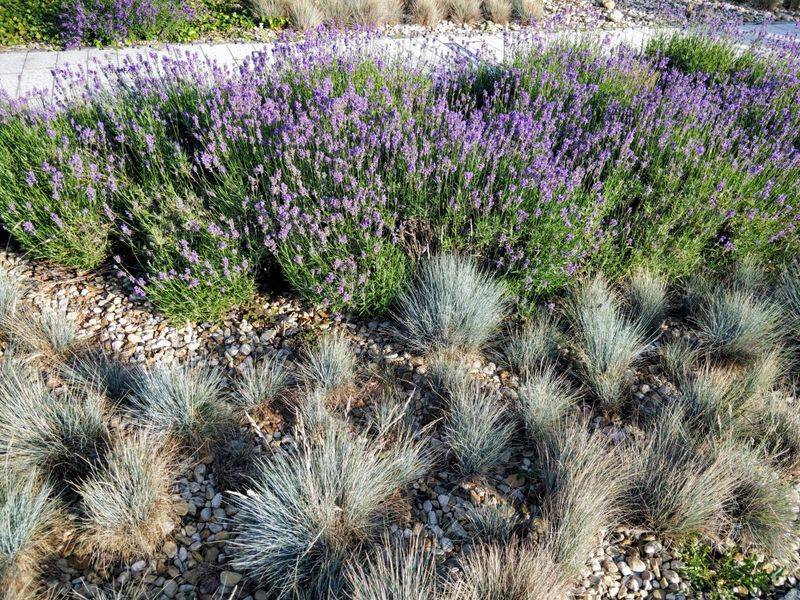
Grab a cup of coffee and go outside after the next good rain. Look closely at the ground around your lavender. What you see will tell you a lot.
If the water soaks in within an hour or so, your drainage is in good shape. If puddles hang around for half a day, your lavender is sitting in a bathtub. Gravel on top helps, but it cannot fix soggy soil below.
One easy fix is planting on a mound. Build a hill of soil about eight to twelve inches high, then set the lavender on top. Water naturally runs downhill and away from the roots. Many Hill Country lavender farms use this same trick.
Raised beds work well too. A bed that sits above ground level drains much faster than flat ground. Fill it with a gritty mix instead of rich, heavy garden soil.
Got clay? You can loosen it up with coarse materials. Expanded shale is a lightweight, crunchy rock product that Texas gardeners love. Mix it into the soil along with some gravel or coarse sand.
These chunky bits create air pockets so water can escape. Skip fine play sand, though. Mixed with clay, it can turn into something closer to brick. Coarse is the key word here.
October is actually a fine time to replant if needed. The soil is still warm, so roots can settle in before winter. Dig gently, keep as much of the root ball as possible, and water once to settle the plant. After that, let nature take over.
Cut Back On Watering
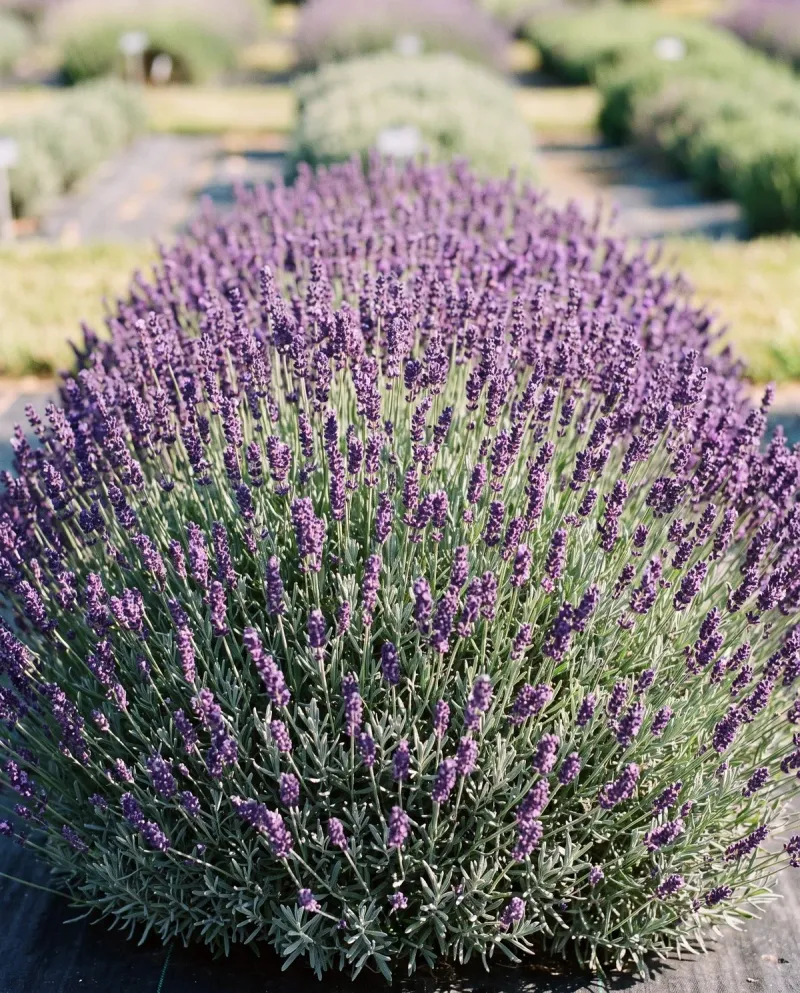
Put down that hose for a minute. When the weather cools off, lavender becomes one of the least thirsty plants in your yard.
During a hot Texas summer, you may water your lavender now and then. In fall, the plant slows its growth and uses far less water.
The sun is weaker too, so the soil stays moist longer. Keeping the same summer schedule is a fast way to drown it.
Here is a simple test anyone can do. Push your finger about two or three inches into the soil near the plant. If it feels dry at that depth, give it a drink. If it feels even a little damp, walk away and check again in a few days.
When you do water, aim at the soil, not the leaves. Water deeply but rarely. A slow soak once in a while is much better than a tiny splash every day.
Sprinkler systems deserve a close look. Many Texas homes run automatic sprinklers on a set schedule all year.
If your lavender sits in the spray zone, adjust the heads or turn that zone down. It is an easy mistake that many people never notice.
Through winter, rain will usually do almost all the work. In many years, you may not need to water established lavender at all from November to February. Young plants set out this fall may need a bit more help at first.
Think of it like this: lavender would rather be a little too dry than a little too wet. Lean toward less, and your plant will reward you.
Save Major Pruning For Spring
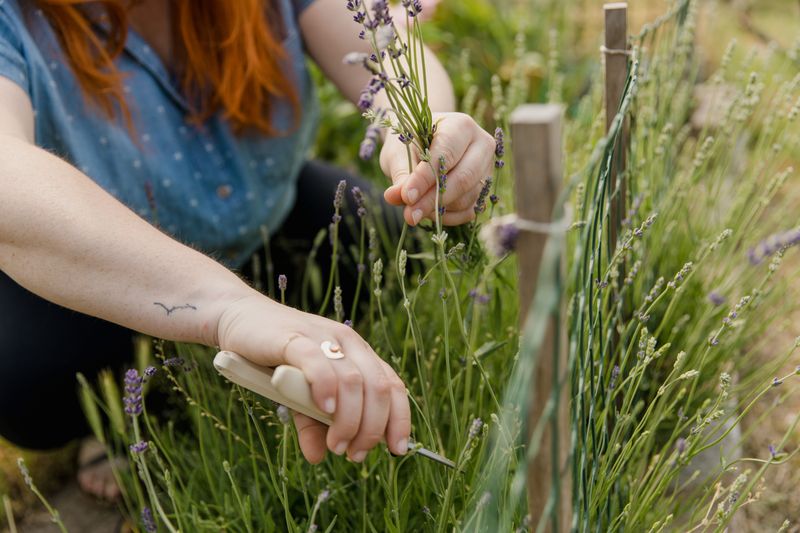
Patience pays off with lavender. Your clippers might be itching for action in October, but big cuts can wait.
A light trim in fall is perfectly fine. Snip off old flower stalks and any stray stems that look messy. Shape the plant gently so it looks neat and rounded. Many gardeners take off about an inch or so of soft green growth.
The danger is cutting too far. Lavender has a woody base, and those old brown stems often will not sprout new leaves.
If you chop down into that bare wood, you may leave a stump that never fills back in. Always leave some green, leafy growth on every branch.
Hard pruning in fall also creates fresh wounds right before cold, wet weather. Tender new shoots that pop up afterward can get hurt by a freeze. Leaving more foliage in place helps protect the center of the plant through winter.
Spring is the better season for serious shaping. Wait until you see new green growth starting, usually around March in much of Texas.
At that point, the plant is awake and ready to recover quickly. You can trim it back by about one third, still staying above the woody part.
Here is a fun bonus. Save your fall clippings instead of tossing them. Tie them in small bundles and hang them upside down to dry. In a week or two, you will have fragrant sachets for drawers, closets, or gifts.
A gentle touch now and a firmer cut in spring will keep your lavender full, bushy, and blooming for years.