The One Thing North Carolina Tomatoes Need Right Now Or Blossom End Rot Wrecks Your Harvest
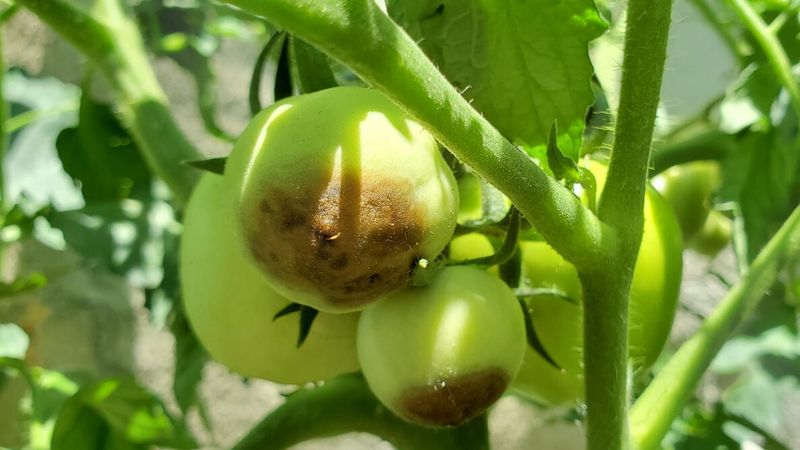
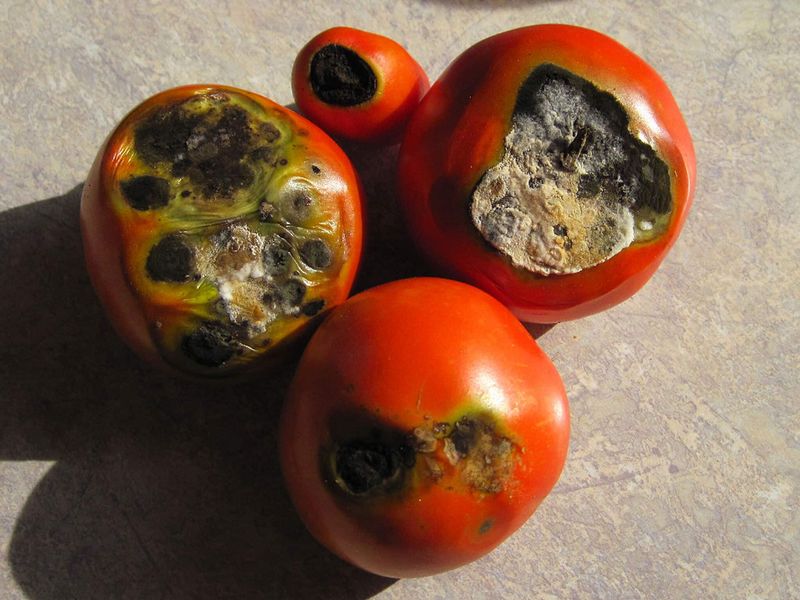
You walk out to the garden on a hot July morning, coffee in hand, and the first tomato you pick up has a black, sunken patch rotting the bottom out. That is blossom-end rot, and by the time you spot it the damage to that fruit is already done. The good news is that the rest of your harvest is not lost, and one steady habit started right now gives the next round of fruit a real fighting chance. Keeping soil moisture consistent through July is the move that matters most, and it is simpler than most of the remedies people reach for first.
Steady Moisture Is the Best July Defense
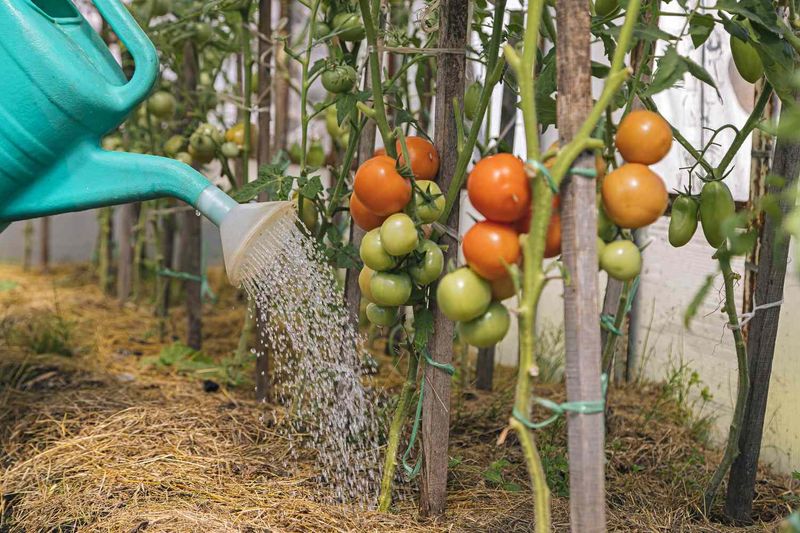
Grab the watering can before you grab anything else. NC State Extension’s blossom-end-rot guidance explains that the disorder reflects inadequate calcium reaching developing fruit, and that calcium moves through the plant with water absorbed by actively growing roots. Drought, waterlogged soil, root damage, and wild swings between dry and soaking conditions can all interrupt that delivery system. The fix is not a calcium product off the shelf; it is steadier moisture in the ground.
NC State’s home tomato guide recommends soaking the soil 6 to 8 inches deep at roughly 7-day intervals, with fruiting plants needing about 1.5 inches of water per week from rain and irrigation combined. That means you supply only what the sky does not. If 1.5 inches of rain fell this week, you can hold off. If your rain gauge shows 0.3 inches, you have a gap to fill.
Avoiding saturated soil matters just as much as avoiding drought. Roots sitting in waterlogged ground cannot absorb water and nutrients efficiently, which creates the same calcium-delivery problem as dry soil. The goal is moist but not soggy, consistent but not constant. Think of it as keeping a steady hand on the wheel through July, not flooring the gas or slamming the brakes.
Protecting new fruit forming right now is the practical payoff, because fruit already showing dark sunken patches will not recover no matter what you apply.
Recognize Blossom-End Rot Before You Treat It
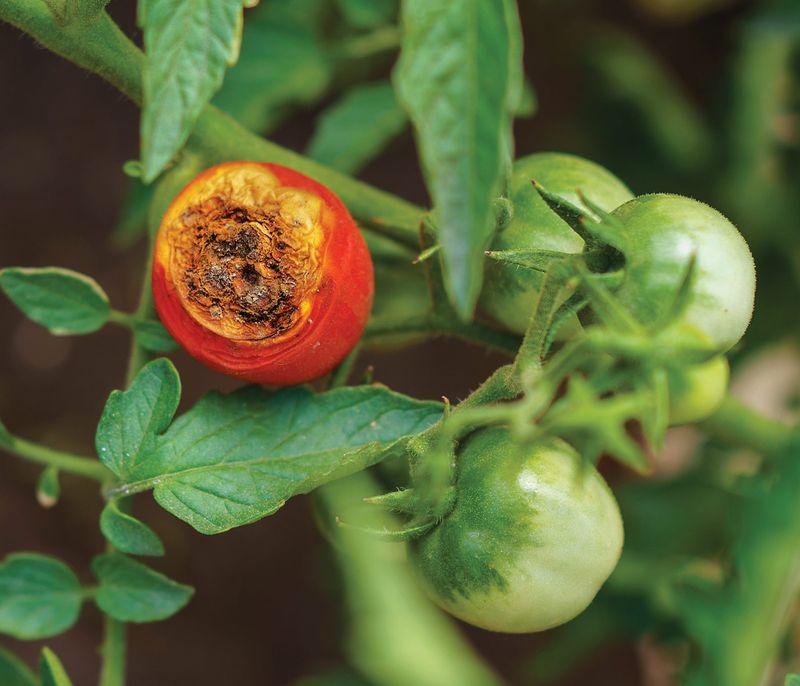
Not every dark spot on a tomato bottom is blossom-end rot, and misreading the symptom can send you chasing the wrong fix. The disorder typically starts as a pale tan or water-soaked patch on the blossom end of the fruit, the side opposite the stem. That spot flattens out, then darkens, shrinks, and turns leathery as the tissue dries down. Secondary fungi or bacteria can move in and make the area appear black and moldy, which is where a lot of gardeners first notice something is wrong.
NC State Extension describes blossom-end rot as a physiological disorder, not an infectious disease, meaning it will not spread from plant to plant the way fungal blights do. The underlying problem is low calcium availability inside the developing fruit. Calcium travels into the plant through roots and moves mainly with water, so even when the soil contains plenty of calcium, stress conditions can prevent enough of it from reaching the fast-growing tissue at the fruit’s tip.
Your North Carolina Garden Changes Every Week. Your Plan Should Too.
Gardening in North Carolina changes quickly throughout the season. Every Friday you’ll receive a simple weekly plan showing exactly what to plant, prune, fertilize, harvest, and protect so you never miss the right timing.
University of Minnesota Extension notes that sunscald, anthracnose, fruit cracking, and secondary decay can all produce discoloration that looks similar at a glance. Sunscald usually appears on the side of the fruit facing the sun, not the blossom end. Anthracnose tends to show up as sunken circular spots after the fruit ripens. If the lesion is flat, starts at the very bottom of the fruit, and appeared while the tomato was still green and growing, blossom-end rot is the likely culprit.
Knowing that distinction keeps you from treating the wrong problem.
Why July Raises the Risk in North Carolina
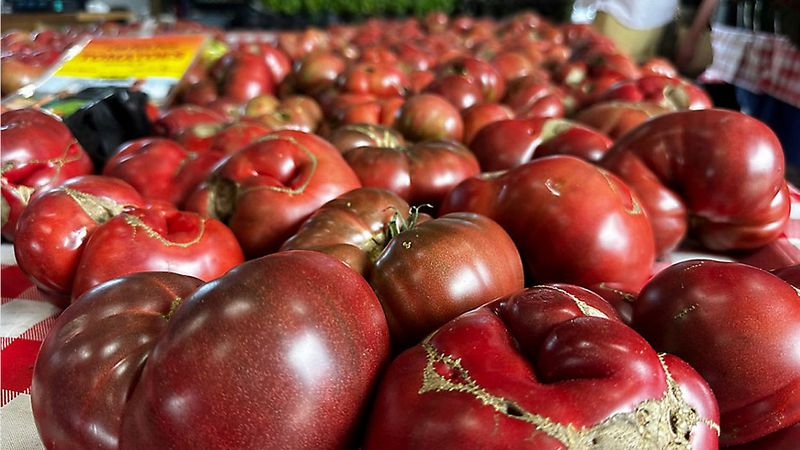
July is genuinely a high-risk month for North Carolina tomato growers, but it is not a biological deadline and it is not the only time blossom-end rot can develop. The disorder can show up during any period of active fruit formation. What makes July especially tricky is that the conditions most likely to disrupt consistent soil moisture tend to pile up at once.
NC State Climate Office normals data shows average July highs reaching the upper 80s to low 90s depending on location across the state, with the Piedmont and Coastal Plain typically running hotter than the mountains. That heat accelerates evaporation from the soil surface and pushes plants to move water faster. Summer thunderstorms can deliver an inch of rain in 30 minutes, then leave the ground bone dry for 10 days. That kind of drought-to-downpour pattern is exactly what NC State’s blossom-end-rot publication identifies as a contributing stressor.
Mountain gardeners deal with cooler nights but can still face stretches of dry weather between storms. Coastal growers contend with high humidity that can make the air feel wet while the soil 6 inches down stays dry. The Sandhills drain fast enough that a single missed watering can matter. None of these regions follow an identical pattern, which is exactly why a fixed calendar schedule tends to fail and why checking actual soil moisture beats guessing by the weather forecast.
July is the month to sharpen that habit, not the month that alone decides whether your harvest survives.
Water Deeply and Protect the Roots
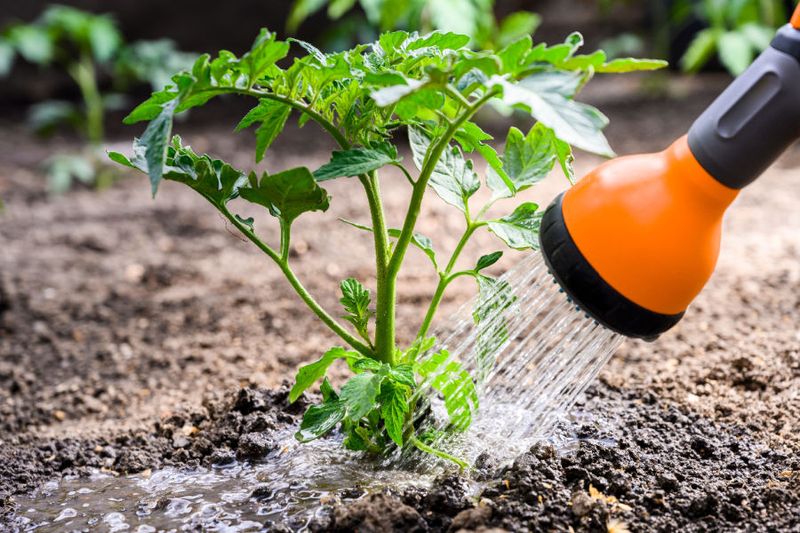
Sprinkling the top inch of soil every day is one of the most common watering mistakes, and it actually encourages shallow roots that make blossom-end rot more likely. The goal is to push water 6 to 8 inches deep so roots follow it down, then allow the upper few inches to dry slightly before the next watering. The simplest way to know when to water is to push a finger or a wooden dowel 3 to 4 inches into the soil near the plant. If it comes out dry, water now.
If it comes out damp, wait a day and check again.
NC State’s tomato guide and its blossom-end-rot publication both emphasize that avoiding waterlogged soil matters as much as preventing drought. Piedmont red clay holds water longer after a storm, so plants in those heavy soils can sit in saturated ground for hours after a hard rain. Sandy Coastal Plain and Sandhills soils do the opposite, draining quickly and drying out faster between rains, which means those plants may need more frequent checks even if they do not need more total water. Raised beds and containers behave more like sandy soil regardless of what region you are in, drying faster than in-ground clay beds.
Root protection is part of the watering strategy, not a separate task. University of Minnesota Extension recommends avoiding cultivation within 1 foot of the plant base because slicing through shallow roots with a hoe reduces the plant’s ability to absorb water and calcium. Utah State University Extension echoes that root injury from deep hoeing or aggressive weeding near the stem is a genuine contributing factor. Pull weeds close to the plant by hand, and save the hoe for open ground between rows.
Use Mulch to Reduce Moisture Swings
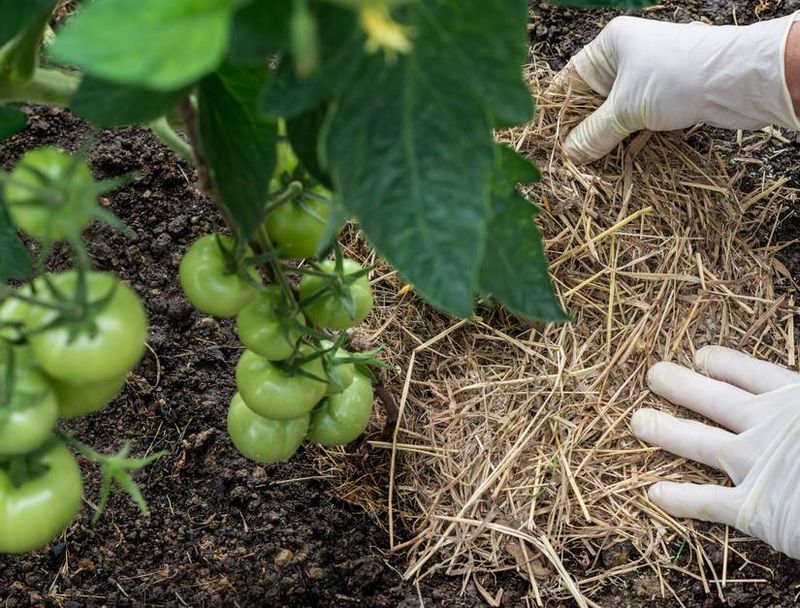
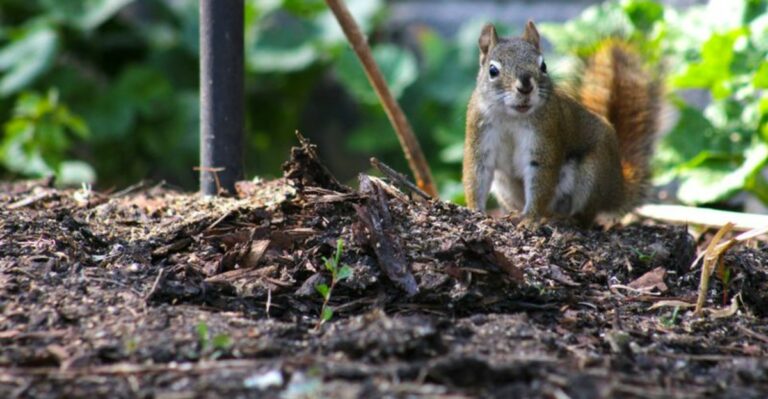
Mulch is one of the quietest helpers in the July garden. After you water deeply, a layer of organic material over the soil surface slows evaporation so the moisture you just put in stays available longer. NC State Extension lists straw, pine straw, decomposed sawdust, composted leaves, ground corn cobs, plastic, and newspaper as suitable mulch options for tomatoes. Most North Carolina gardeners have easy access to pine straw or wheat straw, and either works well around tomatoes through the summer.
Apply roughly 2 to 3 inches of mulch in a ring around each plant, keeping it pulled back a few inches from the main stem. Mulch piled against the stem holds moisture against the bark in wet conditions, which can invite rot or disease at the soil line. That gap between the mulch and the stem is worth maintaining, especially after a heavy rain. NC State’s tomato guide notes that mulch is particularly valuable during July and August when evaporation rates run high.
Mulch does not fix poor drainage, and it does not replace the need to actually check soil moisture. A bed with compacted clay or a raised bed that drains too slowly will still waterlog after a storm whether or not there is straw on top. Containers benefit from mulch on the soil surface to slow drying, but a container sitting in a saucer full of water after rain still needs that saucer emptied. Think of mulch as a buffer that makes your watering schedule more forgiving, not a substitute for paying attention to what is actually happening in the soil.
Remove Damaged Fruit and Protect the Next Set
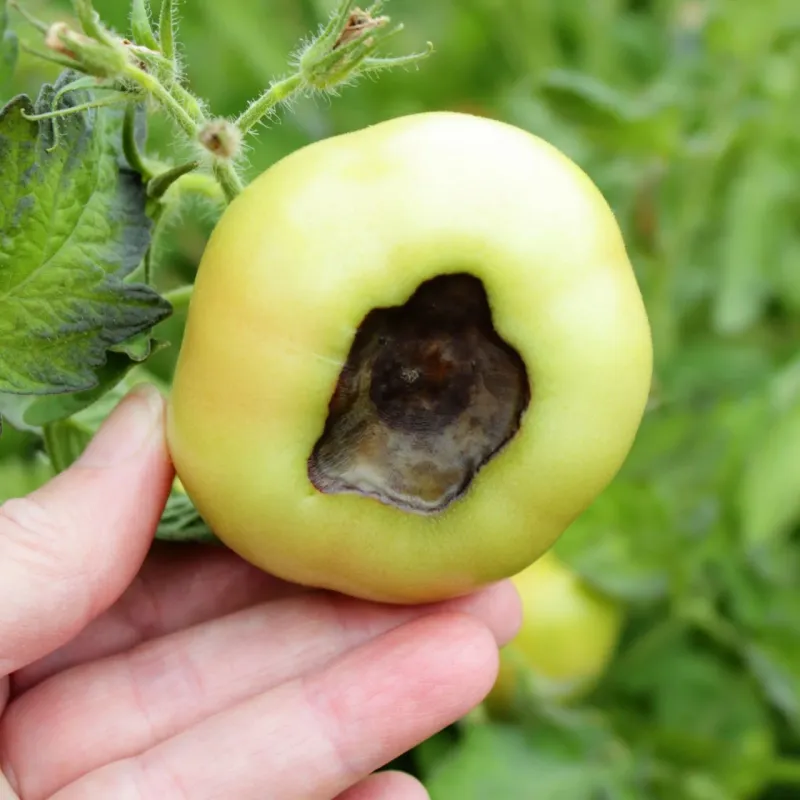
Finding blossom-end rot on a tomato you have been watching for weeks is genuinely discouraging. Here is the reassurance worth holding onto: that fruit is lost, but the plant almost certainly is not. University of Minnesota Extension confirms that later fruit may develop normally once growing conditions improve, even on a plant that produced several damaged tomatoes earlier in the season. The plant is not diseased.
It was stressed, and stress can be reduced.
Remove fruit that shows expanding lesions, soft decay, mold, or secondary rot. Damaged tissue will not heal or firm back up, and fruit with extensive mold or soft decay should not be eaten. Removing those fruits discards what will not recover and may help the plant direct energy toward the next set of developing fruit, though that is not a guarantee of a larger harvest. The NC State Extension Gardener Handbook notes that small affected areas on otherwise sound fruit may be cut away, but conservative guidance for a home gardener is to pull any fruit where the damage is spreading or mold is present.
Large-fruited slicing tomatoes are generally more susceptible than cherry or grape types, and the first fruit clusters on a plant often take the hardest hit. That pattern means the tomatoes you planted for summer sandwiches may show damage while smaller-fruited plants nearby look fine. Later clusters setting fruit right now may come through cleanly if you stabilize moisture from this point forward. The season is not over just because the first round had problems.
Skip Automatic Calcium and Soil Remedies
The urge to grab a product and fix this fast is completely understandable. Unfortunately, most of the popular remedies do not match the actual problem. Crushed eggshells break down far too slowly to deliver calcium during an active growing season, a point University of Minnesota Extension makes directly when addressing common soil home remedies. Epsom salt supplies magnesium sulfate, not calcium, and foliar Epsom-salt sprays can actually scorch leaves.
Neither one addresses the water-transport problem driving blossom-end rot.
Lime, gypsum, calcium nitrate, and fertilizer should not be applied automatically around plants mid-season without a soil test. NCDA&CS guidance on understanding your soil report explains that lime raises pH and supplies calcium when soil tests indicate a need, while gypsum supplies calcium without the same pH-adjusting effect. They are not interchangeable. Adding lime to a bed that already has a suitable pH can push the soil too alkaline and create new nutrient problems.
The NCDA&CS recommends a soil pH of 6.5 for tomatoes, and lime applied mid-season works slowly anyway, making it a future-bed correction rather than a July rescue.
Foliar calcium sprays occupy genuinely contested ground. NC State’s home tomato guide includes a calcium-spray option with specific materials and rates, while the broader NC State Vegetable Gardening handbook describes preventive calcium chloride sprays as not very effective. Other university Extension sources note that calcium moves poorly into fruit through leaf tissue. If you choose to try a labeled calcium spray, follow the current product label exactly, including rate and temperature restrictions, and do not expect it to heal fruit that is already damaged.
The scientific debate over whether calcium depletion starts blossom-end rot or follows from earlier stress is genuinely unresolved. A 2001 Scientia Horticulturae review described the disorder as involving calcium transport disrupted by water deficit, salinity, and ammonium toxicity, while a 2014 review in the same journal argued that calcium depletion may follow physiological stress rather than cause it. Either way, NC State Extension’s practical recommendation lands in the same place: steady moisture, healthy roots, good drainage, and balanced fertility based on a soil test. University of Minnesota Extension agrees that consistent watering is the most reliable protective step.
Your July routine is straightforward: check soil moisture every few days, water deeply when the soil is dry a few inches down, keep mulch in place, stay away from the roots with a hoe, and let the soil dry between waterings rather than keeping it constantly wet.
That habit, repeated through the rest of the season, is what gives new fruit the best chance to come in clean.