The Only Soil Amendment Worth Adding To Michigan Bulb Beds This October
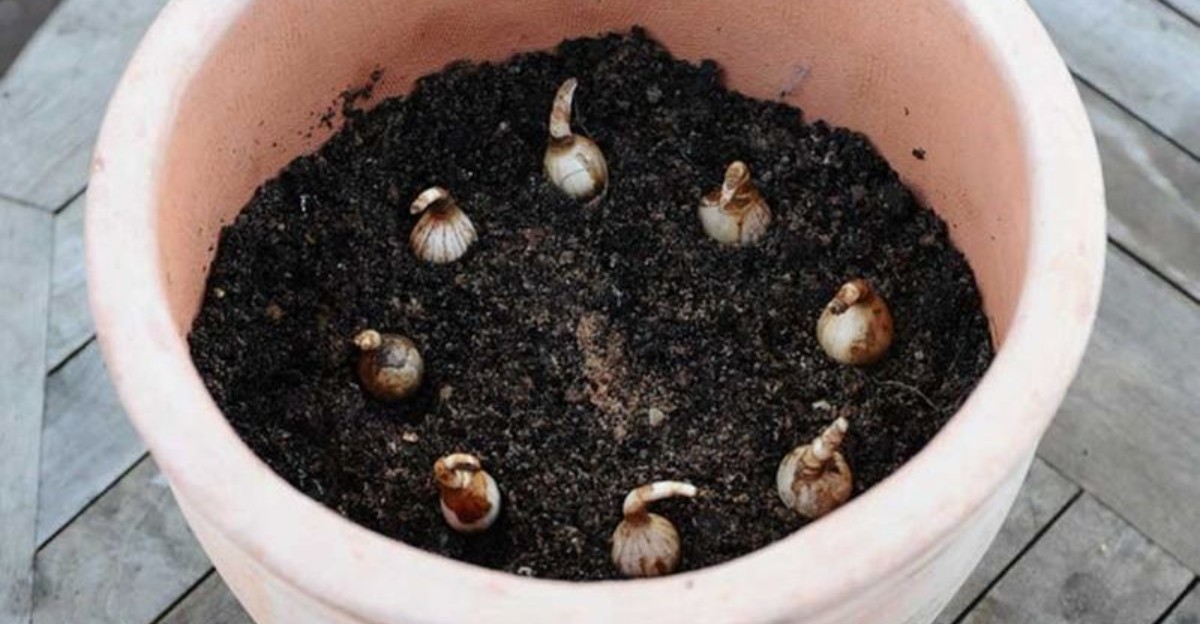
Garden centers sell a long list of products for bulb beds. Most gardeners grab a few without thinking much about it. But bulbs don’t need much help, and some additions do more harm than good.
Michigan’s winters are long and wet, so what goes into the soil in October matters. The wrong amendment can hold too much water around the bulbs. Another can encourage growth at exactly the wrong moment.
One choice stands out as truly useful for the way bulbs actually grow. It helps most in heavy soil, which many Michigan yards have.
Knowing which amendment earns its place can save you money and protect next spring’s flowers before the ground freezes.
1. Compost Is The One Amendment That Helps Every Bulb Bed
Ask a seasoned Michigan gardener for their secret, and you will often hear one word: compost. It is not flashy, and it does not come in a shiny bag with big promises. Still, it quietly fixes more soil problems than any other product you can buy.
Bulbs spend fall busy underground, growing roots before the ground freezes. Those roots need loose, well-drained soil to spread out and get strong.
Compost adds organic matter that opens up tight soil, helps loose soil hold together, and feeds the earthworms and tiny soil life that keep a bed healthy.
Quality matters a lot here. Good compost should look dark and crumbly, a bit like chocolate cake, and it should smell sweet and earthy. If you can still see chunks of food scraps or leaves, it needs more time.
Skip fresh manure and half-finished compost in bulb beds. Both can carry too much nitrogen and can heat up or encourage rot and disease that harms bulbs sitting right next to them.
Finished compost is gentle and safe, which is why it beats so many other choices. Michigan makes this advice even more useful.
Our state has a wild mix of soils, from sticky clay in some towns to fast-draining sand just a short drive away. Plenty of amendments help one type and hurt the other.
Compost is the rare helper that works for both. It loosens heavy ground and gives sandy ground more staying power. Whether you garden near Detroit, Grand Rapids, or Traverse City, a layer of good compost is the smartest thing you can add this October.
2. Compost Improves Drainage In Heavy Clay
Clay soil can feel like modeling dough after a good rain. Squeeze a handful, and it holds its shape in a slick, heavy ball. That same stickiness is what makes clay so tough on bulbs.
Clay particles are tiny and flat, so they stack tightly together with very little room between them. Water gets trapped in those small spaces and drains slowly. A tulip bulb sitting in cold, soggy ground all fall and through the spring thaw is a perfect target for rot.
Compost changes the game. Its bits of organic matter wedge between clay particles and help them clump into larger crumbs. Those crumbs leave gaps where air and water can move, and roots can finally breathe.
Your Michigan Garden Changes Every Week. Your Plan Should Too.
Gardening in Michigan changes quickly throughout the season. Every Friday you’ll receive a simple weekly plan showing exactly what to plant, prune, fertilize, harvest, and protect so you never miss the right timing.
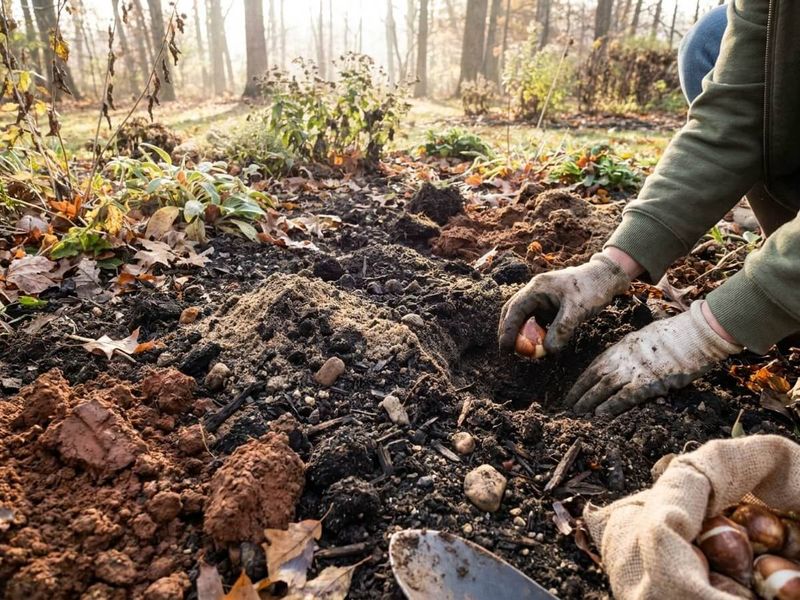
For the best results, spread 2 to 3 inches of compost over the bed. Then work it into the top 8 to 12 inches of soil, which is about the depth where most bulbs and their roots will live. Do it before you plant so the whole zone gets the benefit.
Watch your bed after a heavy rain, too. If water still stands for hours, build a raised bed or a gentle mound called a berm and plant on top. A few extra inches of height can keep bulbs out of the wet zone.
Southeast and mid Michigan gardeners know this struggle well, since heavy clay is common across those regions. Spring snowmelt can turn beds into mush for weeks.
Adding compost each fall builds better soil year after year, and your daffodils will thank you with sturdy, steady blooms.
3. Compost Helps Sandy Soil Hold Moisture
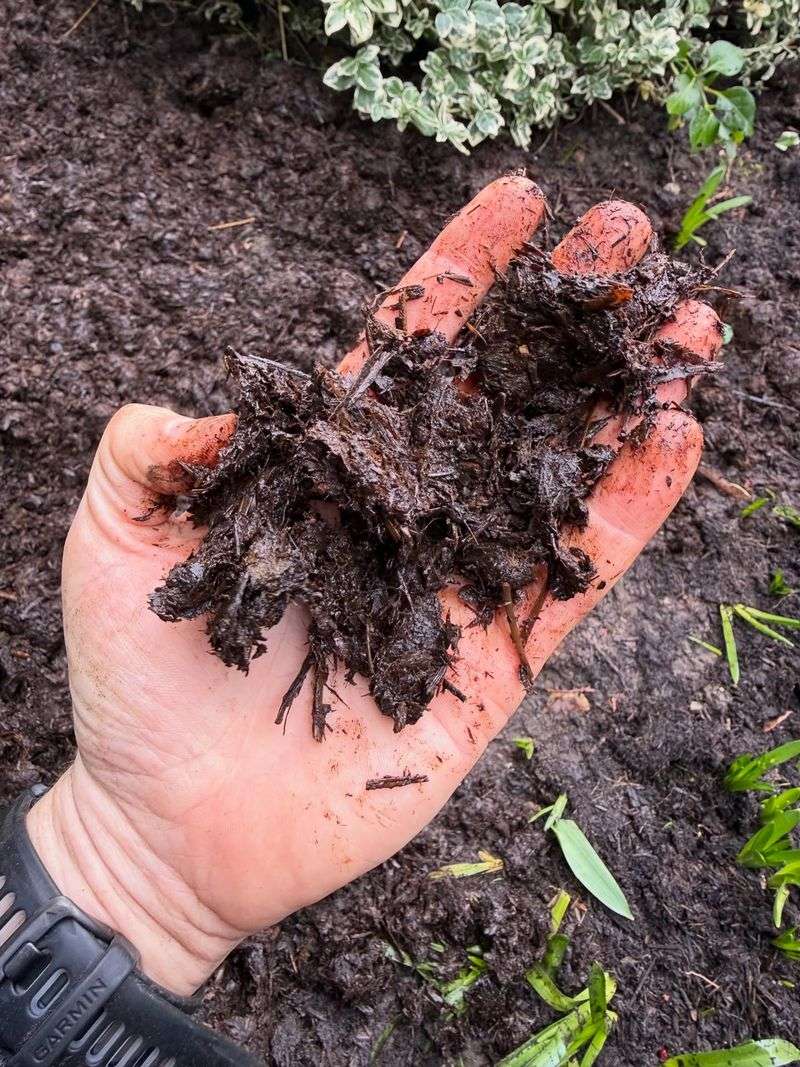
Sandy soil is the opposite problem child. Pour a bucket of water on it, and the water seems to vanish in seconds. That fast drainage sounds great for bulbs at first, but it comes with a catch.
When rain stops for a while in fall or spring, sandy beds can dry out quickly. Bulbs trying to grow roots in October need steady moisture, and so do the shoots pushing up in April. Sand also lets nutrients wash away, so there is little food left for plants over time.
Here is where compost shines again. Organic matter acts like a sponge, soaking up water and holding it where roots can reach it. It also grabs onto nutrients and keeps them from rinsing straight down past the root zone.
Before planting, mix a generous layer of compost into your sandy bed. Set your bulbs at the right depth and cover them up. If the soil feels dry, give the bed a deep watering so roots can start growing right away.
Finish with a layer of mulch, such as shredded leaves or pine needles, about 2 to 3 inches deep. Mulch slows evaporation and keeps soil temperatures more even. It also looks tidy all winter long.
Gardeners in west Michigan and across parts of the northern Lower Peninsula often deal with this kind of quick-draining ground, shaped long ago by glaciers and lakeshore dunes.
A little compost each year slowly turns that thirsty sand into richer, friendlier soil for your spring flowers.
4. Work It Into The Whole Bed, Not Just The Hole
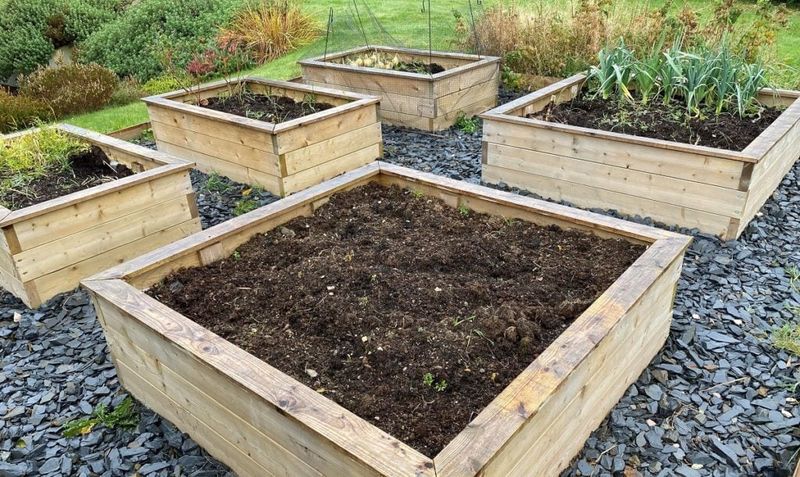
Many of us learned to drop a handful of compost into each planting hole and call it a day. It seems smart and saves effort. In heavy soil, though, that habit can backfire.
Think of a single loose, fluffy hole surrounded by dense clay. Water flows easily into the soft spot but cannot drain out through the tight soil around it. The hole turns into a little bathtub, and your bulb ends up sitting in it.
Spreading compost across the entire bed solves this. When the whole area is amended evenly, water drains at the same pace everywhere. Roots can also stretch out in every direction instead of hitting a hard wall a few inches away.
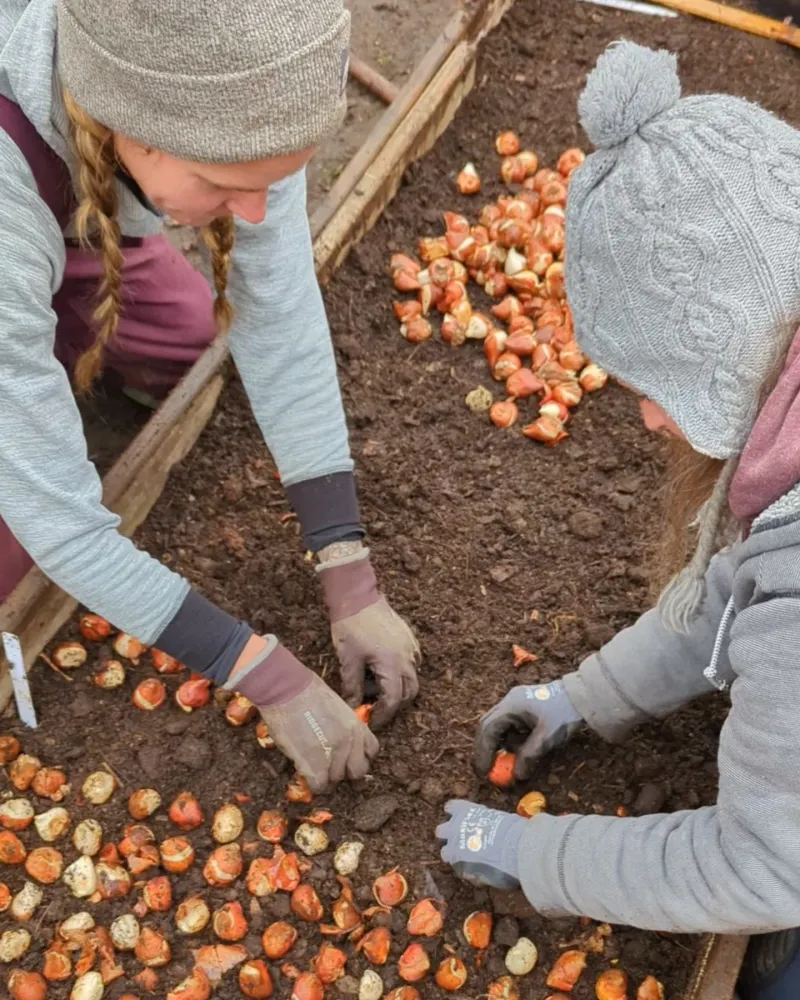
The process is simple. Spread compost over the full planting area, then use a digging fork to mix it into the soil. Once everything is blended, plant your bulbs at the right depth, usually about two to three times the bulb’s height.
Timing matters as much as technique. Grab a handful of soil before you start digging. If it sticks together in a wet, gooey lump, wait a few days, because working wet soil crushes those helpful air spaces and leaves it harder than before.
Michigan clay is especially prone to the bathtub problem, so whole-bed amending makes a real difference here.
It takes a bit more compost and a little more muscle on a crisp October afternoon. The payoff is a bed full of healthy bulbs instead of a few soggy surprises next spring.
5. Bulbs Already Carry Their First-Year Food
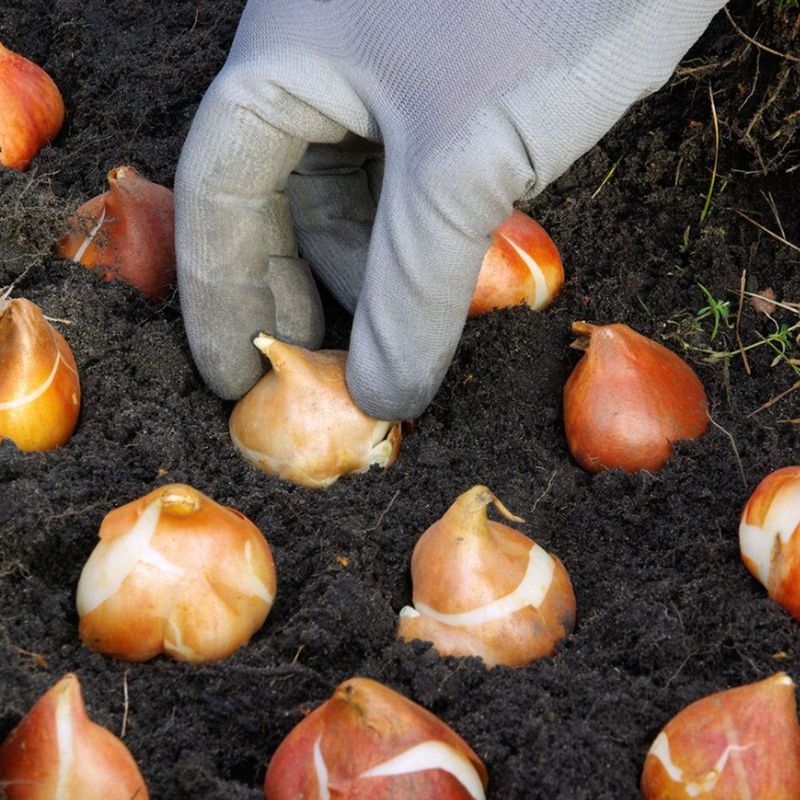
Slice a tulip bulb in half, and you will find something amazing inside. Layers of stored food wrap around a tiny flower bud that is already formed. Nature packed a lunch before the bulb ever left the farm.
A healthy bulb holds the energy and nutrients it needs to grow roots in fall and bloom the very first spring. Because of that, scattering fertilizer into the planting hole does very little for this season’s flowers. The bulb has already done the work.
Your real job at planting time is choosing good bulbs and placing them well. Pick ones that feel firm and heavy, like a fresh onion. Pass on any that feel soft, look moldy, or seem shriveled and light.
Plant them at the correct depth, with the pointy end facing up. Most large bulbs like tulips and daffodils go about 6 to 8 inches deep, while small ones like crocus sit closer to 3 or 4 inches.
Feeding becomes useful later if you want blooms year after year. In early spring, when shoots first poke through the soil, sprinkle a light, balanced fertilizer around them. After flowering, let the leaves stay until they turn yellow and flop over on their own.
Those fading leaves are busy making food to refill the bulb for next year. Michigan gardeners who leave foliage alone often enjoy daffodils that return reliably for decades.
Tuck in a few perennials nearby to hide the messy leaves, and patience will pay off with a bigger show every spring.
6. Skip Bone Meal At Planting
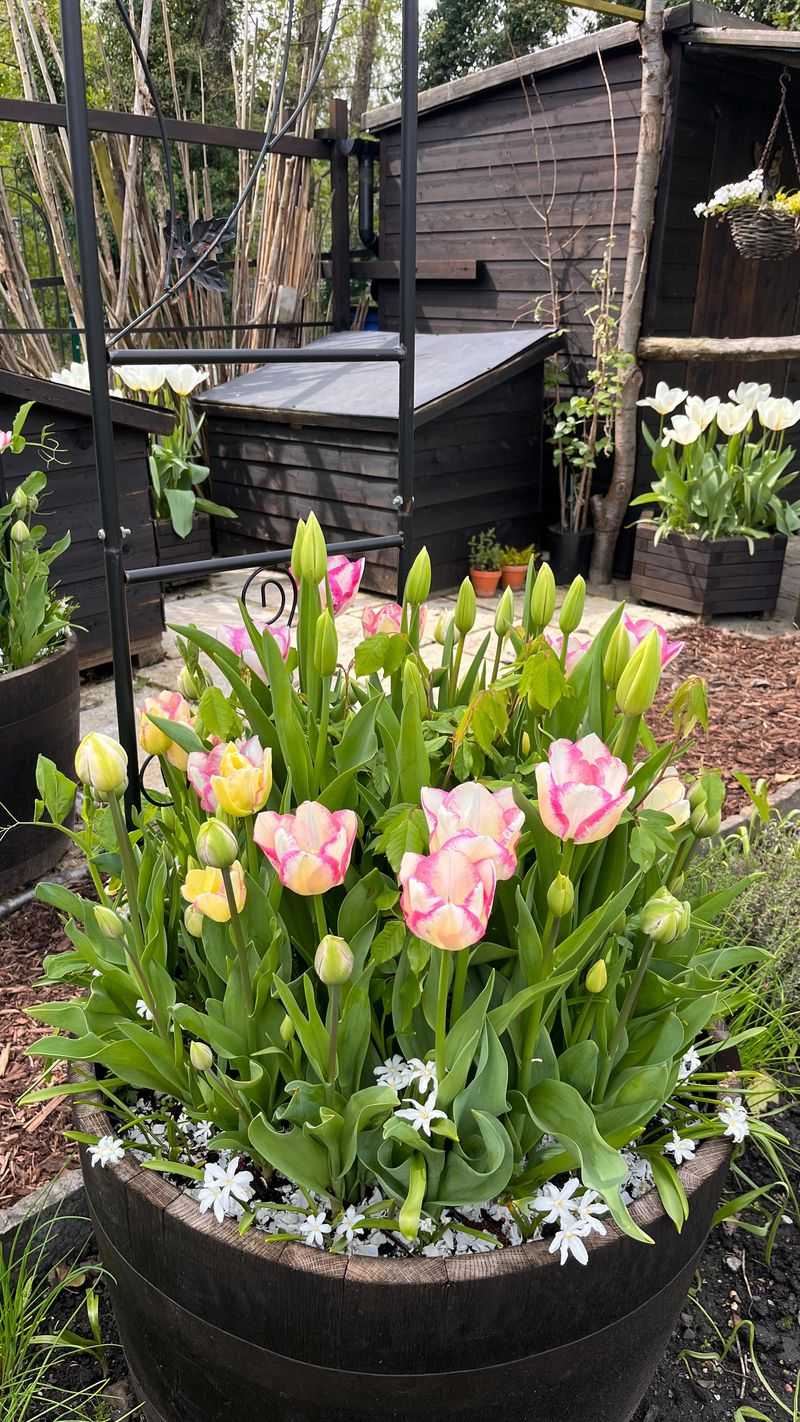
Grandma swore by bone meal, and so did generations of gardeners before her. A spoonful in every hole was simply how bulbs got planted. Times and research have changed that advice.
Bone meal mostly supplies phosphorus, a nutrient that helps roots and flowers. The trouble is that many garden soils already have plenty of it, especially lawns and beds that have been fertilized for years.
Adding more often does nothing, and excess phosphorus can wash into lakes and streams. There is another sneaky problem.
Bone meal has a smell that animals find hard to resist. Dogs, squirrels, raccoons, and skunks may dig straight into your freshly planted bed, tossing your bulbs around like toys.
A better plan starts with a soil test. If the results show you truly need phosphorus, you can add it in the right amount. If not, you have saved money and spared yourself some backyard chaos.
Instead of bone meal, lean on compost at planting time for good soil structure. Then give bulbs a light feeding in early spring as shoots appear. Simple steps like these cover what bulbs actually need.
Michigan squirrels are especially busy each fall, racing to bury acorns and walnuts before winter. Freshly loosened soil already catches their eye, and a whiff of bone meal makes it even more tempting.
Keep the bed smelling like plain earth, and consider laying chicken wire over the top for a few weeks to protect tulips and crocus, which are squirrel favorites.
7. Don’t Add Sand To Clay
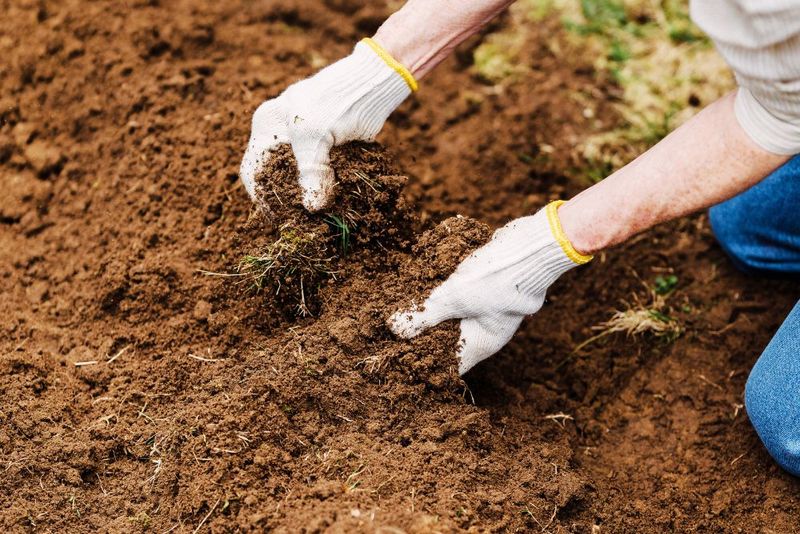
Mixing sand into clay sounds like common sense. Sand drains fast, clay drains slow, so blending them should land somewhere in the middle. Sadly, soil does not work like mixing paint.
When small or moderate amounts of sand go into clay, the tiny clay particles fill the gaps between sand grains. The result can pack down into something dense and hard, a bit like homemade concrete. Drainage often gets worse, not better.
To truly change clay with sand, you would need huge amounts, often making up more than half of the soil volume. For a home garden, that means truckloads of material and a lot of back-breaking work. Most people simply cannot make that practical.
Compost is the smarter fix. It helps clay particles gather into crumbs with air spaces between them, which is the structure roots and water love. Adding some each year keeps improving the soil over time.
Where clay is extra heavy, raised beds offer an easy shortcut. Fill them with a mix of good topsoil and compost, and your bulbs sit above the soggy native ground. Even a bed 8 to 12 inches tall can make a big difference.
Also pay attention to where you plant. Low spots that collect puddles after storms are poor homes for bulbs. Michigan gardeners often reach for sand when battling heavy clay, so it helps to know the truth before buying bags.
Save your money and your back, and let compost do the heavy lifting.
8. Test The Soil Before Adding Anything Else
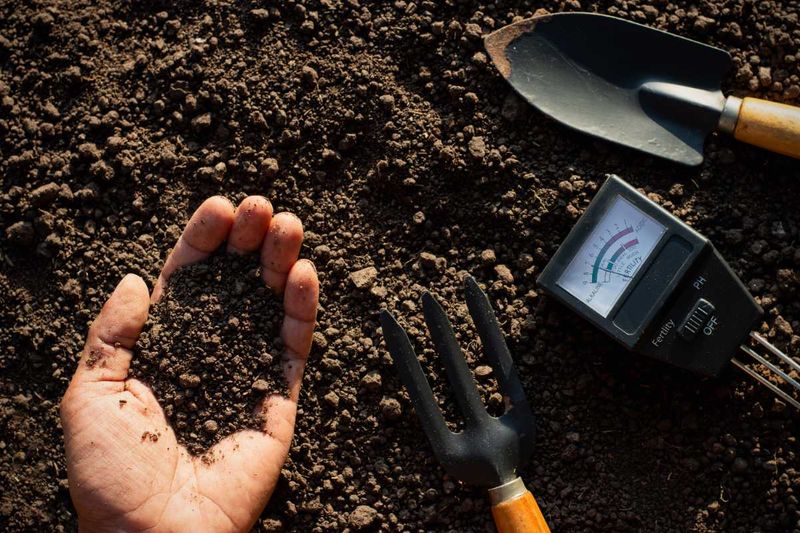
Guessing works fine for picking tulip colors, but not for feeding your soil. Without a test, you are basically shopping blindfolded. A soil test takes the mystery out of the process.
Adding nutrients or lime that your soil does not need wastes money. Worse, it can throw nutrients out of balance, making it harder for plants to take up what they do need.
Too much lime, for example, can raise pH so high that plants struggle to absorb iron and other key minerals.
Michigan State University Extension makes testing easy with its soil self-test kit, which you can order online. The kit includes everything you need to send a sample to the MSU lab. Results usually arrive in a couple of weeks.
For an accurate sample, use a clean trowel to gather soil from several spots around your bulb bed. Dig down a few inches at each spot and mix the samples together in a clean bucket. Then follow the kit directions to package and mail it.
Your report will show pH levels and nutrients like phosphorus and potassium. It will also include suggestions on whether to adjust pH or add fertilizer. If everything looks good, you can skip extra products completely.
Many Michigan soils already have plenty of phosphorus, so testing often reveals that less is more. A test every three to five years keeps you on track. Pair those results with a yearly dose of compost, and your bulb beds will be set up for many bright springs ahead.