The Surprising Uses Of Green Pine Cones (Nature’s Overlooked Helper In Virginia)
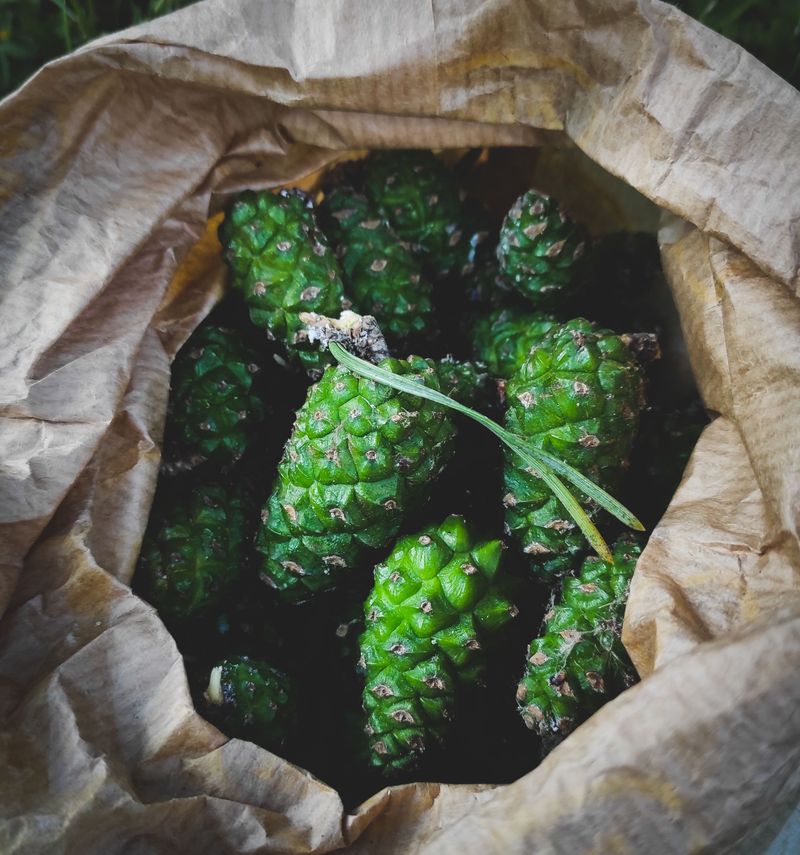
Picture a sticky little green nugget dangling from a branch, smelling like a forest right after a summer storm. Most folks stroll right past it without giving it a single glance.
Squeeze one gently, and your fingers will smell like a holiday candle for the rest of the afternoon. That sap is persistent, sweet, and oddly charming, like a puppy that refuses to leave.
Grandmothers in faraway mountain villages once lined their pantry shelves with jars of this forest ingredient. Here in the Old Dominion, the very same kind of trees tower over our backyards and parking lots.
October leaves are crunching underfoot now, and the woods smell faintly of cinnamon and campfire smoke. Somewhere up high, a cheerful squirrel is chuckling at you for ignoring the snack it plans to borrow.
1. Cook Up A Sweet Pine Cone Syrup
Ask a Russian grandmother about cone syrup, and she might hand you a spoonful before you finish. Many people say the amber liquid tastes like honey with a whisper of citrus and forest.
In Virginia, white pines produce young cones in late spring and early summer. Pick them when they are soft enough to slice with a kitchen knife.
Since it is October now, mark your calendar for May and scout trees this fall. Choose spots far from busy roads, sprayed lawns, and parking lots.
To make the syrup, rinse a quart of cones and layer them in a glass jar with twice their weight in brown sugar. Keep it covered in a cool spot for a month, opening the lid now and then to release gas.
The sugar slowly draws out the resin and juices, creating a thick golden liquid. Warm it gently, strain it through cheesecloth, and refrigerate.
Traditionally, some people stir a spoonful into warm tea when a scratchy throat shows up in winter. Please skip it if you are pregnant, and double check your tree before harvesting.
Avoid ponderosa pine, Norfolk Island pine, and yew, which may not be safe to eat. When in doubt, ask a local extension office to confirm the species.
Some families add a few slices of lemon to the jar, which gives the finished syrup a bright and gentle tang. Others prefer to keep things simple with just cones and sugar.
Either way, the flavor tends to deepen as the weeks pass, so a little patience is usually rewarded.
2. Craft A Woodsy Pine Cone Jam
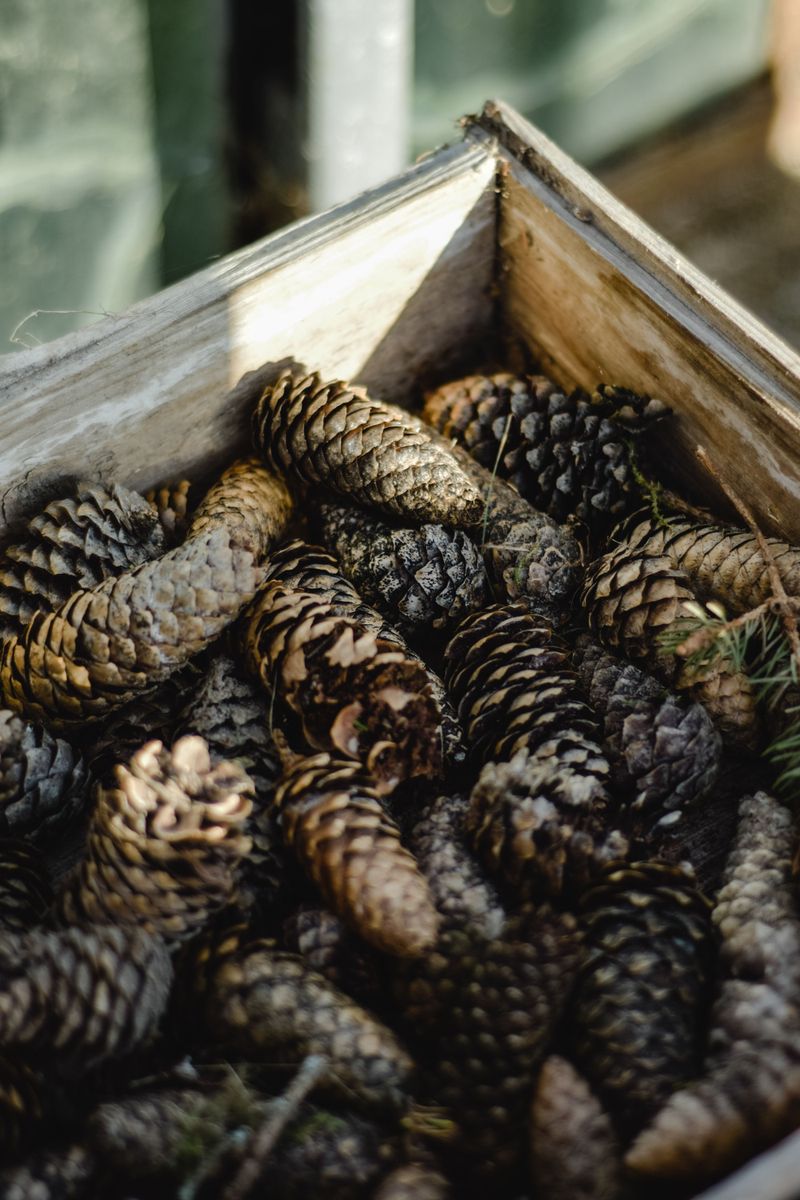
Toast topped with pine jam sounds like something a forest elf would serve at breakfast. Many cooks say it tastes more like caramel and fresh rosemary than a Christmas tree.
The process takes patience, but your kitchen should smell wonderful along the way. Start with about two cups of young green cones, freshly washed and trimmed.
Soak them in cold water overnight to soften their naturally bitter edge. The next day, simmer them gently in fresh water until they feel tender when pierced with a knife.
Strain out most of the cones and keep a few whole ones in the liquid, then add sugar and lemon juice. Boil the mix slowly until it thickens and coats the back of a spoon.
Your Virginia Garden Changes Every Week. Your Plan Should Too.
Gardening in Virginia changes quickly throughout the season. Every Friday you’ll receive a simple weekly plan showing exactly what to plant, prune, fertilize, harvest, and protect so you never miss the right timing.
Some cooks leave a few whole cones in the jar for a pretty, rustic look. Those softened cones become chewy and sweet, a bit like candied fruit.
Spread the jam on biscuits, swirl it into yogurt, or pair it with sharp Virginia cheddar. A tiny jar also makes a charming holiday gift for neighbors.
Write the tree type and date on each label you make. That small habit helps you track which batch turned out the tastiest next season.
Texture can vary from one batch to the next, and that is part of the charm. If the jam seems loose after cooling, simmer it a few more minutes and test it again on a chilled plate. A gentle push with your finger should show a soft wrinkle when it is ready.
3. Brew A Soothing Pine Cone Tea
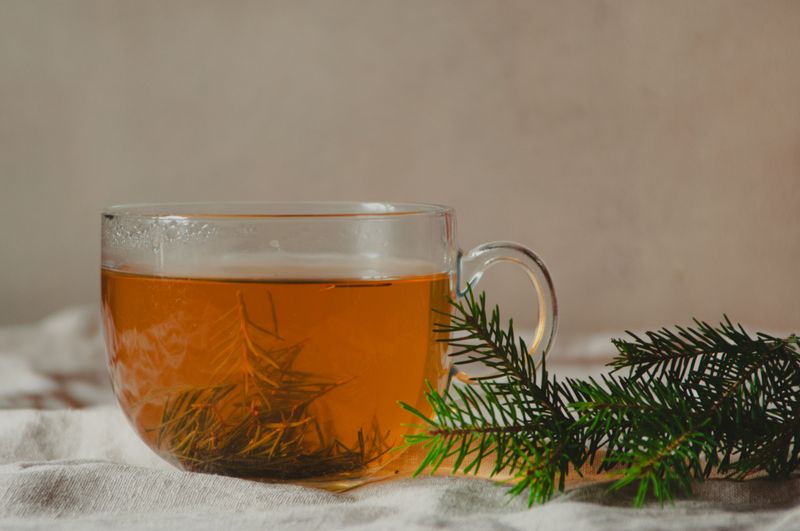
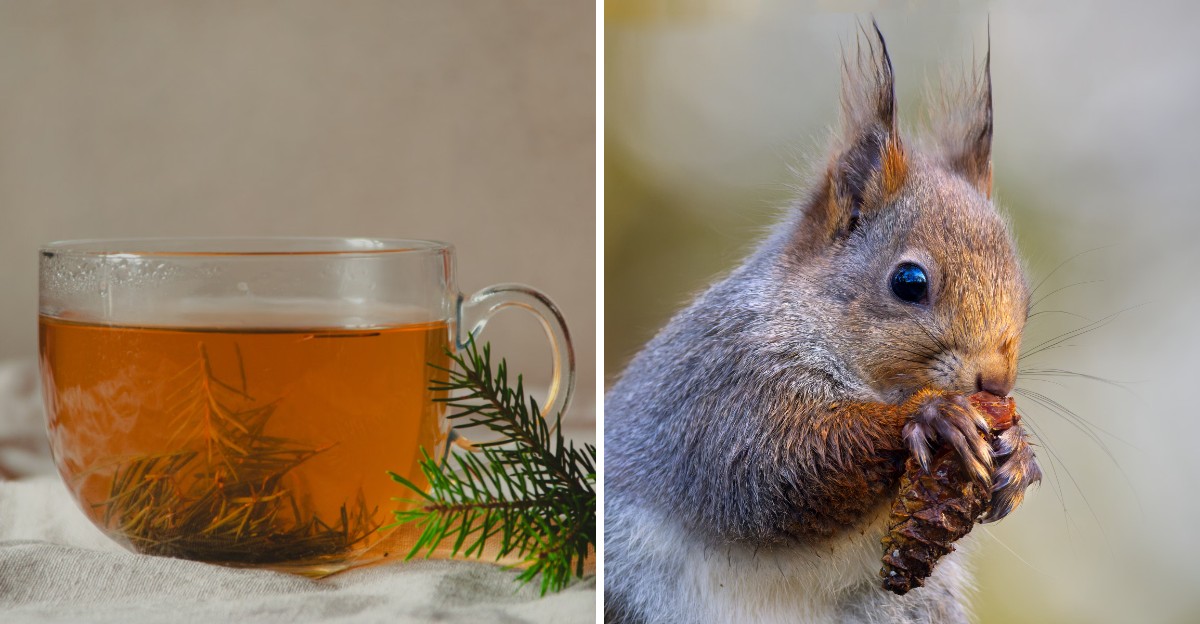
Pine needles get plenty of attention in herbal tea circles, yet young cones deserve a turn too. Steeped gently, they make a mild, woodsy drink with a hint of lemon.
Early settlers and Native peoples in the region used pine in teas and remedies during long winters. Pine needles carry vitamin C, and many traditions valued them for that reason before oranges were common.
To brew a cup, slice two or three small green cones into thin rounds. Drop them into a mug and pour hot, not boiling, water over them.
Let the tea steep for about ten minutes, then strain it well. A drizzle of honey softens any sharp, piney flavor.
Dried slices work as well, so you can stock up in early summer and save them. Spread the rounds on a screen in a warm, airy spot until crisp.
Picture sipping a mug on a chilly October porch while the leaves swirl around you. It feels like drinking the forest itself, in the nicest way.
Keep servings small at first, since some stomachs need time to adjust. Anyone who is pregnant, nursing, or has allergies or health conditions should check with a doctor first.
Many people like to add a thin slice of ginger or a few mint leaves to the mug for extra comfort. Apple peels and a cinnamon stick also blend nicely with the piney notes. Start with small cups.
4. Freshen The Air With A Pine Cone Simmer Pot
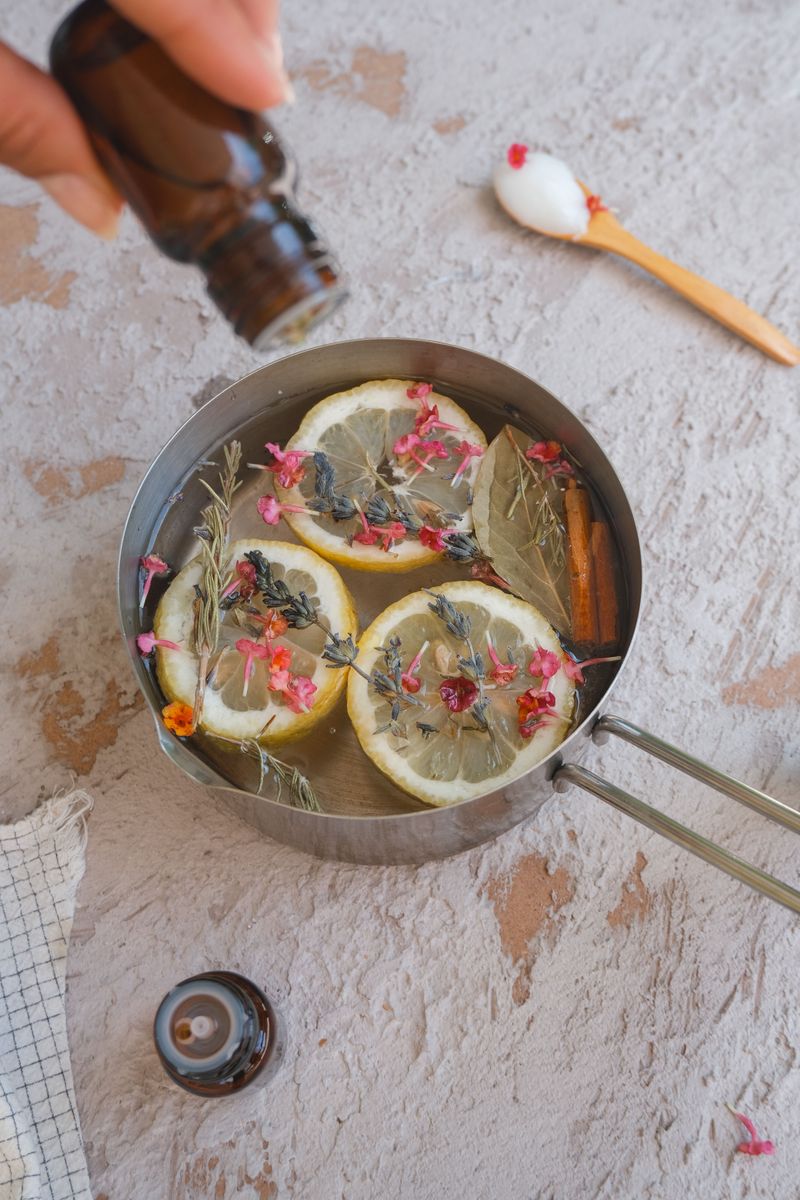
Instead of store-bought candles, try a simmer pot for a natural woodsy scent. A pot of green cones bubbling on the stove can be an inexpensive option.
Simmer pots are simple, and they make a rainy afternoon feel cozy. Toss a few cones into a saucepan with water, orange peels, and a cinnamon stick.
Keep the heat low and let the mixture steam gently for a few hours. Top off the water often so the pot does not dry out.
Green cones tend to hold more resin than brown ones, so the scent is often bright. Even a handful can fill a small house with that fresh mountain smell.
October is a lovely month to experiment with add-ins like cloves, apple slices, or rosemary sprigs. Each combo creates a different mood, from spicy to sweet.
Frozen green cones work well too, so tuck a bag in the freezer each summer. Then you can pull them out for holiday gatherings and snowy weekends.
Stay nearby while the pot simmers, and keep small children and pets, especially birds, away from the stove and steam. Once cooled, the liquid can be poured into a spray bottle for a quick room refresher.
Try a few strips of lemon peel and a vanilla bean for a softer, bakery style aroma. A star anise pod adds a gentle warmth that pairs nicely with fall evenings.
5. Feed Backyard Wildlife With Fallen Green Cones

Squirrels in Virginia often do not wait for cones to turn brown and open. Watch a gray squirrel nibble a green cone, and you will see a tiny lumberjack at work.
Those fresh cones hold soft seeds that are packed with fat and protein. Chipmunks, pine warblers, and nuthatches happily join the feast too.
Leaving fallen green cones on the ground creates a free snack bar for local wildlife. Consider leaving a good number of them where they land instead of bagging them up.
A messy corner of the yard can become a popular spot on your property. Pile a few cones near a brush pile so small critters feel safe while eating.
Kids can play detective by checking those piles each morning for chewed scraps. A stripped cone core can suggest that a squirrel or another small animal visited.
October is a key month for wildlife, since animals are storing food before winter. Your cones help them build up a pantry for the cold months ahead.
Try to avoid pesticides near your trees, since those chemicals can affect the animals that feed there. A natural yard brings more birdsong and furry entertainment right to your window.
Fresh water nearby makes the cone pile even more welcoming. A shallow dish set on the ground, cleaned and refilled often, helps birds and small mammals during dry spells. Place it in a shaded spot so the water stays cool through the afternoon.
6. Turn Dried Cones Into Resin-Rich Fire Starters
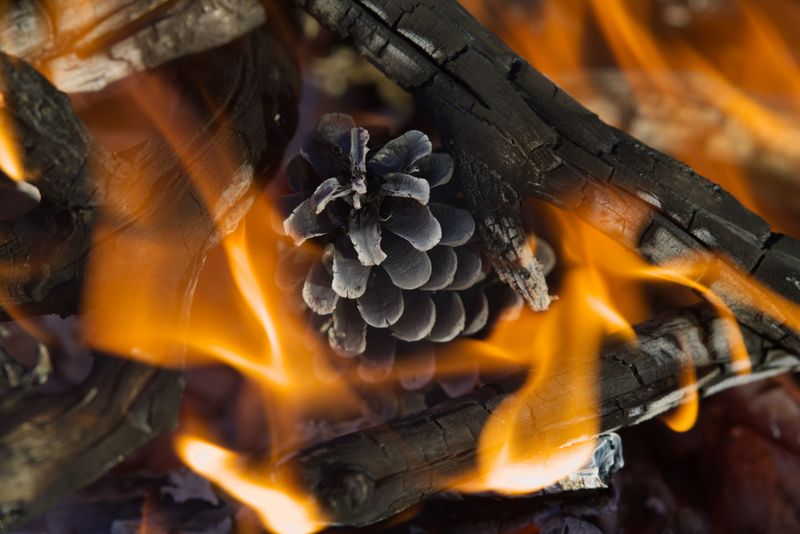
Many campers rely on one sticky trick when the matches come out. Pine resin burns hot and steady, and young green cones are rich in it.
Fresh cones are too wet to burn well, so drying them is the key step. Spread them on a baking sheet and let them sit somewhere warm for weeks.
A low oven speeds things up, but watch closely because resin can flame up. Once they feel light and crisp, they are ready to use.
For extra fuel, dip each dried cone into melted candle wax and let it harden. Old crayon stubs add color and make the starters look like little gifts.
Tuck one under a small teepee of kindling, light the tip, and watch it catch. It works as an alternative to crumpled newspaper, and it adds a pleasant scent.
October nights in the Shenandoah Valley get chilly, so this craft fits the season nicely. A basket of homemade starters near the hearth looks rustic and charming.
Adults should handle hot wax and flames, while kids help with gathering and sorting. Check local burn rules first, since Virginia limits outdoor burning in some seasons.
Store finished starters in a metal tin or a ventilated basket, away from heat sources and out of reach of little hands. A dry shelf in a garage or mudroom works nicely.
7. Color Fabric With Natural Pine Cone Dye
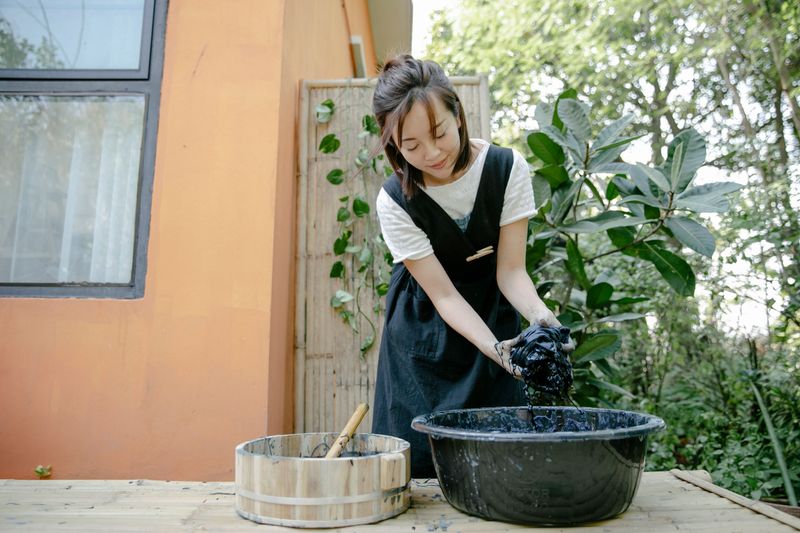
Long before store-bought dyes, people boiled plants to color their clothes and yarn. Green cones can join that old tradition with warm, earthy shades.
Expect soft tans, rusty oranges, and golden browns rather than bright green. The color depends on the tree, the season, and how long you simmer.
Start by chopping a big bowl of cones into small pieces. Cover them with water in an old pot you do not use for food.
Simmer the mix for an hour or two, then let it soak overnight. Strain the liquid and add damp fabric, like cotton or wool, to the dye bath.
Natural fibers soak up color well, while polyester takes up much less. Soaking fabric in alum first, a common pickling powder, helps the color stick.
This project makes a great rainy weekend activity for families or homeschool groups. Tie rubber bands around a shirt first, and you get a woodsy tie-dye pattern.
Try mixing in brown cones or oak bark for deeper shades. Keep notes so you can repeat a color you love next time.
Wear gloves, because resin and dye can stain your hands for days. Each batch turns out a little different, which is half the fun of experimenting.
Test a small scrap of fabric before committing to a larger piece. Dip it, let it dry, and see how the shade settles.
Colors often look deeper when wet and softer once dry, so a little patience helps you judge the true result.
8. Teach Young Scientists With A Pine Cone Lesson
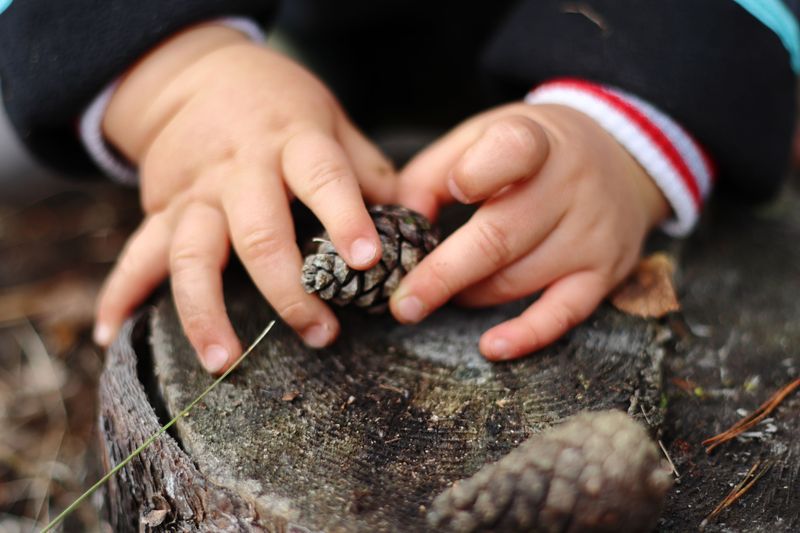
Hand a child a green cone and a magnifying glass, and you might lose them for an hour. Those tightly closed scales hide a whole lesson in plant life.
Pine cones come in two kinds, and the ones we notice are the female cones. Tiny male cones release clouds of yellow pollen across Virginia each spring, dusting cars and porches.
Green female cones are still growing seeds inside, which is why they stay shut tight. Many take about two years to mature, turning brown and opening to drop seeds.
Slice a green cone in half lengthwise to show the seeds tucked under each scale. Compare it to a brown cone and talk about how the tree protects its babies.
Another easy trick shows how cones react to rain and water. Drop an open brown cone into a bowl of water, and it may close within a few hours.
Keep a nature journal with sketches of cones from loblolly, white, and Virginia pines. Each one has its own size, shape, and texture, which makes comparing them a fun challenge.
A simple ruler adds a math lesson to the outing. Children can record the length of ten cones and find the average, then graph the results together. Numbers feel more exciting when they come from something you can hold in your hand.