This Is How To Get Fall Mums Blooming Like Crazy In Your Ohio Garden
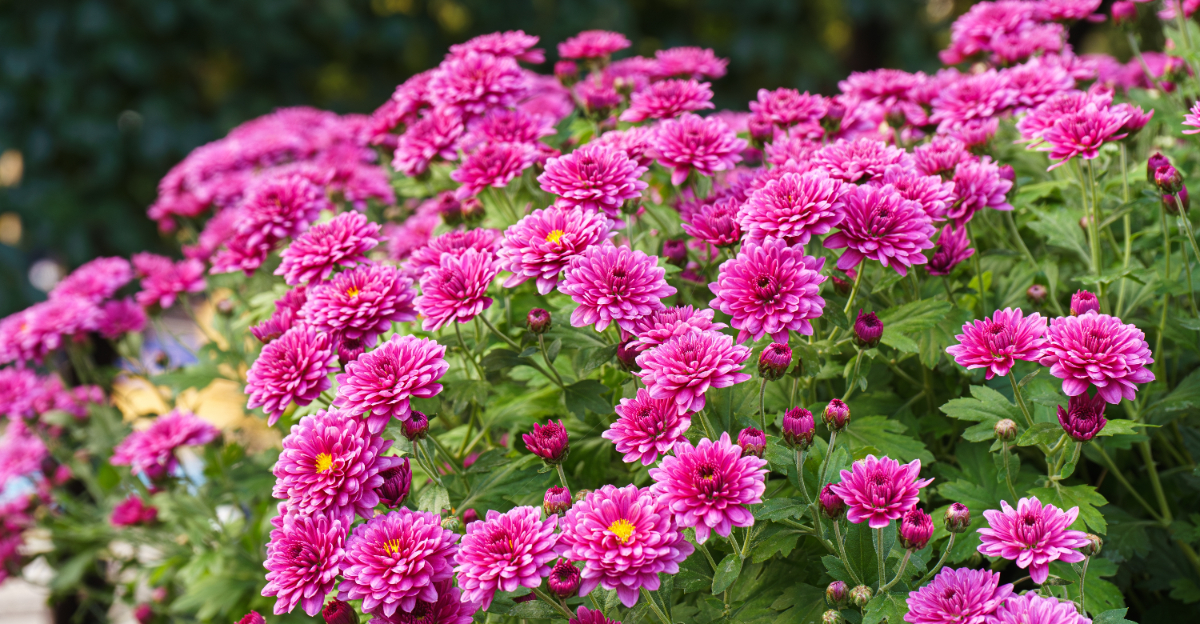
Your fall mums are sitting in an Ohio garden center right now, days away from either a spectacular season or a quiet fade into mush by October. Most people buy a mum, drop it in the ground, and expect nature to handle the rest.
Nature has other plans. Location, watering rhythm, and one small step most gardeners skip entirely decide whether that plant explodes with color for weeks or gives up after a single flush of blooms.
Timing matters just as much as technique in Ohio’s shortening fall days. Plant too late or care for it wrong in these first few weeks, and even a healthy-looking mum from the store won’t recover before frost shuts everything down.
A few adjustments now change everything about how this plant performs through fall. Your mums have more potential than the store display ever let on.
1. Give Mums Plenty Of Fall Sun
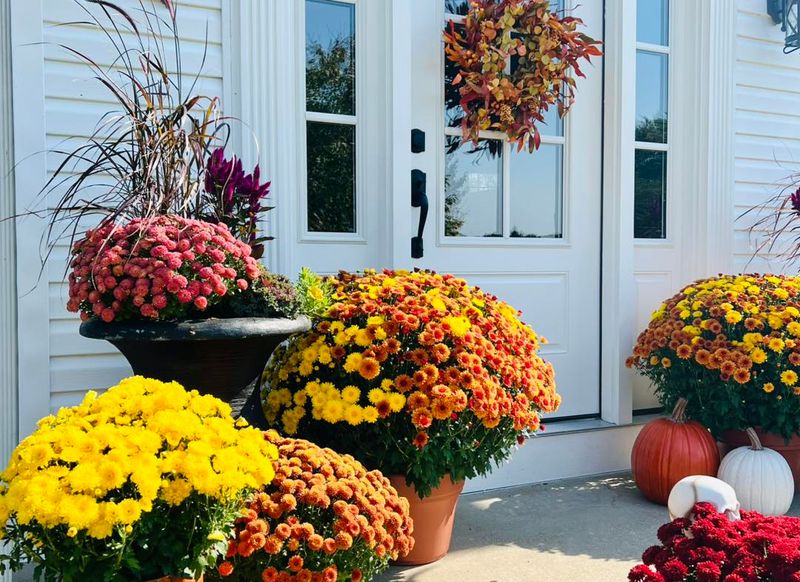
Sunlight placement is one of the most common mistakes gardeners make with fall mums, often without realizing it. A porch that received bright morning light in July may sit in deep shade by late September, when the sun tracks lower across the sky.
Ohio State University Extension recommends that chrysanthemums receive at least six hours of direct sunlight each day for strong flowering and healthy plant structure.
Without enough light, plants tend to produce fewer blooms and develop a stretched, leggy appearance. Foliage can look dull rather than rich and green.
Placing your containers where they genuinely receive unobstructed sun for most of the day makes a noticeable difference in how full and productive the display becomes.
The practical advantage of container-grown plants is that you can move them. If your original spot turns out to be shadier than expected in fall, shift the pot to a sunnier area of the patio, driveway, or yard.
South-facing and west-facing spots often capture the most usable fall sun in Ohio. For plants going directly into a garden bed, choose a location that stays sunny even as neighboring trees begin dropping leaves.
Spending a few minutes observing where the light actually falls during the afternoon hours can save you weeks of disappointment with an underperforming plant.
2. Choose Plants Packed With Buds
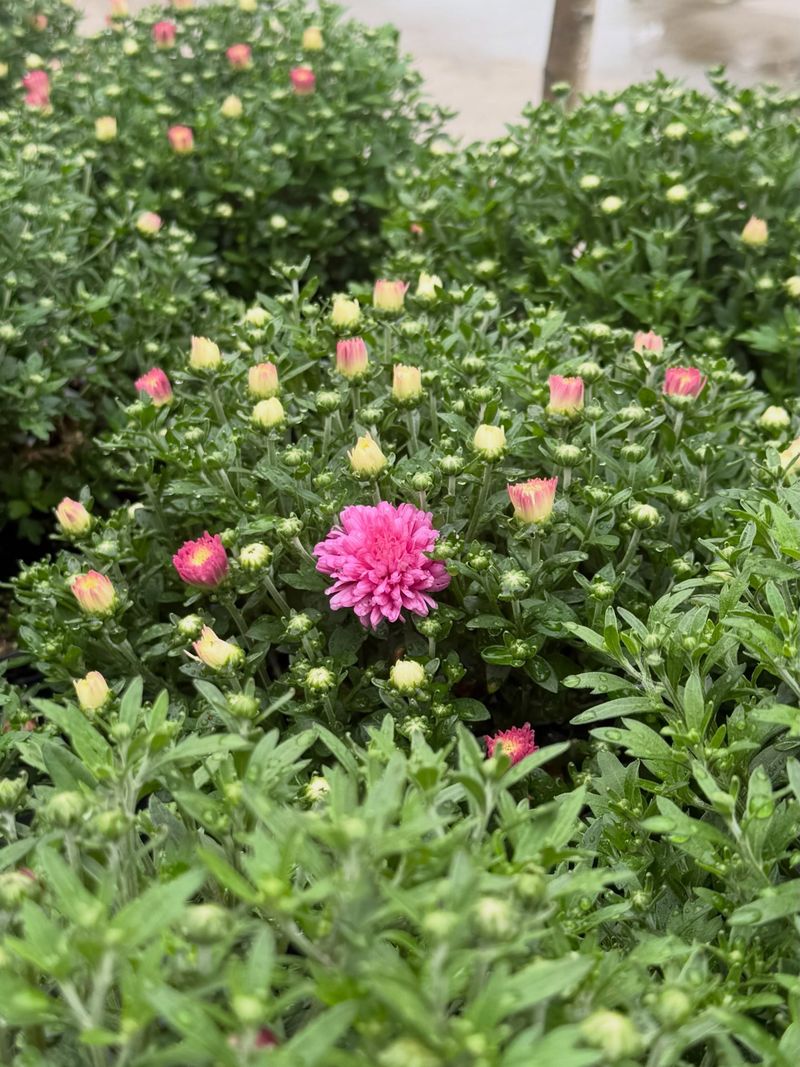
Walking into a garden center and grabbing the plant with the most open flowers already in full color feels satisfying, but it often leads to a shorter display. A plant that is already at peak bloom has most of its show behind it.
OSU Master Gardener guidance supports choosing plants that carry an abundance of buds, including many that are still closed or just beginning to open.
A bud-heavy plant is still building toward its best performance. As those buds open over the coming days and weeks, you get a display that develops and evolves rather than one that peaks immediately and fades fast.
At Ohio farm markets, nurseries, and seasonal plant stands, take a moment to gently part the foliage and look at what is underneath the surface blooms.
Your Ohio Garden Changes Every Week. Your Plan Should Too.
Gardening in Ohio changes quickly throughout the season. Every Friday you’ll receive a simple weekly plan showing exactly what to plant, prune, fertilize, harvest, and protect so you never miss the right timing.
Healthy foliage matters too. Leaves should look firm and green without significant yellowing, browning at the edges, or signs of insect damage.
A compact, sturdy plant with dense branching and plenty of visible buds is a much better investment than a taller, open plant covered in fully opened flowers. Resist the pull of instant color and think about what the plant will look like in two or three weeks instead.
That shift in thinking tends to produce a fall display that stays attractive well into October across much of the state.
3. Keep The Soil Evenly Moist
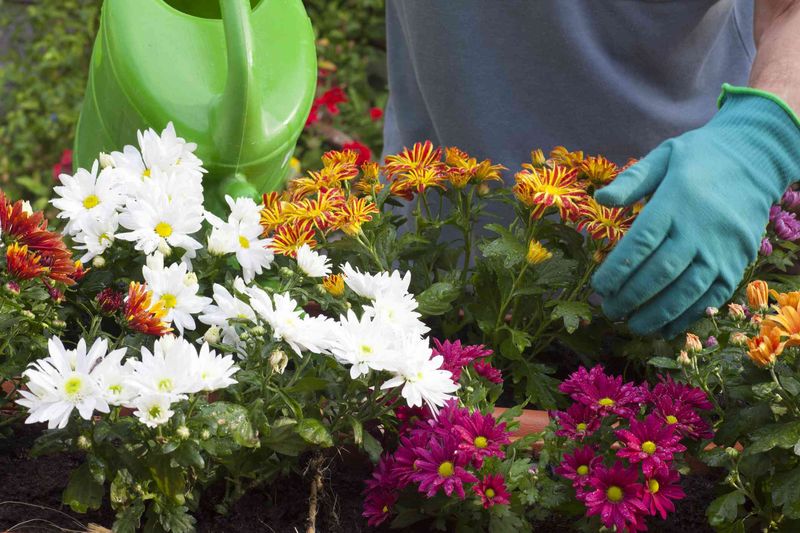
Small nursery containers dry out faster than most gardeners expect, especially during warm, breezy fall afternoons. A pot that felt moist in the morning can be noticeably dry by late afternoon if temperatures climb and wind picks up.
OSU Extension recommends checking container soil regularly, using a simple finger test to judge whether watering is actually needed.
Press your finger about an inch into the soil. If the top layer feels dry to the touch, water the plant thoroughly until water flows freely from the drainage holes at the bottom.
That kind of deep watering encourages roots to develop throughout the container rather than staying close to the surface. Shallow, frequent splashes of water rarely penetrate deeply enough to keep the entire root zone adequately moist.
Evenly moist soil is the goal, not saturated soil. Roots sitting in standing water can suffer quickly, so drainage is just as important as adequate moisture.
If your decorative pot does not have drainage holes, consider planting into a grower’s pot that does, then setting that inside your decorative container. During cool, overcast Ohio stretches, you may need to water far less frequently than during sunny warm spells.
Let the actual soil condition guide you rather than watering on a fixed schedule that ignores what is happening in the pot.
4. Repot Mums For Bigger Blooms
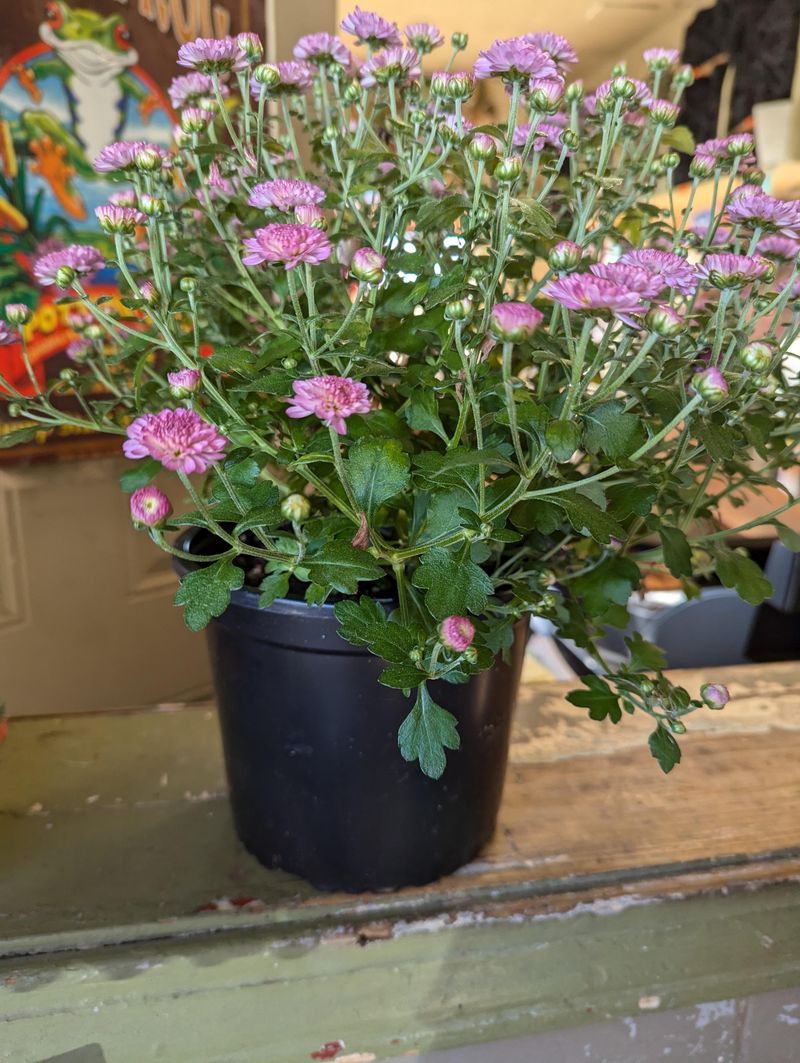
Most fall mums sold at Ohio nurseries and farm stands arrive in small, tight grower containers. Those containers are practical for transport and retail display, but they can limit how well the root system develops once you get the plant home.
OSU Extension guidance supports moving plants from their original nursery pots into larger containers or suitable garden locations to give roots more room to expand.
A larger container allows the root ball to spread out rather than remain compressed. That extra root space helps the plant manage moisture and environmental stress more effectively throughout the fall season.
Choose a new pot that is noticeably larger than the original, and make sure it has adequate drainage holes so water can move through freely.
To move the plant, gently squeeze the sides of the nursery pot to loosen the root ball, then ease it out without pulling hard on the stems. Set it into the new container with fresh potting mix around the sides and firm the soil gently to eliminate large air pockets.
Water the plant well after repotting and place it back in a sunny location. A plant with more root space usually handles dry spells better.
It can also keep blooming more consistently than one left in a container it has already outgrown. The result is a fuller, more productive display rather than a plant that stalls mid-season.
5. Remove Spent Flowers Often
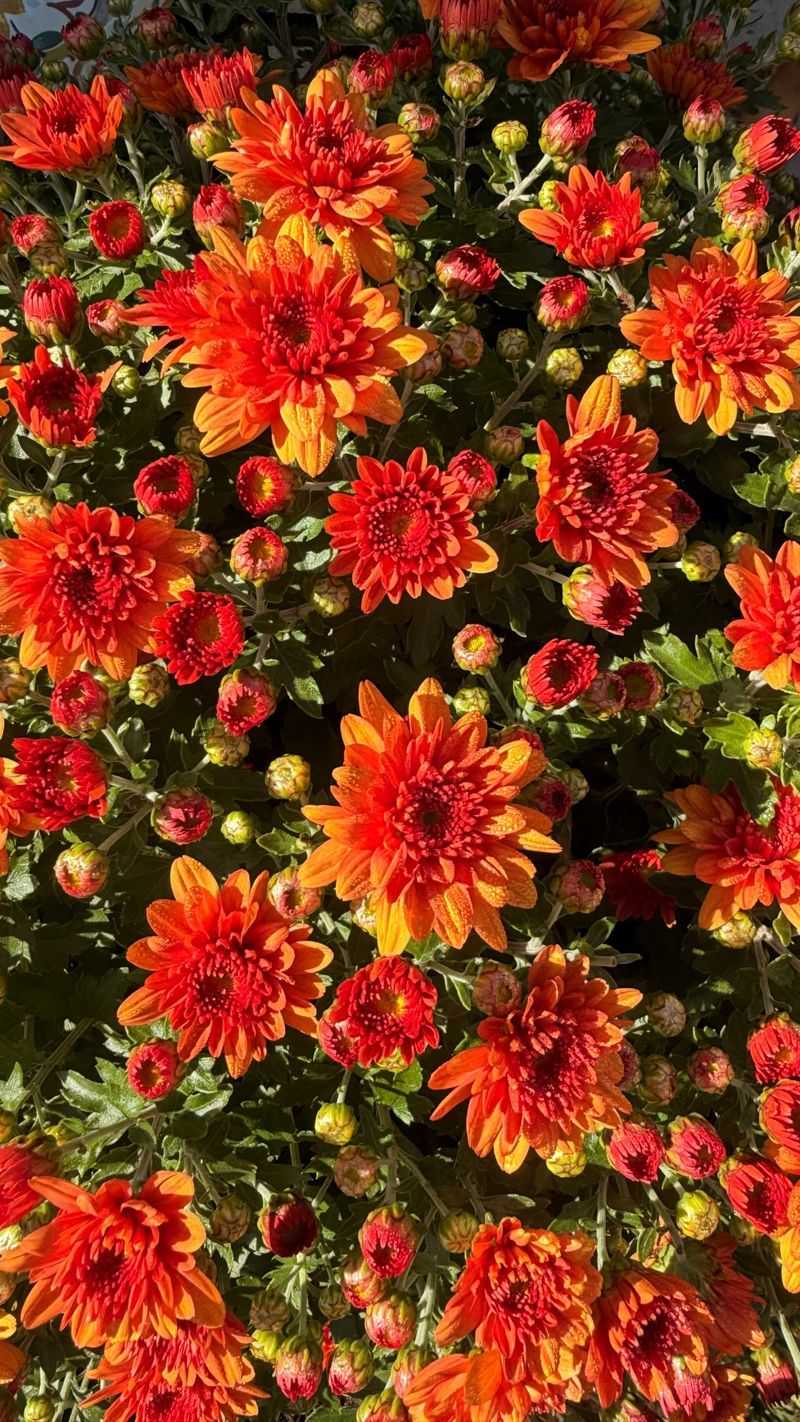
A fall mum display starts looking tired when faded, brown flowers are left to linger on the plant. Spent blooms draw attention away from the fresh flowers still opening nearby, and they can make an otherwise healthy plant look past its prime.
OSU Extension guidance indicates that removing spent flowers can help extend the overall flowering period, giving you more time to enjoy the display.
Look for flowers that have fully opened and begun to fade, brown at the edges, or collapse inward. Pinch or snip the spent flower back to the nearest set of leaves or to a visible bud below it.
You don’t need special tools for this. Your fingers work fine for most spent blooms, though small pruning snips make the job cleaner and faster on a densely branched plant.
Making this a regular habit every few days keeps the plant looking well-maintained and fresh throughout the season. Removing old flowers also prevents the plant from directing energy toward seed development, which has no benefit for your fall display.
This practice works alongside good sunlight, consistent watering, and adequate container size rather than replacing any of those fundamentals. Expect the improvement to be gradual rather than instant.
A plant that receives regular cleanup over several weeks will look noticeably better in late October than one that was simply left alone after purchase.
6. Stop Pinching Before Buds Form
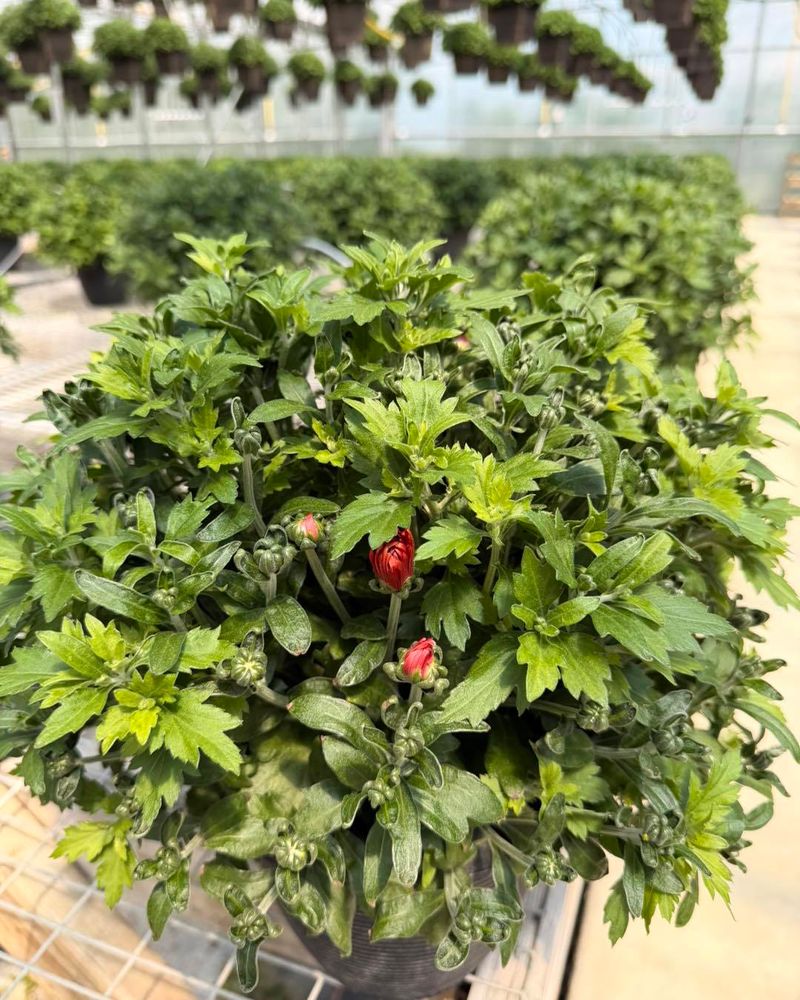
Pinching is a pruning technique that most fall mum buyers have never heard of, yet it has a big impact on how full and productive a plant becomes. The process involves removing the soft growing tip at the end of a stem, which signals the plant to branch outward rather than continuing to grow taller.
Each pinched stem typically produces two or more new side shoots, and those shoots eventually become flowering stems.
The timing of pinching matters more than the technique itself. Ohio State University and OSU Master Gardener materials support pinching garden chrysanthemums during early growth.
Pinching should stop well before the plant begins setting flower buds. Clark County OSU Master Gardener guidance recommends stopping pinching around early to mid-July for spring-planted mums.
This gives the plant enough time to develop buds for fall flowering.
This practice applies to garden chrysanthemums that have been growing in your yard since spring, not to potted plants you just purchased at a fall sale. A plant already loaded with buds or open flowers at the nursery should not be pinched.
Doing so at that stage would remove the very growth that carries your flowers. If you want to try pinching, plan for it next spring when you plant fresh mums in a garden bed and can manage the timing from the beginning of the growing season.
7. Give Mums Room To Breathe
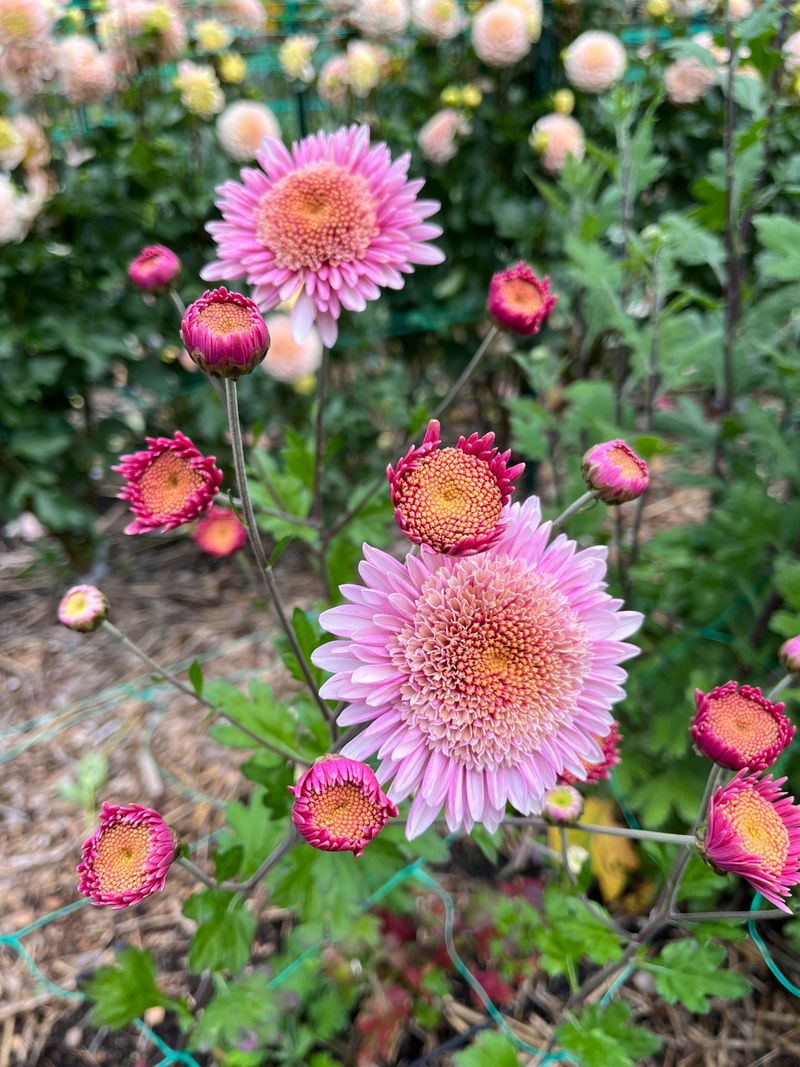
Crowding plants together creates a damp, still environment around the foliage that can cause problems over time. When leaves and stems stay wet because air cannot circulate freely, fungal issues become more likely.
OSU Extension recommends spacing garden-grown chrysanthemums approximately 18 to 30 inches apart to allow adequate airflow around each plant.
That spacing guidance applies primarily to plants growing permanently in a garden bed through spring and summer. For decorative containers grouped on a porch or patio for a seasonal fall display, you don’t need to measure 18 to 30 inches between every pot.
For container groupings, avoid packing pots tightly against one another. Leaving some space between them allows air to move around the plants.
Leaving even a few inches of space between grouped containers allows air to move around the foliage. On cool, damp Ohio fall mornings when dew settles on leaves, that airflow helps the foliage dry out more quickly.
Plants with better air circulation around them tend to hold their foliage in better condition throughout the season compared to those packed tightly together in a corner.
For garden beds, the spacing recommendation also prevents competition between root systems as plants mature.
A little forethought about placement when you set your mums out goes a long way toward keeping the display healthy and attractive from September through October.
8. Plant In Rich Well-Drained Soil
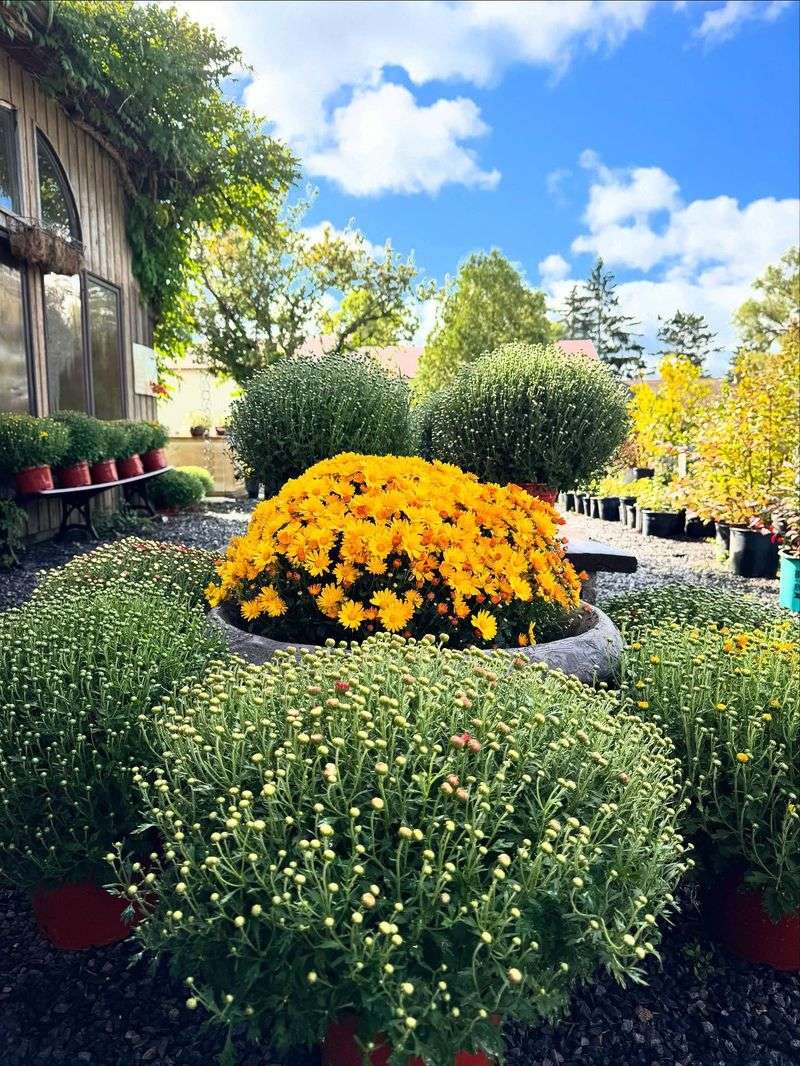
Soil quality shapes how well any garden plant performs, and chrysanthemums are no exception. OSU Extension describes suitable soil for garden mums as loose-textured and well-drained.
Soil that holds too much water around the root zone creates conditions that stress the plant and reduce flowering performance over time.
For garden bed planting, check that your chosen location doesn’t stay soggy after a heavy Ohio rain. Low-lying spots that collect standing water are poor choices regardless of how much sun they receive.
If your soil is dense or compacted, work in organic matter before planting. This can improve both texture and drainage without relying on arbitrary prescriptions.
Container planting requires the same attention to drainage. A pot without drainage holes, or one where the drainage holes have become blocked, will hold excess water around the roots even when you think you’re watering correctly.
Use a quality potting mix rather than heavy garden soil in containers, since garden soil tends to compact inside pots and drain poorly. Fresh potting mix is lighter, drains more freely, and provides a better environment for root development throughout the fall season.
Whether you’re planting in a bed or a container, starting with the right growing medium sets the foundation for everything else. Good soil doesn’t guarantee a perfect display on its own, but poor drainage can undermine every other step you take to support your plants.