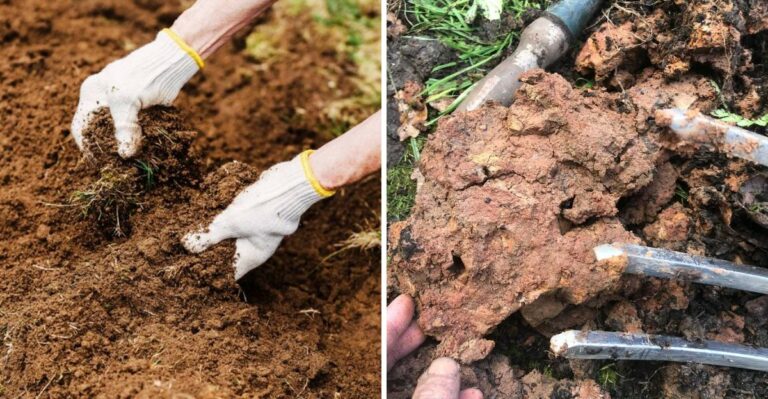
What Camellias Need Before First Freeze To Bloom Through Winter In Virginia
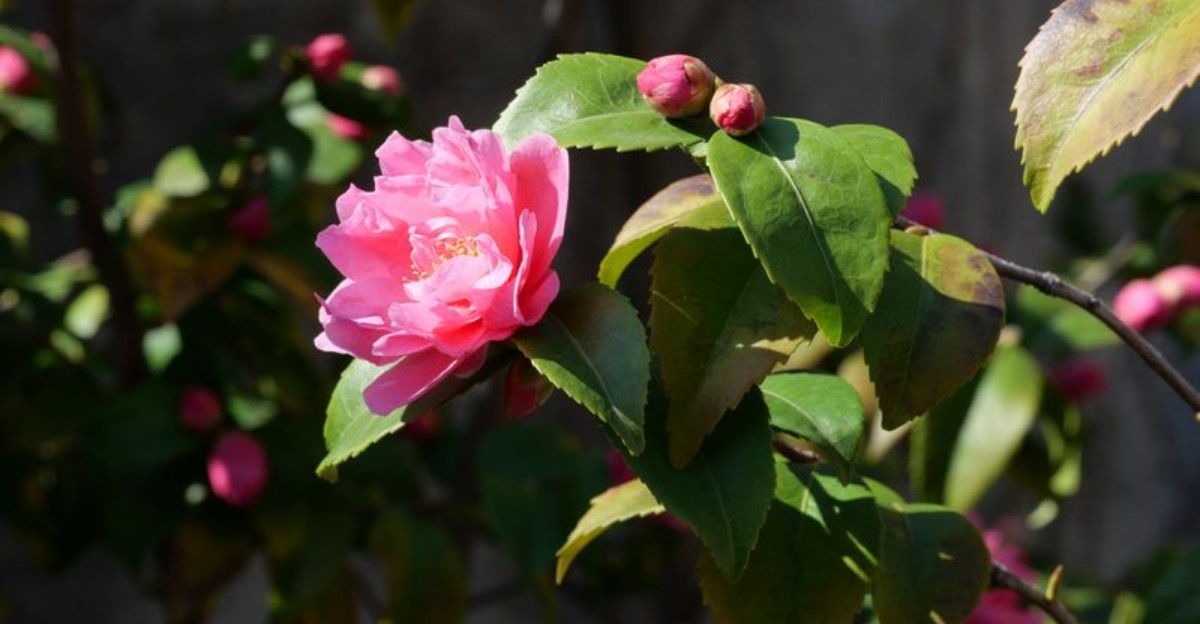
A pink camellia glowing against gray January skies feels like a little miracle while the rest of the yard sleeps. Across Virginia, that show happens every winter, but it doesn’t happen by luck.
Camellias set their buds back in summer. Those buds now have to make it through frosty nights, icy wind, and bright winter sun.
The weeks before the first freeze are your best chance to help them. A few simple chores can mean the difference between a shrub full of flowers and a pile of brown buds on the ground.
The guide below covers everything your camellias need before cold weather rolls in. Get it right, and they’ll reward you with color all winter long.
1. Deep Watering Through Dry Fall Spells
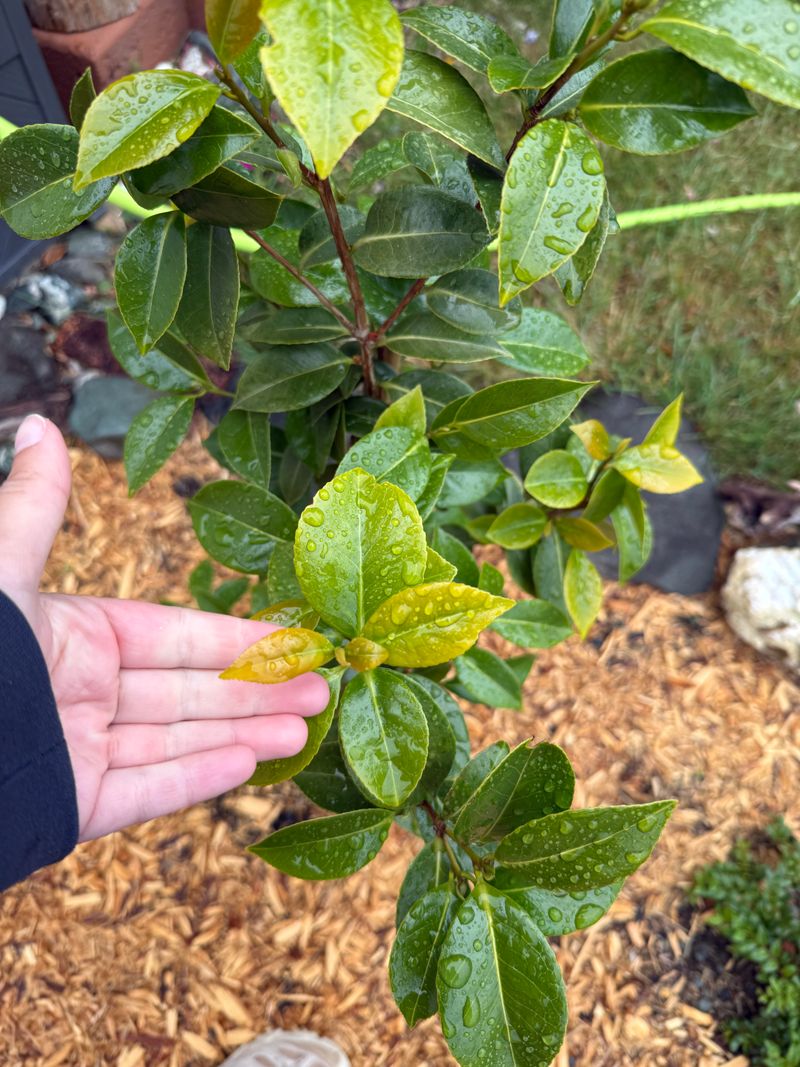
Fall in Virginia can fool you with cool air and bone-dry soil. Camellias feel that thirst long before their leaves show it.
Roots need steady moisture to feed hundreds of plump flower buds. When the ground dries out, buds may shrivel before they ever open.
Moist soil also holds heat better than dry soil does. So a well-watered bed stays a little warmer on those first frosty nights.
Aim for a slow, deep soak rather than a quick splash. A soaker hose or a gently running garden hose works nicely for about thirty minutes.
Check the soil before you water by pushing a finger two inches down. If it feels dry at that depth, your shrub is ready for a drink.
Most established camellias need roughly an inch of water each week. Rain counts, so a cheap rain gauge helps you keep track easily.
Soggy ground is not the goal, though. Camellias dislike wet feet, and waterlogged roots can rot during chilly weather.
Morning is the best time to water in autumn. Leaves dry off during the day, which helps keep fungus problems away.
Plan one final deep soak right before a hard freeze arrives. Hydrated plants handle cold stress much better than thirsty ones.
Container camellias dry out faster than those planted in the ground. Check pots every few days, since wind and sun pull moisture quickly.
Think of fall watering as packing a lunch for winter. Your camellia will draw on that stored moisture for weeks.
2. A Fresh Layer Of Mulch Over The Roots
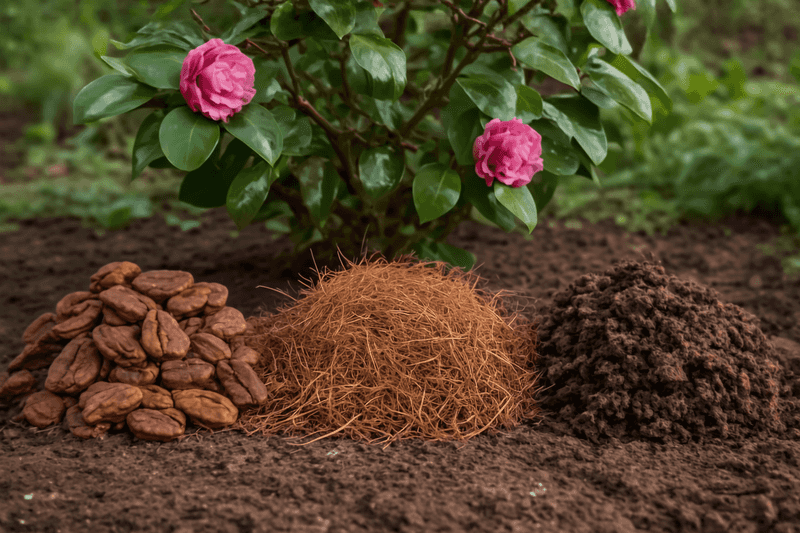
Imagine stepping outside barefoot on a January morning. Camellia roots feel that same shock when bare soil freezes hard.
A fresh blanket of mulch changes everything underground. It keeps soil temperatures steadier and holds moisture close to the roots.
Spread two to four inches of organic material around each shrub. Pine straw, shredded bark, and chopped leaves all work well.
Pine straw is a longtime favorite across the South. It stays fluffy, lets water through, and adds a touch of acidity camellias love.
Timing makes a real difference here. Apply mulch once the soil has cooled in fall but before the hard freezes hit.
Mulching too early can trap summer warmth and delay the plant’s natural slowdown. Late October to mid-November suits much of Virginia nicely.
Your Virginia Garden Changes Every Week. Your Plan Should Too.
Gardening in Virginia changes quickly throughout the season. Every Friday you’ll receive a simple weekly plan showing exactly what to plant, prune, fertilize, harvest, and protect so you never miss the right timing.
Keep the mulch pulled back a few inches from the trunk. Piling it against bark invites rot, insects, and hungry rodents.
Picture a donut shape rather than a volcano. The ring should reach out toward the edge of the branches, where many feeder roots grow.
Old mulch from last year may have broken down to a thin crust. Fluff it with a rake, then top it with fresh material.
Here is a thrifty bonus for you. Fallen leaves from your own yard, run over with a mower, make free mulch that feeds the soil too.
Your camellia may not say thanks out loud. Come winter, those healthy buds will do the talking.
3. No Fertilizer Until Blooming Ends
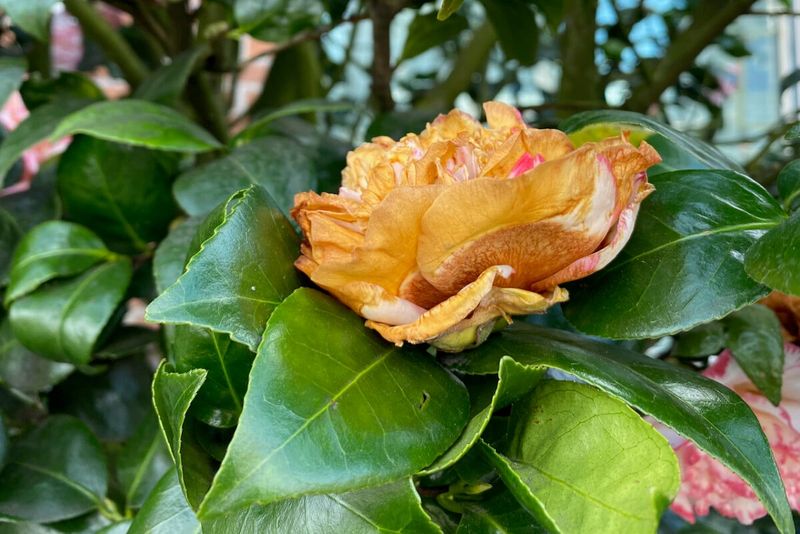
Here is a case where doing less really helps. Feeding camellias in fall can actually hurt their winter show.
Fertilizer pushes a plant to grow fresh, tender shoots. Soft new growth cannot handle freezing weather and often turns brown or mushy.
Worse yet, the plant spends energy on leaves instead of buds. Your flower display may shrink because of one well-meant bag of food.
Most experts suggest stopping all feeding by July or August. After that point, camellias should be hardening off for cold months.
So when is the right time? Wait until blooming wraps up in late winter or early spring.
Once the last flowers fade, feed with a product made for acid-loving plants. Azalea and camellia blends are easy to find at garden centers.
Follow the label closely and water it in well afterward. More fertilizer is not better and may scorch tender roots.
Some gardeners feed a second light dose in early summer. That boost supports the buds forming for next year.
Leaves turning pale yellow in fall might tempt you to feed. Hold off and test your soil pH first, since camellias like it between 5.5 and 6.5.
Many extension offices offer affordable soil tests. Results tell you exactly what your soil needs, so there is no guessing.
Put the fertilizer bag somewhere out of sight for now. Your camellia is resting, and a little restraint pays off in blossoms.
4. Shelter From Harsh Winter Wind
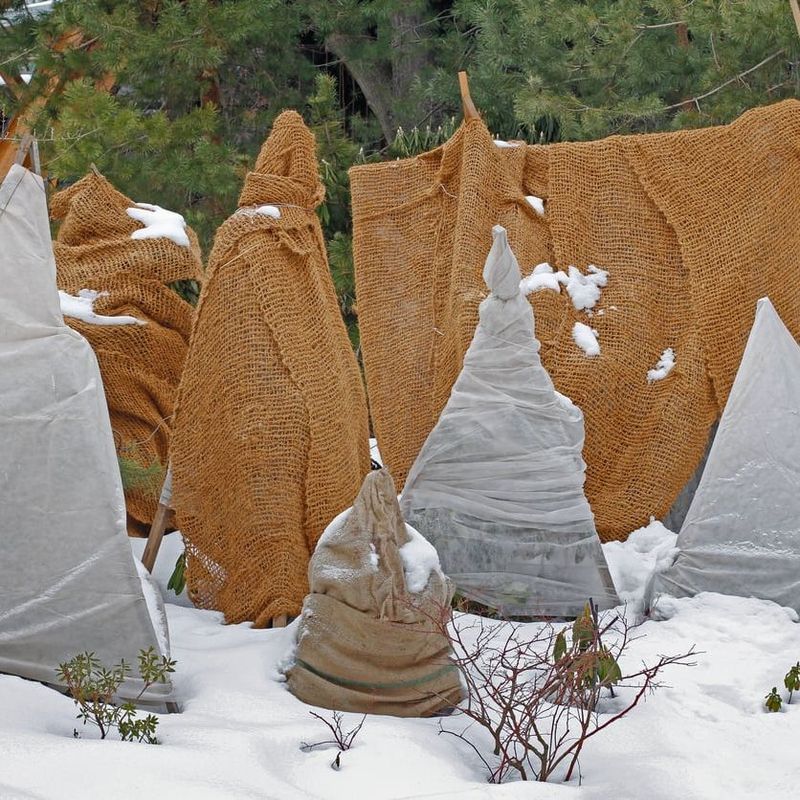
Cold wind is sneakier than cold air alone. It pulls moisture right out of camellia leaves, even when the ground is frozen.
Roots cannot replace that water from icy soil. The result is winter burn, with brown, crispy edges on once glossy leaves.
Flower buds suffer too when blasts hit them night after night. Many simply turn brown and fall before opening.
Location is your first line of defense. A spot near a house wall, fence, or evergreen hedge blocks a lot of harsh wind.
In Virginia, winter winds often sweep in from the northwest. Planting on the south or east side of a structure usually offers better cover.
Already have a camellia in an open, breezy spot? A temporary windbreak can help a great deal this season.
Pound a few wooden stakes on the windy side of the shrub. Then staple burlap across them, leaving a small gap so air still moves.
Avoid wrapping plastic directly against leaves. Plastic traps moisture and heat, which can cause more damage on sunny days.
Potted camellias are easier to protect. Roll them next to a sheltered wall or into an unheated garage during the worst spells.
Grouping pots together helps as well. Neighboring plants shield one another, a bit like penguins huddling on the ice.
Planning a new camellia bed for next year? Take a winter walk around your yard and notice where snow drifts and branches whip, then avoid those spots.
5. Protection From Early Morning Winter Sun
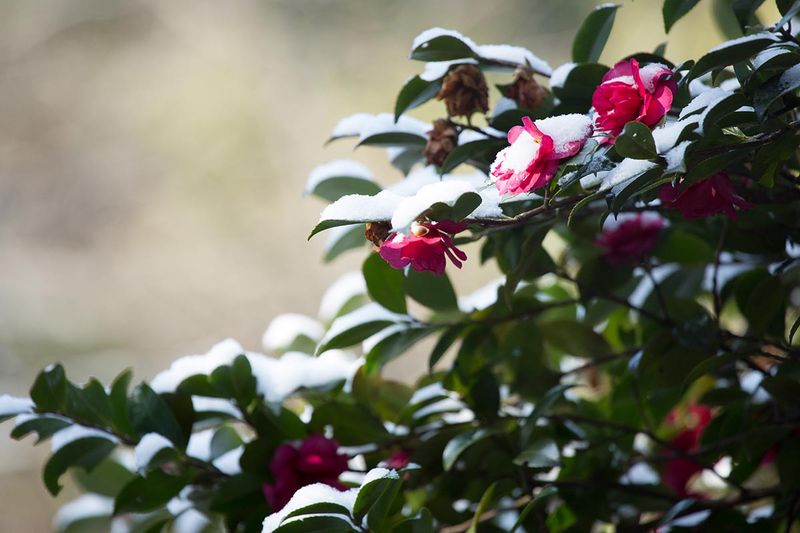
Sunshine seems like a friend in winter, right? For frozen camellia buds, a sudden morning sunbeam can cause real trouble.
When icy buds thaw too fast, their cells rupture. Damage shows up later as brown petals or buds that never open.
Leaves face a similar risk called sun scald. Bright light on frozen foliage bleaches spots and leaves them tan or papery.
Shrubs facing east feel the first rays soonest. South-facing plants get strong light all day, so they need watching too.
Gardeners in older towns often grew camellias under tall pines or oaks. High branches filtered winter light and kept blooms looking lovely.
You can copy that trick without planting a tree. A simple shade screen of burlap or shade cloth on the sunny side works well.
Leave the cover up through the coldest weeks of January and February. Remove it once mornings stay mostly above freezing.
Moist soil lowers the risk of sun damage. Hydrated leaves bounce back better than thirsty ones after a harsh sunny morning.
Choosing a new planting site? Look for places with morning shade and gentle afternoon light, or dappled shade most of the day.
A north or west side of a house often fits camellias beautifully. Blooms there tend to last longer and keep brighter colors.
Small changes in light can save a whole season of flowers. Watch your shrub one frosty sunrise, and you may spot the problem right away.
6. Frost Cloth Ready For The Coldest Nights
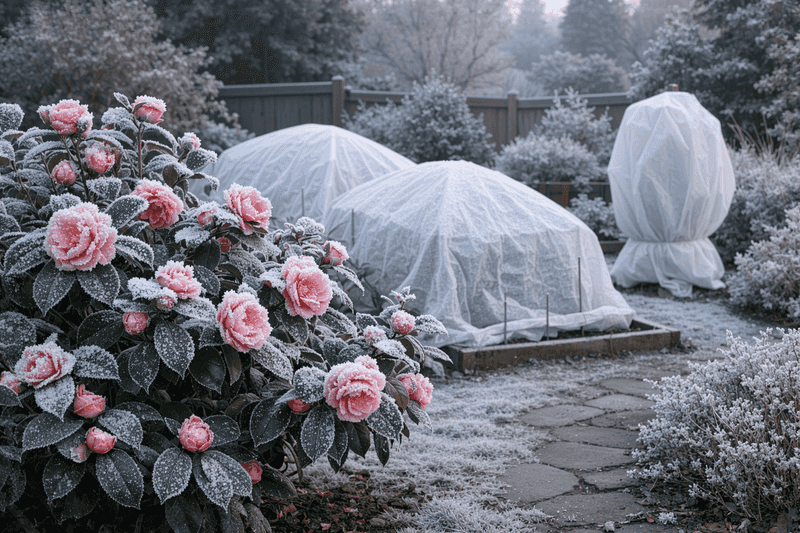
Weather apps love surprises, especially in winter. A forecast of 15 degrees can pop up with barely a day’s warning.
Keeping frost cloth on hand saves a frantic store trip. Buy a roll in fall while shelves are still full.
Frost cloth is a lightweight fabric made for plants. It lets light and air through while holding in a few precious degrees.
Drape the cover over the whole shrub and let it reach the ground. Heat rising from the soil gets trapped underneath, warming buds.
Hold the edges down with bricks, rocks, or landscape pins. A loose cover can blow away before midnight.
Old bed sheets or blankets work in a pinch. Remove them in the morning, though, since wet fabric grows heavy and cold.
Want a clever old-school trick? String a few incandescent Christmas lights inside the cover for gentle, steady warmth.
LED lights look pretty but give off almost no heat. The older bulbs are the ones that actually help here.
Skip plastic sheeting touching the leaves. It conducts cold and can harm the foliage it touches.
Uncover plants once temperatures rise above freezing the next day. Camellias need sunlight and fresh air to stay healthy.
Save the cloth for truly harsh nights, usually in the low 20s or colder. Established camellias handle mild frosts without much fuss.
Fold and store the fabric in a labeled bin. Next winter, you will be ready in minutes.
7. Pruners Kept Away Until Spring
Fall cleanup fever strikes many gardeners. Leaves get raked, beds get tidied, and pruners start looking for something to trim.
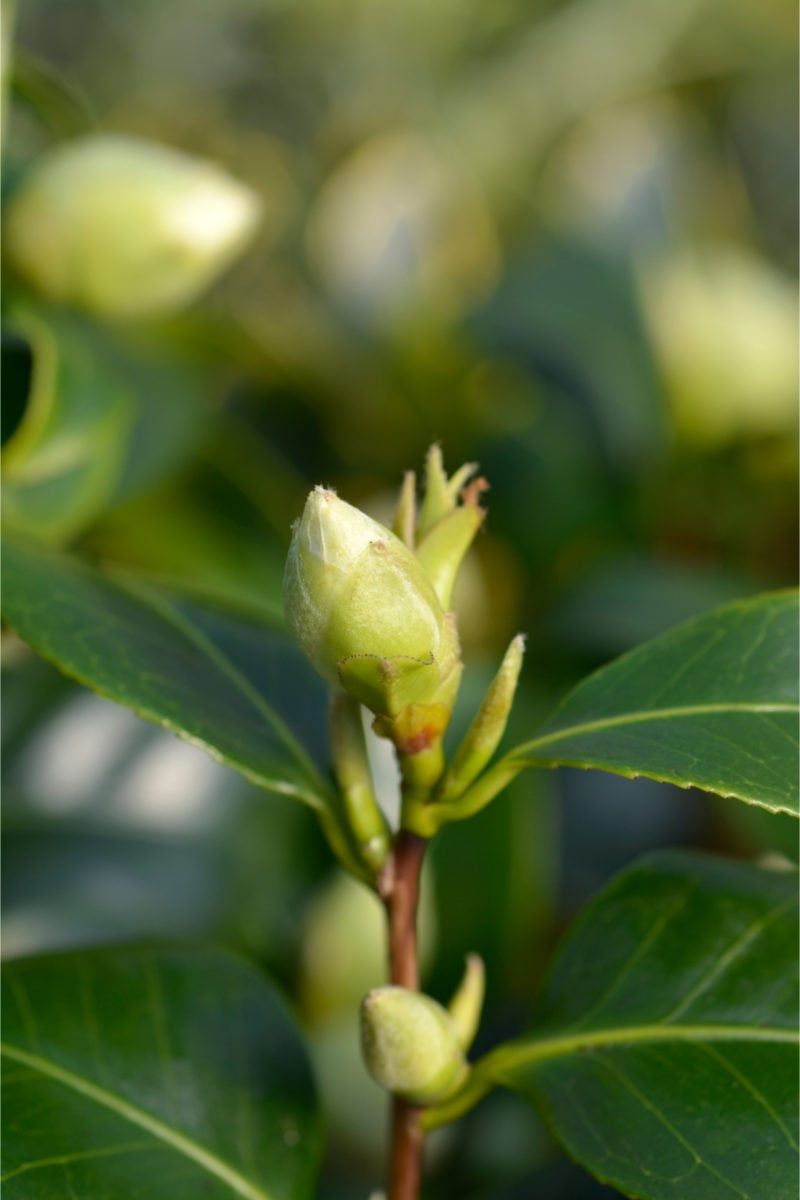
Camellias should skip that trim for now. Their flower buds formed back in summer and sit right at the branch tips.
Cutting in fall or winter removes those buds before they bloom. One enthusiastic afternoon could erase half the flowers you waited for.
Look closely at a branch tip this season. Round, plump buds hold flowers, while skinny pointed buds hold leaves.
Once you spot the difference, you will see how many blooms are waiting. Leaving them alone is the easiest win of the year.
The best time to prune is right after flowering ends. For many shrubs in Virginia, that falls in late winter or spring.
Pruning then gives the plant months to grow and set new buds. You get shaping and flowers, both in the same year.
Some exceptions do exist, of course. Broken, diseased, or storm-damaged branches can be removed anytime to keep the plant healthy.
Make clean cuts just above a leaf or side branch. Wipe your pruners with rubbing alcohol between plants to avoid spreading disease.
Craving a garden project anyway? Clean and sharpen your tools now so they are ready when spring comes.
A little patience turns a scraggly shrub into a flowering showpiece. Your camellia rewards the waiting with every open blossom.
8. A Quick Check For Tea Scale Under The Leaves
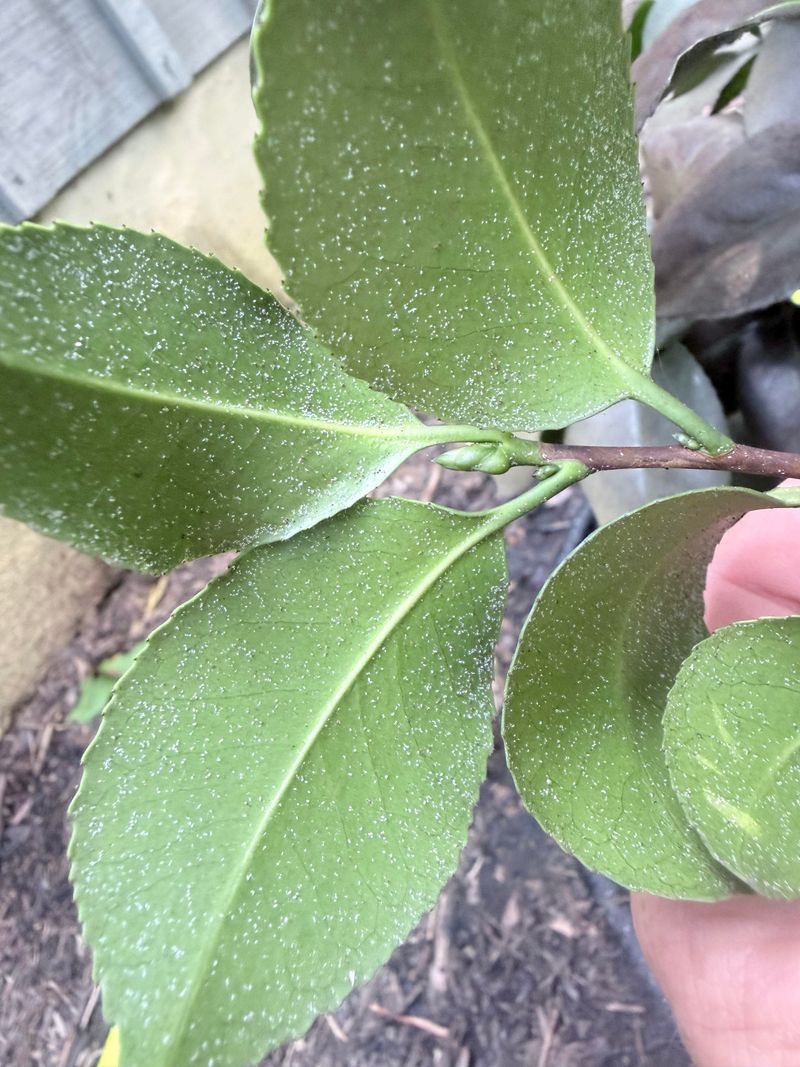
Flip a camellia leaf over, and you might find a tiny surprise. Tea scale hides underneath, sucking sap where few people look.
Tea scale is the most common camellia pest across the Southeast. Heavy infestations weaken plants and cut down on winter blooms.
Start with the tops of the leaves. Yellow blotches or speckles on the upper side are an early warning sign.
Then turn those leaves over. A fuzzy white or cottony coating means scale insects have moved in.
Females look like small brown ovals, while males look white and fluffy. Both cling tightly and barely seem to move.
A fall check takes about five minutes per shrub. Look at leaves from the inside and lower branches, where pests love to hide.
Found only a few? Pick off badly infested leaves and toss them in the trash, not the compost pile.
For bigger problems, horticultural oil works well. It smothers the insects without harsh chemicals lingering in your garden.
Spray oil when temperatures sit between 45 and 85 degrees. Coat the undersides of leaves thoroughly, since that is where scale lives.
Spring brings the crawler stage, when young scale move around unprotected. Treatments work best then, so mark your calendar.
Healthy shrubs resist pests better. Good watering, proper mulch, and decent airflow all help keep scale numbers low in gardens.
Catch problems early, and your blossoms stay safe.
9. Cold-Hardy Varieties In Colder Parts Of The State
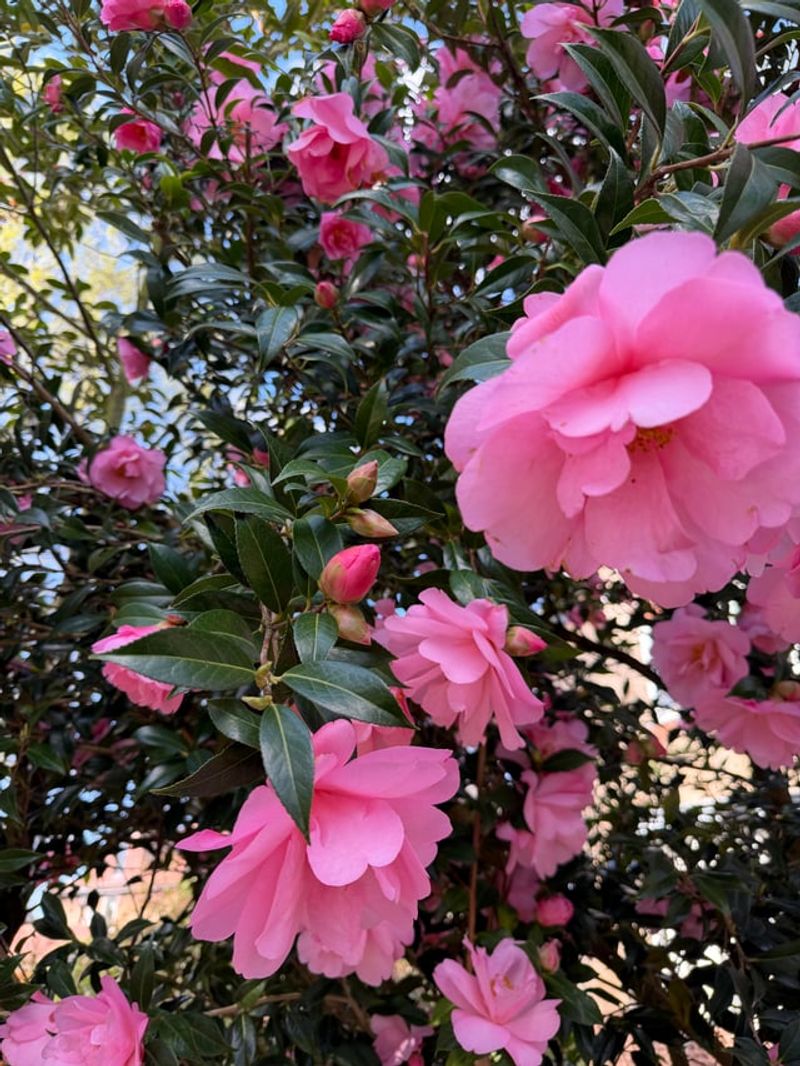
Virginia stretches from salty coast to chilly mountain ridges. Camellias that thrive in Norfolk may struggle near Winchester or Blacksburg.
Most of the eastern and central state falls in USDA Zones 7 and 8. Classic Camellia japonica and Camellia sasanqua types do well there.
Western and northern areas can dip into Zone 6. Winters there bring harder freezes that many camellias cannot handle.
Here is a fun bit of history for you. Dr. William Ackerman bred extra hardy camellias at the National Arboretum in Washington, D.C.
His Ackerman hybrids often carry names with the word Winter in them. Look for Winter’s Star, Winter’s Joy, or Winter’s Interlude.
Many of these crosses survive temperatures well below zero. That makes them great picks for colder gardens.
Sasanquas bloom in fall, often before the worst cold arrives. They’re a bit less hardy than japonicas, though, so colder areas do better with Ackerman hybrids.
Japonicas bloom later in winter and early spring. Their big buds sit exposed longer, so they need more protection in colder zones.
Not sure of your zone? The USDA Plant Hardiness Zone Map lets you type in a zip code for a quick answer.
Local nurseries are another great resource. Staff often know which varieties do well in your county.
Picking the right camellia up front saves plenty of worry later. A hardy plant in the right spot handles winter with far less fuss.
10. Patience When A Few Buds Drop
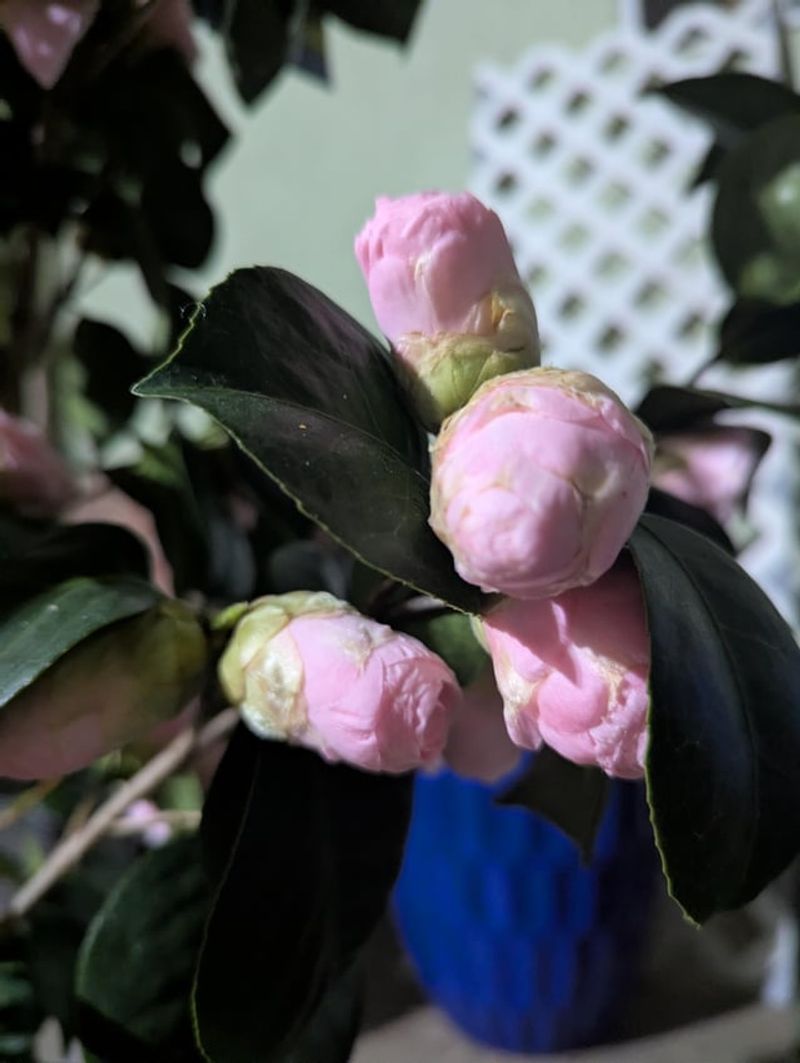
Finding brown buds scattered under your camellia can feel heartbreaking. Take a breath, because a few fallen buds are often normal.
Camellias sometimes set more buds than they can support. The plant simply drops extras to focus energy on the rest.
Some gardeners even remove extra buds on purpose. Pinching off crowded buds leaves bigger, showier flowers behind.
Weather swings can also cause bud drop. A warm spell followed by a sudden freeze stresses buds in a hurry.
Uneven watering is another common reason. Dry weeks in late summer or fall often show up as fallen buds months later.
Look at the whole plant before you worry. If most buds still look plump and green, your shrub is doing just fine.
Worried about a bigger drop? Check for scale, soggy soil, or recent root damage from digging nearby.
Steady care is the best fix you can offer. Keep soil evenly moist, mulch well, and protect plants from harsh wind and sun.
Some varieties drop buds more than others in cold areas. Switching to a hardier type may help if the problem repeats yearly.
Clean up fallen buds and petals from the ground. Tidying helps prevent petal blight, a fungus that spoils blossoms.
Winter gardening in Virginia teaches a gentle lesson. Plants follow their own rhythm, and patience often brings a lovely reward when the first bloom opens.