What You Should And Shouldn’t Do To Roses Before Winter In Texas
Valentine’s Day is the traditional pruning date for one famous flowering shrub across much of Texas, believe it or not. That timing means the weeks before winter are mostly about patience and a handful of smart cleanup chores.
Nobody warned me that a single late feeding in October could leave my favorite bushes with tender, frost-bitten shoots. I also learned that fallen leaves can quietly carry fungus spores straight through winter into the next spring.
Texas winters swing wildly, with sunny seventy-degree afternoons followed by sharp freezes that sneak in overnight. Your bushes need a little help handling those roller-coaster temperatures, and the right moves are surprisingly simple.
Personally, I think the mistakes are more interesting than the chores, because a few popular habits backfire badly. Here are the familiar fall tasks that help your thorny beauties, and the ones that quietly set them back for spring.
1. Spread A Thick Layer Of Mulch Around Rose Bushes
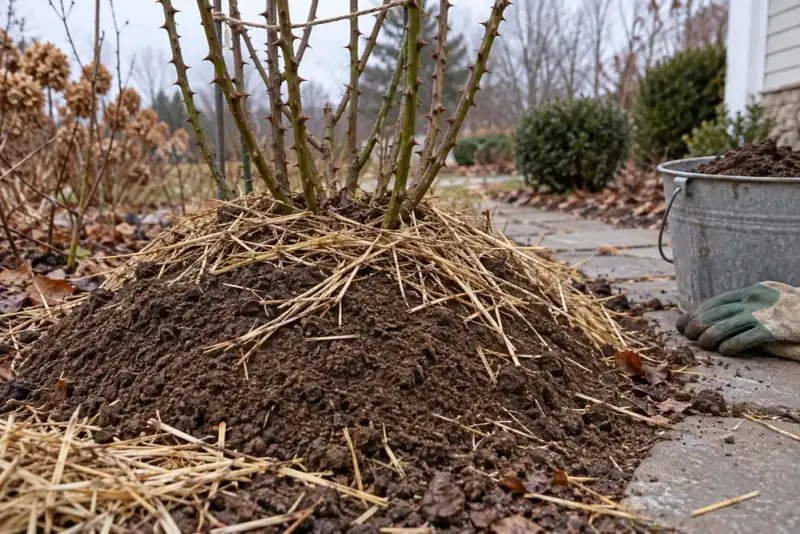
A three-inch blanket of shredded bark around a rose bush works like a cozy quilt on a chilly night. I love how it smells earthy after rain, and the roots underneath stay noticeably warmer during cold snaps.
Texas A&M AgriLife Extension recommends about three inches of organic mulch for its tough Earth-Kind rose plantings.
That layer holds moisture well and keeps soil temperatures from bouncing up and down too quickly overnight.
Shredded hardwood and pine needles both work nicely, so pick whatever is affordable and easy to find nearby. Coarse mulches settle and shrink over time, which means you may need to top them off before winter.
Leave a small gap of a few inches around the main canes so the bark stays dry. Mulch piled against the stems traps dampness, and that soggy spot can invite rot or hungry critters.
Spread the mulch out to the drip line, which is the outer edge where the leaves stop. Most of the feeder roots live in that zone, so covering it gives them the most protection.
One mistake I see often is scraping soil away from the base to make room for fresh mulch. Add new material on top instead, because exposed roots dry out fast when chilly north winds start blowing.
Over the months, organic mulch slowly breaks down and feeds the soil with rich, crumbly organic matter. I truly believe it is the easiest winter favor you can do for your roses this year.
2. Hold Off On Fertilizing Your Roses In Fall
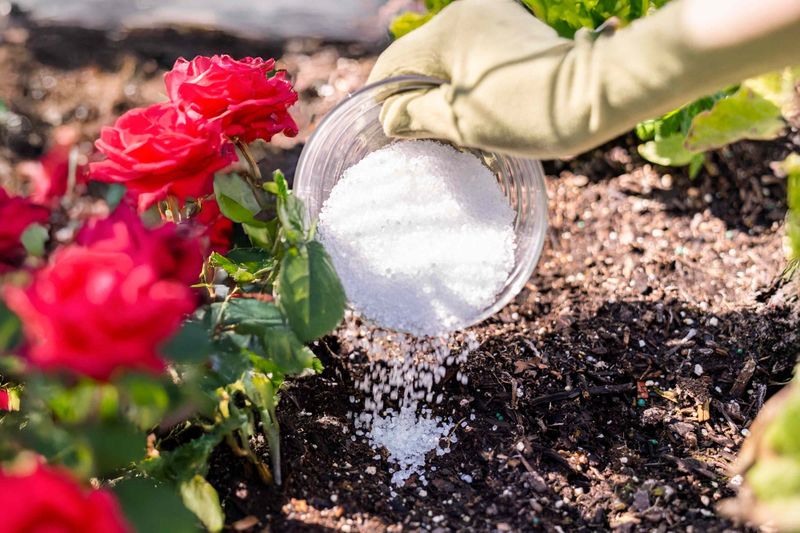
Feeding roses in late fall feels generous, but it sends the plant a confusing message about the calendar. Fresh nitrogen tells the bush to push soft new shoots right when it should be slowing down.
Those tender stems have not had time to toughen up, so the first hard freeze can scorch them. I have to admit I learned this lesson the hard way with a gorgeous pink shrub one November.
Many rose experts suggest making your last feeding about six to eight weeks before your average first frost. In the Panhandle, that cutoff arrives in late summer, while coastal gardens can usually wait a bit longer.
Check your county’s average frost date through your local extension office, then count backward on a calendar. Mark that date in bright ink so you are not tempted by a bag of fertilizer in October.
Slow-release granules applied earlier may still be feeding your plants, so skip any extra boosts this season. Leaves that look a little pale in late fall are normal, not a sign of hunger.
A thin layer of compost is a gentler option, since it releases nutrients slowly without forcing lush growth. Think of it as a light snack rather than a big holiday feast for your resting bushes.
Once spring growth starts and pruning is finished, you can feed generously again and watch those buds swell. Waiting a few months feels hard, but your roses will reward that patience with sturdier stems and blooms.
3. Give Rose Roots A Deep Drink Before A Freeze
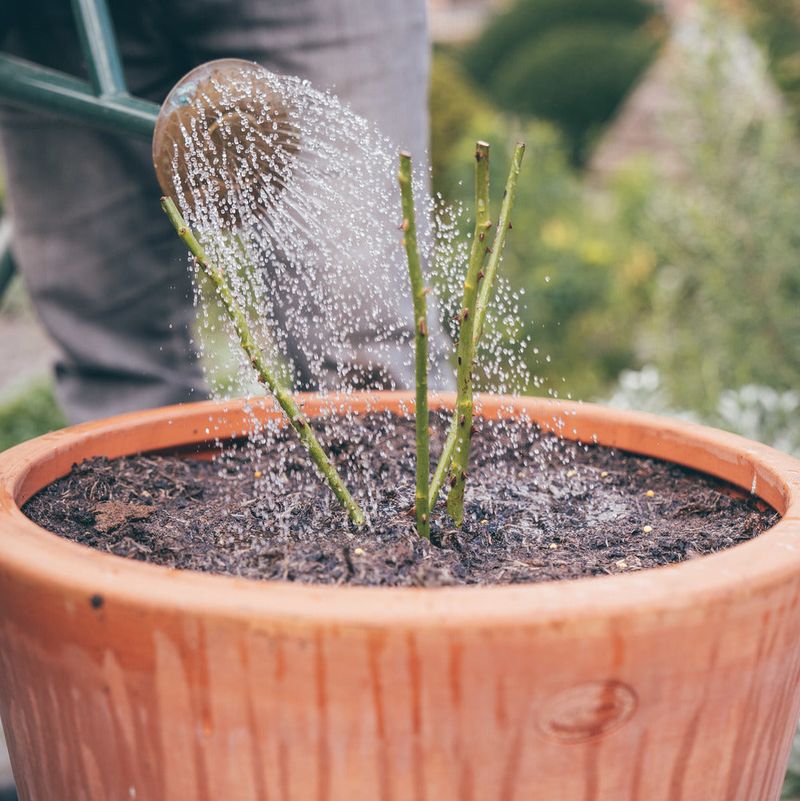
Damp soil holds and releases heat better than dry soil, which surprises a lot of first-time rose growers. Texas A&M AgriLife experts often suggest watering landscapes before a hard freeze for exactly that reason.
Thirsty plants also handle cold worse, because dry roots and stems lose moisture quickly in harsh wind. I like to think of a deep drink as packing a lunch before a long, chilly trip.
Aim to soak the root zone a day or two before a forecast freeze, ideally in the morning. Morning watering lets the surface dry a bit, so leaves and stems are not coated when temperatures plunge.
A soaker hose or drip line works beautifully, since it delivers water slowly right where roots can reach it. Overhead sprinklers wet the foliage, and damp leaves are an open invitation for black spot to settle in.
Winter rains can be scarce in the western half of the state, so keep checking your soil. Push a finger two inches down, and if it feels dry, give your bushes another slow soak.
Dry spells lasting two or three weeks are usually your cue to water, even in the middle of winter. On the other hand, soggy clay soil can suffocate roots, so let the ground drain between drinks.
Container roses need extra attention, since their roots sit above ground and chill much faster than garden beds. Water them before a freeze, then slide the pots against a sunny wall or into the garage.
4. Rake Up Fallen Rose Leaves To Stop Black Spot
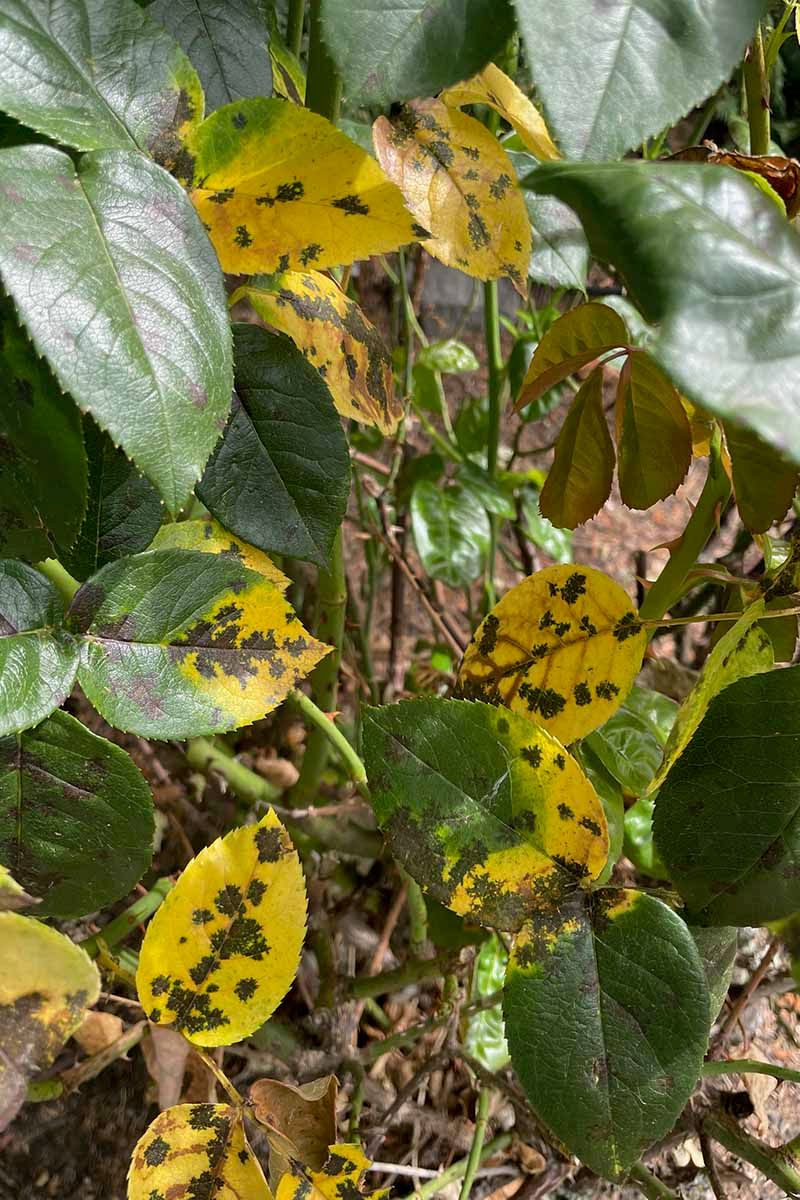
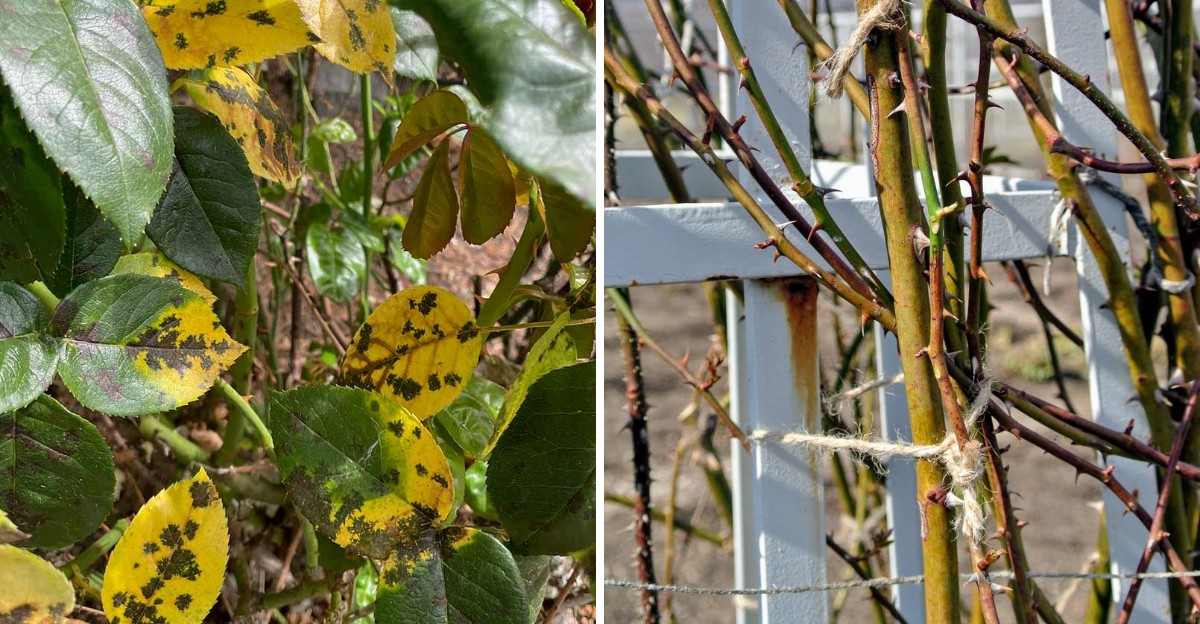
Black spot, caused by the fungus Diplocarpon rosae, is the sneakiest houseguest a rose garden can host. Its spores hide out on fallen leaves all winter, waiting for spring rain to splash them back up.
That is why a little raking now can save you weeks of yellow, spotted foliage next year. Grab your gloves and gather the leaves and old petals lying under and around each bush.
Bag up anything that looks spotted or moldy, and send it out with the trash instead of composting. Home compost piles rarely get hot enough to break down fungal spores, so they can spread later.
While you are down there, take a closer look at any canes with strange red growth or extra thorns. Those clusters, called witches’ broom, can signal rose rosette disease, which is spread by tiny eriophyid mites.
Texas A&M plant experts advise removing infected plants, roots and all, since there is no known cure. It feels heartbreaking, but quick action helps protect every other rose growing nearby in your yard.
Some gardeners also apply a dormant spray, like horticultural oil or lime sulfur, once the bushes slow down. Read the label carefully, because many products have temperature limits and can burn leaves on warm days.
Personally, I find this cleanup oddly satisfying, especially with a mug of cocoa waiting on the porch afterward. Clean beds look tidier all winter, and your spring foliage will thank you with fewer ugly spots.
5. Leave The Heavy Rose Pruning For Valentine’s Day
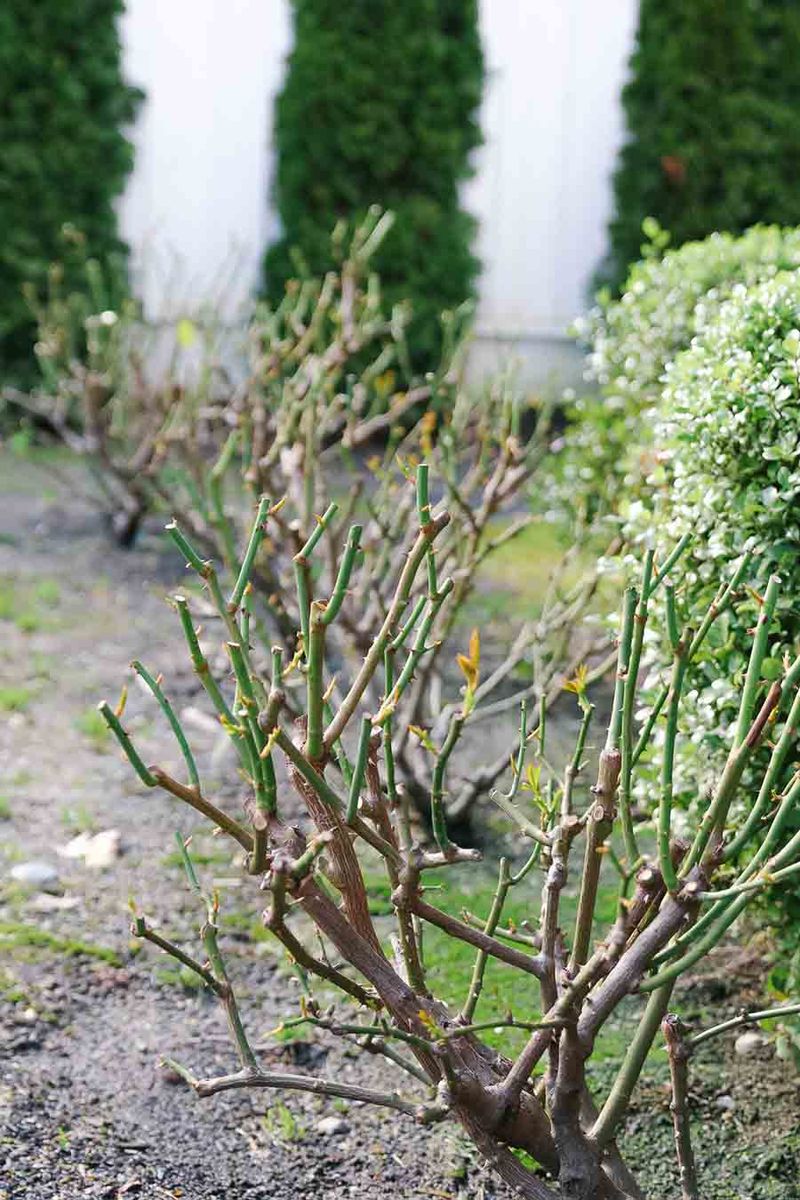
Across much of the state, rose lovers circle February 14 on the calendar as their big pruning day. It is a sweet tradition, and Texas A&M AgriLife has long recommended that mid-February timing for many areas.
Cutting hard in late fall wakes up dormant buds below each cut, and fresh shoots soon follow. Those soft sprouts are easy targets for frost, and the damage can creep down into healthy wood.
I can’t imagine snipping my bushes down in November now, though I definitely tried it years ago. The result was a crop of tender stems that turned brown and mushy after the first cold snap.
Light grooming is still fine, so feel free to remove broken canes or branches showing obvious disease.
Use clean, sharp bypass pruners, and wipe the blades with disinfectant between plants to avoid spreading problems.
If a hard freeze browns some stems, resist the urge to grab your shears the very next morning. Damaged canes act like a protective shell, shielding the living tissue below from the next cold blast.
Wait until late winter, then scratch the bark gently with a fingernail to look for green underneath. Green means healthy wood, while brown or tan tissue shows exactly where your cuts should eventually go.
One exception is once-blooming climbers and old garden roses, which flower on wood grown the previous year. Prune those right after their spring show instead, or you will snip off next season’s flowers.
6. Let Bright Orange Rose Hips Form On Faded Blooms
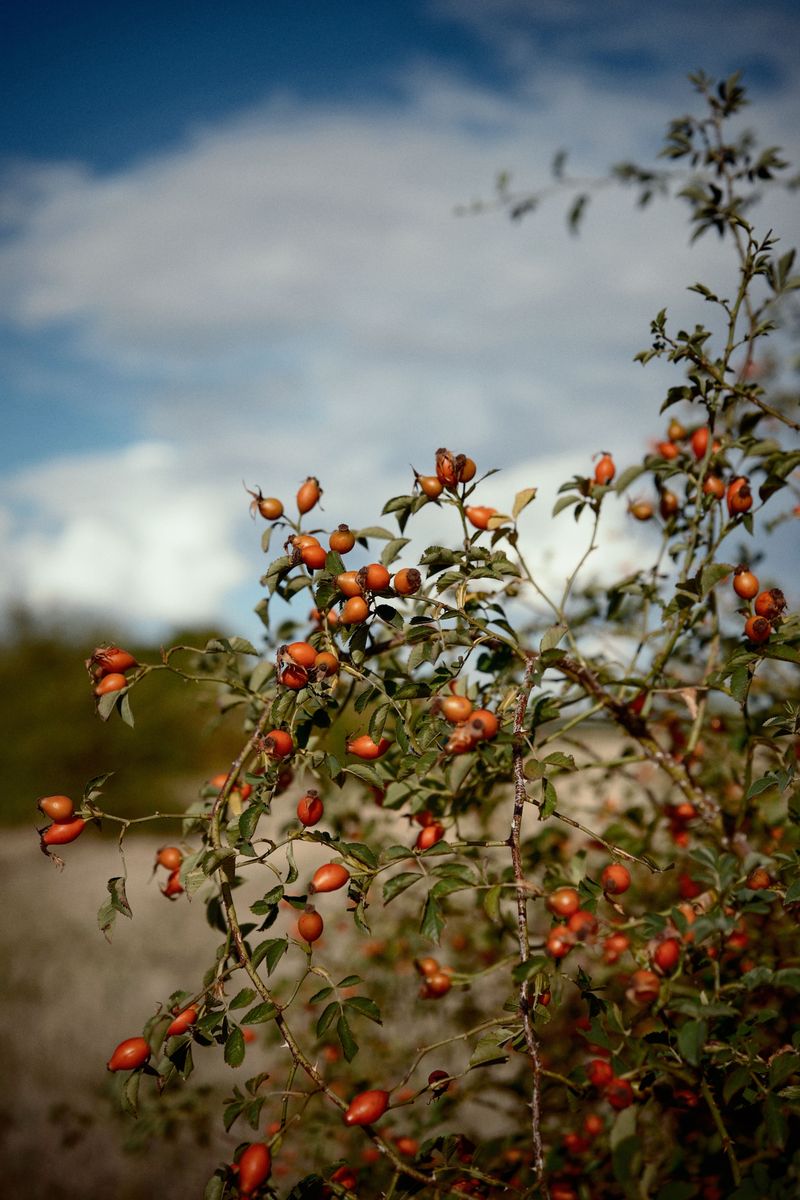
Rose hips are the plump little fruits that form after a flower fades, and they glow orange or red. I used to snip off every spent bloom until I learned those tiny fruits carry a helpful message.
When hips start ripening, the plant shifts its energy away from making new flowers and leafy growth. That slowdown helps stems harden off, which is exactly what you want as cooler weather settles in.
Many rose growers stop removing faded flowers roughly four to six weeks before the expected first frost in their area. In mild southern counties, frost may arrive late or barely at all, so timing there is more flexible.
Those leftover hips also add a cheerful splash of color to a winter garden that otherwise looks rather bare. Birds such as mockingbirds may peck at them, so your yard might get a few extra feathered visitors.
Not every variety sets hips, and many modern hybrid teas produce very few, so do not worry. Simply letting the faded blooms stay put still signals the bush to rest and slow its pace.
Old-fashioned shrubs like rugosa types are famous for big, tomato-shaped hips that look almost too good to pick. If you grow those, you might notice the hips lasting well into winter on bare canes.
Leaving the hips alone is the laziest chore on this whole list, and I happily take advantage. You’ll wonder why you ever fussed over every faded flower once you see how nicely the bushes rest.
7. Tie Climbing Rose Canes Against Winter Wind
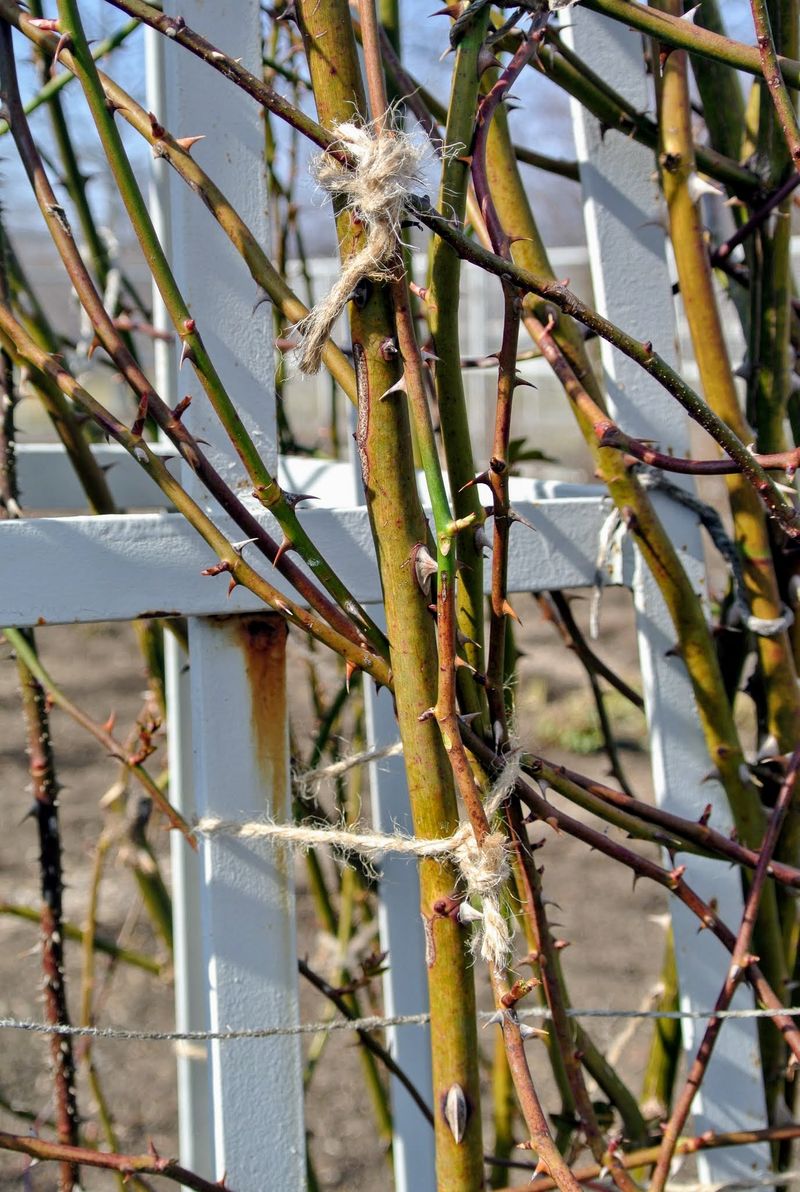
Blue northers can roar across the plains in a matter of hours, dropping temperatures fast and rattling everything. Long rose canes whip around in those gusts, and the constant rocking can loosen roots in the soil.
Gardeners call this wind rock, and it can leave a gap around the base where cold air and water collect. To my surprise, a few minutes with garden twine prevents most of the trouble on my climbers.
Gently bend climbing canes toward the trellis or fence, then tie them loosely with soft twine or plant ties. Wire or tight knots can cut into the bark as stems swell, so leave a little wiggle room.
For tall shrub roses, trimming extra-long canes back by a foot or so reduces the sail effect. Keep these cuts light, since this is a quick safety trim and not the big spring pruning.
After a windy night, walk the garden and press the soil firmly around any bush that has shifted. Topping up the mulch afterward helps anchor things and keeps those exposed roots from drying in the breeze.
Freeze cloth is handy for small or newly planted roses when forecasts call for temperatures in the low twenties. Drape it all the way to the ground, and remove it once the sun warms things up again.
Most established roses handle a typical Texas winter just fine, so save the covers for truly harsh nights. Come spring, you will be glad your climbers stayed upright and ready to bloom on schedule.