Why A Fall Soil Test Gives Virginia Gardeners A Head Start On Spring
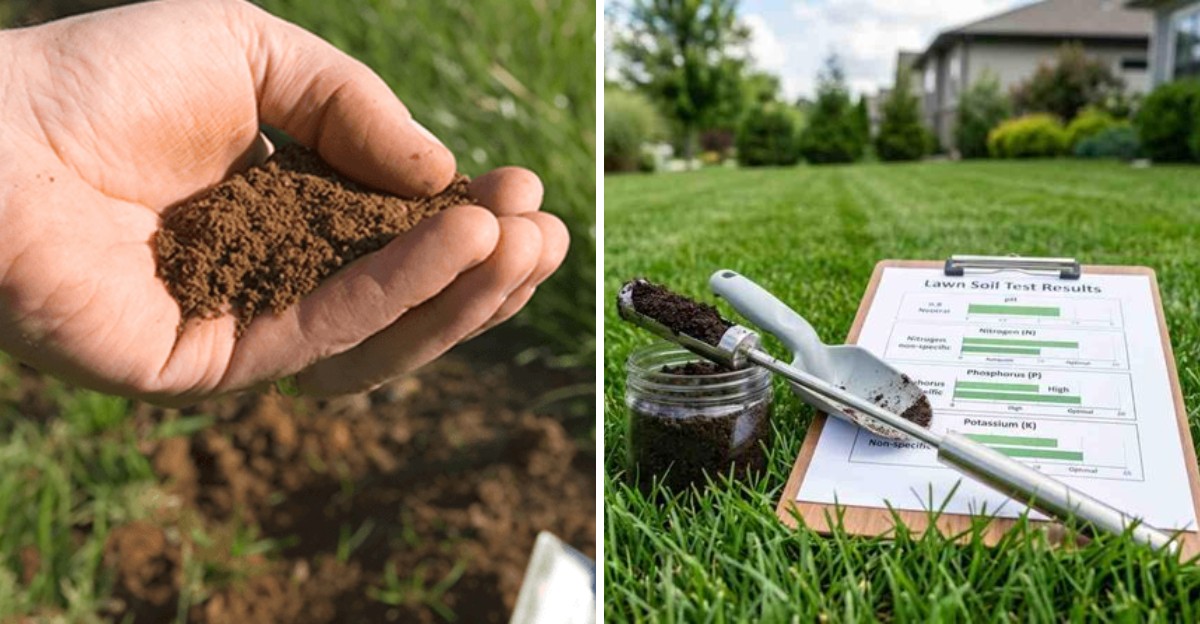
Your garden is talking, and fall is the best time to listen. The tomato vines are brown, the leaves crunch underfoot, and the soil smells rich and earthy after a long Virginia summer.
Most gardeners put the shovel away now and wait for spring. Smart gardeners grab a trowel and a small bag of dirt instead.
A simple fall soil test can reveal what your beds and lawn really need. It can explain the patchy grass, the pale peppers, and that one stubborn corner where nothing grows well.
Best of all, it gives you months to fix problems before planting season arrives. Think of it as a report card for your yard, delivered while there is still time to study.
Faster Results Before The Spring Rush
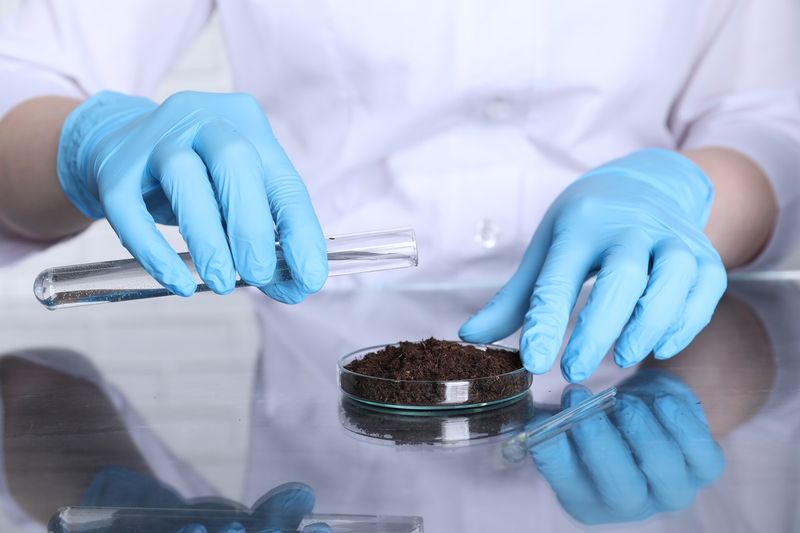
Picture a lab in March, buried under thousands of little soil boxes. Every gardener in Virginia seems to remember testing at the exact same moment.
Fall works differently, and that quiet season is your secret advantage. The Virginia Tech Soil Testing Laboratory usually handles routine samples within three working days.
Fall testing can help you avoid the spring rush and gives you plenty of time to plan before planting. Fewer boxes in line means your report lands in your inbox much sooner.
Quick results matter more than you might think. A spring report that arrives late can push your planting plans back by weeks.
With a fall report, you get the whole winter to plan. You can read the numbers slowly, ask questions, and shop for supplies without pressure.
Many gardeners sketch their spring beds by the fireplace in January. Having real soil data on hand turns that daydreaming into a solid plan.
Here is a handy tip for staying organized. Save your emailed report in a garden folder alongside seed catalogs and planting notes.
Print a copy too, and tuck it into your shed or garage. Paper notes are easy to grab when you are standing in the garden aisle.
Fall testing also spreads out your yard chores nicely. Spring is busy enough with mowing, weeding, and planting all at once.
Getting the soil question answered early clears space on your calendar. When warm weather finally shows up, you can simply start growing.
Time For Lime To Change pH Before Planting
Lime is a bit like a slow cooker. You add it, then wait patiently while it does its quiet work underground.
Soil pH changes slowly, often over several months. Spreading lime in fall gives it a long runway before spring seeds go in.
Much of the state has naturally acidic soil, especially in clay-heavy areas. Rain also washes calcium and magnesium away over time, lowering pH even more.
Most garden plants grow best with a pH between 5.8 and 6.8. Outside that range, roots struggle to pull nutrients from the soil.
A soil test tells you exactly how much lime to use. Guessing can lead to too little help or far too much.
Here is a detail many people miss. Lime recommendations on Virginia Tech reports cover a three-year period, not just one season.
Your Virginia Garden Changes Every Week. Your Plan Should Too.
Gardening in Virginia changes quickly throughout the season. Every Friday you’ll receive a simple weekly plan showing exactly what to plant, prune, fertilize, harvest, and protect so you never miss the right timing.
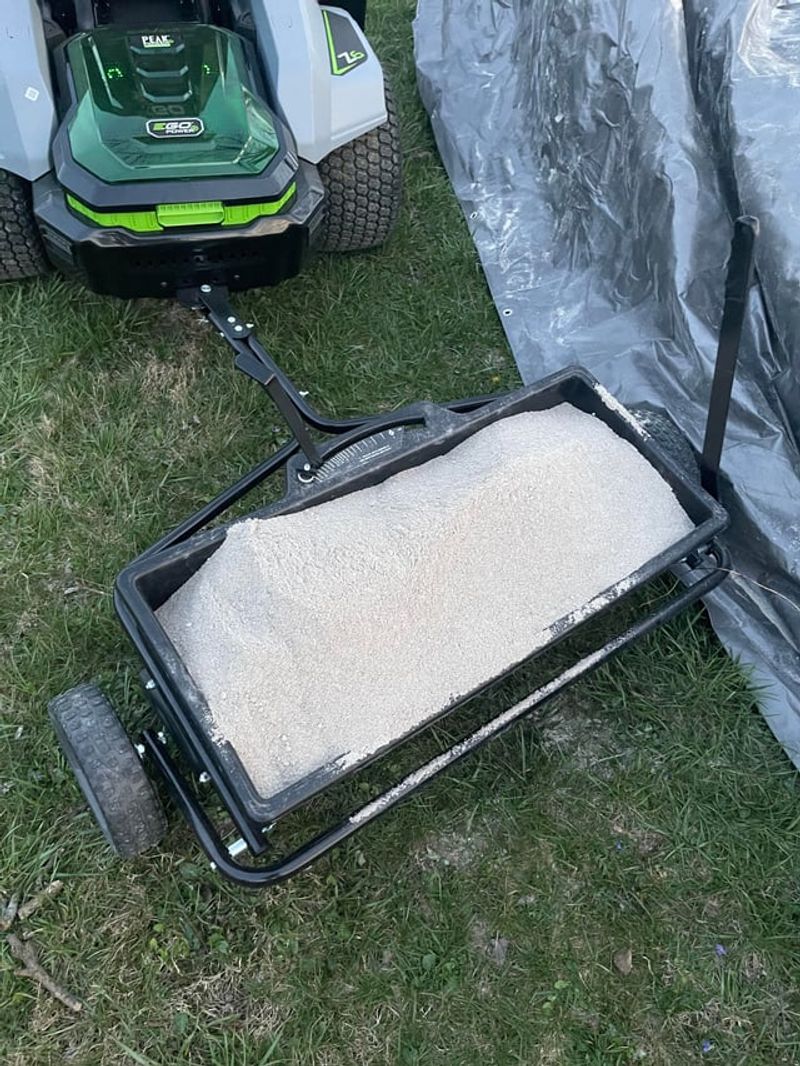
Pelletized lime is easy to spread with a regular lawn spreader. Powdered lime works faster but blows around and can make a dusty mess.
Try working lime into the top few inches of garden beds. On lawns, simply spread it evenly and let fall rain wash it in.
Winter freezing and thawing help too. Those cycles slowly mix the lime deeper as the months roll by.
By planting time, your soil should be much friendlier for roots. Your spring crops can then start strong instead of waiting on chemistry.
A Clear Picture Of What This Season’s Plants Used Up
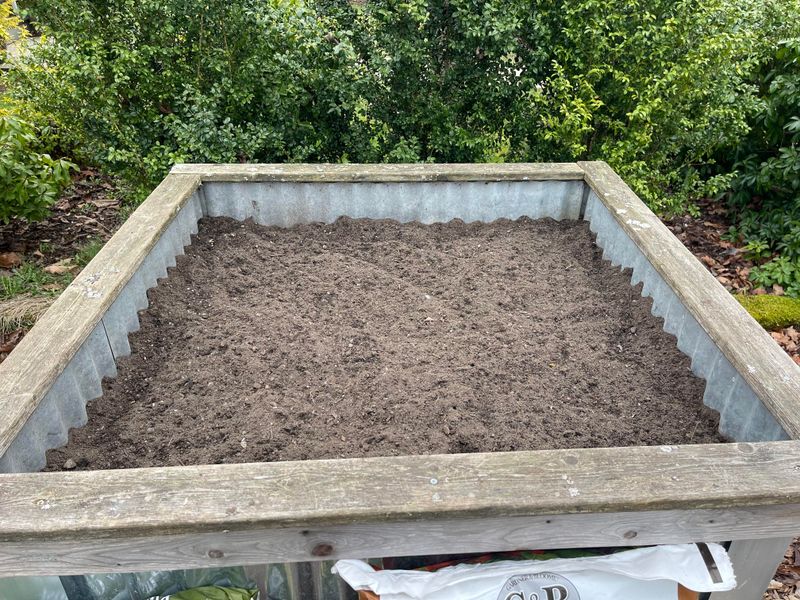
Hungry tomatoes, greedy squash, and sweet corn all ate well this summer. Now the plate is mostly empty, and you need to know what is left.
Summer crops pull a surprising amount of food from the soil. Heavy feeders can drain potassium and other nutrients by harvest time.
A fall test catches the soil right after the growing season ends. You see the real leftovers instead of guessing from last spring’s numbers.
Virginia Tech routine tests check plant-available levels of many key nutrients. Phosphorus, potassium, calcium, and magnesium all appear on the report.
Knowing these numbers helps you feed the soil with purpose. You can add what is missing and skip what is already plentiful.
Think of it like checking your pantry before grocery shopping. Nobody wants five jars of peanut butter and zero bread.
Here is a practical step worth trying. Write down which crops grew in each bed before you collect samples.
Matching those notes with your results reveals helpful patterns. You may notice the squash bed runs low on potassium year after year.
Such clues also make crop rotation easier. Beans can follow hungry crops, since they help add some nitrogen back naturally.
Fall leaves and compost can rebuild tired beds over winter. Your soil report shows whether those gentle fixes are enough or need extra help.
Nutrient Buildup Left Over From Summer Feeding
More fertilizer is not better, no matter what the bag seems to suggest. Plenty of eager gardeners learn that lesson the hard way.
Extra feeding over summer can leave a surplus sitting in your soil. Phosphorus in particular tends to stick around for years.
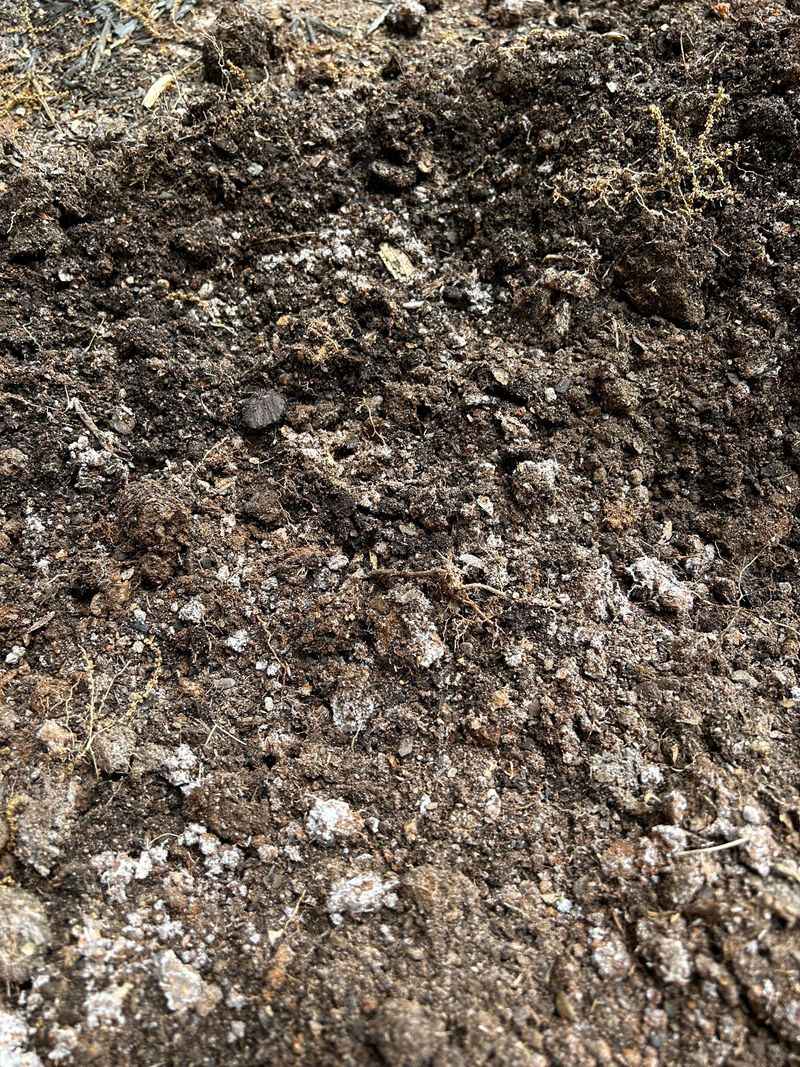
Too many nutrients can create salt buildup near plant roots. You might spot a white crust on the soil surface in dry spells.
Salty soil can scorch leaves and stunt growth. It can also throw nutrients out of balance, so plants struggle to absorb what they need.
Fun fact: your garden can be overfed and underfed at once. A flood of one nutrient can block roots from taking up another.
A fall soil test reveals these hidden surpluses clearly. When a nutrient ranks high, adding more of it is generally not advised.
Skipping unneeded fertilizer saves money right away. A single bag you no longer buy can cover the cost of your soil test.
Extra nutrients also wash into streams during heavy storms. Much of that runoff eventually reaches the Chesapeake Bay.
Try switching to a fertilizer with zero middle number if phosphorus runs high. That middle number on the bag stands for phosphorus.
Compost, mulch, and patience can help balance things over time. Your next test will show whether the extra nutrients are slowly fading.
pH Problems That Explain This Year’s Weak Spots
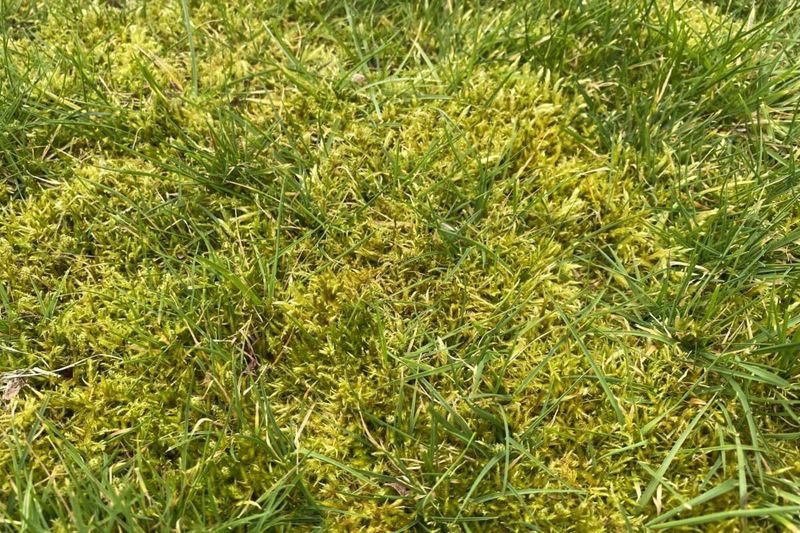
Remember that sad corner where the grass thinned out and moss moved in? The answer to that mystery may be hiding under your feet.
Soil pH measures how acidic or alkaline your dirt is. It quietly controls how easily roots can grab nutrients.
When pH slips too low, food can be locked away from plants. The nutrients exist, but roots simply cannot reach them.
Common warning signs include yellow leaves, slow growth, and thin turf. Moss and certain weeds also love soggy, acidic patches.
Many gardeners respond by adding more fertilizer. Sadly, that rarely helps if the real trouble is pH.
A fall soil test can point straight to the cause. Your report will say whether lime or sulfur is needed to correct things.
Lime raises pH for most lawns and vegetable beds. Sulfur lowers pH, which blueberries and azaleas often appreciate.
Fixing pH can make a lawn thicker and greener over time. Dense, healthy grass also crowds out many weeds naturally.
Here is a smart move for problem areas. Sample the weak spot separately from the healthy part of your yard.
Comparing both reports side by side can be eye-opening. Sometimes a few feet make a big difference, especially near foundations or pine trees.
Easier Sampling In Dry, Workable Soil
Ever tried digging a soil sample from sticky, soggy mud in early spring? It feels a bit like scooping cold brownie batter with a spoon.
Fall often brings drier, more cooperative soil across much of the state. Digging is easier, cleaner, and far less frustrating.
Skip sampling when the ground is soaking wet or frozen solid. Both conditions make it hard to collect a fair, even sample.
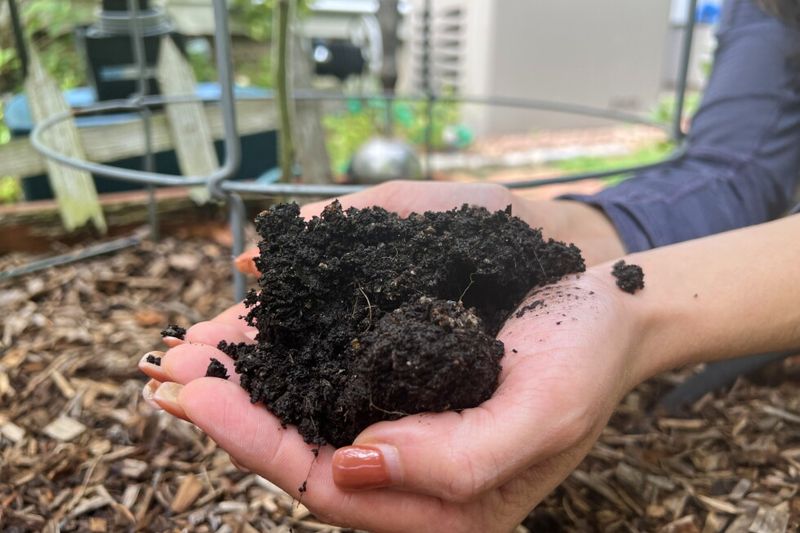
Here is a simple squeeze test to check readiness. Grab a handful of soil and press it into a ball.
If the ball crumbles easily when poked, you are good to go. If it smears like clay putty, wait a few dry days.
Damp samples can still be used after some air drying. Spread the soil on clean newspaper indoors and let it sit overnight.
Dry soil weighs less, so shipping may cost a bit less. The lab can also process dry samples more quickly.
Please resist using your oven to speed things up. Heat can change the soil chemistry and give misleading results.
A clean plastic bucket works best for collecting samples. Metal or galvanized buckets may add zinc and skew the numbers.
Pleasant fall weather makes the whole job enjoyable too. Sampling on a crisp, sunny afternoon beats slogging through cold spring mud any day.
Consistent Timing For Accurate Year-To-Year Comparisons
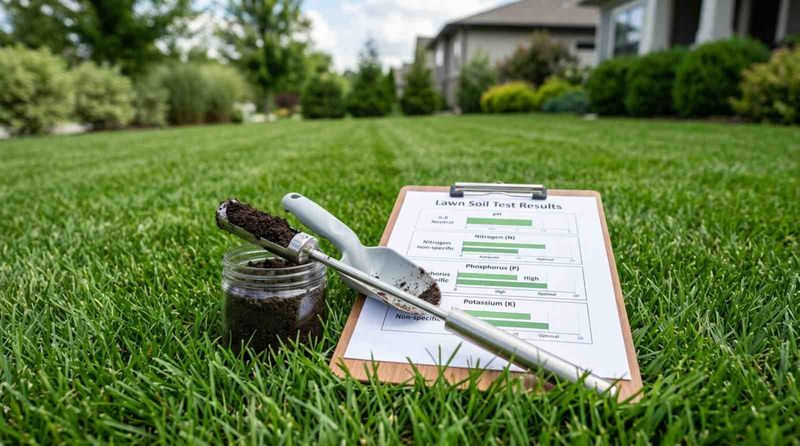
Weighing yourself after breakfast one day and before bed the next gives odd numbers. Soil tests work much the same way.
Nutrient levels and pH shift slightly throughout the year. Testing at the same time each season keeps those comparisons fair.
Virginia Cooperative Extension suggests testing about every three years. Choosing fall each time builds a reliable record you can trust.
Over several reports, helpful trends start appearing. You may see pH slowly rising after lime or potassium climbing thanks to compost.
Reports also list estimated Cation Exchange Capacity, often shortened to CEC. It shows how well your soil holds onto nutrients.
Adding organic matter can nudge CEC upward over many years. Consistent timing helps you see that progress clearly.
Sampling depth matters just as much as timing. Dig to the same depth for each bed every single time.
Here is a cheerful habit to try. Tie soil testing to a fall event, like the first frost or your county fair.
Keep every report in one binder or digital folder. Label each with the date, bed name, and anything you added that year.
Years from now, that folder becomes a story of your garden. You will know exactly what worked and what needs a new approach.
Low-Cost Kits Available Through Local Extension Offices
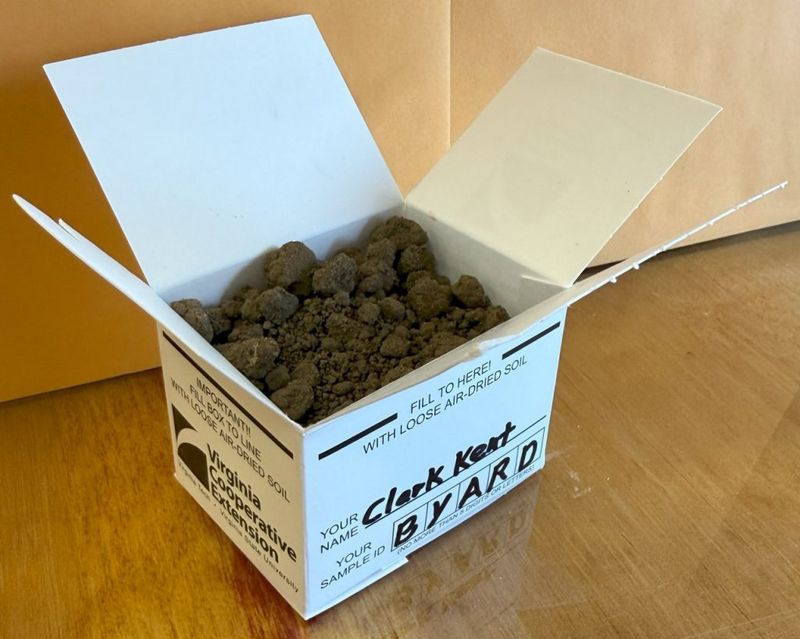
Ten dollars buys a fancy coffee drink or a peek inside your garden’s secrets. One of those choices lasts a lot longer.
Soil sample kits are free to pick up at local Virginia Cooperative Extension offices. Nearly every county and city has one nearby.
Each kit includes a small box and an information sheet. You fill in details about what you plan to grow.
After collecting your soil, mail it to the Virginia Tech Soil Testing Lab. A routine test costs about $10, which is a bargain.
Fun fact: the lab sits in Blacksburg and handles over 50,000 samples each year. Farmers, homeowners, and golf courses all send soil there.
Fill out the form carefully, especially the plant you want to grow. Recommendations for lawns differ greatly from those for vegetables.
Many offices also host Master Gardener volunteers. These trained helpers can walk you through sampling if you feel unsure.
Once your report arrives, local extension agents can explain confusing numbers. A quick phone call or email often clears things up fast.
Grab a few extra boxes during your visit. Separate kits make it easy to test your lawn, vegetables, and flower beds.
Fall is a great time to stop by the office. Staff tend to have more time to chat before the spring crowds arrive.
Samples From Several Spots For An Accurate Read
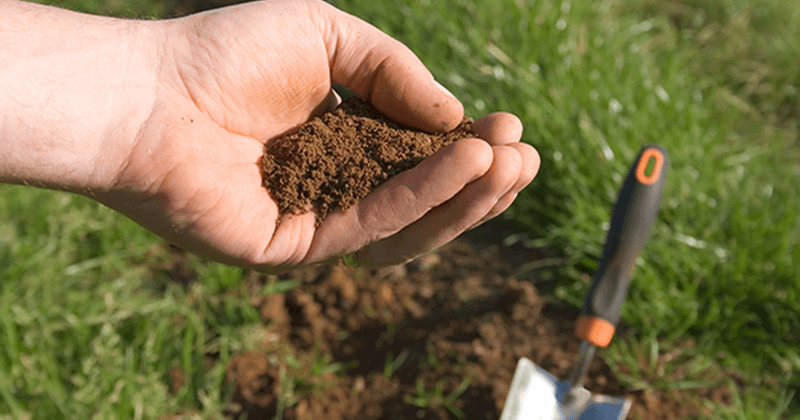
One spoonful of soup cannot tell you if the whole pot needs salt. Soil testing follows that same kitchen logic.
A single scoop from one spot rarely represents your entire yard. Taking several small samples gives a much truer picture.
Start by dividing your property into separate areas. Lawns, vegetable beds, and flower borders should each get their own sample.
Areas with different histories also deserve separate testing. A bed that received heavy manure acts differently than an untouched patch.
Collect five to ten small borings from each area. Walk in a zigzag pattern so you cover the space evenly.
Sample each area at a consistent depth appropriate for what you are growing, following Virginia Tech’s current sampling instructions.
Drop every boring into a clean plastic bucket. Mix them thoroughly to create one blended, or composite, sample.
Pick out roots, rocks, grass, and bugs before packing. Only the soil itself should travel to the lab.
Avoid oddball spots that could throw off the results. Skip areas near compost piles, burn sites, driveways, or where fertilizer spilled.
Fill the sample box to the marked line and label it clearly. Matching labels to your notes keeps everything easy to sort later.
Results That Guide Fall Lawn Fertilizing
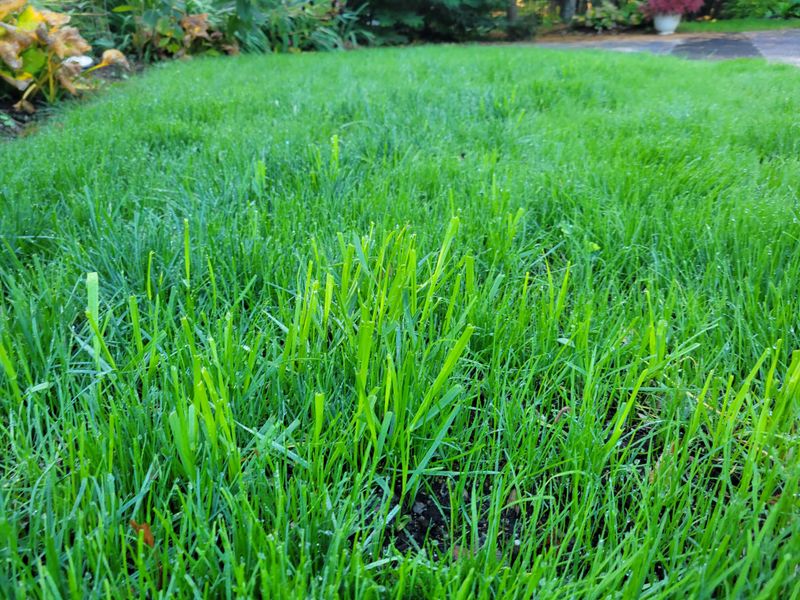
Tall fescue lawns across the state do their best growing when fall temperatures cool down. Feeding them at the right time, with the right amount, pays off.
Your soil report spells out specific fertilizer and lime suggestions. No more squinting at store shelves and guessing.
Virginia Tech reports provide fertilizer and lime recommendations based on the crop or lawn you specify. Those nutrients appear as NPK numbers on fertilizer bags.
Following those numbers helps grass build strong roots before winter. Healthy roots mean a thicker, greener lawn next spring.
Good news for busy homeowners: fall phosphorus and potassium can work as well as spring applications. You can check that task off early.
Applying products your lawn does not need wastes money. It can also stress grass and harm nearby plants.
Extra fertilizer often washes into storm drains during heavy rain. From there, it can reach creeks, rivers, and eventually the Chesapeake Bay.
Measure your lawn area before buying anything. Reports usually give amounts per 1,000 square feet, so knowing your size matters.
Calibrate your spreader to avoid stripes or bare streaks. Walking in overlapping passes helps spread fertilizer more evenly.
Sweep any granules off sidewalks and driveways afterward. A little care keeps nutrients in your lawn and gives you a strong spring start.