Your Indiana Hydrangeas Are Waking Up, And Here Are 12 Things To Do Right Now
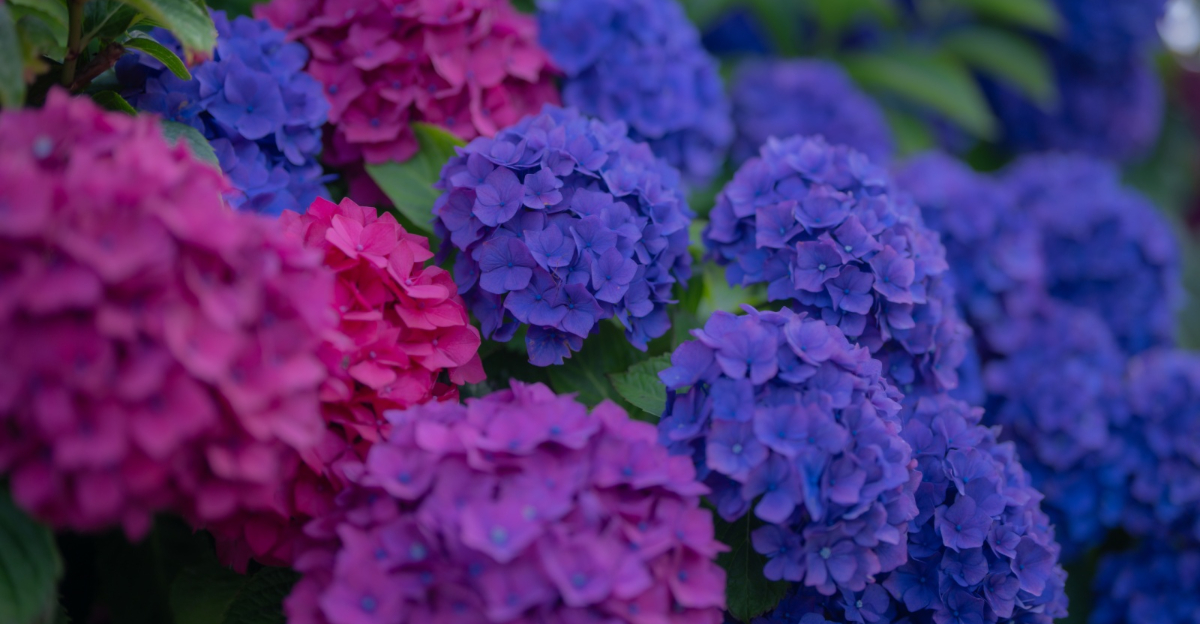
Spring in Indiana doesn’t knock. It just walks right in.
One morning last week, I went out to check on my hydrangeas half-expecting to see nothing but bare sticks. Instead, tiny green buds were already elbowing their way out of those thick, woody stems.
I laughed out loud, honestly a little caught off guard. That’s Indiana spring for you.
Blink, and you’ve missed the starting gun. Here’s the thing most gardeners learn the hard way: hydrangeas are quietly waiting on you right now.
They’re forgiving plants, sure. But catch them at this exact moment, and they reward you with flower clusters so full and heavy they practically bow to the ground.
Skip this window? Your shrubs will survive.
They just won’t thrive. Timing is everything with hydrangeas, and right now, you are exactly where you need to be.
Your best bloom season starts today.
1. Remove Lifeless Wood Immediately
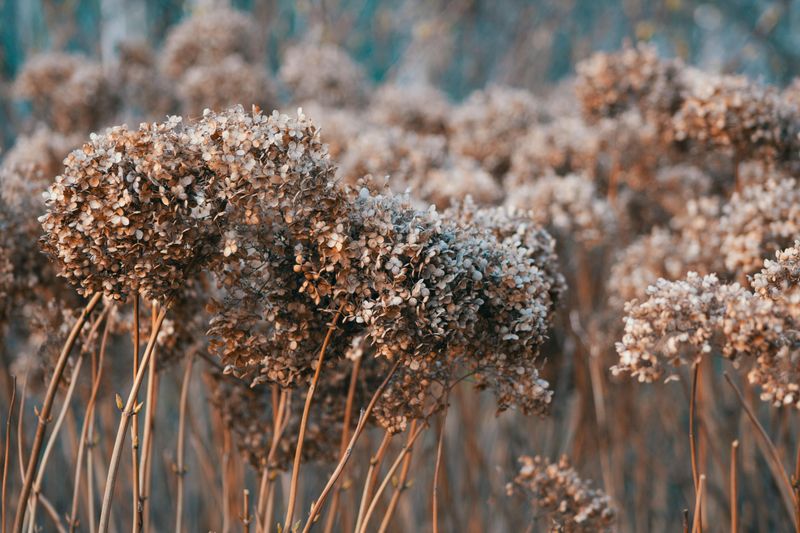
Every piece of lifeless wood is pulling energy away from your blooms.
Those gray, dried out, or completely papery stems are not coming back, no matter how long you wait. Grab your sharpest pruning shears and get honest with your plant.
Snap a small section of a suspect stem with your fingernail. If it snaps clean and shows no green or white inside, that branch is gone for good.
Living wood bends slightly and reveals a creamy or green center when scratched. Work your way through the entire shrub, removing anything that fails that simple test.
Indiana winters can be brutal, and hydrangeas sometimes lose a third or more of their older wood to cold damage. Do not feel bad about cutting generously.
Clearing out the dead stuff actually improves airflow and lets sunlight reach the new growth pushing up from the base. A clean, open structure sets your plant up for a season of strong, healthy stems that will carry heavy blooms without flopping over.
Start here, and everything else on this list gets easier.
2. Cut Back Winter Damaged Stems Above New Buds
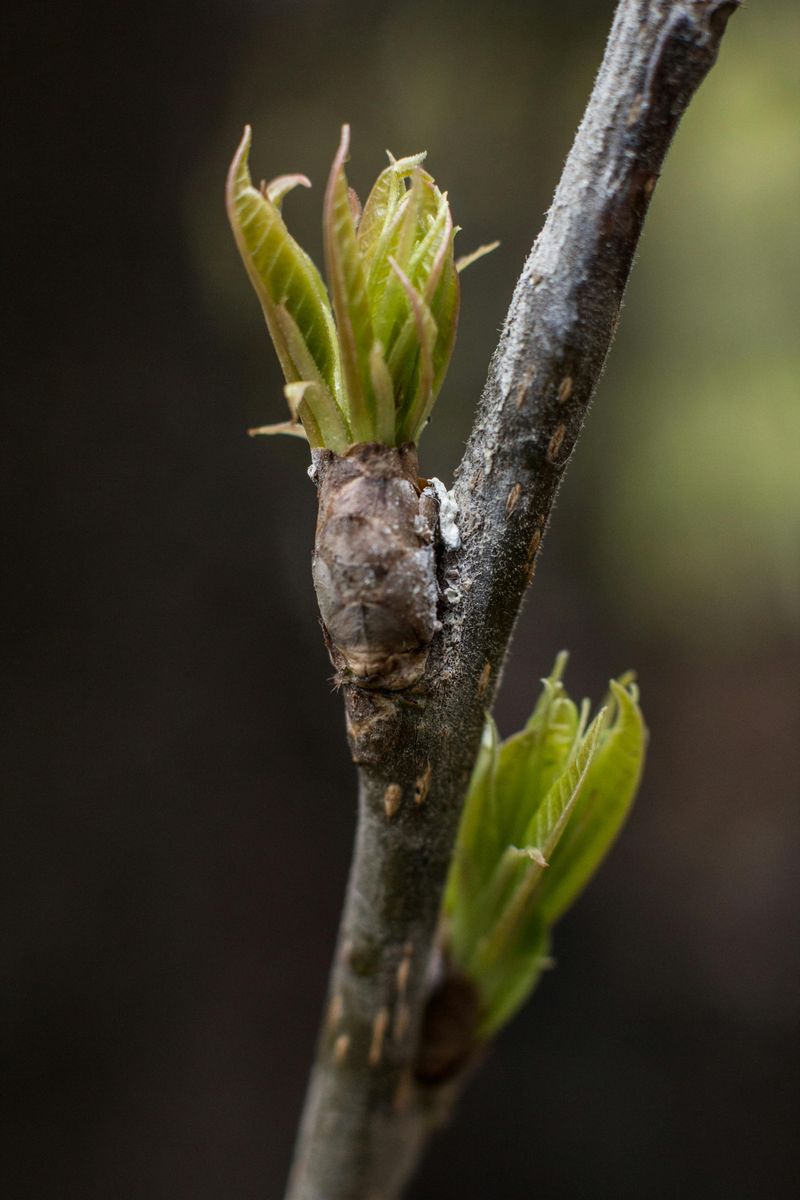
Winter damage on hydrangeas can be sneaky. A stem might look alive from the outside but be completely hollow and damaged an inch below the surface.
That is why cutting above a visible bud is the move that actually saves your blooms this season.
Look closely at each stem for small, swelling green or reddish buds hugging the sides. These tiny nodes are where your flowers and leaves will emerge.
Position your cut about a quarter inch above one of those buds, angled slightly away so water runs off and does not pool on the cut surface. A clean cut heals faster and resists disease better than a ragged one.
For Indiana gardeners growing smooth or panicle hydrangeas, this step is especially satisfying because those varieties bloom on new wood anyway. You can be bold with your cuts.
Bigleaf types need more care since their blooms form on old wood, so cut only what is clearly damaged and stop at the first healthy bud you find. Getting this right means more flower-bearing stems, fewer shoots that grow without ever flowering.
Your Indiana Garden Changes Every Week. Your Plan Should Too.
Gardening in Indiana changes quickly throughout the season. Every Friday you’ll receive a simple weekly plan showing exactly what to plant, prune, fertilize, harvest, and protect so you never miss the right timing.
Your future self will thank you come July.
3. Clean Up Fallen Leaves And Debris
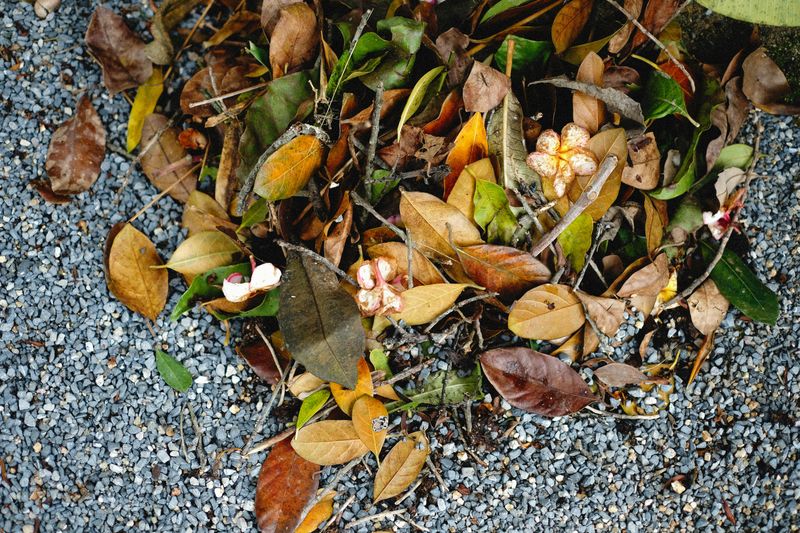
All that soggy, matted leaf litter sitting around your hydrangea base is not just ugly. It is a five-star hotel for fungal spores, slugs, and overwintering pest eggs just waiting for warm weather to hatch.
Spring cleanup is honestly one of the highest-return tasks you can do in under twenty minutes.
Use a hand rake or gloved fingers to pull out dead leaves, broken twigs, and any old mulch that has turned slimy or gray. Check under the debris for signs of slugs or fungal patches on the soil surface.
Bag everything and toss it rather than composting it, since affected material can spread problems back to your garden later in the season.
Once the base is clear, take a good look at the crown of the plant where the stems meet the soil. Make sure no debris is packed tightly against the wood, since that trapped moisture invites rot and fungal infections.
A clean, open base allows the soil to warm up faster, which encourages root activity and early bud development. Think of this step as giving your hydrangea a fresh start, clearing away last year so this year has room to shine.
4. Apply Balanced Slow-Release Fertilizer
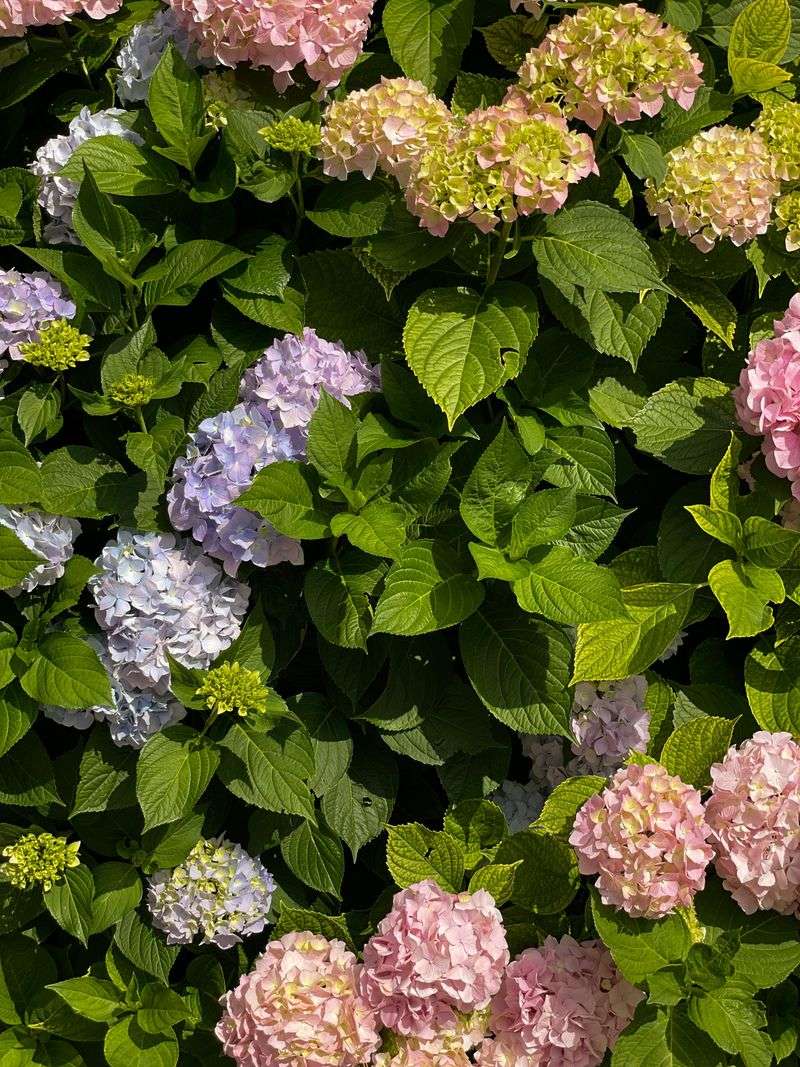
Hungry plants make weak blooms, and your hydrangeas have been fasting all winter.
A balanced slow-release fertilizer with equal parts nitrogen, phosphorus, and potassium gives them a steady, measured meal rather than a sudden jolt that pushes leafy growth at the expense of flowers.
Look for a granular formula labeled something like 10-10-10 or a product specifically designed for flowering shrubs. Scatter it evenly around the drip line of the plant, which is roughly the outer edge of where the branches reach.
That is where the feeder roots are most active, not right up against the main stem. Water it in gently after applying so the granules start breaking down and moving into the soil.
Timing matters a lot in Indiana because a late frost can stress a plant that has been pushed into rapid growth too early. Apply fertilizer once you see consistent new bud activity and the overnight temperatures are staying above freezing more often than not.
A single application in early spring followed by one more in early summer is usually plenty.
Over-fertilizing leads to lush green leaves and almost no flowers, which is the opposite of what anyone wants from a hydrangea.
5. Add Fresh Compost Around The Base
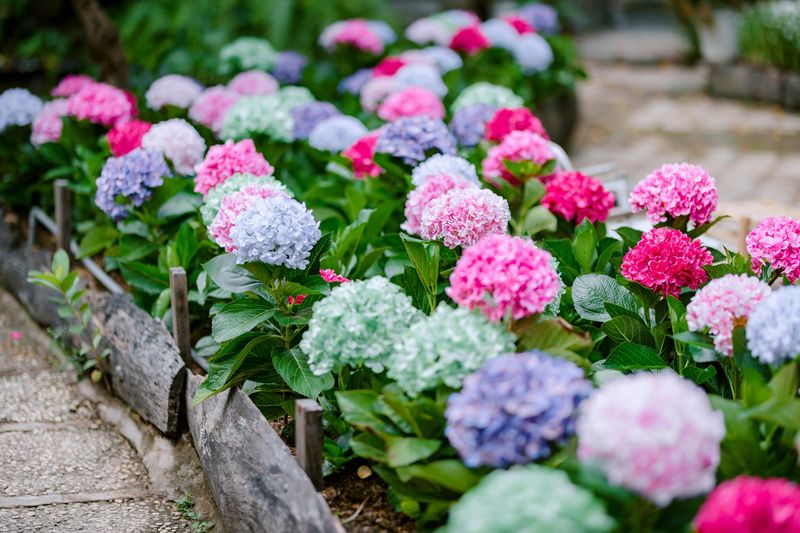
Compost is basically a love letter to your soil, and hydrangeas read it loud and clear. A two-inch ring of finished compost spread around the base of the plant does more for long-term health than almost any product you can buy at a garden center.
Good compost improves drainage in heavy clay soils, which are common across much of Indiana, while also helping sandier soils hold moisture longer. It feeds beneficial microbes that break down organic matter into nutrients your plant can actually absorb.
It can have a minor influence on soil conditions over time, which is worth keeping in mind for bigleaf hydrangeas since their bloom color responds to soil acidity.
Keep the compost a few inches away from the main stems to prevent moisture buildup against the wood. You want a doughnut shape, not a volcano mound.
Lightly scratch it into the top inch of soil with a hand fork if you like, or just let rain and worms do the mixing over time. Fresh compost added in early spring works with the warming soil to create an almost perfect growing environment.
It is low-effort, low-cost, and the results show up in stronger stems and richer blooms all season long.
6. Top Up Mulch For Moisture Retention
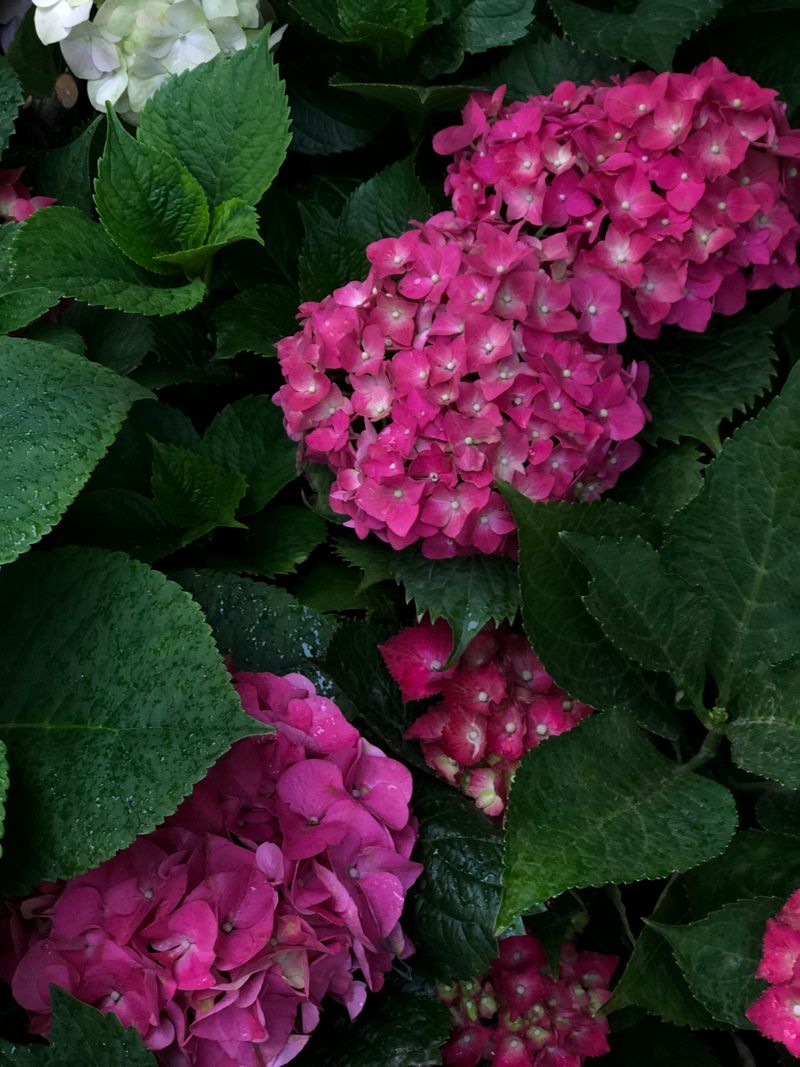
Bare soil around your hydrangea is basically an open invitation for moisture to escape, weeds to move in, and soil temperatures to swing wildly between cold nights and warm afternoons. A fresh layer of mulch fixes all three problems at once.
Shredded bark, wood chips, or pine needles all work well. Aim for a layer about two to three inches thick, spread out to at least the drip line of the shrub.
Pull it back slightly from the main stems so the wood does not stay perpetually damp against the crown. Mulch piled directly against stems creates the perfect conditions for rot and fungal problems.
In Indiana, spring soil temperatures can fluctuate significantly even through April and into May. Mulch acts as insulation, keeping roots from experiencing those jarring temperature swings that stress the plant during critical early growth.
It also dramatically cuts down on how often you need to water, which is a genuine time-saver once summer heat arrives.
Refreshing your mulch now rather than waiting until midsummer means your hydrangeas go into their peak blooming period with stable, moist roots and far less competition from weeds fighting for the same water and nutrients.
7. Begin Consistent Deep Watering
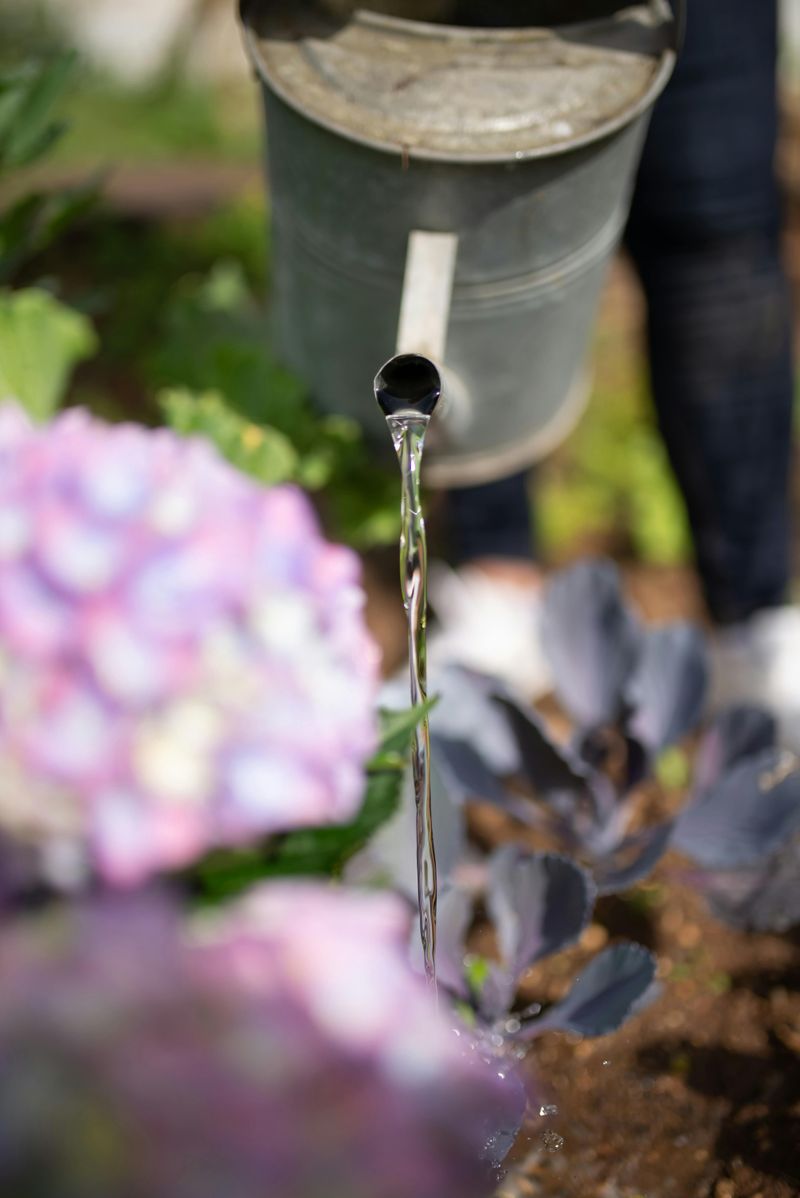
Hydrangeas practically invented the term drama queen when it comes to water. Wilting leaves in afternoon heat are their way of sending a thirst signal, and once you see it, you are already behind on hydration.
Starting a consistent deep-watering routine now prevents that cycle entirely.
Deep watering means letting water soak slowly into the soil rather than spraying the surface and moving on. A slow trickle at the base for ten to fifteen minutes, two or three times a week, encourages roots to grow downward where moisture stays stable.
Shallow, frequent watering trains roots to stay near the surface, where they are vulnerable to heat and drought stress.
Morning is the best time to water because the soil has cooled overnight and absorption is efficient. Evening watering works in a pinch but can leave foliage damp overnight, which increases fungal risk.
A soaker hose looped around the base of the plant is one of the easiest ways to deliver deep, consistent moisture without much effort.
Once you build this habit in spring, your Indiana hydrangeas develop the kind of deep root system that carries them through even the hottest August stretches without missing a beat.
8. Water At The Base, Never Overhead
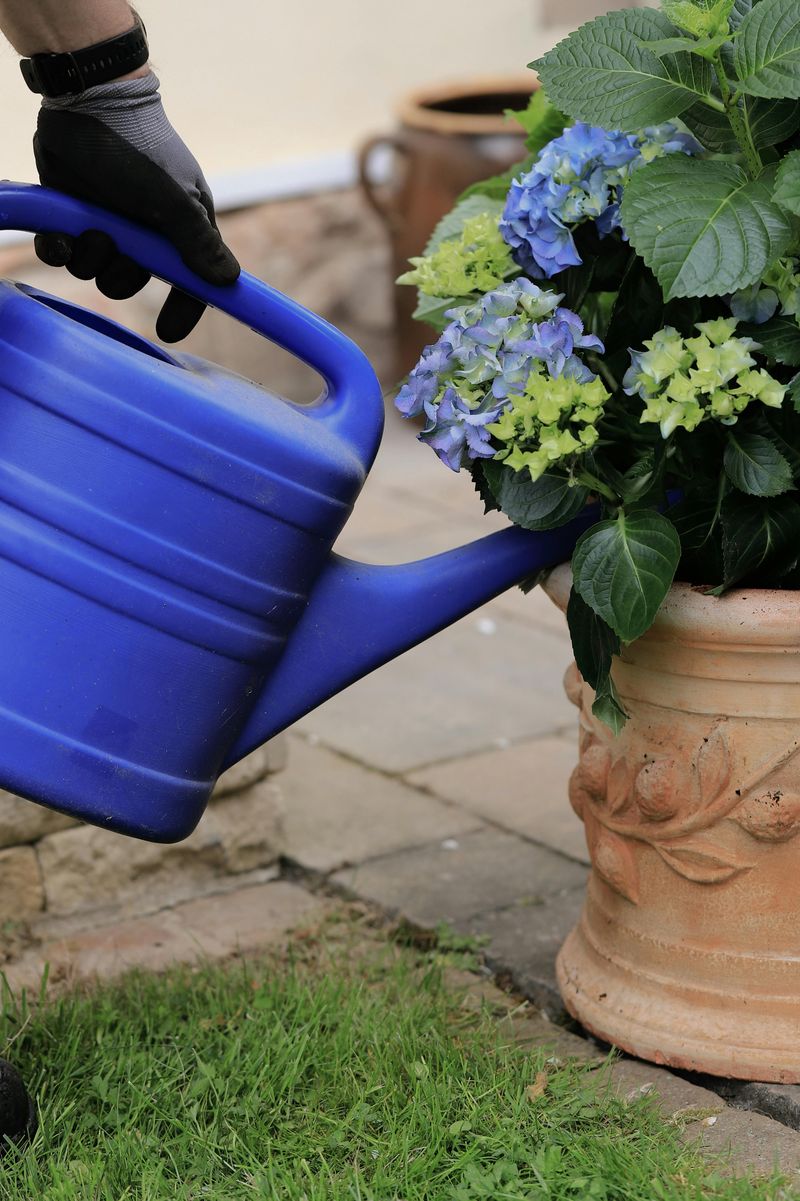
Wetting hydrangea leaves sounds harmless, but overhead watering is one of the fastest ways to invite powdery mildew, leaf spot, and botrytis infection into your garden.
Those diseases love wet foliage, especially when temperatures are still cool and unpredictable in early spring.
Direct your water at the soil, not the plant. A watering wand with a gentle rose head makes this easy and keeps you from accidentally bending or breaking new stems in the process.
If you use a sprinkler system, check that the heads are not hitting your hydrangeas directly. Even a small adjustment to the spray angle can make a meaningful difference in plant health over the course of a season.
Rainwater falling naturally on leaves is fine and unavoidable. The issue is prolonged, repeated wetting from irrigation that keeps foliage damp for hours at a time.
Indiana springs already bring plenty of overcast, humid days that slow leaf drying. Adding irrigation moisture on top of that creates conditions where fungal spores thrive.
Keeping water at ground level also means less evaporation, so more of what you apply actually reaches the roots. It is a small habit shift with a surprisingly large payoff for the overall look and health of your hydrangeas.
9. Watch For Late Indiana Frost Dates
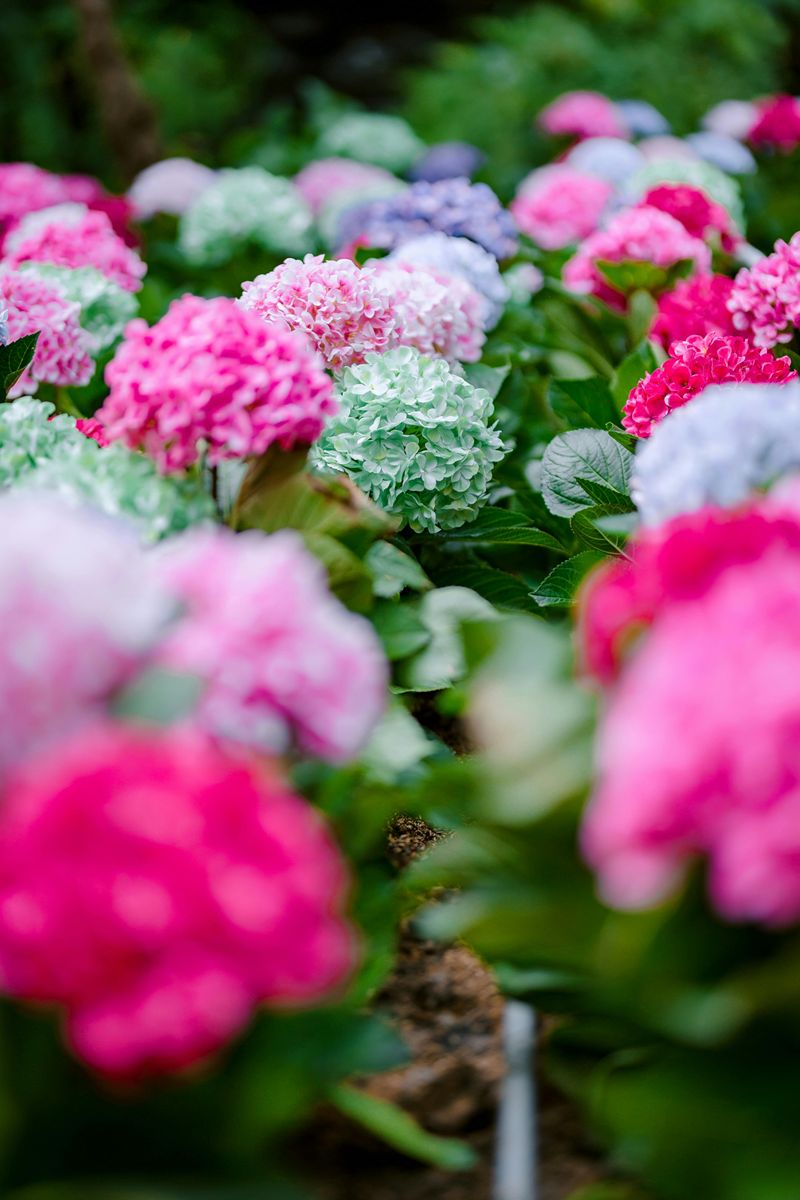
Indiana frost dates are not something to guess at. The average last frost in central Indiana falls around mid-April, but late cold snaps can push into early May in northern parts of the state, and that is exactly when your hydrangeas are most vulnerable.
New growth is the most frost-sensitive part of the plant. Those soft, bright green leaves and swelling buds that look so promising in March and early April can turn black and mushy overnight if temperatures drop to freezing (32°F) or below.
Losing that first flush of growth does not end the season, but it sets your plant back by weeks and can reduce bloom count significantly.
Keep a close eye on the ten-day forecast starting in late March. When a frost warning appears, cover your hydrangeas with old bed sheets, burlap, or frost cloth in the evening and remove the covering once temperatures climb above freezing the next morning.
Plastic alone is not ideal since it does not trap warmth the way fabric does. Having a few covers ready to grab quickly is the kind of low-effort preparation that saves a season.
Staying ahead of Indiana weather surprises is what separates a good hydrangea year from a great one.
10. Check For Aphids And Scale Insects
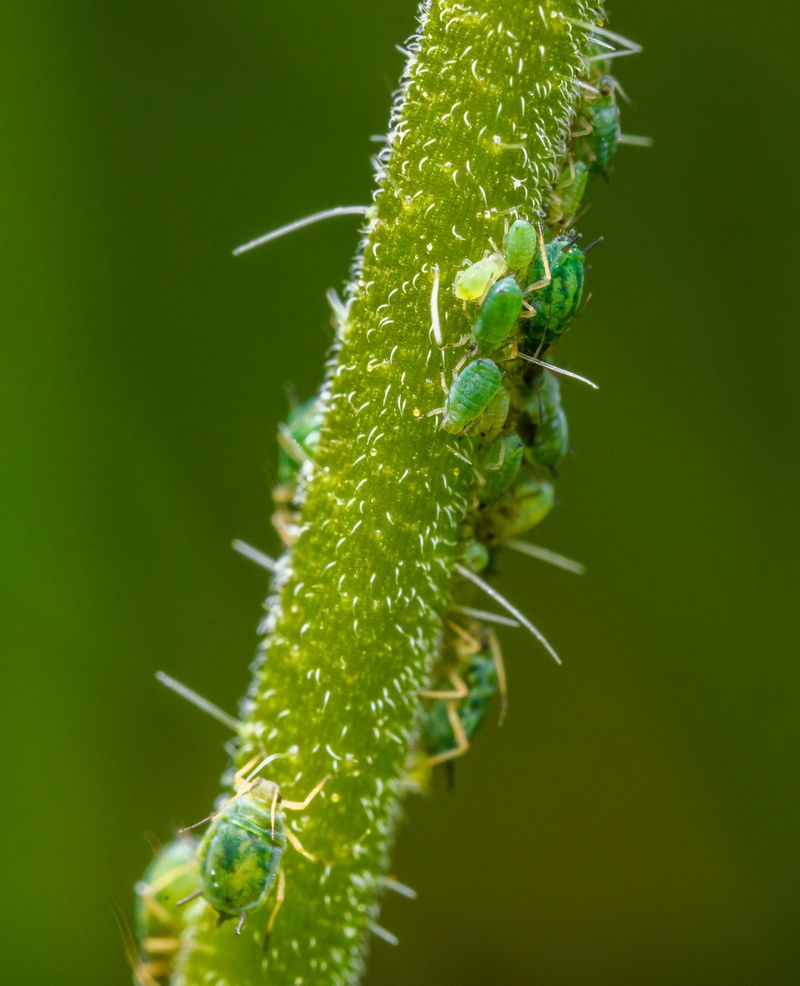
Pests do not announce themselves, but they show up early and they multiply fast.
Aphids and scale insects are the two most common early-season troublemakers for hydrangeas in Indiana, and catching them now before populations explode saves you a lot of frustration later.
Aphids are tiny, soft-bodied insects that cluster on new growth, especially the undersides of young leaves and around tender stem tips. They suck plant sap and leave behind a sticky residue called honeydew that attracts ants and promotes sooty mold.
Scale insects look more like small brown or tan bumps stuck to stems and are easy to mistake for part of the plant. Scratch one with your fingernail and if it smears, it is alive.
A strong spray of plain water from a garden hose knocks aphids off effectively for small infestations. Insecticidal soap or neem oil applied to affected areas handles more persistent problems without harming pollinators when used correctly.
Check your plants every week or so during the growing season, paying close attention to new growth.
Catching pest issues at the first sign keeps them from becoming the kind of problem that requires repeated treatments and still leaves your hydrangeas looking stressed and sad all summer.
11. Avoid Moving Or Transplanting Once Growth Starts
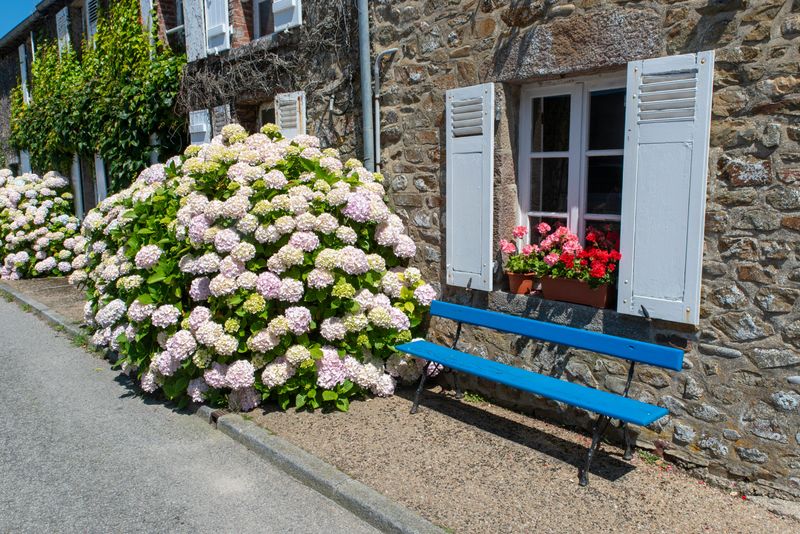
Transplanting a hydrangea mid-growth is like asking someone to move houses during finals week. The timing is terrible, the stress is real, and the results are rarely good.
Once your plant has pushed out new leaves and stems, its energy is fully committed to that growth push.
Root disturbance at this stage interrupts water and nutrient uptake at exactly the moment demand is highest. The plant has to redirect resources from bloom development to root recovery, which often means a season of weak flowers or no flowers at all.
Some plants take two full years to recover from a poorly timed move.
If you need to relocate a hydrangea, the best windows are late fall after the plant goes dormant or very early spring before any bud break occurs. Mark the spot now with a stake so you remember your plan, but hold off on digging until the right moment arrives.
If a move truly cannot wait, cut the plant back hard first to reduce the moisture demand on a compromised root system, water deeply before and after, and shade the transplant for the first two weeks.
Patience with timing is one of the most underrated skills in gardening, and hydrangeas reward it generously.
12. Never Cut Healthy Stems On Bigleaf Or Oakleaf Varieties
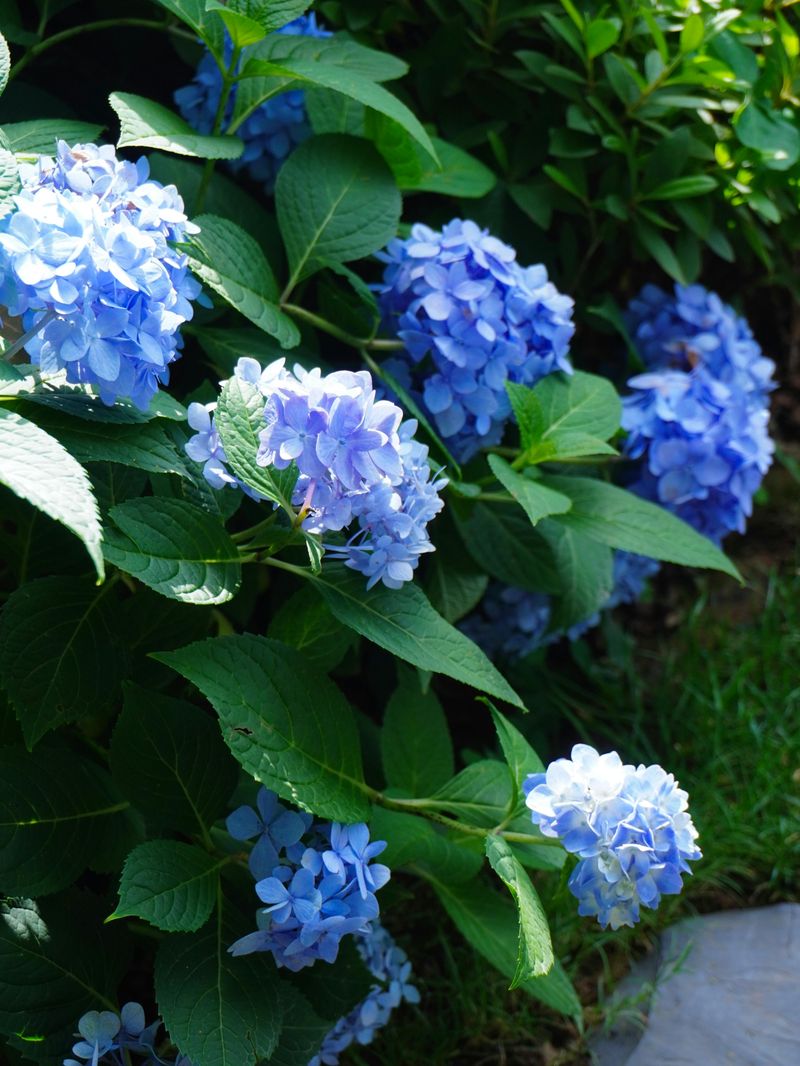
What if one wrong cut right now cost you every bloom this season? These two varieties bloom on old wood, meaning the flower buds formed last fall are sitting right now on those stems you might be tempted to trim.
Old wood looks exactly like new wood except it is slightly thicker and has a more weathered appearance. The buds on old wood are already present in a dormant state, waiting for warmth to trigger them.
Snip those stems back in spring and you remove the blooms before they ever open. That mistake is frustrating but completely avoidable once you know which variety you are growing.
Smooth hydrangeas like Annabelle and panicle types like Limelight bloom on new wood and can handle aggressive spring pruning. Bigleaf varieties like Endless Summer and oakleaf hydrangeas need you to keep your pruners away from healthy stems.
Only remove what is clearly dead or damaged. When in doubt, wait a few weeks and let the buds show you where the plant is alive before making any cuts.
Your Indiana hydrangeas will reward that restraint with blooms that stop traffic.