Cut Back Your Pennsylvania Hostas This Fall For Healthier Greenery In The Colder Days
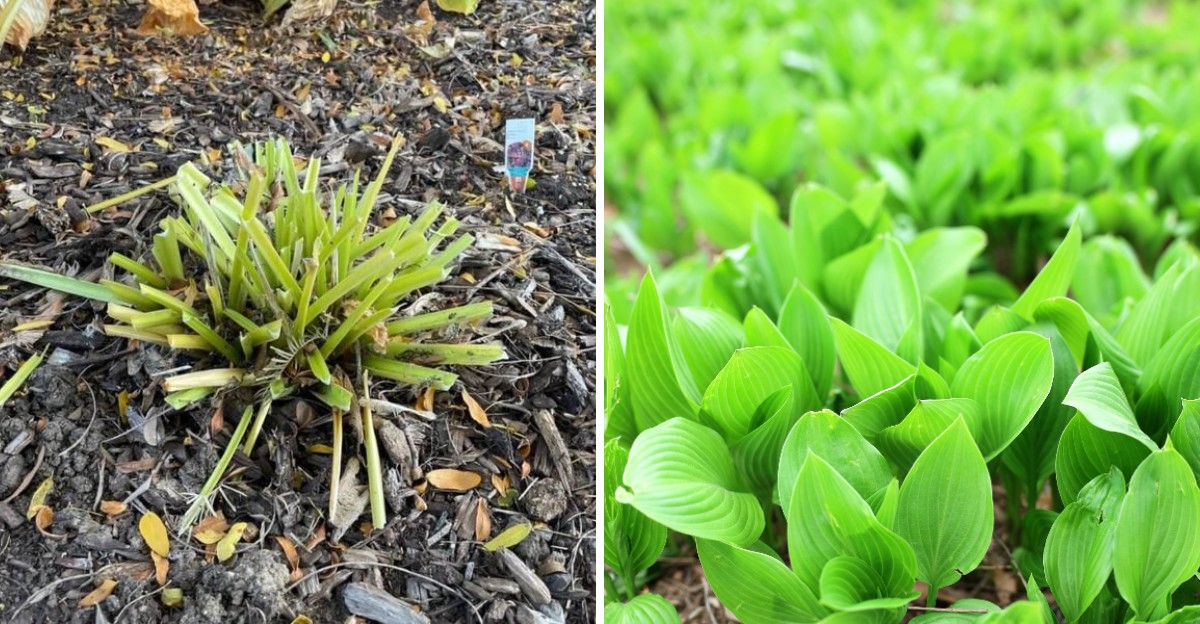
All summer long, hostas are the stars of the shade garden. Their big, lush leaves fill in dark corners and make even the gloomiest spot under a tree look cool and inviting.
Fall is a different scene. After the first hard frost, those same leaves turn yellow, then brown, then collapse into a soggy heap on the ground.
It’s tempting to leave that mess alone until spring. But for hostas, a fall trim is one of the smartest moves you can make.
That wet pile of foliage makes a perfect winter home for slugs and their eggs. It can also harbor fungal spores that spot and spoil next year’s leaves.
Voles love hiding under that cozy cover, too, where they can nibble on hosta roots all winter.
A quick cleanup now helps your plants come back stronger, fuller, and greener when the warm days return.
Why Fall Cleanup Matters For Hostas
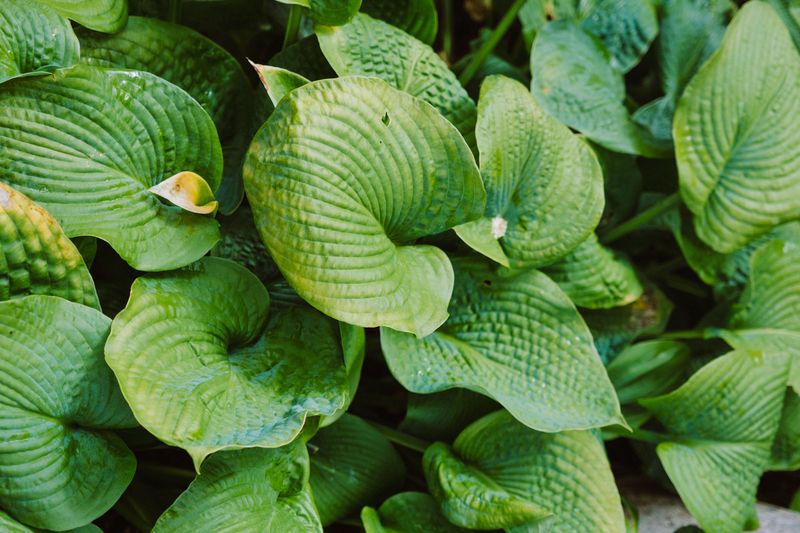
Slugs love a cozy winter hideout as much as we love a warm blanket. After the first hard frost hits Pennsylvania, hosta leaves turn soft and mushy. They flop onto the ground and form a damp, dark layer.
That soggy pile is like a free hotel for garden pests. Slugs crawl under it to stay safe from the cold.
Even worse, they lay their tiny eggs there. Come spring, those eggs hatch right next to your plants, and the babies start munching on new leaves.
Bugs are not the only problem. Fungal diseases also enjoy wet, rotting leaves. Spores can rest in the old foliage all winter long. When spring rain arrives, the spores splash onto fresh shoots and cause spots, rot, and ugly patches.
Cleaning up in fall breaks that cycle. When you remove the old leaves, you take away the shelter pests need.
You also clear away many of the disease spores before they get a chance to spread. Your hostas wake up in a cleaner, safer space.
Think of it like cleaning your room before a big trip. Coming home to a tidy space just feels better. Plants work in a similar way. A clean bed lets sunlight and air reach the soil in spring, which helps it warm up and dry out faster.
Here is a fun fact. A single slug can lay hundreds of eggs in one year. Removing just a few hiding spots can make a big difference in how many slugs show up next season.
A little effort now saves you from fighting holes and slime later. Your hostas will look fuller and greener when they return.
Wait Until The Leaves Turn Yellow Or Collapse
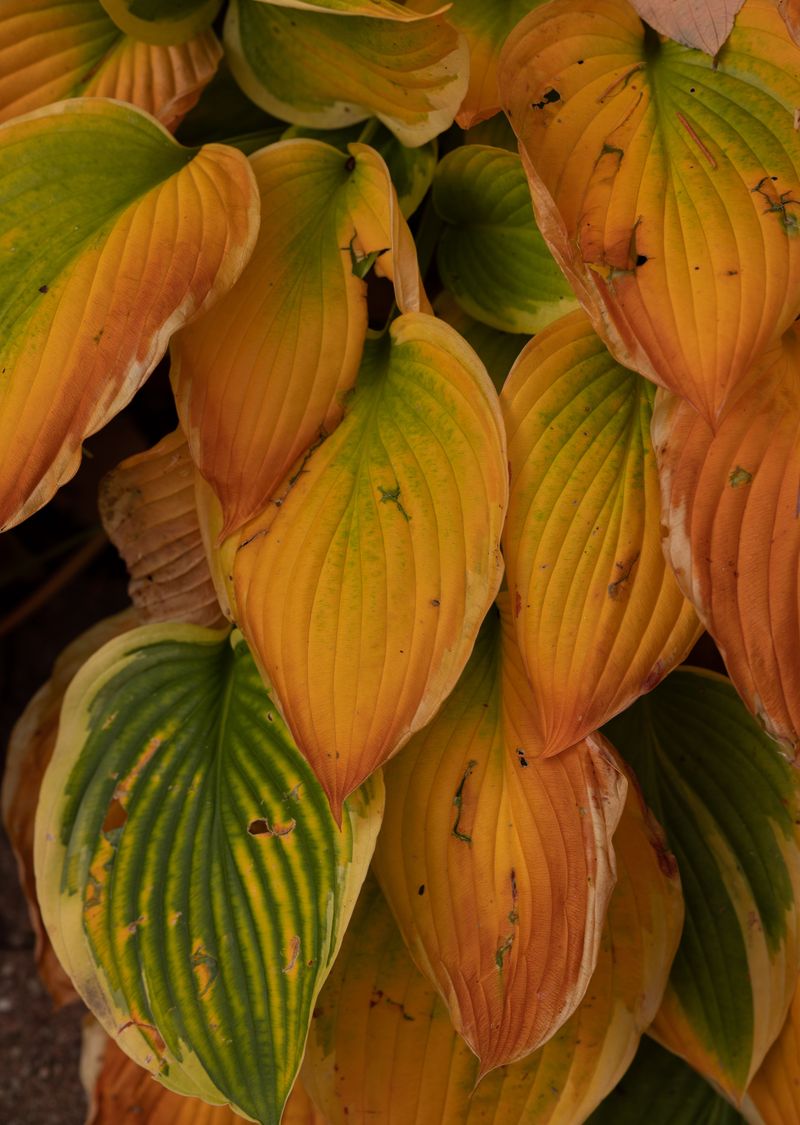
Patience pays off in the garden, and fall hostas prove it. You might feel the urge to grab your pruners the moment leaves look tired. Hold on a little longer, though.
Green leaves are still working hard, even in early fall. They act like tiny solar panels, turning sunlight into food.
As the weather cools, the plant pulls that stored food and nutrients down into its roots. Those roots then use the energy to push out strong new growth next spring.
Your Pennsylvania Garden Changes Every Week. Your Plan Should Too.
Gardening in Pennsylvania changes quickly throughout the season. Every Friday you’ll receive a simple weekly plan showing exactly what to plant, prune, fertilize, harvest, and protect so you never miss the right timing.
Cutting too early is like closing a lunch box before you finish packing it. The plant loses food it was saving for later. Over time, early cutting can leave hostas weaker and smaller.
So what should you watch for? Look for leaves that have turned yellow, gold, or brown. Another clear sign is when a hard frost flattens the plant overnight.
Once the leaves look limp and soft, the plant has finished its job for the year.
In Pennsylvania, that usually happens in late October or November. Northern counties and higher spots in the mountains may see frost sooner.
Areas near Philadelphia or Pittsburgh may stay mild a bit longer. Keep an eye on your local weather report for the first freeze warning.
Some gardeners like to wait a few days after the first frost. That gives the leaves time to fully soften, which makes cutting easier and cleaner.
Did you know some hosta types turn a bright buttery yellow in fall? Varieties like Sum and Substance can glow for a week or two. Enjoy that show before you clean up. Your plants and your eyes both get a treat.
Cut Leaves And Stems Close To The Ground
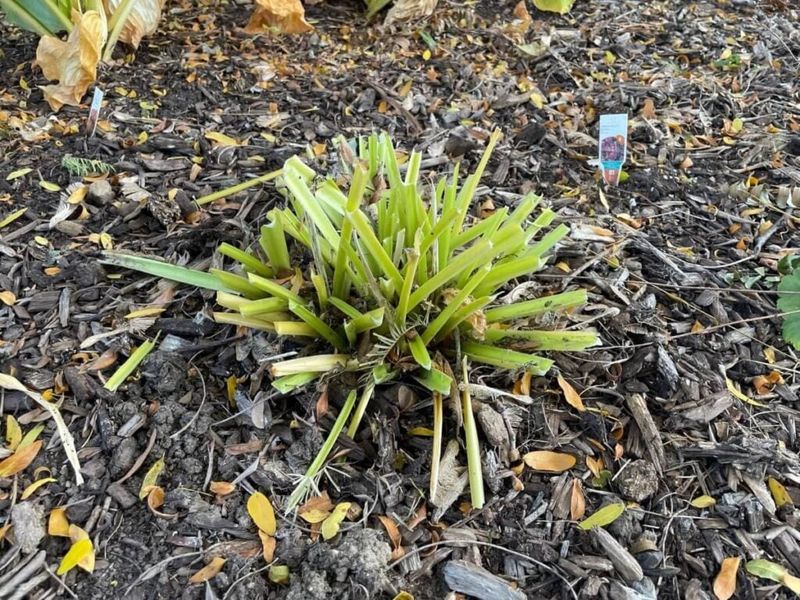
Good tools make this chore quick and almost relaxing. Start with a pair of sharp bypass pruners or garden scissors. Dull blades crush stems instead of slicing them, and crushed stems can rot.
Grab a handful of leaves and their stems. Snip them about 1 to 2 inches above the soil. Leaving a short stub helps you see where the plant sits, and it protects the crown just below the surface.
Do not forget the flower stalks. Those tall, skinny stems that held summer blooms should come down too. Cut them to the same short height as the leaves.
Now for a very important step. Clean your tools between each plant. Hostas can carry a sickness called hosta virus X. It causes leaves to look blotchy, twisted, or streaky with odd colors.
The virus spreads through plant sap. When you cut a sick plant, sap sticks to your blades. If you move straight to a healthy hosta, you can pass the virus along without knowing it. Sadly, there is no cure once a plant is infected.
Cleaning is easy, though. Wipe the blades with rubbing alcohol or a mix of one part bleach to nine parts water. A household disinfecting wipe also works in a pinch. Keep a small bucket or spray bottle nearby so you remember.
Wear gloves to protect your hands from sharp blades and slimy leaves. A kneeling pad can save your knees, too.
Here is a handy tip. Work on your healthiest-looking plants first. Save any plants with strange leaves for last. That way, you lower the chance of spreading trouble around your garden.
Clean Up And Dispose Of The Debris
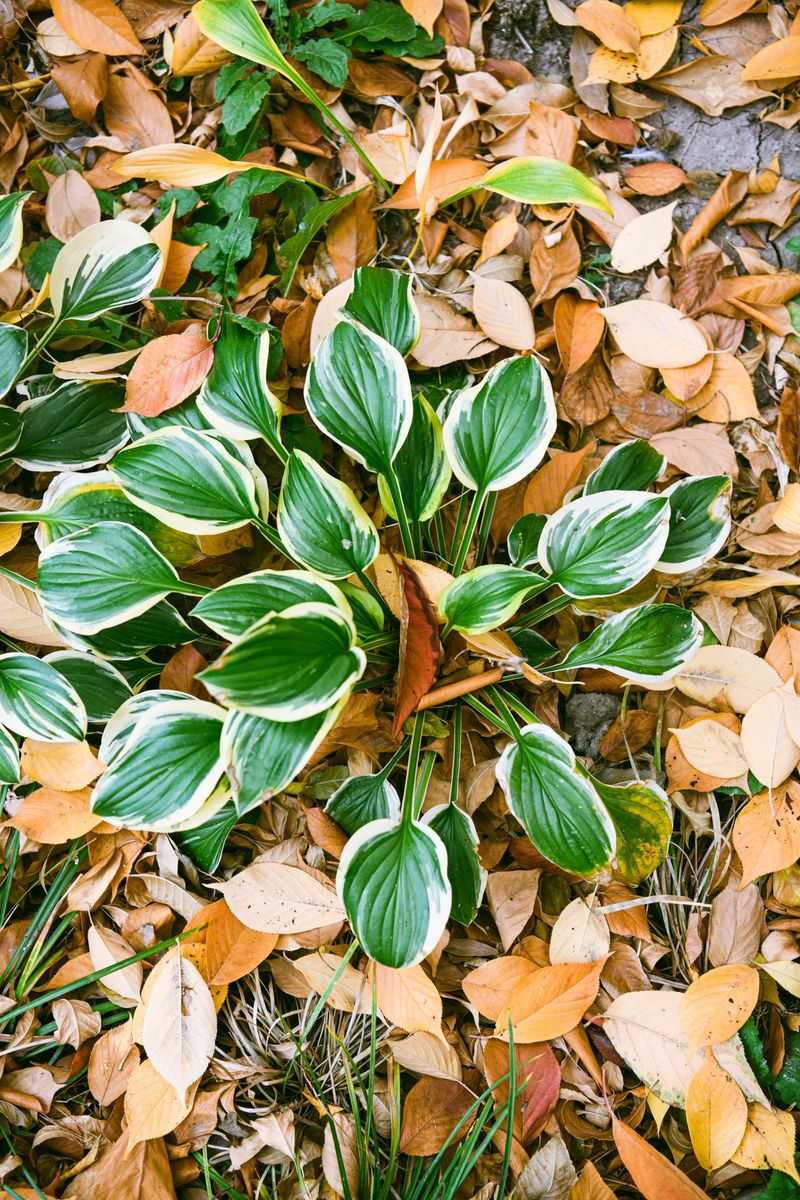
Cutting is only half the job. If you leave the clippings lying around, you have just made a new hiding place for slugs. All that hard work could go to waste.
Take a rake and gently gather every leaf and stem from the bed. A leaf rake with flexible tines works best. Be careful not to scrape too hard near the crowns, since you do not want to damage the plant.
Look closely under nearby shrubs and along edges, too. Bits of leaves love to blow into corners. Slugs and snails will find them if you do not.
Once everything is gathered, you have a choice to make. Healthy leaves can go right into your compost pile. They break down into rich soil that feeds your garden later. Mix them with dry leaves or straw so the pile does not get too soggy.
Diseased leaves are a different story. If you saw brown spots, rotting patches, or blotchy colors during summer, those leaves need to go. Put them in a sealed trash bag instead of the compost.
Why the extra care? Most home compost piles do not get hot enough to destroy disease spores or viruses. Adding sick leaves could spread problems back into your garden when you use that compost next year.
Many Pennsylvania towns offer fall yard waste pickup. Check your township website for dates and rules. Some places want paper bags only, while others take loose piles at the curb.
A quick tip from experienced gardeners: do a final walk around the bed a week later. Wind often blows in fresh leaves, and a fast cleanup keeps everything neat.
Mark Their Spots And Add Mulch
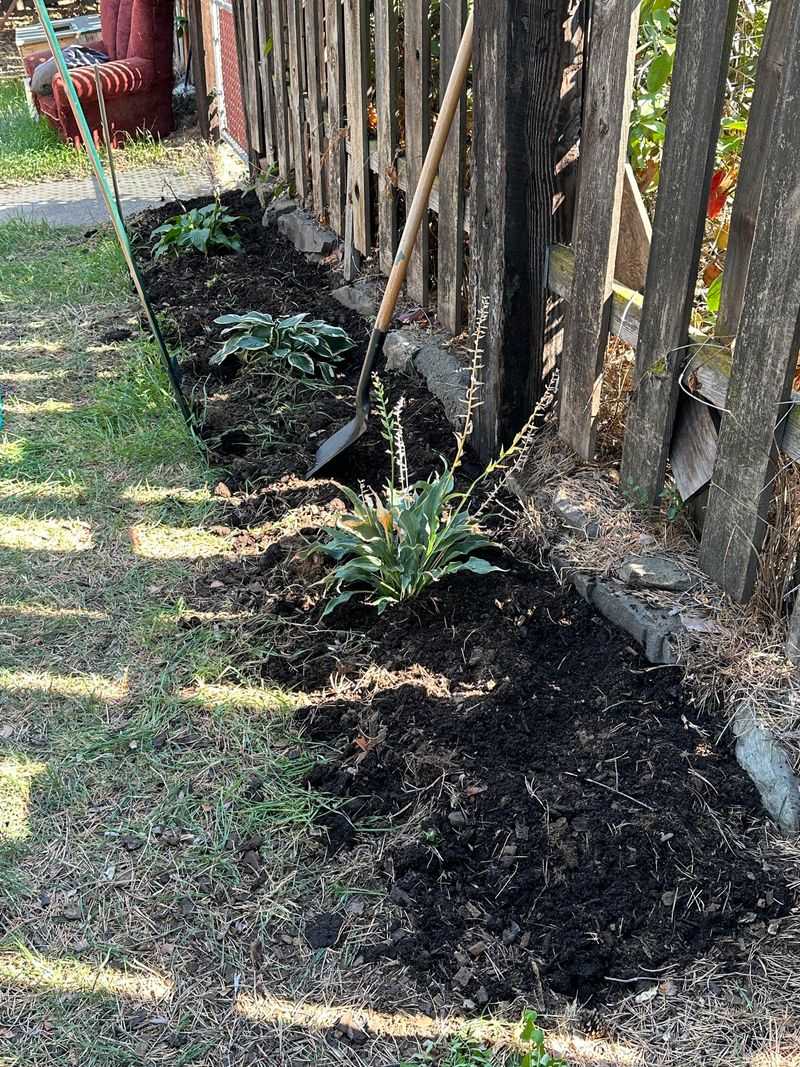
Ever planted spring bulbs and accidentally sliced into something hidden? Many gardeners have, and it feels awful. Hostas vanish underground in winter, so they are easy to forget.
Marking their spots solves that problem. Push a plant marker, wooden stake, or even a painted craft stick into the soil next to each clump.
Write the hosta name on it if you know it. Now you can dig and plant nearby in early spring without worry.
Some gardeners draw a simple map of their beds instead. Others snap a few photos in summer when the plants are full. Any method works, as long as you remember where your hostas live.
Next comes mulch. Wait until the ground has frozen, which in Pennsylvania often happens in December. Mulching too early can invite mice and voles to nest near the roots.
Spread a light layer, about 2 inches deep. Shredded leaves, pine needles, or fine bark mulch all work well. Avoid thick, heavy piles that stay wet against the crowns.
Mulch does not keep the soil warm. Instead, it keeps the soil temperature steady. Pennsylvania winters swing between freezing nights and mild sunny days. That freeze and thaw pattern can push plants up out of the ground, a problem called frost heaving.
When roots get pushed up, cold air can dry them out. A blanket of mulch helps prevent that by keeping the ground frozen more evenly.
Fun fact: chopped fall leaves make free mulch. Run your mower over a pile a few times, and you have a perfect cover that feeds the soil as it breaks down.
What To Expect In Spring
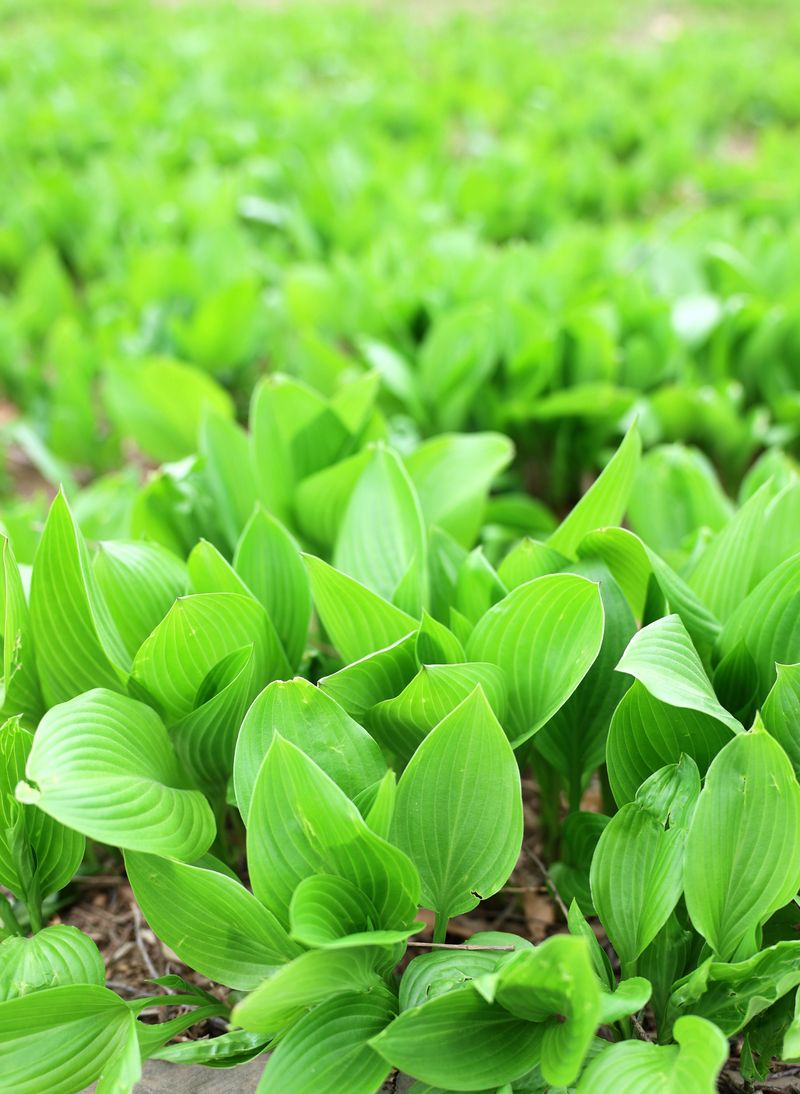
Spring morning, coffee in hand, you spot something poking up from the soil. Tiny green spears are rising where your hostas sleep. That moment makes all your fall work feel worth it.
Those little spears are called pips. They are tightly rolled shoots that look a bit like cigars or green pencils. Some varieties have purple or reddish tips, which adds a pop of color to bare beds.
In Pennsylvania, pips usually show up in April. Warm spells may bring them out a little sooner. Over a few weeks, they slowly unroll into wide, fresh leaves.
Watch the weather during this time. A late frost can nip tender new leaves. If cold nights are coming, cover the pips with an old sheet or bucket overnight. Remove the cover in the morning.
Early spring is also the best time to divide crowded hostas. When pips are just a few inches tall, they are easy to see and handle. The plant also has a whole season ahead to settle in.
Dig around the clump with a sharp spade and lift it out. Slice it into sections, making sure each piece has a few pips and healthy roots. Replant them at the same depth and water well.
Dividing gives you free plants for other shady spots. You can fill a bare corner under a tree or share extras with neighbors and friends.
Here is a cool detail. Some hosta clumps can live for decades, growing larger every year. With good fall care and a little spring attention, yours could become a garden favorite for many seasons.