The Rose Cutting Trick That Grows A Whole New Bush From One Stem In Your Arizona Yard
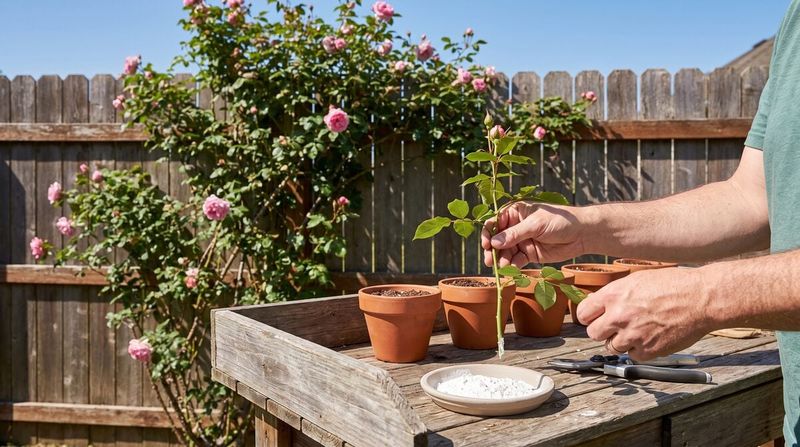
Plenty of Arizona gardeners have a favorite rose they wish they could multiply, and a damp paper towel is one small part of making that happen. The trick circulating online suggests wrapping a single stem in a wet towel and waiting for a whole new bush to appear in weeks, but the reality is a bit more layered than that.
A damp towel can keep a freshly cut stem from drying out during preparation, yet the real work of rooting happens in a proper growing medium over several weeks or even months. Understanding what the towel actually does, and what comes after, gives your Arizona cutting a much better shot at surviving the low-desert heat and becoming a real plant.
The Arizona Paper-Towel Trick Has a Smaller Job Than the Headline Suggests
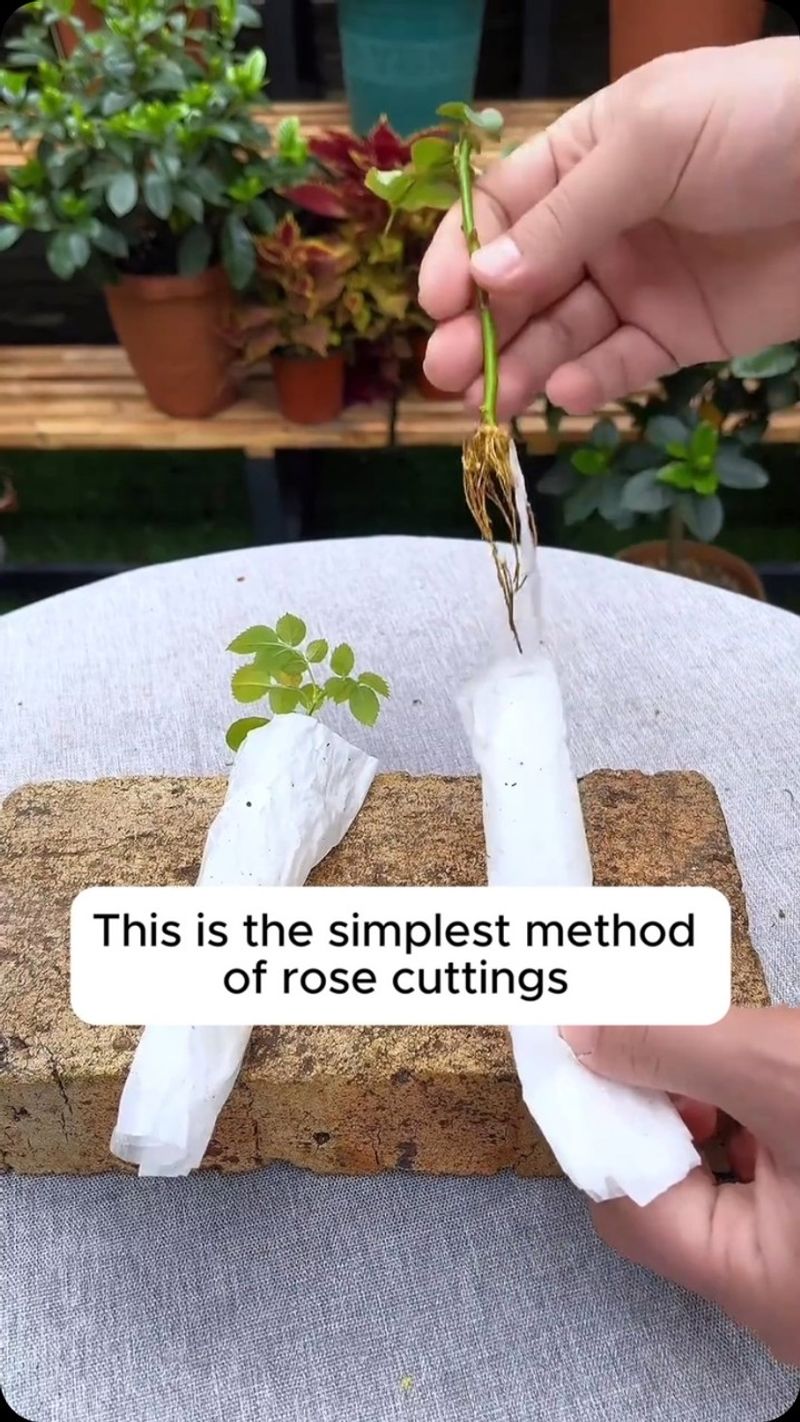
Somewhere between garden folklore and solid horticultural practice lives the damp-paper-towel trick, and its actual job in Arizona rose propagation is narrower than most social media posts let on. A rose cutting can sometimes produce a genetically identical, own-root plant from a single healthy stem.
That part is real. What the damp towel does, though, is simply keep the cut end from drying out during the brief window between snipping the cane and getting it into a rooting container.
According to Oregon State University Extension’s rose propagation guidance, wrapping the cut end in a damp towel and placing it in a plastic bag is a reasonable preparation or transport step, but the actual propagation process still requires a container, a rooting medium, and usually a rooting hormone. The towel is a bridge, not the destination.
Timing expectations also need adjusting for Arizona conditions. Root development may begin in roughly four weeks under good conditions, but that benchmark is approximate and varies by cultivar and environment.
A cutting that shows early roots is nowhere close to a landscape-ready bush. UC Davis Foundation Plant Services notes that a propagated rose may need about six months of growth before it is ready for outdoor planting, and Arizona’s extreme summer heat makes that timeline even more important to respect.
Choose a Mature Arizona Rose Cane That Can Still Root
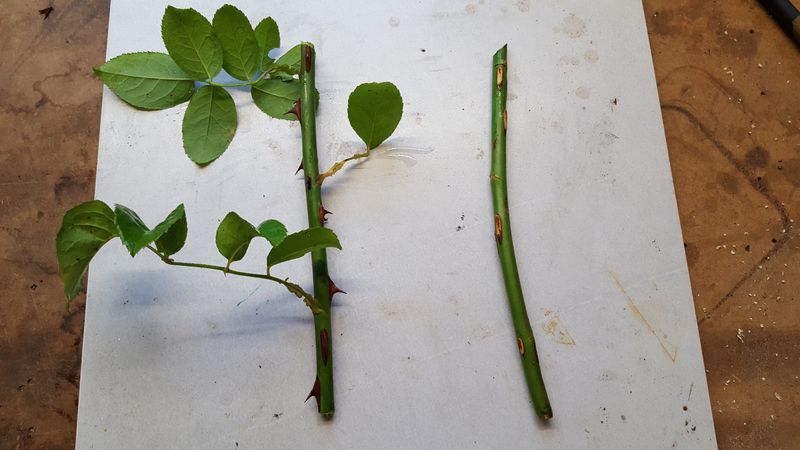
Not every piece of stem on an Arizona rose bush is worth cutting. The best candidates are semi-hardwood canes or slightly flexible stems that have recently finished flowering and still carry about four to five healthy leaf nodes.
Soft, tender new growth from the tips of actively growing shoots tends to wilt quickly and root poorly, while old, fully woody canes have usually lost the cellular flexibility that makes rooting possible.
Iowa State University Extension recommends semi-hardwood cuttings for roses, noting that this stage of maturity tends to produce the most reliable results. UC ANR’s guidance on growing roses from cuttings similarly points to a healthy, slightly flexible, post-flowering stem as the preferred source material.
Choosing the right cane from the start gives Arizona propagators a meaningful advantage before the towel or rooting medium even enters the picture.
Your Arizona Garden Changes Every Week. Your Plan Should Too.
Gardening in Arizona changes quickly throughout the season. Every Friday you’ll receive a simple weekly plan showing exactly what to plant, prune, fertilize, harvest, and protect so you never miss the right timing.
Grafted roses add another layer of selection to get right. Many commercial roses sold in Arizona nurseries are budded onto a rootstock, and that graft union appears as a swollen knob near the base of the plant.
Vigorous shoots emerging below that union belong to the rootstock, not the named cultivar. Taking a cutting from below the union means you may root an entirely different plant than the one you wanted.
Always select canes from the upper portion of the bush, well above the graft union.
Rooting ability also varies substantially by cultivar. Peer-reviewed research on adventitious root formation in roses found large differences in rooting percentage, root number, and root mass across genotypes.
A method that works reliably on one rose may produce nothing on another, so treat initial attempts as experiments rather than guarantees.
Prepare the Arizona Cutting With Clean, Leaf-Sparing Cuts
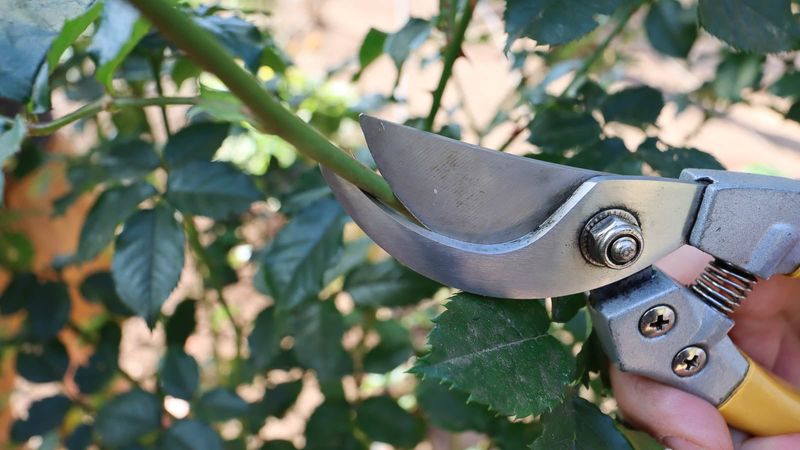
Sharp, clean tools matter more in Arizona’s dry, pathogen-present environment than many gardeners realize. A crushing or ragged cut at the base of the stem creates extra tissue damage and gives plant pathogens an easier entry point.
Before making any cuts, wipe your pruner blades with at least 70% isopropyl alcohol. University of Minnesota Extension recommends isopropyl alcohol at 70% concentration or higher for disinfecting small garden tools, and specifically cautions that bleach can corrode pruning tool metal over time, making it a poor default choice for this task.
Once the tools are clean, remove any flower buds, open blooms, or developing seed structures from the cutting. Flowers and hips pull stored energy away from the rooting process, and Arizona’s intense solar radiation can cause open blooms to desiccate a cutting faster than it can compensate.
Strip the leaves from the lower portion of the stem, roughly the bottom third that will be inserted into the rooting medium, so that buried leaves do not rot and introduce disease to the developing root zone.
Retaining a small number of healthy leaves on the upper portion of the cutting is worthwhile. Those leaves continue performing photosynthesis, which supports the cutting’s survival while it waits for roots to form.
In Arizona’s characteristically low humidity, however, too much leaf area can accelerate water loss faster than the stem can replace it. If the cutting seems to wilt quickly even after being wrapped, removing one or two additional leaves is a reasonable adjustment before potting.
Wrap the Arizona Cutting Only Until You Can Pot It
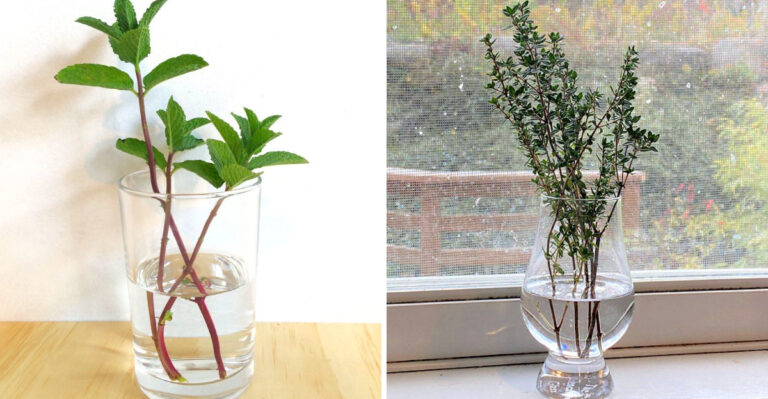
Give the damp paper towel a precise and limited assignment: moisture preservation during preparation or short transport, nothing more. Dampen a clean paper towel until it is moist but not dripping, wrap it loosely around the lower end of the prepared stem, and slide the cutting into a plastic bag to hold that moisture in place.
The goal is to prevent the cut surface from drying and forming a callus that could slow water uptake once the cutting is placed into rooting medium.
Move the cutting into its rooting container as soon as reasonably possible, ideally within a few hours. Keeping a rose stem sealed inside a saturated towel for days or weeks is a separate problem.
Penn State Extension’s guidance on propagating cuttings emphasizes that poor aeration and stagnant moisture around a stem encourage rot and decay rather than root formation. Arizona’s warm temperatures, even in shade, accelerate microbial activity, which makes a prolonged wet-towel setup riskier here than in cooler climates.
The towel’s job ends the moment the cutting enters the rooting medium. From that point forward, moisture management shifts to the container and its humidity enclosure.
Treating the paper towel as a brief, transitional tool rather than a rooting method keeps the process grounded in what the technique can actually deliver for Arizona gardeners.
Give the Arizona Cutting an Airy Rooting Medium and Monitored Humidity
Once the cutting leaves the paper towel, the rooting medium takes over as the most important variable. A clean, porous, well-drained, aerated substrate gives the developing root zone the oxygen it needs while retaining just enough moisture to keep the stem hydrated.
Perlite, vermiculite, a peat-based soilless mix, or combinations of these materials all work well for rose cuttings. The medium should feel evenly moist when squeezed, not waterlogged, because excess water reduces aeration and invites the same rot that a soggy paper towel would cause.
Rooting hormone is an option worth considering, though not a requirement. Penn State Extension notes that a small amount of hormone can speed root development in some circumstances, but rose responses vary considerably depending on genotype, hormone concentration, substrate composition, and other growing conditions.
Applying more hormone than directed does not improve results and can actually slow or prevent rooting, so follow label rates carefully if you choose to use it.
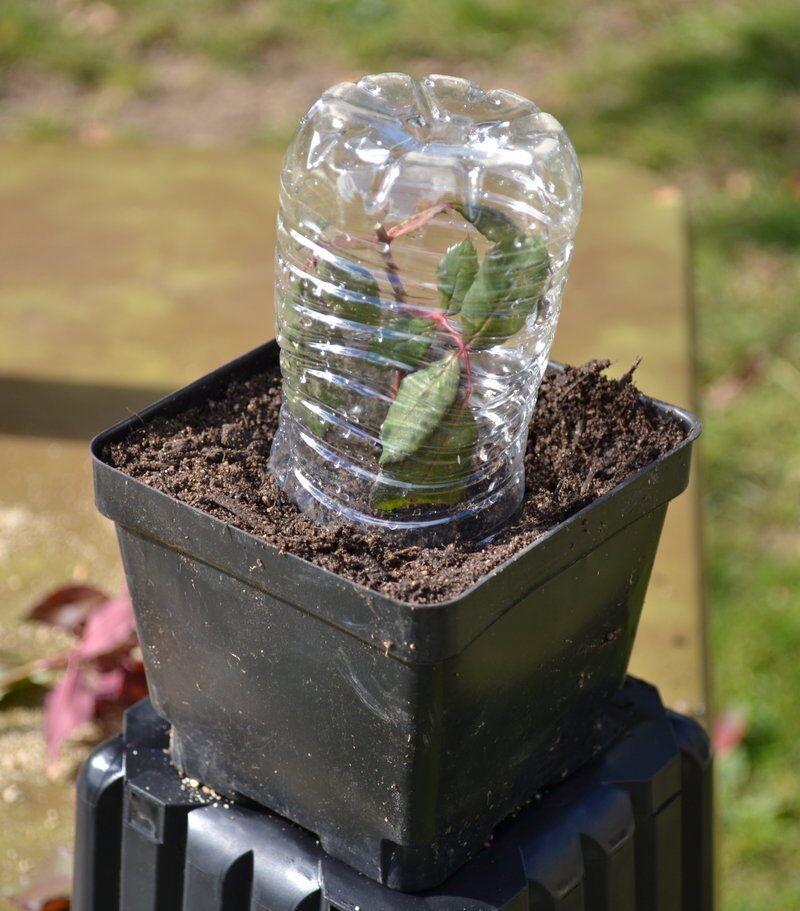
Humidity management comes next. A clear plastic bag draped loosely over the pot, a purchased humidity dome, or even an inverted clear plastic bottle can raise the moisture level around the cutting’s leaves and reduce the rate at which it loses water.
Oregon State University Extension’s propagation guidance supports using a clear enclosure to maintain humidity during the rooting period. The enclosure should be lifted or vented for a few minutes each day, however, because stagnant air and condensation that pools inside can promote mold growth, particularly in Arizona’s warm conditions where microbial activity stays elevated even in shaded spots.
Protect the New Arizona Rose From Afternoon Heat
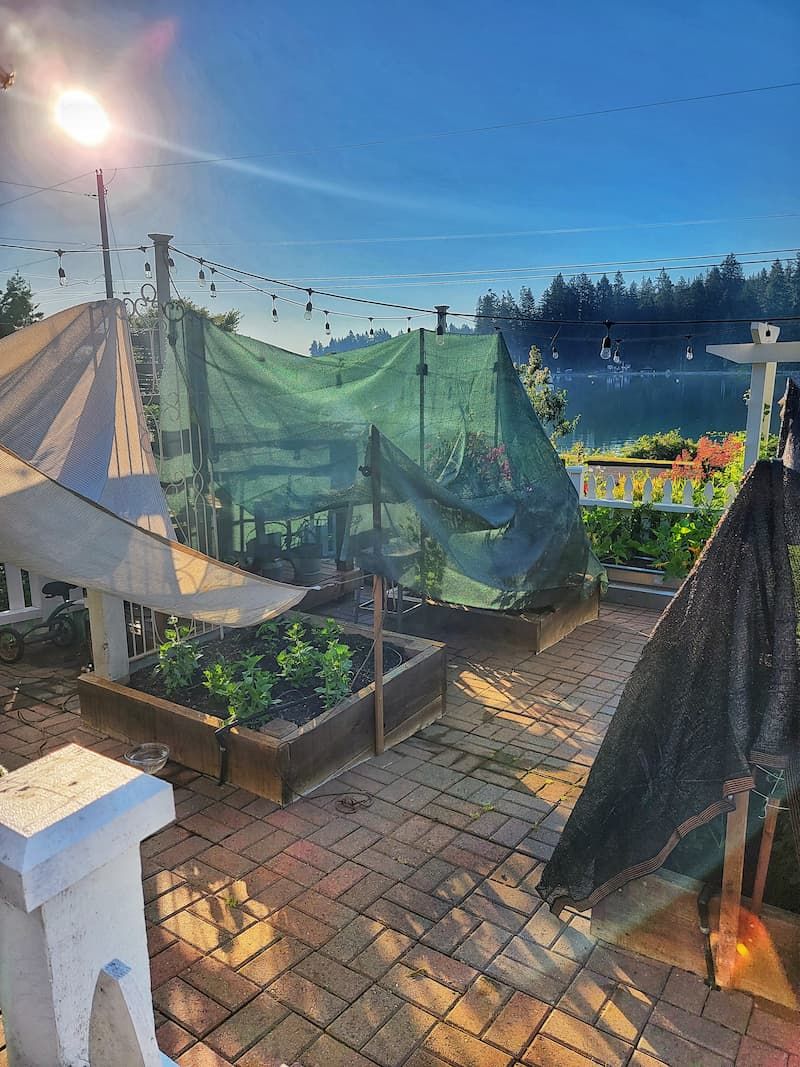
Placement is one of the most consequential decisions an Arizona propagator makes, and the low desert is unforgiving of mistakes. An unrooted cutting has no functional root system to replace water it loses through its leaves, so any exposure to direct afternoon sun, reflected heat from pale walls, or radiant heat rising from concrete can kill it within hours during a Phoenix or Yuma summer.
University of Arizona Cooperative Extension recommends an eastern exposure for established roses in the low desert, citing morning sun and protection from hot afternoon rays as the preferred combination. That same logic applies even more strongly to a cutting that has not yet rooted.
A spot that receives gentle morning light and transitions into bright shade by mid-morning gives an Arizona cutting the best chance of surviving long enough to develop roots.
Southern and western exposures near light-colored walls are particularly problematic. Those surfaces reflect both light and heat back onto the plant, and average summer temperatures in the warmest Arizona desert zones can reach approximately 107 degrees Fahrenheit.
A clear plastic humidity enclosure placed in direct sun can overheat rapidly, essentially cooking the cutting inside. Even on overcast monsoon days, reflected heat from hardscape surfaces can push temperatures well beyond what a fragile cutting can tolerate.
Readers in higher-elevation Arizona communities such as Prescott or Flagstaff are working in a meaningfully different climate. Frost timing, seasonal temperature swings, and summer highs all differ from the low desert, so the placement and timing advice here applies primarily to Phoenix, Tucson’s lower elevations, Yuma, and the Colorado River corridor rather than the entire state.
Check for Arizona Roots Before You Move the Cutting
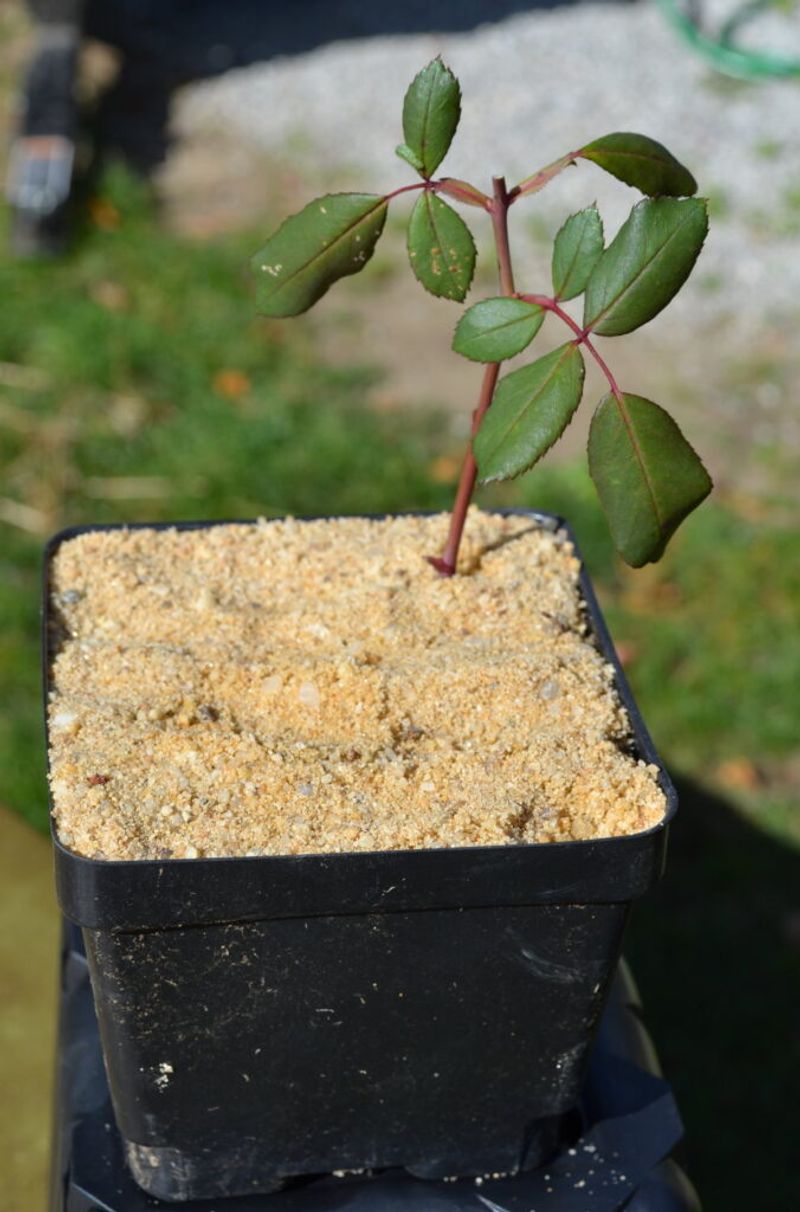
Patience is genuinely difficult in Arizona, where the urge to move a cutting into better conditions before summer heat peaks feels urgent. Roughly four weeks after potting is a reasonable point to check whether rooting may have begun, based on UC Davis Foundation Plant Services guidance on rose propagation timelines.
Four weeks is a possibility, not a deadline, and some cultivars or cuttings in less-than-ideal Arizona conditions may take longer or not root at all.
Testing for roots should be gentle. Place two fingers lightly on the rooting medium surface near the stem and apply slight upward pressure on the cutting.
Resistance, the sense that the stem is held in place by something, suggests that roots have begun anchoring the cutting. A cutting that slides out easily has not rooted yet and should be reinserted and left undisturbed for another week or two before testing again.
New leaves or fresh shoot growth can appear before a strong root system exists, so visible top growth is not reliable confirmation of successful rooting. A cutting can push new growth using stored energy in the stem while still having no functional roots below.
Moving a cutting to a larger container or outdoor bed based on top growth alone risks losing it entirely.
A cutting that has developed roots still needs time before facing an Arizona landscape. Plan for roughly six months of container growth before transplanting to the yard, using that period to gradually acclimate the young plant to more direct light and less-controlled humidity.
Plant the Rooted Rose Where Arizona Water Can Drain
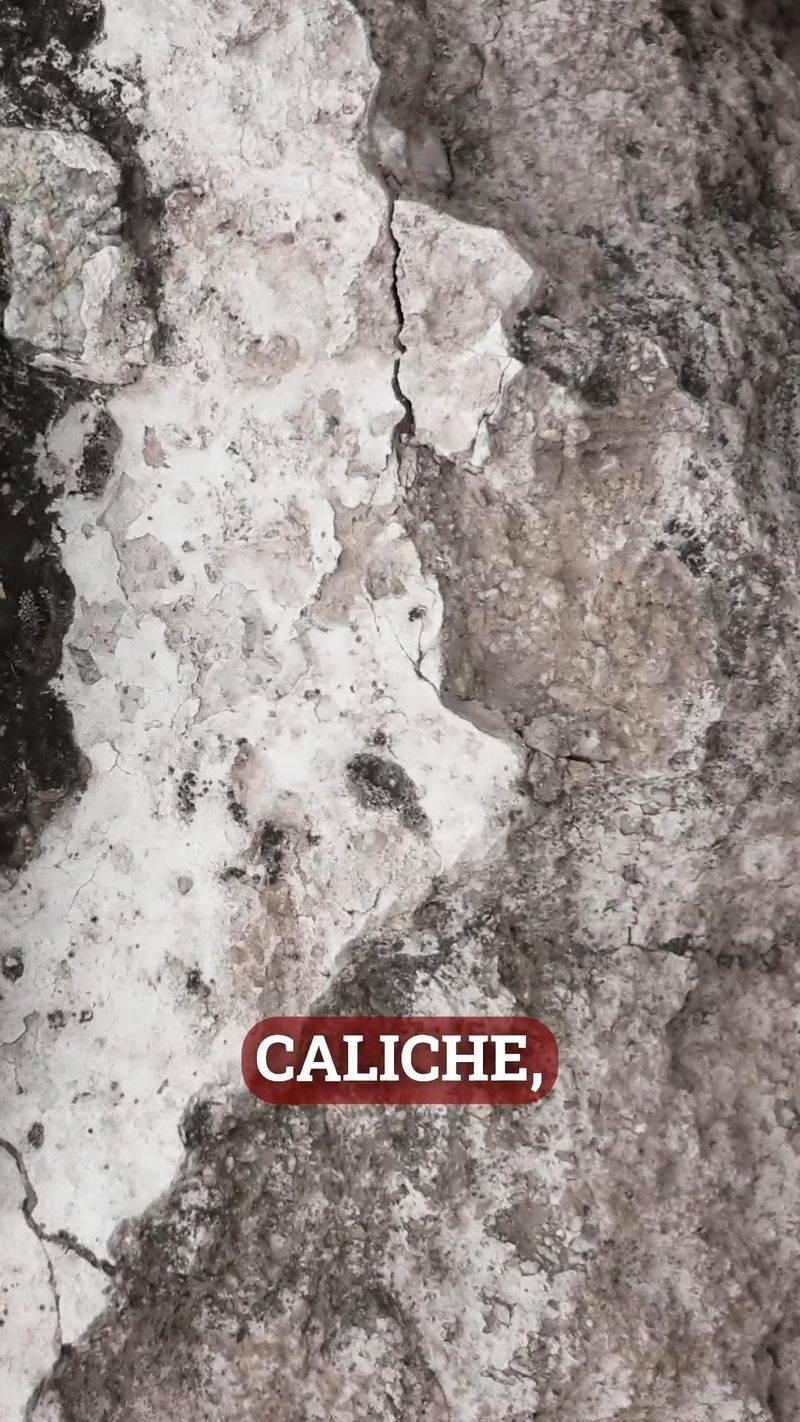
Moving a rooted cutting into an Arizona yard requires a separate set of decisions that have nothing to do with the propagation process itself. Low-desert soils frequently contain caliche, a hardened calcium carbonate layer that can sit anywhere from a few inches to several feet below the surface.
Caliche restricts root penetration, reduces water movement, limits root aeration, and contributes to salt accumulation around the root zone, all conditions that stress a young rose that has not yet established a deep, resilient root system.
University of Arizona Cooperative Extension’s caliche guidance recommends testing whether a planting hole drains adequately before any plant goes into the ground. Fill the hole with water and observe how quickly it drains.
If water is still standing after several hours, drainage is inadequate and the caliche layer may need to be penetrated or partially removed before planting. Ignoring this step and planting into a poorly drained hole can drown a young own-root rose even when irrigation is applied correctly.
Water demand is another reality that Arizona rose growers should not underestimate. University of Arizona Extension notes that established roses in the low desert often need irrigation several times per week during summer, depending on soil type, weather, and microclimate.
A young own-root rose, which may initially grow more slowly than a grafted nursery plant, will be especially sensitive to moisture stress during its first Arizona summer. Propagating your own rose does not reduce its water requirements or make it more drought-tolerant than a purchased plant of the same cultivar.
A Realistic Arizona Result Is a Rooted Plant, Not an Instant Bush
Before taking a single cutting, check whether the rose you want to propagate is protected by an active U.S. plant patent. The U.S.
Patent and Trademark Office explains that a plant patent gives the holder the right to exclude others from asexual reproduction of the protected variety, including propagation by cuttings, for the duration of the patent term. Plant tags on named modern roses sometimes include patent information, and checking that detail before propagating keeps you on the right side of the law.
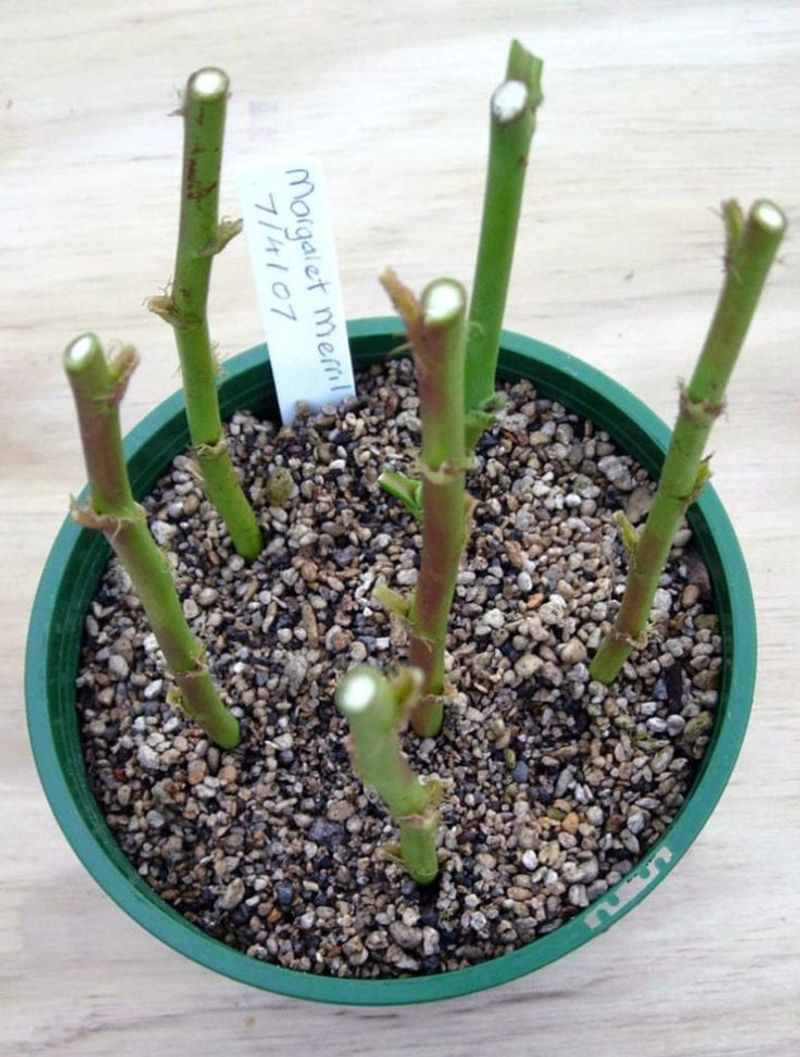
If the cultivar is unpatented or old enough that its patent has expired, the sequence from here is straightforward. Select a healthy semi-hardwood cane from above the graft union, prepare it with clean tools, use the damp towel briefly to prevent drying during potting, and transfer the cutting promptly into an airy, well-drained rooting medium.
Maintain monitored humidity with a ventilated enclosure, keep the container away from Arizona’s afternoon heat, and allow roughly four weeks before gently checking for roots.
Illinois Extension notes that own-root roses may initially grow more slowly than grafted plants, so patience extends beyond propagation into the establishment phase as well. Variable results are normal across cultivars and growing conditions, and a first attempt that fails does not mean the technique is wrong.
A successful cutting gives you a genetically identical plant from a rose you already love, grown in your own Arizona yard on its own roots, and that is a worthwhile outcome even if it takes most of a year to get there.