8 Tips For Collecting And Saving Milkweed Seeds In Ohio Before The Pods Blow Away
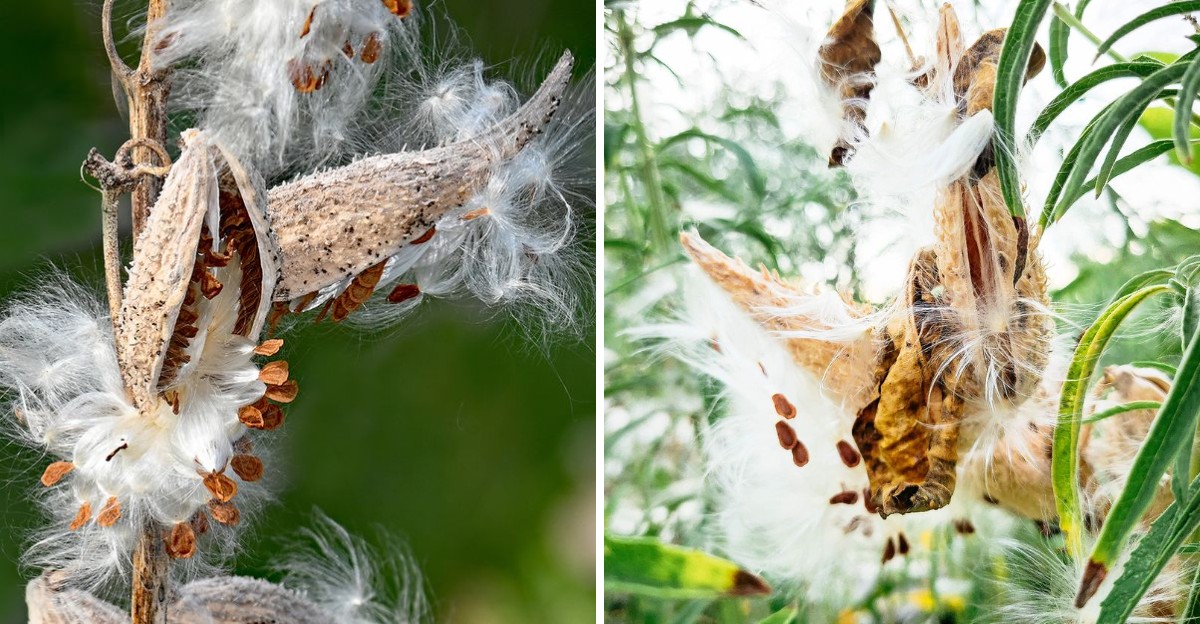
One plump pod on a roadside weed can hold roughly two hundred seeds, each wearing its own silky parachute. A breezy autumn afternoon can send that whole fluffy crowd drifting across a field in just a few hours.
Those silky strands are so light that a gentle puff of wind can carry seeds far beyond the garden fence. Monarch caterpillars in Ohio rely on these plants for food, so every saved seed can matter more than it seems.
I learned the hard way that waiting one extra week can mean finding empty curled husks instead of seeds. Call me stubborn, but I still check those pods every morning with my coffee mug in one hand.
You do not need fancy tools, just good timing and a few tricks from fellow gardeners who have tried them. So how exactly do you grab those precious seeds before the autumn wind beats you to them?
1. Watch Milkweed Pods Fade From Bright Green To Dusty Tan
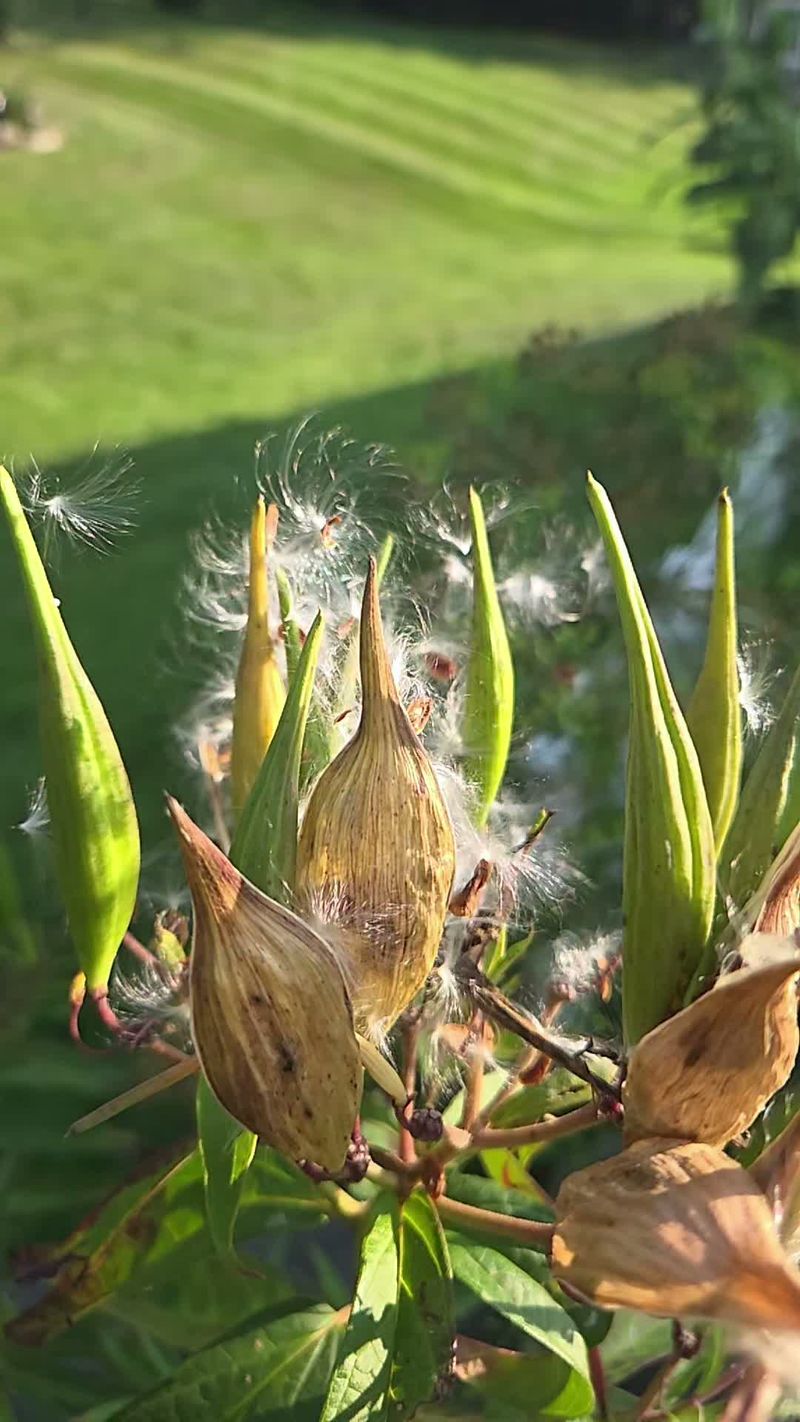
Late summer turns a milkweed patch into a slow color show, and the pods give the first big clue. Bright green shells gradually fade toward gray-green or dusty tan as they dry out on the stem.
Most pods in Ohio ripen somewhere between August and October, though some areas see ripe pods hang on into November. The window between ready and bursting can be surprisingly short, so regular visits really pay off.
I keep a little mental calendar once the flowers fade and the pods start fattening up on the stalks. Checking every few days feels a bit obsessive, but it beats finding open husks waving in the breeze.
Color alone can fool you, though, because some milkweed species keep greenish pods even when the seeds inside are ready. Swamp milkweed and common milkweed can behave a little differently, so get to know your own plants.
A drying pod often feels lighter and slightly stiff, almost like thin cardboard instead of a juicy green bean. That texture change is a helpful hint that the seeds inside are darkening and getting close to harvest.
Not going to lie, I once picked a whole basket of pods that looked perfect from the outside. Every single seed inside was pale and soft, and none of them grew when I planted them that spring.
Use color as your early alert, then confirm readiness with a closer check before you start snipping anything. Patience here saves you from wasting good pods that simply needed another week of warm sunshine.
2. Give The Milkweed Pod Seam A Gentle Squeeze
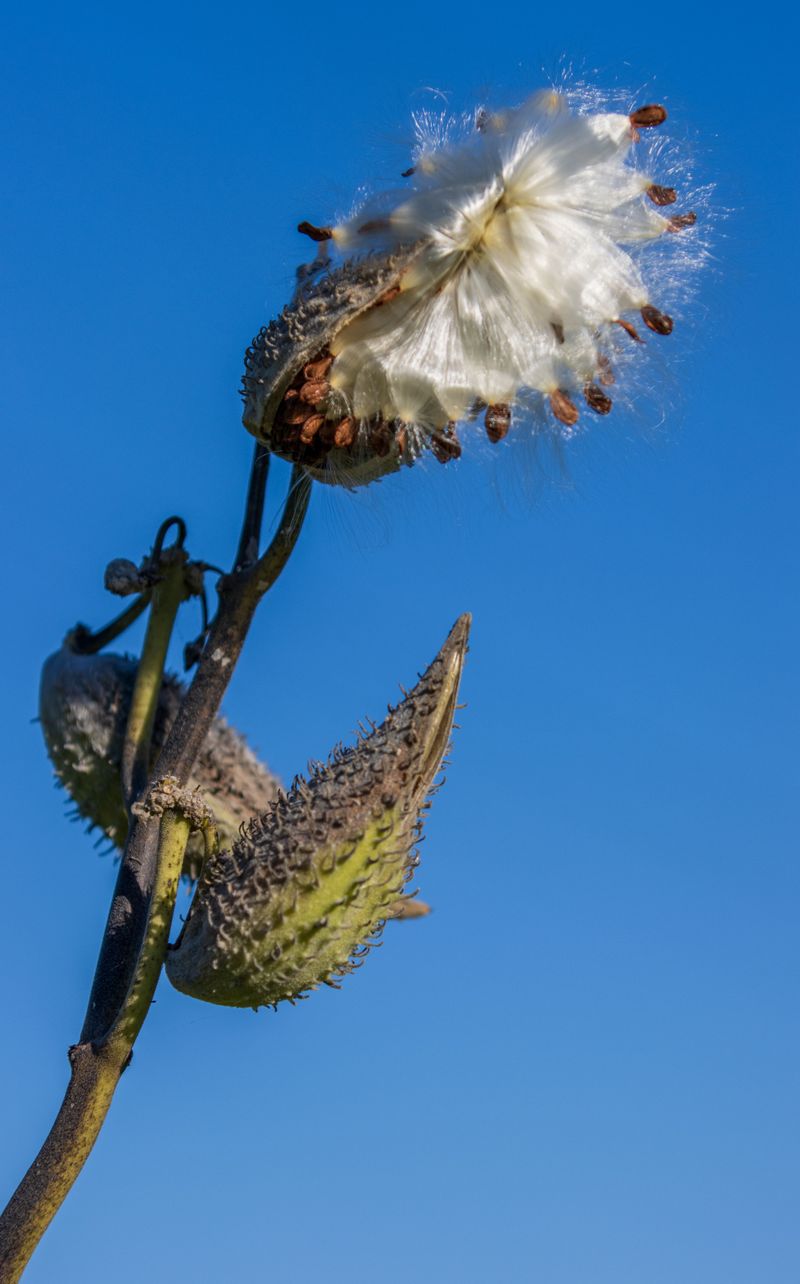
Every milkweed pod has a faint line running down one side, and that little seam is your best friend. Press lightly along it with your thumb, and the pod will quietly tell you whether the seeds are ready.
If the seam pops open with barely any effort, you have found a ripe pod worth taking home today. When it resists and stays firmly shut, the seeds inside are probably still too young to grow.
Trust me on this one, the squeeze test is more reliable than guessing by color or size alone. I use it on every pod now, even the ones that look obviously finished from a few feet away.
Peek inside any pod that cracks open and check the seed color before you commit to picking the rest. Mature seeds look dark brown and slightly leathery, while young ones appear creamy white or pale tan.
Pale seeds rarely germinate, so leave those pods on the plant and give them more time to ripen. A gentle squeeze does not harm the pod, and it often seals back up well enough to keep maturing.
Go easy with your fingers, because pressing too hard can split a young pod and expose its soft seeds. Think of it like checking a peach at the market rather than squeezing a stress ball after work.
Wash your hands after handling pods, since the milky sap contains compounds that can irritate eyes and skin. Keeping a damp cloth in your pocket makes cleanup easy while you work your way down the row.
3. Wrap Ripening Milkweed Pods With Rubber Bands Or Organza Bags
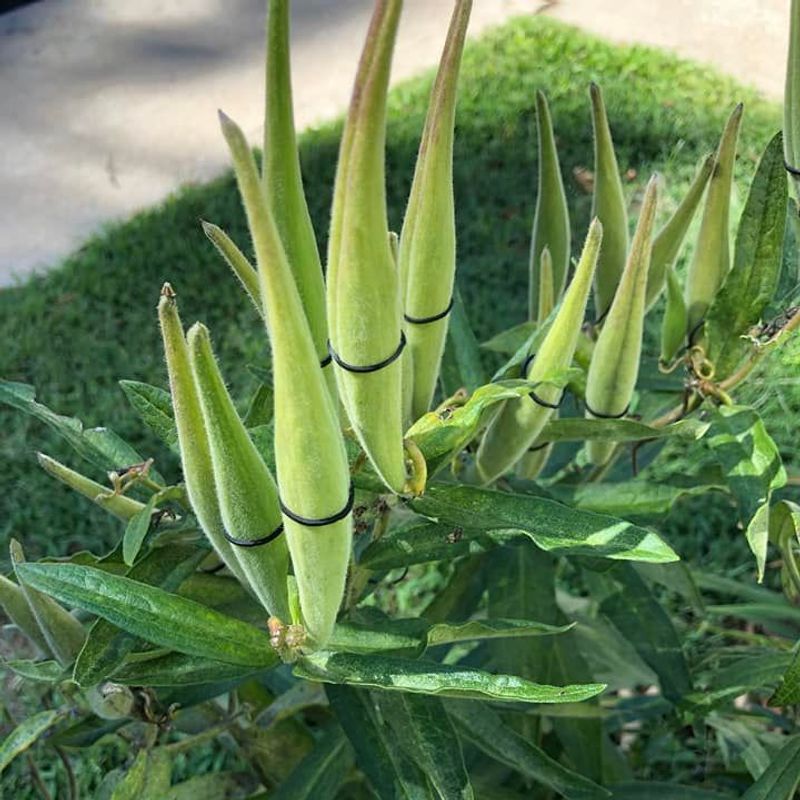
Here is a sneaky trick that feels a little like putting tiny sweaters on your plants before a windy week. Wrapping nearly ripe pods lets them split naturally while the seeds stay safely trapped inside a little package.
A simple rubber band around the middle of a pod holds the seam closed until you return to collect it. Wire twist ties work too, and they are easy to reuse from bread bags you already have in the kitchen.
Small organza gift bags are my personal favorite, because you can see the seeds right through the sheer fabric. Slip one over a pod, cinch the drawstring around the stem, and let the pod finish ripening in peace.
Don’t laugh, but I have also used old nylon stockings cut into short tubes and tied at both ends. They stretch nicely around chunky pods and let air move through, which helps reduce moisture and mold problems.
Wrapping works best on pods that are close to ready but not quite passing the squeeze test yet. Covering very young pods just adds clutter, and you may forget which ones you wrapped first in the season.
Check your wrapped pods every few days, especially after rain, to make sure nothing is staying soggy underneath. When you spot fluffy floss pressing against the fabric, that pod is ready for snipping and bringing indoors.
Neighbors may give your garden some curious looks while those little bags flutter on the stems. Honestly, a few raised eyebrows seem like a fair trade for a full harvest of healthy seeds.
4. Snip Mature Milkweed Pods Straight Into Paper Bags
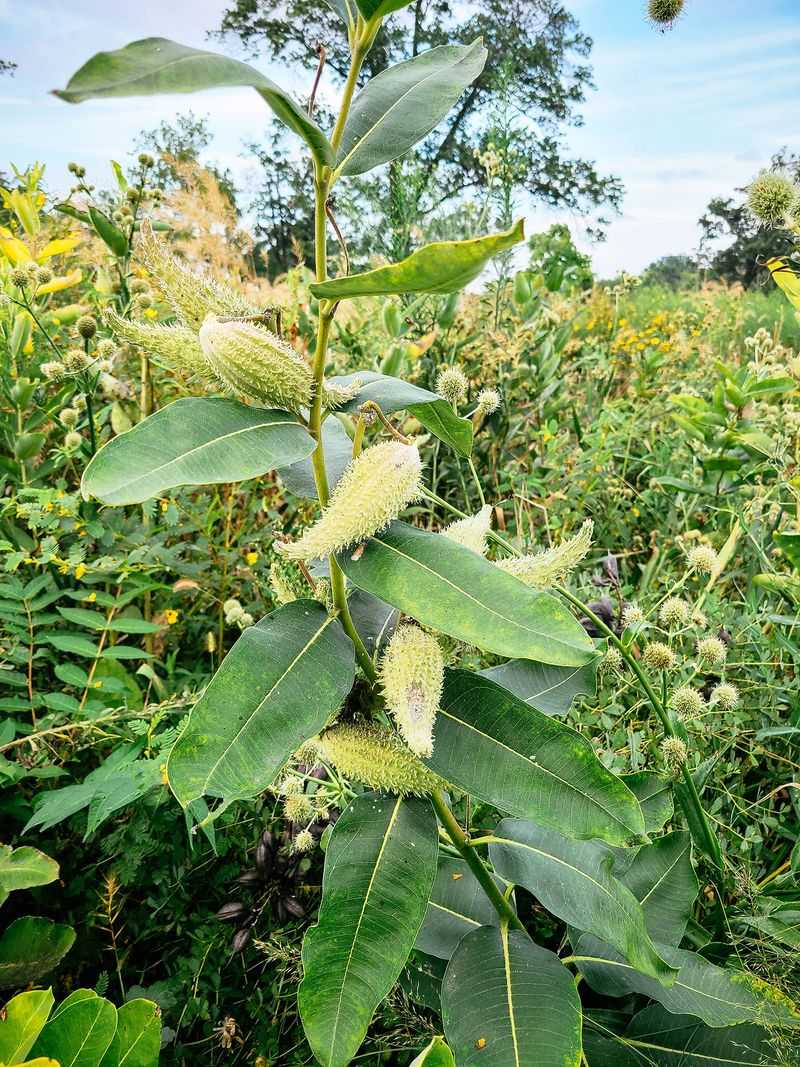
A brown paper lunch bag might be the humblest tool in my shed, yet it does serious work every fall. Ripe pods go straight into it, and the seeds stay dry and sorted until I am ready to clean them.
Plastic bags seem handy, but they trap moisture and can turn a beautiful harvest into a moldy mess. Paper lets the pods breathe, and you can write the plant name and date right on the side.
Use sharp pruning shears or scissors to cut each pod, leaving about an inch of stalk attached to it. Clean cuts are kinder to the plant than yanking, which can tear stems and spill seeds everywhere.
When collecting from wild patches or shared spaces, take no more than one-third of the pods you find. Many seed savers suggest even less, around one-fifth, so plenty of seeds can scatter naturally and keep populations healthy.
Skip pods crawling with orange and black milkweed bugs, because those insects feed on the seeds inside. Seeds from heavily munched pods often turn out shriveled and unlikely to sprout when you sow them later.
Always ask permission before collecting on private land, Ohio parks, or roadsides managed by local agencies. Rules vary from place to place, and some protected areas forbid any plant collecting without a special permit.
I’m a sucker for a tidy system, so I keep one bag per species to avoid mixing them up. Common milkweed and butterfly weed seeds look similar once cleaned, and labels save plenty of guesswork next spring.
5. Strip The Silky Floss Off Brown Milkweed Seeds By Hand
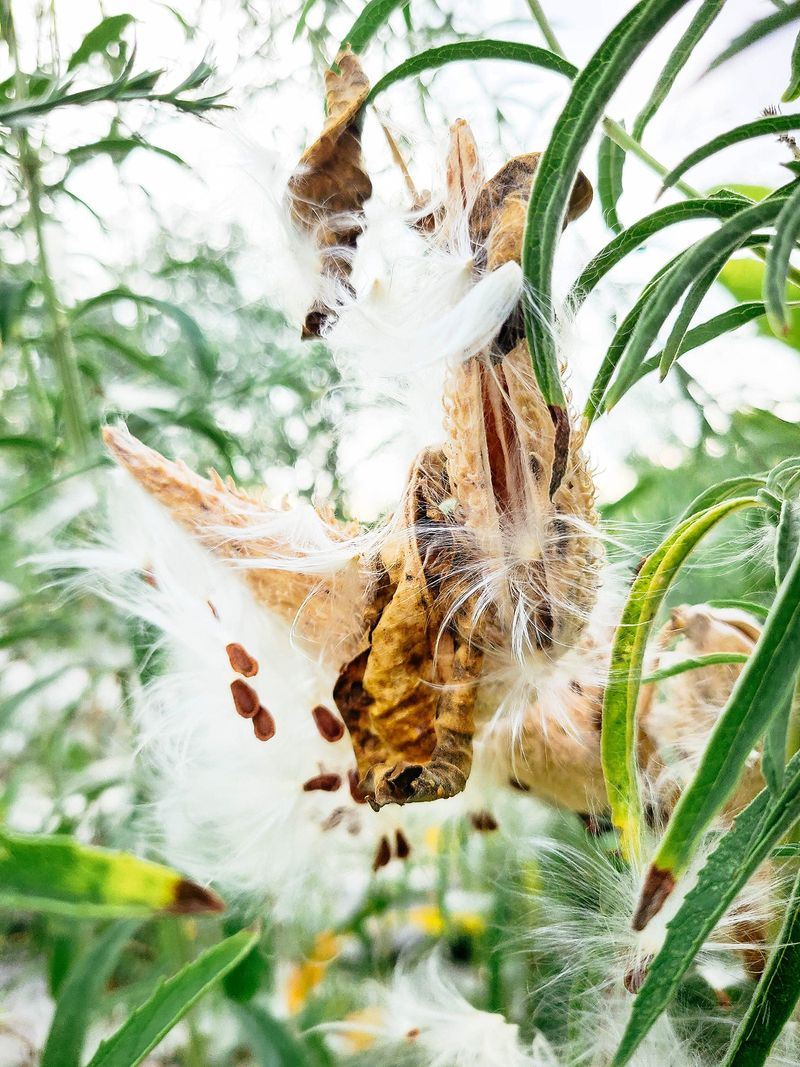
Opening a fresh pod feels a bit like unwrapping a present stuffed with neatly stacked brown scales. The seeds overlap like tiny fish scales, each one attached to a tuft of shiny white silk.
Timing makes this job much easier, because floss that has not fluffed out yet stays tight and tidy. Work with pods soon after harvest, before the silk dries and expands into a cloud that floats everywhere.
Gardeners often call this the strip method, and it takes only a few seconds once you get the feel. Pinch the bundle of silk at its pointed tip, then slide your other fingers down toward the seeds.
Mature seeds should pop free with very little effort and tumble right into a bowl below your hands. If they cling stubbornly, the pod may have been picked a little early, so set those aside separately.
I do this at the kitchen table with the windows closed, because one sneaky draft can scatter fluff across the room. A large bowl or deep baking pan helps catch stray seeds that try to bounce away.
Save the leftover floss instead of tossing it out with the kitchen scraps after you finish. It makes lovely stuffing for small craft projects, and birds may also tuck bits of it into their nests.
Kids usually love helping with this step, since the silk feels impossibly soft between their fingers. Just remind everyone to wash their hands afterward and keep the sticky sap far away from their eyes.
6. Shake Fluffy Milkweed Seeds Loose With Coins In A Paper Bag
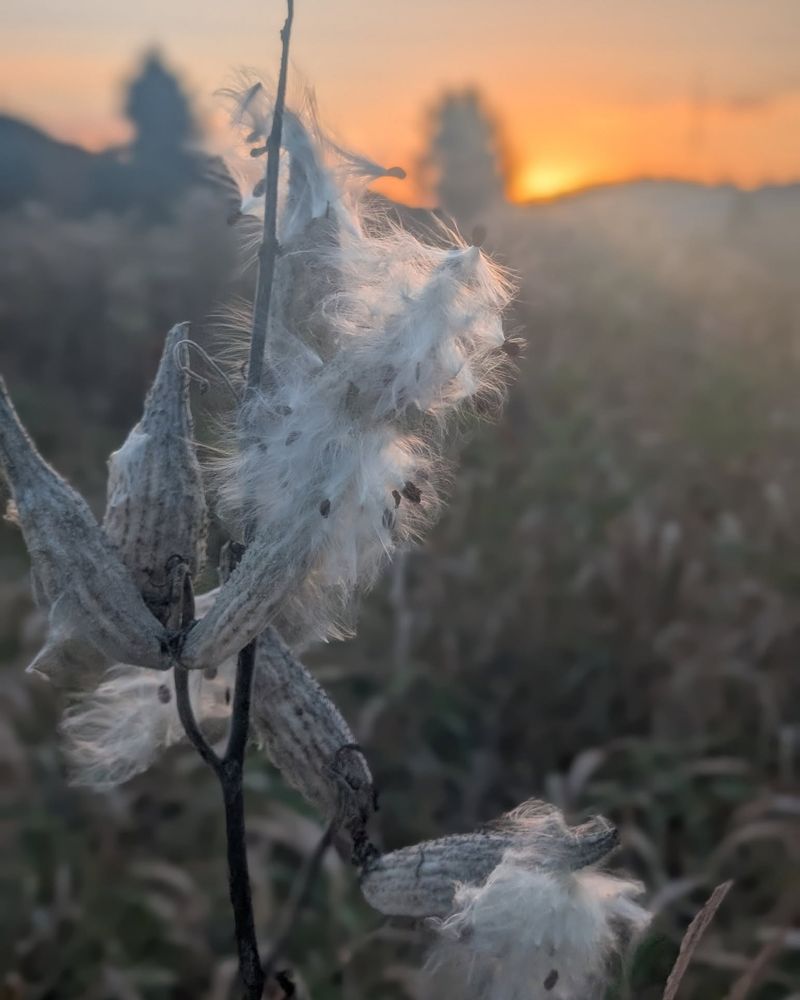
Missed the perfect moment and ended up with a pod exploding into fluff? Guilty as charged, and I discovered that a few loose coins can rescue the whole fuzzy situation.
Toss the fluffy mess, seeds and all, into a sturdy paper bag along with several coins or small stones. Fold the top over tightly, then shake the bag hard for a minute or two like a maraca.
The coins knock against the silk and break the seeds free from their fluffy little parachutes inside the bag. Heavier seeds settle to the bottom, while the lighter floss stays bunched up near the top of the bag.
Next, snip a small hole in one bottom corner and gently pour the seeds out into a bowl. Most of the floss stays behind, though you may need to pick out a few stubborn stragglers by hand.
A glass jar with a lid works too, and you can watch the seeds dropping as you shake. Just keep the jar dry inside, since any moisture can make the silk clump and hold seeds tightly.
Folks who gather huge amounts sometimes use a shop vacuum with a cartridge filter to separate seeds faster. That approach seems like overkill for backyard collectors, but it can save hours for community seed projects.
I’ll say this much, the coin method turned my most frustrating harvest into a fun little job. It also gives you a great excuse to finally use that jar of pennies sitting on the dresser.
7. Dry Milkweed Seeds On A Screen Until They Rattle
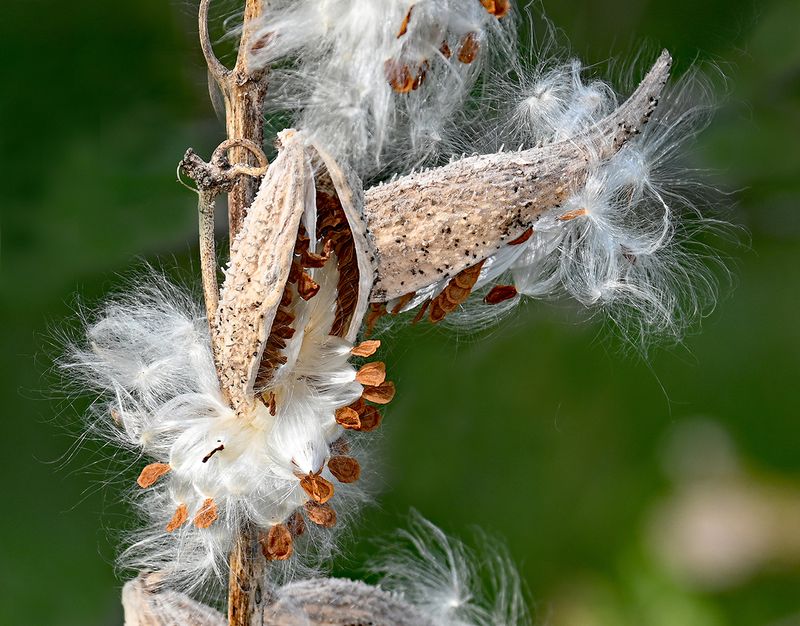
Freshly cleaned seeds might look ready, but they often still hold enough moisture to grow mold in storage. A week of patient drying can be the difference between healthy seeds and a fuzzy gray disappointment.
Spread the seeds in a single layer on a plate, an old window screen, or a sheet of newspaper. Set them in a dry room with good airflow, away from direct sun and curious pets with sniffing noses.
Give them several days to a full week, stirring them gently once in a while so every side dries. Humid weather can slow things down, so a small fan in the room may help speed the process along.
You will know they are ready when the seeds feel crisp and rattle softly when you shake the container. I still grin at that tiny dry sound, because it means my hard work is finally paying off.
Once dry, blow lightly across the pile to send away leftover bits of floss and papery chaff. Do this outside or over a sink, unless you enjoy finding silky strands on your sweater for weeks afterward.
Sort through the seeds and toss any that look white, flat, thin, or unusually light in your hand. Those are usually immature or unfertilized, and keeping them only makes your seed count look better than it really is.
Plump, dark brown seeds with a little heft are the keepers worth saving for next season’s garden. Those are the ones most likely to grow into sturdy plants that welcome hungry monarch caterpillars.
8. Store Labeled Milkweed Seed Envelopes In The Refrigerator
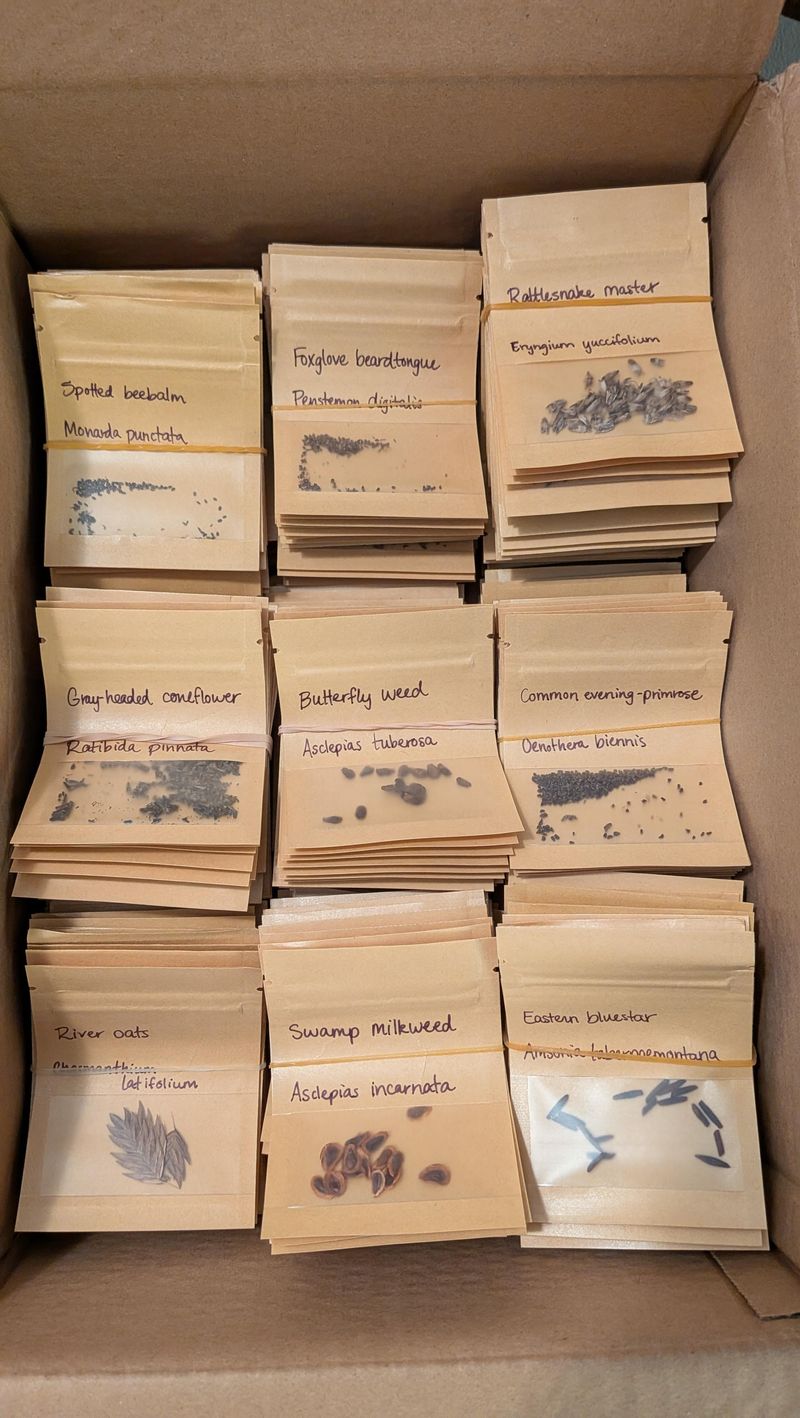
My refrigerator door holds pickles and jam, but the crisper drawer belongs to little envelopes of milkweed seeds. Cool storage keeps seeds lively much longer, though dry storage is not the same as the cold, moist chilling that many native species need before they germinate.
Tuck fully dried seeds into paper envelopes, small paper bags, or clean glass jars before putting them away. Label each one with the species, the collection date, and the spot where you gathered the pods.
Fridge temperatures between about 34 and 41 degrees Fahrenheit help seeds stay viable for up to three years. Seeds kept at room temperature usually last only one or two years before their sprouting power starts to decline.
Some seed savers freeze thoroughly dried seeds, which can stretch their usefulness to five years or more. Any leftover moisture can cause trouble in the freezer, so be extra sure your seeds rattle before trying it.
Most native milkweeds need cold, moist stratification before they will germinate well in spring gardens. You can sow seeds outdoors in fall and let Ohio’s winter handle the job naturally in the soil.
Prefer spring planting instead? Wrap seeds in a damp paper towel inside a plastic bag, or mix them with moist sand in a container, and refrigerate them for 30 to 60 days.
Tropical milkweed usually skips the chilling step, but native species are the better choice for most regions anyway. Every fall, I look at those tidy envelopes and feel like I am saving a little piece of summer.