When Michigan Gardeners Should Cut Back Irises For More Beautiful Blooms Next Spring
Irises are forgiving plants in many ways, but timing their post-bloom cutback correctly makes a measurable difference in how well they perform the following spring.
Michigan gardeners who cut back too early, too late, or too aggressively often wonder why their iris beds gradually produce fewer and smaller blooms despite looking otherwise healthy.
The plant is doing specific work after flowering ends, and interrupting that process at the wrong moment costs next season’s display in ways that are not immediately obvious.
Getting the timing and technique right is straightforward once you understand what the plant is actually doing between the end of bloom and the arrival of fall.
That knowledge turns a routine garden chore into something that actively builds toward a better show next May and June.
1. Cut The Flower Stalk After Blooming

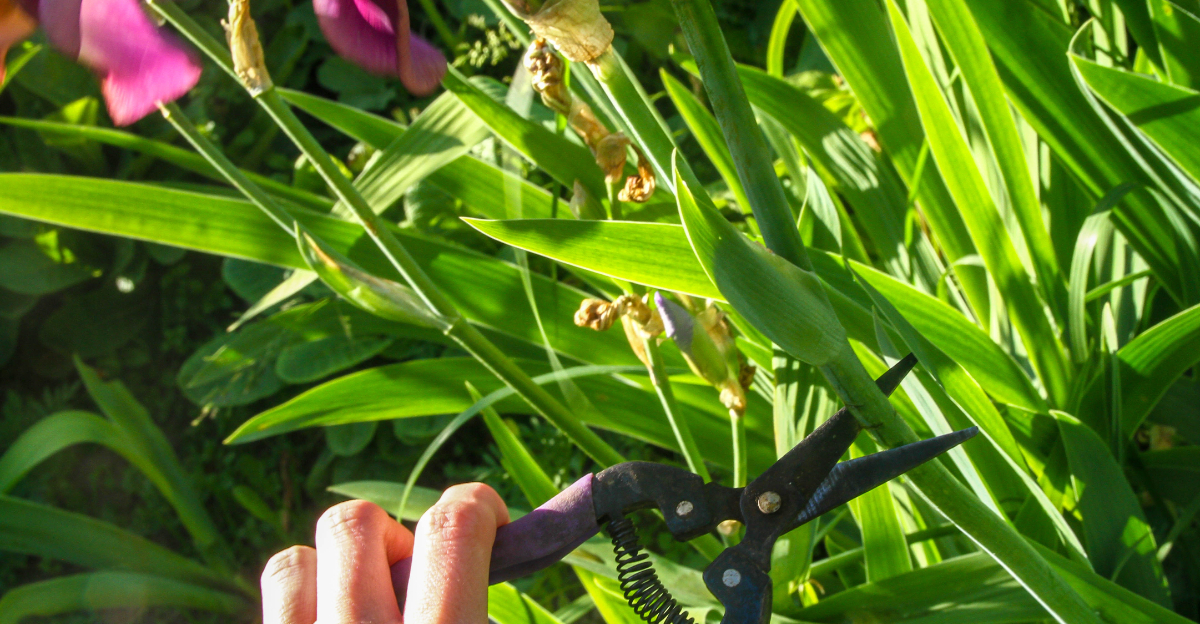
Right after your irises finish flowering, the very first thing you should do is remove the spent flower stalk. That stalk has done its job, and leaving it standing around does nothing good for the plant.
Grab a pair of clean, sharp pruners and cut the stalk as close to the base as you can without nicking the surrounding leaves.
Removing the stalk right away keeps your garden looking tidy and well cared for. More importantly, it stops the plant from putting energy into forming seed pods.
Seeds take a surprising amount of energy to develop, and your iris does not need that extra drain heading into summer.
When the plant stops worrying about seeds, it shifts its focus toward building up the rhizome underground. A stronger, healthier rhizome means more flower buds forming for next spring.
Michigan gardeners who skip this step often wonder why their blooms get thinner year after year, and this simple snip is usually the answer. It takes less than a minute per plant and makes a real difference in your garden’s performance over time.
2. Leave The Green Leaves Through Summer

Once the flowers are gone, it can be really tempting to cut the whole plant back and move on. Resist that urge completely.
Those long green leaves are actually doing some of the most important work of the entire growing season, even though nothing is blooming.
Iris leaves act like little solar panels. All summer long, they absorb sunlight and turn it into energy that gets stored directly in the rhizome below the soil.
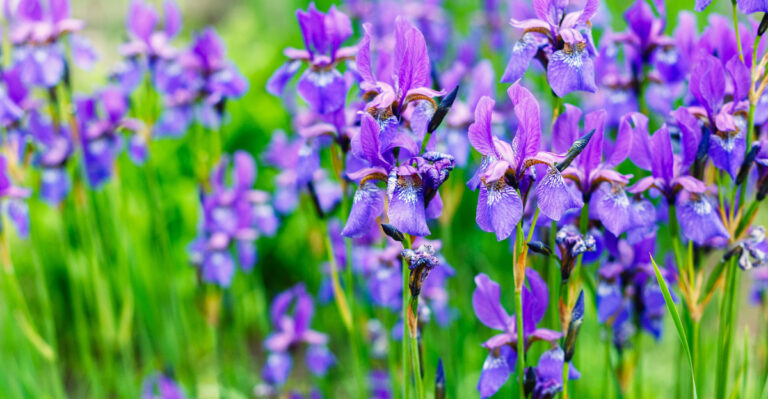
The more energy stored, the more fuel available for producing those gorgeous blooms you are looking forward to next May or June.
Cutting the leaves back too early in the season cuts off that energy supply before the plant has had enough time to build up its reserves. Think of it like unplugging a battery charger before the battery is full.
Michigan summers are warm enough to keep iris leaves actively photosynthesizing well into late summer, so let them do their thing.
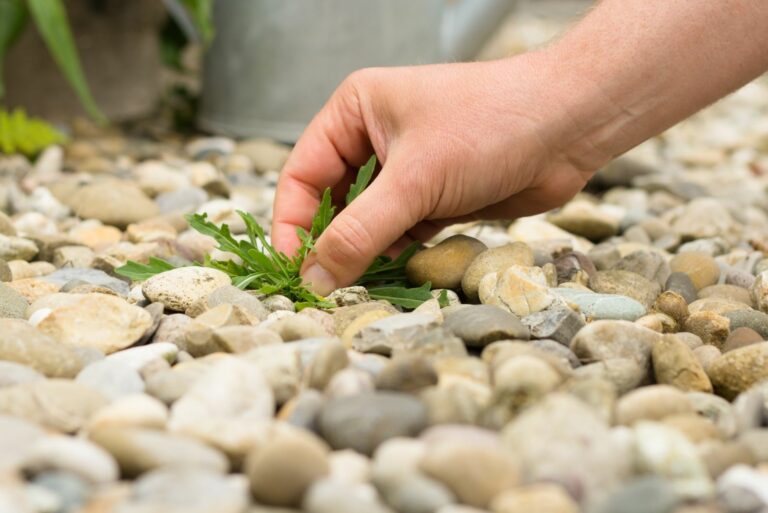
Keep the bed weeded, water during dry spells, and simply enjoy the lush green texture the foliage adds to your garden beds while everything else blooms around it. Patience here pays off beautifully when spring arrives.
Your Michigan Garden Changes Every Week. Your Plan Should Too.
Gardening in Michigan changes quickly throughout the season. Every Friday you’ll receive a simple weekly plan showing exactly what to plant, prune, fertilize, harvest, and protect so you never miss the right timing.
3. Wait Until The Leaves Turn Yellow Or Brown

Autumn is the right season for the big foliage cutback, but only after the leaves have started to naturally change color.
When you notice the tips turning yellow or the leaves going brown and papery, that is your signal that the plant is winding down on its own terms.
Cutting before that point can rob the rhizome of energy it still needs.
Many gardeners make the mistake of cutting iris leaves back in August because the foliage starts looking a little tired or floppy. Tired-looking leaves can still be photosynthesizing and sending nutrients underground.
Just because they are not pretty does not mean they are finished working for the plant.
In Michigan, this natural yellowing usually happens sometime between late September and mid-October depending on your location and the weather that year.
Once you see the color change spreading through most of the foliage, it is safe to go ahead and cut back.
Waiting for this natural cue rather than picking an arbitrary date on the calendar is one of the smartest things you can do for your iris bed.
Your plants will store more energy, handle winter better, and push out stronger flower stalks when warm weather returns in spring.
4. Trim Bearded Iris Leaves To Six To Eight Inches

When fall cleanup time arrives and the leaves have yellowed enough to cut, most experienced Michigan gardeners trim bearded iris foliage down to about six to eight inches above the ground. That height is not random.
It leaves enough of the leaf base to protect the rhizome while removing the bulk of the floppy, worn-out foliage.
The traditional method is to cut the leaves at an angle that forms a pointed fan shape. Picture a little arrow or chevron pointing upward.
This angled cut looks neat and tidy in the garden, and it also helps water run off the cut ends rather than sitting on them and causing rot over winter.
For Michigan flower beds specifically, this trim makes fall cleanup much easier and faster. Removing all that extra foliage also reduces places where fungal spores and garden pests can hide and overwinter near your plants.
Come spring, new growth will emerge cleanly from the base without having to push through a tangle of old leaves.
Six to eight inches might seem like a lot to leave, but that short fan of trimmed leaves helps the rhizome stay anchored in the soil through freeze and thaw cycles that are so common in Michigan winters.
5. Remove Spotted Or Ragged Leaves Anytime

Spotted, torn, or badly ragged iris leaves do not have to wait for the fall cutback. You can pull those out or trim them back anytime during the growing season without harming the plant.
In fact, leaving heavily spotted foliage in place can actually spread problems to the rest of the clump.
Leaf spot is a fungal issue that shows up on iris foliage fairly often, especially after wet springs or humid Michigan summers. Those brown or tan spots with darker borders are a clear sign the leaf is struggling.
Removing the affected sections early keeps the disease from spreading and helps the overall plant look much better through the season.
The key is to cut only the damaged portions and leave as much healthy green tissue as possible. If just the tip of a leaf is spotted, trim that tip off.
If the whole leaf is covered, remove the entire leaf at the base. Toss the removed material in the trash rather than the compost pile to avoid spreading any fungal spores around your yard.
Healthy green leaves that remain will keep feeding the rhizome just as they should. A little selective trimming here and there keeps your iris bed looking sharp all summer long without sacrificing the plant’s strength.
6. Divide Crowded Clumps In Late Summer

If your irises have been blooming less and less each year, crowding is often the real culprit.
Bearded iris clumps multiply steadily underground, and after a few years the rhizomes pack together so tightly that they compete with each other for water, nutrients, and space. Fewer resources per plant means fewer flowers per stalk.
Most gardening experts recommend dividing bearded iris clumps every three to five years to keep them performing at their best.
Late summer, usually sometime in July or August after the blooms have finished for the season, is the sweet spot for this job in Michigan.
The weather is still warm enough for the divisions to establish new roots before winter sets in.
To divide, use a garden fork to gently lift the entire clump and shake off loose soil. Look for firm, healthy rhizomes with good roots and trim any that look shriveled or soft.
Cut the healthy rhizomes apart so each division has at least one fan of leaves and a solid chunk of rhizome attached. Trim the leaves down to about four to six inches to reduce stress on the new division while it gets settled.
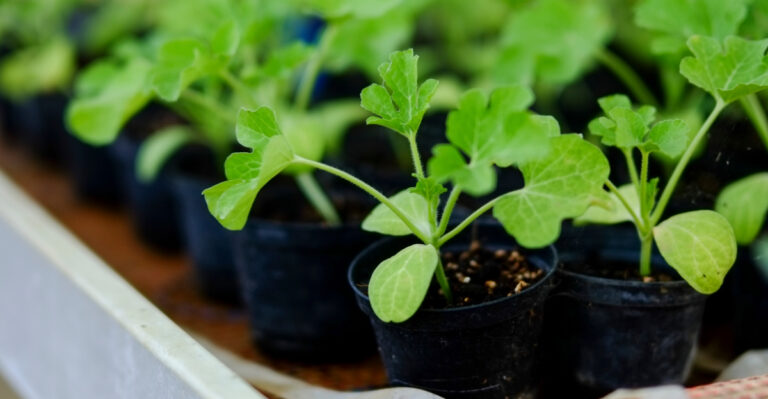
Replant your divisions in a sunny spot with good drainage and give them a good drink of water. You will likely be amazed by how much better they bloom the very next spring.
7. Do Not Bury Bearded Iris Rhizomes

Here is a fact that surprises a lot of new iris growers: bearded irises actually want to be planted almost on top of the soil, not buried deep in it. The top of the rhizome should sit right at or just barely below the soil surface.
In warmer climates some gardeners even let the top of the rhizome sit fully exposed to the sun.
Planting too deeply is one of the most common reasons bearded irises fail to bloom well. When the rhizome is buried under several inches of soil, it stays too cool and too moist.
Those conditions prevent it from ripening properly, and an unripened rhizome simply does not produce flower buds the way a well-exposed one does.
This matters most when you are dividing and replanting in Michigan gardens. After all the work of lifting and separating your clumps, it is easy to accidentally tuck the new divisions in a little too snugly.
Take a moment to double-check the planting depth before you firm the soil around each division. The rhizome should be visible or nearly visible from above.
If you can not see it at all, it is probably too deep. A quick adjustment at planting time saves you a whole year of waiting for blooms that never quite show up the way you hoped.
8. Keep Heavy Mulch Away From The Rhizome

Mulching is great for most garden plants, but bearded irises have a very specific preference when it comes to what goes on top of their rhizomes. They do not like it.
Heavy mulch piled over the rhizome holds moisture and blocks the sun and air that the rhizome needs to stay healthy through the growing season.
Rhizomes that stay too wet and covered are much more likely to develop soft rot, a bacterial condition that can spread quickly through a clump and wipe out your planting in a single season.
You can usually smell soft rot before you see it, and by the time the smell is obvious the damage is already significant.
If you do mulch your iris beds for winter protection in Michigan, keep it light and pull it back away from the rhizome itself. A thin layer around the edges of the clump is fine, but the rhizome should have room to breathe.
Come spring, rake that mulch away early so the warming sun can reach the rhizome directly. Sun on the rhizome in spring helps wake the plant up and encourages it to push out strong, healthy flower stalks.
Think of the rhizome as the engine of the whole plant, and give it the air and light it needs to run well all season long.
9. Use Clean Tools Before Every Cut

It might seem like a small detail, but clean pruning tools genuinely matter when you are working with iris plants.
Fungal spores and bacteria can hitch a ride on your blades from one clump to the next, spreading problems across your entire garden without you even realizing it is happening.
Before you start any cutting session, wipe your blades down with rubbing alcohol or a diluted bleach solution. A ten percent bleach solution works well and dries quickly.
If you are moving between clumps and you notice any spotting, unusual discoloration, or mushy tissue on a plant, clean the blades again before touching the next one. This quick habit takes only seconds and can save you a lot of heartache later.
Sharp blades matter just as much as clean ones. Dull pruners crush and tear plant tissue instead of cutting cleanly, and ragged cuts take longer to heal and are more vulnerable to infection.
A sharp, clean cut heals over quickly and leaves the plant in much better shape. Keep a small sharpening stone in your garden kit and touch up your blades a couple of times per season.
Home gardeners often overlook tool maintenance, but your irises will respond noticeably well to the extra care. Good tools used properly are one of the simplest ways to keep any garden healthier year after year.
10. The Best Bloom Plan Starts After This Year’s Flowers Fade

Getting the most out of your Michigan iris bed is not complicated, but it does require following the right steps in the right order. The whole plan kicks off the moment this year’s flowers finish.
Cut those spent stalks off cleanly at the base, then step back and let the green foliage do its quiet but essential work all summer long.
When late summer rolls around, check whether your clumps are getting crowded. If they are, that is your window to lift, divide, and replant.
Trim the foliage on new divisions, set the rhizomes at the correct shallow depth, and water them in well. Fresh divisions have the whole fall to settle in before the ground freezes, and they often put on an impressive show the very next spring.
Once the leaves start turning yellow or brown naturally in early to mid-fall, go ahead and trim the foliage back to that tidy six-to-eight-inch fan shape. Keep mulch light and away from the rhizome.
Clean your tools. Then simply wait. The secret to a breathtaking spring iris display is not some complicated fertilizing schedule or a special product. It is patience with the leaves and respect for the plant’s natural rhythm.
Give your irises what they need through summer and fall, and they will give you something truly worth celebrating when spring finally arrives in Michigan again.